manuals.online logo
Brands
  1. Home
  2. •
  3. Brands
  4. •
  5. Hyundai
  6. •
  7. Automobile Accessories
  8. •
  9. Hyundai AL100 99007 User manual

Hyundai AL100 99007 User manual

Page 1 of 14 Issue: 2 Date: 25/06/2014
BIKE HOLDER
Kit Part No: AL100 99007
Fork Mount Bike Holder
Fitting Instructions
Est. Fitting Time: 15 mins
Page 2 of 14 Issue: 2 Date: 25/06/2014
BIKE HOLDER
Kit Part No: AL100 99007
Read through the fitting instructions before installation of the accessory. Install the accessory following the fitting
instructions. Failure to do so may cause damage to the vehicle or the accessory.
Ensure all recyclable discarded vehicle accessory components and packaging are recycled following local recycling
regulations.
It is always recommended that this accessory is fitted by a qualified Hyundai Technician.
Safely store and protect any removed vehicle components.
Ensure all bare metal surfaces are protected using automotive bare metal primer and touch-up paint, or suitable
automotive rust inhibitor.
Remove all metal swarf and dust from all vehicle surfaces if surface is used for accessory installation.
Due to variable wind and driving conditions, some wind noise may be experienced while driving with this Cycle Holder
fitted.
When not in use, your Hyundai Genuine Bike Holder should be removed from your vehicle. To remove, follow the fitting
instructions in reverse order.
To clean your Hyundai Genuine Bike Holder wash with soapy water. Do not use chemical cleaners. Remove prior to
entering an automatic carwash.
This product weighs approximately 4.2kg fitted. This weight needs to be considered towards the total allowable roof bar
load ratings.
The maximum bike weight rating is 17kg. Do not exceed this rating. Do not carry bikes with large packs attached.
The height of the vehicle is increased with roof bars and accessories fitted. Take note of the total height and be aware
when using restricted height entries, for example garages, bridges, tunnels etc.
The fitment of roof bars and accessories can affect the handling characteristics of your vehicle, particularly during high
winds, on winding roads, and during braking. Avoid driving at high speed and always drive to the conditions taking the
altered handling characteristics into account.
Regularly check the security of the holder and fitted bike during use.
Check that all work practices comply with safety standards.
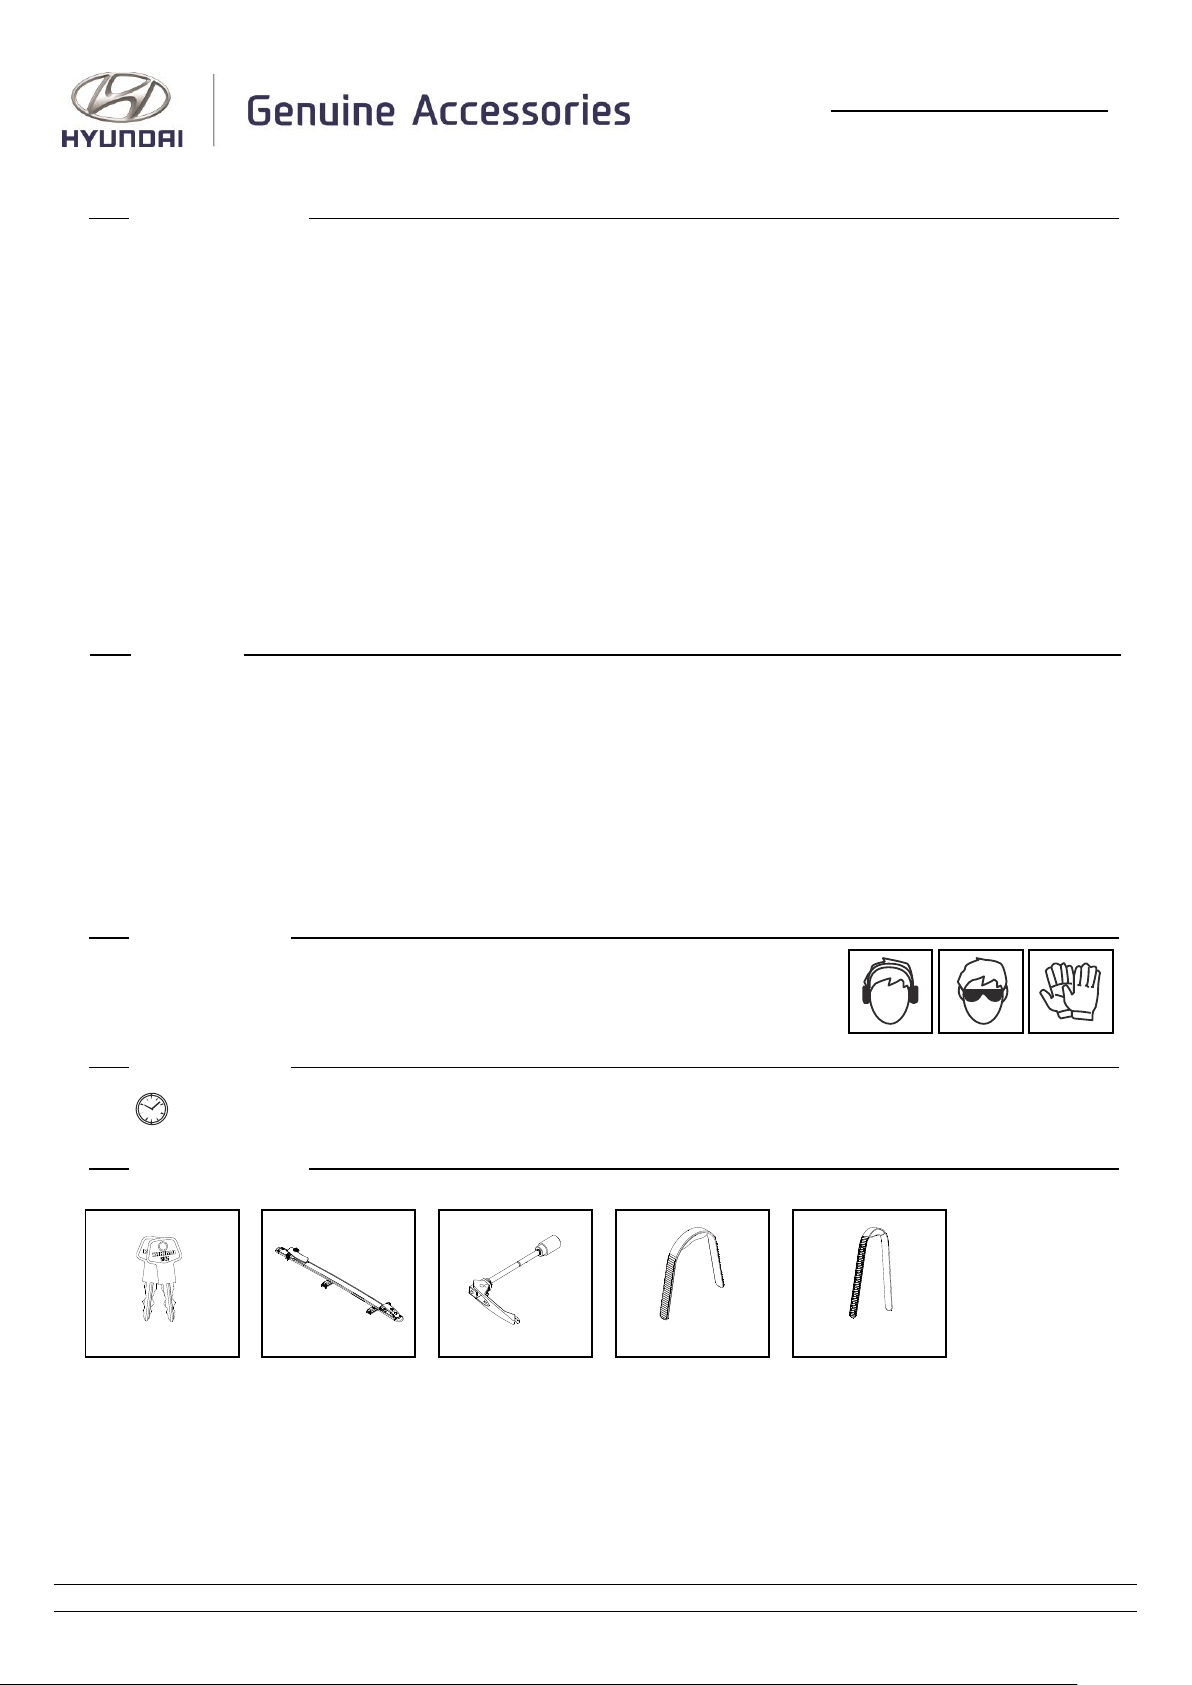
Please wear appropriate clothing and use safety equipment.
Est. 15 Minutes
1
2
3
4
5
Key x2
Bike Holder x1
Skewer (Fitted) x1
Short Strap (Fitted) x1
Long Strap x1
Safety Notes
Fitting Time
Parts Supplied
General Notes
Warning
Page 3 of 14 Issue: 2 Date: 25/06/2014
BIKE HOLDER
Kit Part No: AL100 99007
Check the contents of this pack are complete and undamaged.
Tools Used
Use the key to unlock the holder.
Open the silver lever.
While pushing the latch button (A), lift the black lever (B) to release
the interlock for the mounting feet.
Step 1
Step 2
Step 3
A
B
Page 4 of 14 Issue: 2 Date: 25/06/2014
BIKE HOLDER
Kit Part No: AL100 99007
Open both of the handles on each of the front and rear mounting
feet so they are parallel with the holder.
The holder can be mounted forward or rearward facing.
Fit the rear mounting foot into the rear bar, ensuring that both of
the locating bolts are positioned into the bar T-Slot.
Important
Always refer to the vehicle’s Workshop Manual when
removing vehiclecomponents.
Step 4
Step 5
Step 6
Front of vehicle
Take care not to hit the roof when fitting the Bike
Holder.
Page 5 of 14 Issue: 2 Date: 25/06/2014
BIKE HOLDER
Kit Part No: AL100 99007
Close both of the rear mounting foot handles.
With the rear mounting foot located in position and while applying
downward pressure to the holder at the rear mounting foot (1),
slide the entire bike holder (2) until the front foot is positioned over
the front crossbar (3) as shown.
Repeat steps 6-7 for the front mounting foot.
Note: Ensure the holder is mounted straight along the vehicle.
Step 7
Step 8
3
1
2
Step 9
Page 6 of 14 Issue: 2 Date: 25/06/2014
BIKE HOLDER
Kit Part No: AL100 99007
Check the holder is securely mounted to the roof bars.
Close the black lever (A) to activate the interlock for the mounting
feet.
Close the silver lever (B) and lock the holder using the key (C) if it
is not to be used immediately.
REMOVING, REVERSING, AND REFITTING THE SKEWER
Note: Depending on the accessible side of the holder the skewer
direction can be switched to suit.
Unlock the bike holder and open the silver lever.
Push both ends of the skewer towards the centre (A), rotate the
silver lever to a vertical position (B), and remove the skewer (C).
Important
Always refer to the vehicle’s Workshop Manual when
removing vehiclecomponents.
Step 10
Step 11
B
A
C
Step 12
A
BA
C
C
WARNING: Take care not to damage your
hatch/liftback when opening with the Bike Holder
fitted.
Page 7 of 14 Issue: 2 Date: 25/06/2014
BIKE HOLDER
Kit Part No: AL100 99007
Rotate the skewer and reinsert with the silver lever vertical.
Note: There is a locating peg on the skewer shaft that needs to be
located in the housing.
Note: If the skewer is being reinserted following the fitment of a QR15
bike, ensure that the conversion switch that is lowered in Step 22 is
raised again before fitting the skewer.
Push both ends of the skewer towards the centre, and rotate the
silver lever back to a horizontal position. Close the silver handle
and lock the holder if it is not to be immediately used.
IDENTIFYING 9mm AND QR15 FORKS
The Hyundai Genuine Bike Holder will accommodate both 9mm
and QR15 forks as shown.
To fit a bike with 9mm forks proceed to Step 15.
To fit a bike with QR15 forks proceed to Step 21.
FITTING 9mm FORKS
Follow Steps 16 to 20.
Important
Always refer to the vehicle’s Workshop Manual when
removing vehiclecomponents.
Step 13
Step 14
QR15
9mm
QR15
9mm
9mm
QR15
Step 15
WARNING: Safety tabs on the front wheel forks
are required. Do not use this product to carry
bikes without these safety tabs.
Page 8 of 14 Issue: 2 Date: 25/06/2014
BIKE HOLDER
Kit Part No: AL100 99007
Lift the silver tabs on the rear wheel saddle assembly and remove
the wheel strap.
Keep this handy for re-fitment.
Use the key to unlock the holder.
Open the silver lever.
Position the rear wheel saddle along the holder to suit the bike
being fitted.
Sit the rear wheel into the rear wheel saddle (A) and the front forks
onto the fork mount (B).
Step 16
Step 17
Step 18
A
B
Page 9 of 14 Issue: 2 Date: 25/06/2014
BIKE HOLDER
Kit Part No: AL100 99007
With the silver lever open, adjust the skewer knob (A) to achieve
firm resistance when closing the lever.
Close the silver lever (B) and lock the holder with the key.
Proceed to Step 26
FITTING QR15 FORKS
Note: The skewer is not needed for the fitment of QR15 bikes.
Follow Step 12 to remove the skewer.
Store in a secure location for future use.
Follow Steps 22 to 25
Important
Always refer to the vehicle’s Workshop Manual when
removing vehiclecomponents.
Step 19
Step 20
B
A
Step 21
WARNING: Ensure the front forks are loaded
evenly. Do not allow only one side to be
positioned.
Check 15mm fork/axle compatibility at:
whispbar.com/QR15
Page 10 of 14 Issue: 2 Date: 25/06/2014
BIKE HOLDER
Kit Part No: AL100 99007
While pushing the latch button, lift the black lever.
Push the conversion switch down to convert to QR15.
Lift the silver tabs on the rear wheel saddle assembly and remove
the wheel strap.
Keep this handy for re-fitment.
Position the rear wheel saddle along the holder to suit the bike
being fitted.
Sit the rear wheel into the rear wheel saddle (A) and locate the
front forks over the fork mount (B).
Step 22
Step 23
Step 24
A
B
Page 11 of 14 Issue: 2 Date: 25/06/2014
BIKE HOLDER
Kit Part No: AL100 99007
While holding the front forks over the fork mount and aligning the
bike axle holes with the fork mount holes, lower the black lever to
operate the fork mounts.
Lock the holder with the key.
SECURING REAR WHEELS
With the rear wheel seated in the saddle, refit the strap removed in
Step 16 or 23 and push down by hand ensuring the strap is even
on both sides.
Note: Use the longer strap provided if required for wider tyres and/or
deeper rims.
Operate the ratchet lever to provide final tension to the strap
ensuring the strap is even on both sides.
Note: The ratchet lever should not be operated more than 2 clicks at a
time while adjusting.
Step 25
Step 26
Step 27
Page 12 of 14 Issue: 2 Date: 25/06/2014
BIKE HOLDER
Kit Part No: AL100 99007
CHECKING BIKE SECURITY
Check the security of the bike on the holder.
REMOVING BIKES
Remove the rear wheel strap.
Lift the silver tabs on the rear wheel saddle assembly and remove
the wheel strap.
Keep this handy for re-fitment.
To remove a bike with 9mm forks proceed to Step 30.
To remove a bike with QR15 forks proceed to Step 31.
For 9mm forks follow Step 20 in reverse.
Remove the bike.
Close the silver lever and lock with the key if the holder is not to be
removed.
Refit the rear wheel strap.
Important
Always refer to the vehicle’s Workshop Manual when
removing vehiclecomponents.
Step 28
Step 29
Step 30
WARNING: On long journeys, regularly check
that the bike and the holder are firm and secure.
Page 13 of 14 Issue: 2 Date: 25/06/2014
BIKE HOLDER
Kit Part No: AL100 99007
For QR15 forks follow Step 25 in reverse.
Remove the bike.
Note: The skewer does not need to be re-fitted unless a 9mm bike is
to be fitted.
Close the black lever and lock with the key if the holder is not to be
removed.
Refit the rear wheel strap.
REMOVING THE HOLDER
Unlock and open the silver handle (A) if fitted.
While pushing the latch button (B), lift the black lever (C) to
release the interlock for the mounting feet.
Open both of the handles on each of the front and rear mounting
feet so they are parallel with the holder.
Important
Always refer to the vehicle’s Workshop Manual when
removing vehiclecomponents.
Important
Always refer to the vehicle’s Workshop Manual when
removing vehiclecomponents.
Step 33
Step 31
Step 32
B
C
A
WARNING: Take care not to hit the roof when
removing the bike holder.
WARNING: Ensure bikes with QR15 forks are
supported when the black lever is opened.
Page 14 of 14 Issue: 2 Date: 25/06/2014
BIKE HOLDER
Kit Part No: AL100 99007
Lift the holder straight off the roof bars.
Write the key number (which is stamped on the key) in the box to
the right.
Replacement keys are available from registered locksmiths by
quoting the key number.
Step 34
Step 35
The key number of my Bike Holder is:

Other Hyundai Automobile Accessories manuals

Hyundai 2S211ADE00ME User manual

Hyundai

Hyundai 2S211ADE00ME User manual

Hyundai G4211ADE00ST User manual

Hyundai

Hyundai G4211ADE00ST User manual

Hyundai J0F73 AU000 User manual

Hyundai

Hyundai J0F73 AU000 User manual

Hyundai U8780 2B000J9/J4 User manual

Hyundai

Hyundai U8780 2B000J9/J4 User manual

Hyundai 9999Z057196 User manual

Hyundai

Hyundai 9999Z057196 User manual

Hyundai 18-AT-008 Reference manual

Hyundai

Hyundai 18-AT-008 Reference manual

Hyundai D7211ADE00ST User manual

Hyundai

Hyundai D7211ADE00ST User manual

Hyundai HM-T008 User manual

Hyundai

Hyundai HM-T008 User manual

Hyundai C2017 ADU01 User manual

Hyundai

Hyundai C2017 ADU01 User manual

Hyundai 9999Z057196 User manual

Hyundai

Hyundai 9999Z057196 User manual

Hyundai S1370ADE00 User manual

Hyundai

Hyundai S1370ADE00 User manual

Hyundai ALU RELING User manual

Hyundai

Hyundai ALU RELING User manual

Hyundai K2F57 AC000 User manual

Hyundai

Hyundai K2F57 AC000 User manual

Hyundai 3X056 ADU00 User manual

Hyundai

Hyundai 3X056 ADU00 User manual

Hyundai D7211ADE00AL User manual

Hyundai

Hyundai D7211ADE00AL User manual

Hyundai CWF21 AU000 User manual

Hyundai

Hyundai CWF21 AU000 User manual

Hyundai Accent 2018 User manual

Hyundai

Hyundai Accent 2018 User manual

Hyundai BlueConnect User manual

Hyundai

Hyundai BlueConnect User manual

Hyundai 2W211ADE00AL User manual

Hyundai

Hyundai 2W211ADE00AL User manual

Hyundai 2S211AD00AL User manual

Hyundai

Hyundai 2S211AD00AL User manual

Hyundai CWF21 AU100 User manual

Hyundai

Hyundai CWF21 AU100 User manual

Hyundai HD78 User manual

Hyundai

Hyundai HD78 User manual

Hyundai CWF21 AU101 User manual

Hyundai

Hyundai CWF21 AU101 User manual

Hyundai L0F62 AU000 User manual

Hyundai

Hyundai L0F62 AU000 User manual

Popular Automobile Accessories manuals by other brands

v.link VL2-MBN2 manual

v.link

v.link VL2-MBN2 manual

Whispbar K583W Fitting instructions

Whispbar

Whispbar K583W Fitting instructions

Kuda-Phonebase 284300 installation instructions

Kuda-Phonebase

Kuda-Phonebase 284300 installation instructions

Menabo ANTARES Fitting instructions

Menabo

Menabo ANTARES Fitting instructions

AUSSIE TONNEAU ATR01155 FITTING INSTRUCTION

AUSSIE TONNEAU

AUSSIE TONNEAU ATR01155 FITTING INSTRUCTION

ACV 381178-18 installation manual

ACV

ACV 381178-18 installation manual

Arkon SLIM-GRIP IPM515 user manual

Arkon

Arkon SLIM-GRIP IPM515 user manual

Curt Group TruTrack 17500 installation manual

Curt Group

Curt Group TruTrack 17500 installation manual

ARE LSX installation instructions

ARE

ARE LSX installation instructions

Rola TMX Series Fitting instructions

Rola

Rola TMX Series Fitting instructions

Mont Blanc FK121 Fitting instructions

Mont Blanc

Mont Blanc FK121 Fitting instructions

Sintrones SBOX-2300 user manual

Sintrones

Sintrones SBOX-2300 user manual

Curt Manufacturing 18412 installation manual

Curt Manufacturing

Curt Manufacturing 18412 installation manual

KC HiLiTES 9801/TYPE 1 Quick installation guide

KC HiLiTES

KC HiLiTES 9801/TYPE 1 Quick installation guide

Yakima K343 manual

Yakima

Yakima K343 manual

Cruz Evo Rack Alu Module A23 Assembly instructions

Cruz

Cruz Evo Rack Alu Module A23 Assembly instructions

Tessera4x4 SOT-ROLL Series installation manual

Tessera4x4

Tessera4x4 SOT-ROLL Series installation manual

Haltech NEXUS R3 quick start guide

Haltech

Haltech NEXUS R3 quick start guide

manuals.online logo
manuals.online logoBrands
  • About & Mission
  • Contact us
  • Privacy Policy
  • Terms and Conditions

Copyright 2025 Manuals.Online. All Rights Reserved.