IAG IAG-ENG-7251 User manual

IAG Performance | 1203 Baltimore Blvd. Westminster, MD 21157 | Ph: 410-840-3555 | www.iagperformance.com
1
IAG Competition Series Air / Oil Separator (AOS) For 2017 STI
Part# IAG-ENG-7251
Tools Required: Ratchet, torque wrench, extensions,
needle nose pliers, hose cutter, snips/scissors, flat head
screw driver, hose clamping pliers
Sockets: 10mm, 12mm, ¼” allen,
Wrenches: ⅞”, 8mm, 10mm, 19mm 3mm allen, 5mm allen,
pry bar,
Other: Electrical Tape
Congratulations on the purchase of your Air/Oil Separator
(AOS) and thank you for choosing IAG Performance. This
installation manual is intended to guide you through the
removal of the factory PCV system and the installation of
the IAG AOS. If you already have an aftermarket catch can
or AOS installed, please consult the specific instructions for
your hardware to aid in its removal.
Note: The 2015+ STI cars are equipped with a “noise
symposer” engine sound enhancing device that connects
the intake to the firewall. These instructions do not cover
the removal process of this device. Usually this device is
already bypassed by the time an AOS is required.
Parts List
Part Name
Quantity
Notes
Air/Oil Separator
1
Oil Drain Hose Assembly
1
26” Hose Length
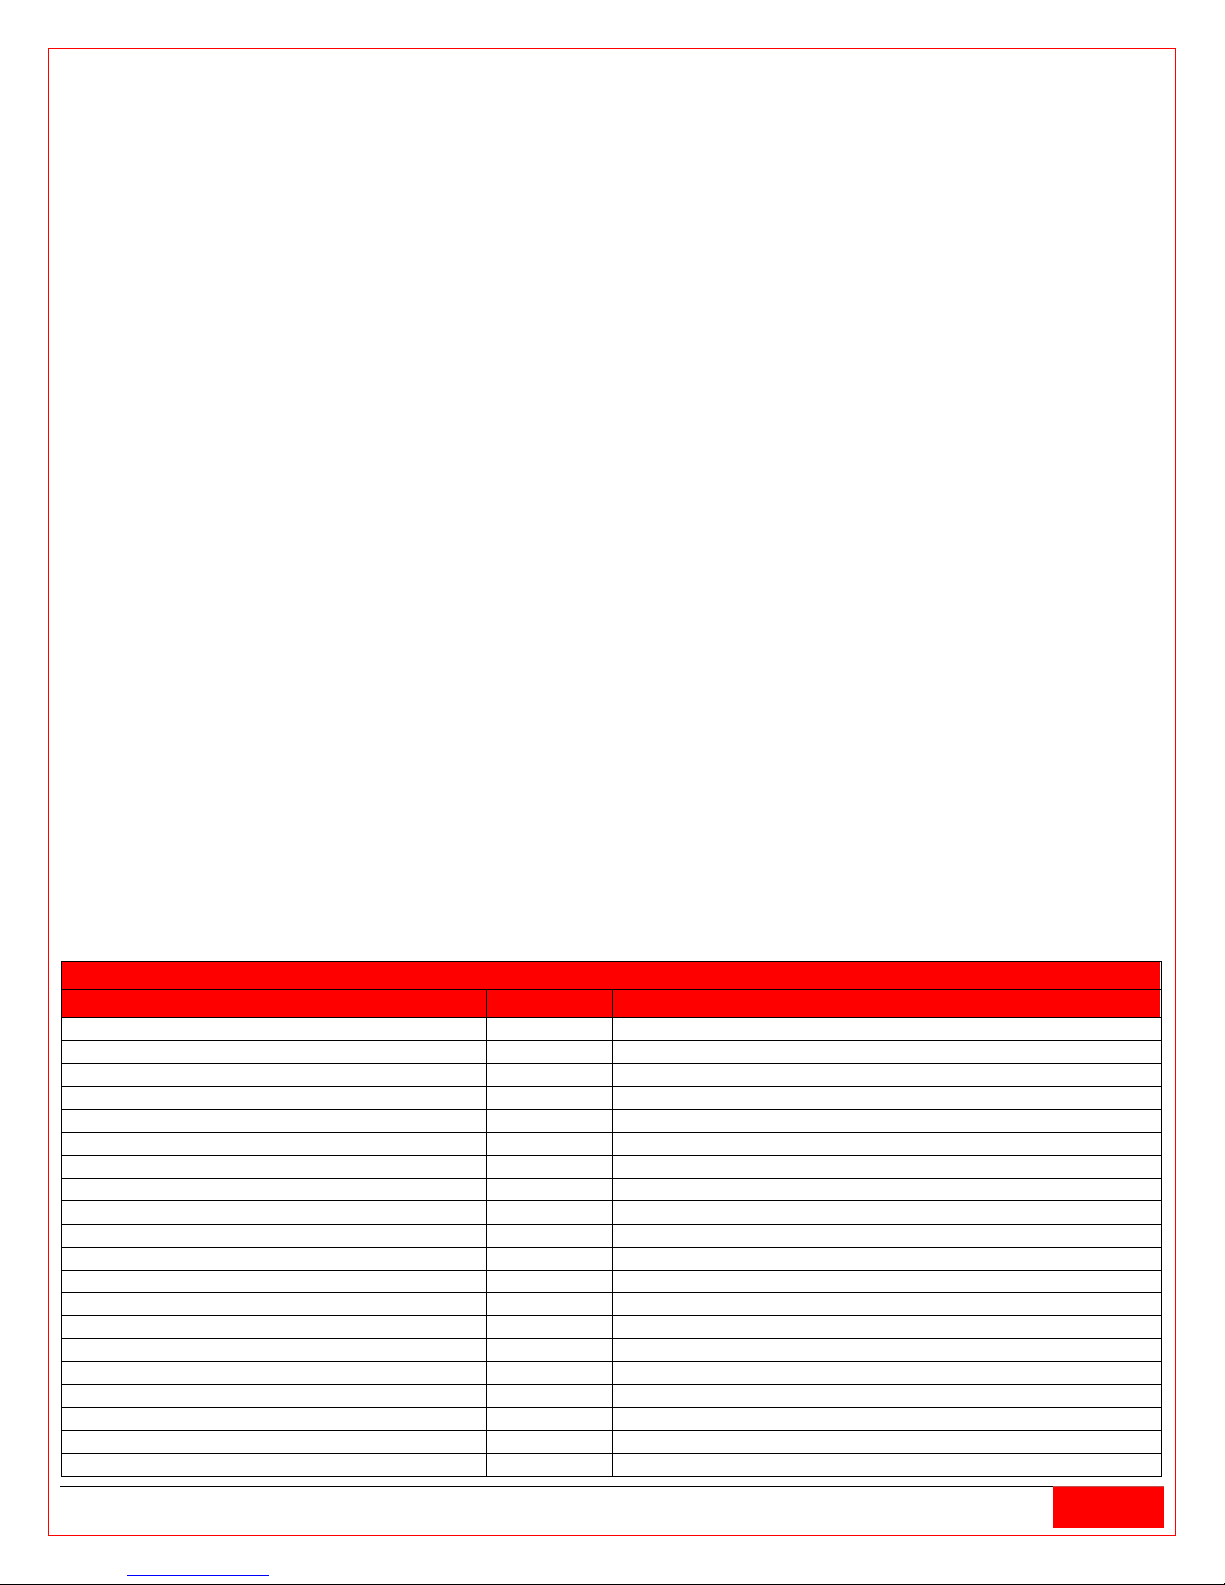
Top Coolant Hose Assembly
1
20” Hose Length, ½” I.D., -8ORB
Bottom Coolant Hose Assembly
1
20” Hose Length, ½” I.D., -8ORB
Discharge Hose
1
58” Hose Length, 1” ID
Block Breather Hose
1
25” Hose Length,
P
5
P
/
R
8
R
” ID
Valve Cover Breather Hose
1
74” Hose Length, ½” ID
Block Drain Replacement Hose
1
2” Hose Length, ¾” I.D.
Mounting Bracket
1
90° 5/8” Plastic Fitting
1
Block Breather Fitting
PCV Replacement Fitting
1
“Y” Fitting
Comp Series Upper Breather Fitting
1
Preinstalled
Fasteners for Breather Top Fitting
2
M4x8mm / preinstalled
AOS Drain Fitting
1
Preinstalled
Spring Clamps
2
Coolant Hose Spring Clamps
6x10mm Bolt
3
Mounting Bracket Hardware
½” High Temp Rubber Cap
1
P
5
P
/
R
8
R
” High Temp Rubber Cap
1
8” Zip Tie
16
11” Zip Tie
1

IAG Performance | 1203 Baltimore Blvd. Westminster, MD 21157 | Ph: 410-840-3555 | www.iagperformance.com
2
¼” NPT Plug
1
For 2008+ Installs (Included in packaging)
M6x12mm Hex Flange Bolt
2
08+ Install Only / Mounting bracket to strut tower hardware
Harness Relocation Bracket
1
08+ Install Only
URemoval - Please read through the entire removal instructions before proceeding
1. The engine needs to be completely cool before
beginning work.
2. Disconnect the negative battery terminal using a 10mm
wrench.
3. Disconnect the (x2) Crankcase Ventilation Sensor
electrical connectors located on the driver and passenger
side of intercooler. Press the connector clip in and pull the
black portion of the sensor from the white portion as
shown.
Driver Side

IAG Performance | 1203 Baltimore Blvd. Westminster, MD 21157 | Ph: 410-840-3555 | www.iagperformance.com
3
Driver Side
Passenger Side
Passenger Side

IAG Performance | 1203 Baltimore Blvd. Westminster, MD 21157 | Ph: 410-840-3555 | www.iagperformance.com
4
4. Next locate the Crankcase Ventilation Sensor at the
front of the engine and unplug it, separating the white
portion from the black portion.
5. Using a 12mm socket, remove the (x2) 12mm bolts that
hold the hard breather lines to the intercooler. Then
remove the assembly from the vehicle.

IAG Performance | 1203 Baltimore Blvd. Westminster, MD 21157 | Ph: 410-840-3555 | www.iagperformance.com
5
6. Using a 12mm socket, remove the (2) 12mm bolts that
hold the blow off valve (BOV) to the intercooler. You can
leave the BOV where it sits. Be careful not to lose or
damage the gasket.

IAG Performance | 1203 Baltimore Blvd. Westminster, MD 21157 | Ph: 410-840-3555 | www.iagperformance.com
6
7. Next pull the brake booster hose free from the driver
side intercooler clamp.
8. Using a 12mm socket, remove the intercooler mounting
bolts on either side of the intercooler. In addition, remove
the driver side intercooler bracket. It is held on by (2)
12mm bolts at the intake manifold.

IAG Performance | 1203 Baltimore Blvd. Westminster, MD 21157 | Ph: 410-840-3555 | www.iagperformance.com
7
9. Using a flat head screw driver or 8mm nut driver, loosen
the hose clamp at the intercooler outlet silicone coupler.
Then loosen the hose clamp at the intercooler inlet.

IAG Performance | 1203 Baltimore Blvd. Westminster, MD 21157 | Ph: 410-840-3555 | www.iagperformance.com
8
10. Grab the intercooler by the sides and carefully wiggle it
out of the engine bay. Be cautious to not damage the A/C
line that runs along the fire wall or the intercooler fins.
11. Locate the passenger side Crankcase Ventilation Sensor
(Black) and using a small flat head screw driver carefully
press in and free the harness clip from the plastic vent
tube.

IAG Performance | 1203 Baltimore Blvd. Westminster, MD 21157 | Ph: 410-840-3555 | www.iagperformance.com
9
12. Locate the passenger side valve cover breather line
(the one that is closest to the front of the car). Pull the
hose off the valve cover port. Use a flat head screw driver
if necessary to help free the hose off the port.

IAG Performance | 1203 Baltimore Blvd. Westminster, MD 21157 | Ph: 410-840-3555 | www.iagperformance.com
10
13. Repeat the process on the driver side forward most
valve cover breather hose. Remove the driver side hose
from the engine bay.

IAG Performance | 1203 Baltimore Blvd. Westminster, MD 21157 | Ph: 410-840-3555 | www.iagperformance.com
11
14. Using a ratchet and a 10mm socket, remove the (4)
10mm bolts that secure the throttle body to the intake
manifold. If the throttle body is stuck, gently tap around
the sides with a rubber mallet to break the throttle body
free. Do not lose or damage the OEM Throttle-body gasket
as it is reused.
15. Remove the small pinch clamp and hose from the PCV
vacuum nipple under the throttle body on the intake
manifold using needle nose pliers.

IAG Performance | 1203 Baltimore Blvd. Westminster, MD 21157 | Ph: 410-840-3555 | www.iagperformance.com
12
16. Next unplug the Passenger side Crankcase Ventilation
Sensor that is located behind the intake manifold and in
front of the turbo by pressing the gray clip in and pulling
outwards.
17. Remove the PCV valve assembly with the Crankcase
Ventilation Sensor from the engine. It may come out with
the ¾” drain hose. If the OEM drain hose is in good
condition you will reuse it. We have supplied you with a
new drain hose if the OEM unit is worn or damaged.

IAG Performance | 1203 Baltimore Blvd. Westminster, MD 21157 | Ph: 410-840-3555 | www.iagperformance.com
13
18. Using a 19mm wrench, unscrew the PCV vacuum
nipple and replace it with the ¼” NPT plug using a ¼” allen
socket. The plug comes with thread sealant on it. Torque
the plug to 15 P
lb
P/RftR. Do not over torque as the intake
manifold can be damaged.

IAG Performance | 1203 Baltimore Blvd. Westminster, MD 21157 | Ph: 410-840-3555 | www.iagperformance.com
14
19. Re-install the throttle body to the intake manifold.
Torque the (4) 10mm bolts to 6 P
lb
P/RftR.
20. Locate the ¾” OEM drain hose that the PCV assembly
was connected to. Depending on the removal process it
may be on the PCV assembly or still located on the engine.
Install the supplied plastic drain fitting into the ¾” drain
hose as shown.

IAG Performance | 1203 Baltimore Blvd. Westminster, MD 21157 | Ph: 410-840-3555 | www.iagperformance.com
15
Supplied drain fitting shown left
Drain fitting installed into the OEM ¾” hose
Drain fitting and hose install port location

IAG Performance | 1203 Baltimore Blvd. Westminster, MD 21157 | Ph: 410-840-3555 | www.iagperformance.com
16
Drain fitting orientation
21. Locate the hard breather lines that were once attached
to intercooler. Use a small flat head screw driver pressing
the detent in on the zip tie to free it from the hose. Next
Remove the driver side mini wiring harness (Blue) from the
(Black) Crankcase Ventilation Sensor using a small flat head
screw driver to unclip the harness from the sensor as
shown.

IAG Performance | 1203 Baltimore Blvd. Westminster, MD 21157 | Ph: 410-840-3555 | www.iagperformance.com
17
22. Remove the jumper from the white portion of driver
side Crankcase Ventilation Sensor using needle nose pliers.
Pull outwards from sensor until it is free. Then insert the
jumper into the driver side Crankcase Ventilation Sensor
mini connector harness as shown. Tape the connector end
with electrical tape to prevent exposure to the elements.

IAG Performance | 1203 Baltimore Blvd. Westminster, MD 21157 | Ph: 410-840-3555 | www.iagperformance.com
18

IAG Performance | 1203 Baltimore Blvd. Westminster, MD 21157 | Ph: 410-840-3555 | www.iagperformance.com
19
23. Reinstall the mini Crankcase Ventilation Sensor harness
onto driver side hose as shown by reusing the OEM zip tie.
Then plug the electrical connector back into mini harness.

IAG Performance | 1203 Baltimore Blvd. Westminster, MD 21157 | Ph: 410-840-3555 | www.iagperformance.com
20
24. Remove the jumper from the white portion of the
passenger side Crankcase Ventilation Sensor using needle
nose pliers. Pull outwards from sensor until it is free. Then
insert the jumper into the passenger side connector
harness as shown. Tape the connector end with electrical
tape to prevent exposure to the elements and tuck it out
of the way.
Table of contents
Other IAG Other manuals