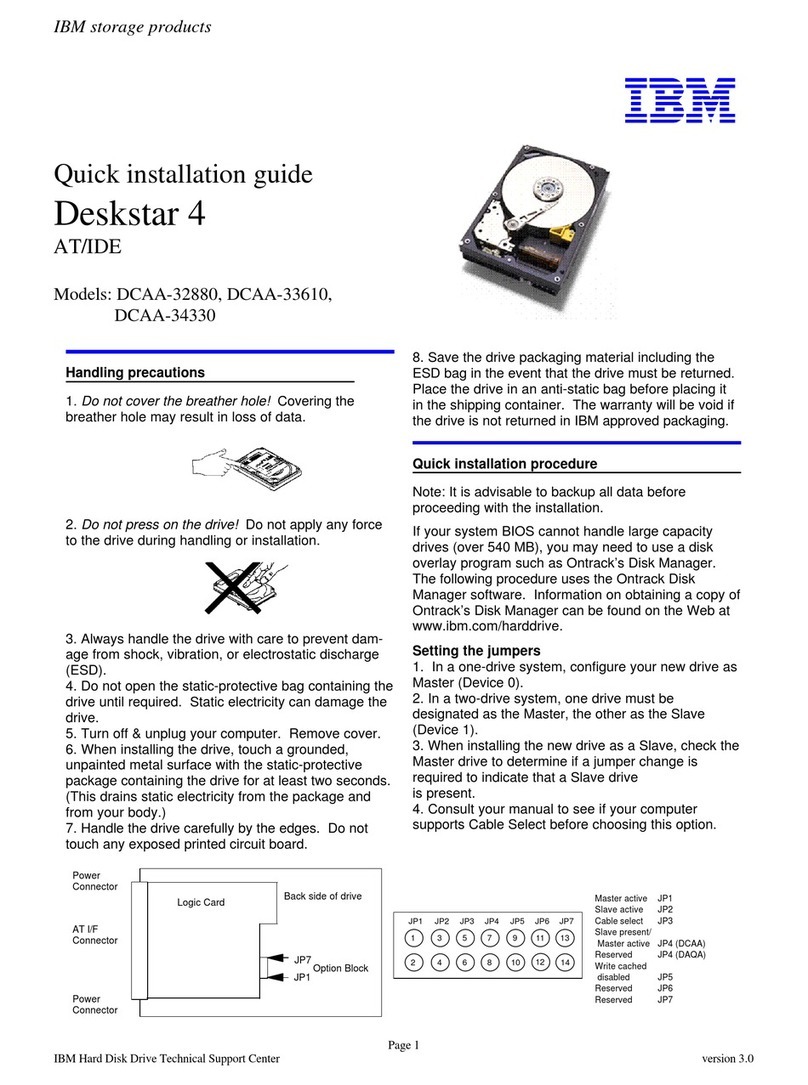
7. Remove the bay cover, if necessary. Slide the tape drive into the
bay, and secure it with the mounting screws provided in the
option package. Do not use any other screws to secure the
drive. Using screws that are too long might damage the drive.
8. Locate the IDE bus cable (usually a 50-pin ribbon cable) that is
inside your computer, and attach one of the connectors on the
cable to the tape drive. Ensure that pin 1 of the cable (usually
color-coded) aligns with pin 1 of the IDE connector on the tape
drive. If your computer system does not have connectors on the
drive, you might need to use the IDE cable included with the
option.
9. Locate an available power cable inside your computer, and
connect it to the four-pin power connector on the tape drive.
10. Replace the computer cover, and secure it in place.
11. Reconnect the ac power cord and any other signal cables to the
outside of your computer, and plug the power cord into an
available power outlet. Turn on all attached devices; then turn on
the computer.
12. Install the software using the instructions given by the README
file on the tape software CD. The CD contains tape backup and
restore applications for most desktop operating systems.
To install the backup software for native Windows NT 4.0
support:
a. From the Windows NT desktop, select Start, Settings,
Control Panel, Tape Device.
b. Windows NT detects a “New SCSI Tape Device” and
prompts you to install the IDE (QIC-157) device driver.
c. Click OK.
d. Insert the Windows NT Workstation CD and click OK.
e. Windows NT will display the location of the needed files,
directory i386, on the CD drive. If the correct drive is not
shown on the “Copy files from:” list, click the down-arrow
button and select the correct CD drive for the computer.
f. Click OK.
g. Windows NT will now complete the device driver
installation.
To verify that the driver is correctly loaded, go to the
desktop and select Start, Settings, Control Panel, Tape
Devices.
h. Start Windows NT Backup by selecting Programs,
Administrative Tools, Backup.
i. The software installation is now completed.
To install the additional Seagate backup software for Windows
98, Windows 95 or Windows NT:
a. Place the Seagate Backup Exec CD in your CD-ROM.
b. If your operating system is configured for autoplay, the setup
program will run automatically. If the setup program does
not run automatically, select Run from the Start menu.
Then type x:\setup, where x is the drive letter for your
CD-ROM, and press Enter.
c. Follow the on-screen instructions.
d. Restart Windows to complete software installation.
Part 1: Quick Installation Guide 1-3
