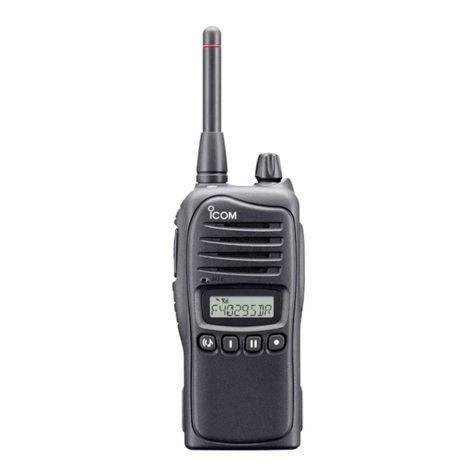
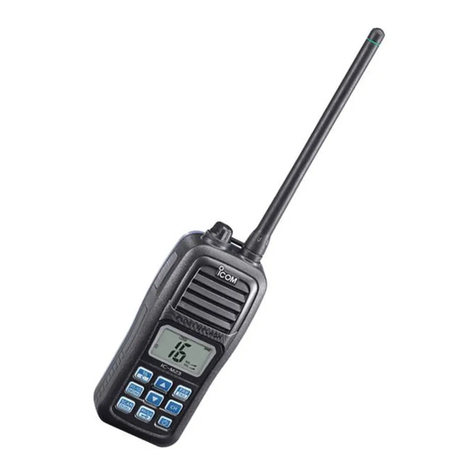
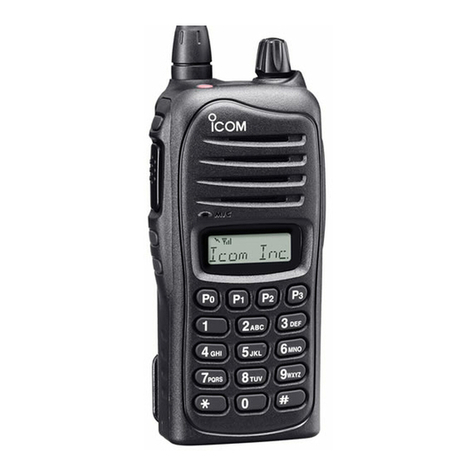
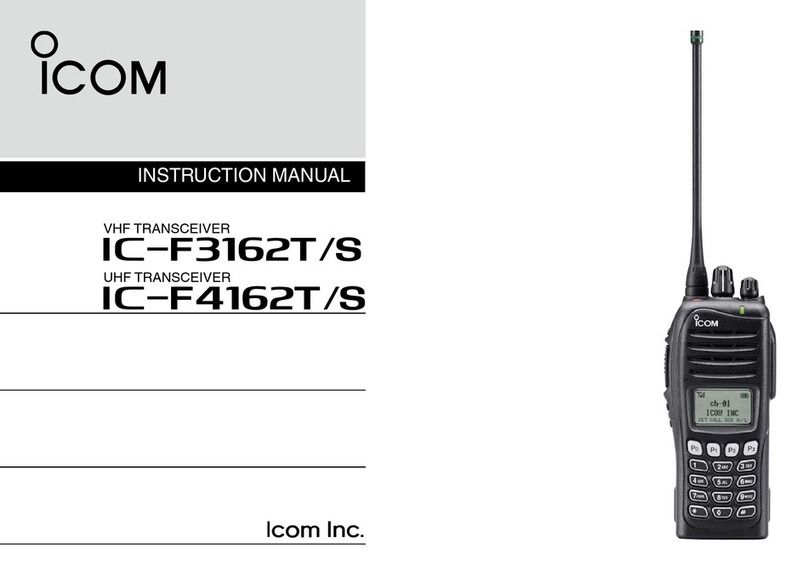
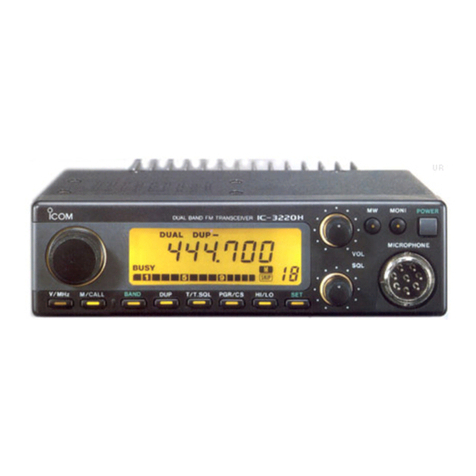
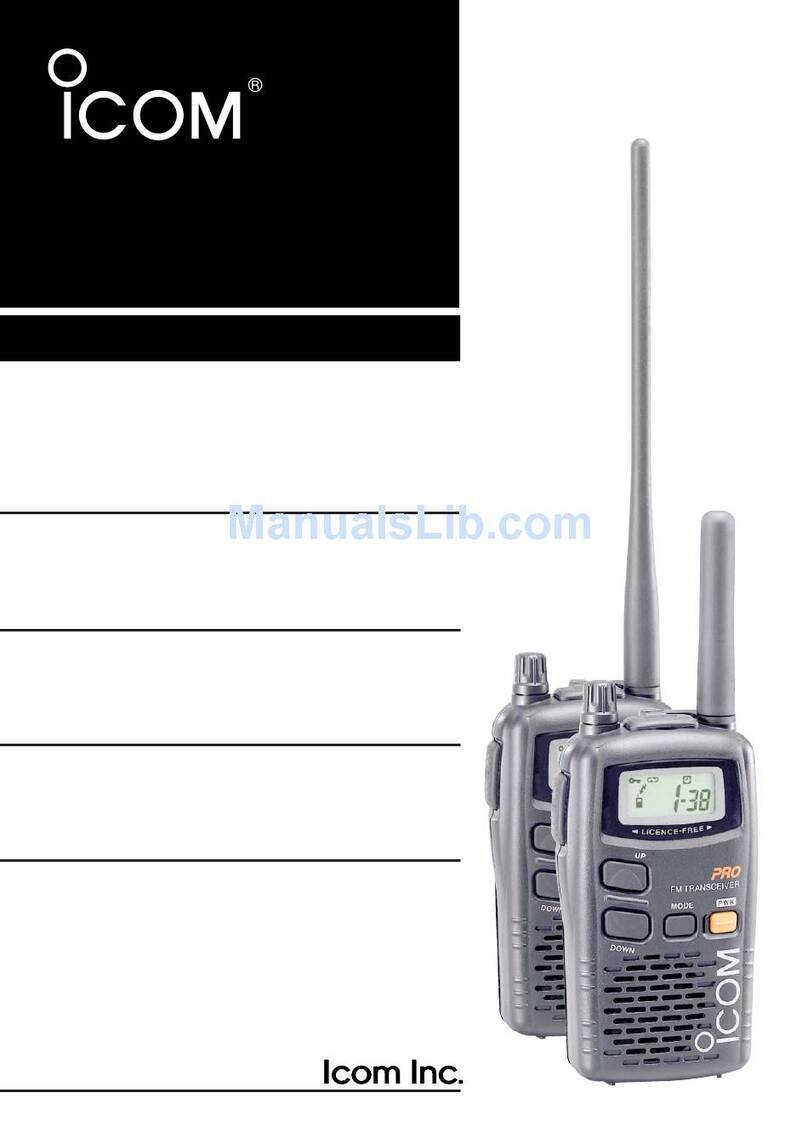
Icom IC-40Jr User manual

UHF C.R.S. FM TRANSCEIVER
INSTRUCTION MANUAL

i
FOREWORD
Thank you for purchasing the IC-40Jr UHF C.R.S. (Citizen
Radio Service) FM transceiver. This C.R.S. FM transceiver is
designed for those who require top quality, performance and
outstanding reliability under the most demanding conditions.
IMPORTANT
READ ALL INSTRUCTIONS carefully and completely
before using the transceiver.
SAVE THIS INSTRUCTION MANUAL– This instruc-
tion manual contains important operating instructions for
the IC-40Jr UHF C.R.S. FM transceiver.
CAUTION
RWARNING! NEVER hold the transceiver so that the an-
tenna is very close to, or touching exposed parts of the body,
especially the face or eyes, while transmitting. The transceiver
will perform best if the microphone is held 5 to 10 cm away from
your mouth and the transceiver is vertical.
RWARNING! NEVER operate the transceiver with a
headset or other audio accessories at high volume levels.
AVOID using or placing the transceiver in direct sunlight or in
areas with temperatures below 0˚C or above +55˚C
DO NOT push the PTT when not actually desiring to transmit.

ii
DO NOT modify the transceiver for any reason.
DO NOT transmit for more than 3 sec., when operating with the
group mode and/or call ring function. Transmission in a form other
than speech is limited, and should be of a duration of less than
3 sec. as a compliance to ACA requirements in Australia.
The use of non-Icom battery packs/chargers may impair trans-
ceiver performance and invalidate the warranty.
This device complies with Standard Australia
Specification No. AS/NZS4365-1996.
SUPPLIED ACCESSORY
• Belt clip . . . . . . . . . . . . . . . . .1

TABLE OF CONTENTS
FOREWORD . . . . . . . . . . . . . . . . . . . . . . . . . . . . . . . . . . . . . . . . . . . . i
IMPORTANT . . . . . . . . . . . . . . . . . . . . . . . . . . . . . . . . . . . . . . . . . . . . i
CAUTION . . . . . . . . . . . . . . . . . . . . . . . . . . . . . . . . . . . . . . . . . . . . . i–ii
SUPPLIED ACCESSORY . . . . . . . . . . . . . . . . . . . . . . . . . . . . . . . . . . ii
TABLE OF CONTENTS . . . . . . . . . . . . . . . . . . . . . . . . . . . . . . . . . . . iii
1 ACCESSORY . . . . . . . . . . . . . . . . . . . . . . . . . . . . . . . . . . . . . . . . . 1
2 PANEL DESCRIPTION . . . . . . . . . . . . . . . . . . . . . . . . . . . . . . . . 2–4
‘Switches, controls, keys and connectors . . . . . . . . . . . . . . . . 2–3
‘Function display . . . . . . . . . . . . . . . . . . . . . . . . . . . . . . . . . . . . . 4
3 BATTERY PACK . . . . . . . . . . . . . . . . . . . . . . . . . . . . . . . . . . . . . 5–7
‘Installing batteries in the battery case . . . . . . . . . . . . . . . . . . . . 5
‘Battery pack charging . . . . . . . . . . . . . . . . . . . . . . . . . . . . . . . . . 6
‘ Battery pack life . . . . . . . . . . . . . . . . . . . . . . . . . . . . . . . . . . . . . 6
‘Battery pack CAUTION . . . . . . . . . . . . . . . . . . . . . . . . . . . . . . . 6
‘Charging connections . . . . . . . . . . . . . . . . . . . . . . . . . . . . . . . . . 7
4 BASIC OPERATION . . . . . . . . . . . . . . . . . . . . . . . . . . . . . . . . . . 8–9
‘Power ON . . . . . . . . . . . . . . . . . . . . . . . . . . . . . . . . . . . . . . . . . . 8
‘Adjusting the volume . . . . . . . . . . . . . . . . . . . . . . . . . . . . . . . . . 8
‘Selecting the operating channel . . . . . . . . . . . . . . . . . . . . . . . . . 9
5 RECEIVE AND TRANSMIT . . . . . . . . . . . . . . . . . . . . . . . . . . . 10–11
6 REPEATER OPERATION . . . . . . . . . . . . . . . . . . . . . . . . . . . . . . . 12
7 SCAN FUNCTION . . . . . . . . . . . . . . . . . . . . . . . . . . . . . . . . . . . . . 13
8 GROUP MODE (CTCSS) . . . . . . . . . . . . . . . . . . . . . . . . . . . . 14–15
‘Setting the group code . . . . . . . . . . . . . . . . . . . . . . . . . . . . . . . 14
9 RING FUNCTION . . . . . . . . . . . . . . . . . . . . . . . . . . . . . . . . . . . . . 16
‘Smart-Ring . . . . . . . . . . . . . . . . . . . . . . . . . . . . . . . . . . . . . . . . 16
‘Call-Ring . . . . . . . . . . . . . . . . . . . . . . . . . . . . . . . . . . . . . . . . . . 16
10 OTHER FUNCTIONS . . . . . . . . . . . . . . . . . . . . . . . . . . . . . . 17–22
‘Initial set mode . . . . . . . . . . . . . . . . . . . . . . . . . . . . . . . . . . 17–19
‘ATS (Automatic transponder system) . . . . . . . . . . . . . . . . . . . . 20
‘Auto power save . . . . . . . . . . . . . . . . . . . . . . . . . . . . . . . . . . . . 20
‘LCD backlight . . . . . . . . . . . . . . . . . . . . . . . . . . . . . . . . . . . . . . 20
‘Low battery indicator . . . . . . . . . . . . . . . . . . . . . . . . . . . . . . . . 21
‘Resetting the transceiver . . . . . . . . . . . . . . . . . . . . . . . . . . . . . 21
‘Optional HM-75A functions . . . . . . . . . . . . . . . . . . . . . . . . . . . . 22
11 OPTIONS . . . . . . . . . . . . . . . . . . . . . . . . . . . . . . . . . . . . . . . . . . . 23
12 SPECIFICATIONS . . . . . . . . . . . . . . . . . . . . . . . . . . . . . . . . . 24–25
‘Channel number and group number . . . . . . . . . . . . . . . . . . . . 25
13 WARRANTY . . . . . . . . . . . . . . . . . . . . . . . . . . . . . . . . . . . . . 26–27
iii
1
1
ACCESSORY
‘‘Accessory attachment
DBelt clip
Attach the belt clip using the
supplied screw.
DAntenna adjustment
Adjust the antenna position as shown in
the diagram.
Keep the jack cover attached when jacks
are not in use to protect from water, dust,
etc.

2
2PANEL DESCRIPTION
‘‘Switches, controls, keys and
connectors
qANTENNA !1 SP/MIC
JACKS
!0 [VOL]
oFUNCTION
DISPLAY
i[POWER]
u[MODE]
yMIC
w[PTT]
e[UP/Y]
r[DOWN/Z]
tSPEAKER

3
PANEL DESCRIPTION 2
qANTENNA
Extend the antenna completely when using the transceiver.
• The antenna collapses completely into the transceiver body for car-
rying purposes.
• The antenna can be adjusted 90 degrees from the regular position
when operating the transceiver in a horizontal position.
wPTT SWITCH [PTT]
• Push and hold to transmit; release to receive.
eCHANNEL UP SWITCH [UP/Y]
• Push to change the operating channel up.
• Push and hold to increment the operating channel continuously.
• While scanning, changes scanning direction. (p. 13)
rCHANNEL DOWN SWITCH [DOWN/Z]
• Push to change the operating channel down.
• Push and hold to decrement the operating channel continuously.
• While scanning, changes scanning direction. (p. 13)
tSPEAKER
yMICROPHONE [MIC]
uMODE SWITCH [MODE]
• Push to switch between Group mode and Normal mode. (p. 14)
• Push and hold for 1 sec. to open squelch; push and hold for 1 sec.
to close it again. (p. 8)
iPOWER SWITCH [POWER]
• Push to turn the power ON; push for 1 sec. to turn the power OFF.
• Continue to hold [POWER] down for 2 sec. after power ON to turn
the lock function ON and OFF. (p. 18)
• Push to switch between repeater and simplex operation. (p. 12)
oFUNCTION DISPLAY (p. 4)
!0 VOLUME CONTROL [VOL]
Rotate clockwise to increase, and counterclockwise to decrease vol-
ume.
!11 EXTERNAL SPEAKER AND MICROPHONE JACKS
Connect an optional speaker-microphone or headset, if desired.

4
2PANEL DESCRIPTION
‘‘Function display
qTRANSMIT INDICATOR
Appears while transmitting.
wBUSY INDICATOR
Appears while receiving a signal or when the squelch is open.
eKEY LOCK INDICATOR (p. 18)
Appears during key lock function ON.
rREPEATER INDICATOR (p. 12)
Appears when repeater operation is selected.
tAUTO POWER OFF INDICATOR (p. 17)
Appears while the auto power off function is ON.
yLOW BATTERY INDICATOR (p. 21)
Appears or flashes when battery power has decreased to a speci-
fied level.
uPTT HOLD INDICATOR (p. 19)
• Appears when the “PTT hold” function is turned ON.
• Flashes while transmitting.
iANSWER BACK INDICATOR (p. 20)
• Appears when you and your group are in the conversation area.
• Flashes when you or your group are out of the conversation area.
oPOWER ON INDICATOR
Appears while the power is ON.
!0 CHANNEL NUMBER INDICATOR
Indicates operating channel number.
!1 GROUP NUMBER INDICATION (p. 14)
One of 01 to 38 appears while the Group function is turned ON.
qwert
uio!0 !1
y

5
BATTERY PACK 3
‘‘Installing batteries in the battery
case
Install 3 AA size alkaline, dry cell batteries or the optional BP-202
BATTERY PACK
as illustrated below.
qRemove the battery case
cover from the transceiver.
wInstall 3×AA size alkaline,
dry cells, or the BP-202.
• Be sure to observe the
correct polarity.
NOTE: Keep battery contacts
clean. It’s a good idea to clean
battery terminals once a week.
BP-202

6
3BATTERY PACKS
‘‘Battery pack charging
The optional BP-202
BATTERY PACK
includes rechargeable Ni-Cd
batteries and can be charged approx. 300 times. Charge the battery
pack before first operating the transceiver or when the battery pack
becomes exhausted.
If you want to be able to charge the battery pack more than 300
times, the following points should be observed:
1. Avoid overcharging. The charging period should be less than 48
hours.
2. Use the battery until it becomes almost completely exhausted
under normal conditions. We recommend battery charging just
after transmitting becomes impossible.
‘‘Battery pack life
If your battery pack seems to have no capacity even after being
fully charged, completely discharge it by leaving the power ON all
day. Then, fully charge the battery pack again.
If the battery pack still does not retain a charge (or very little), a new
battery pack must be purchased.
‘‘Battery pack CAUTION
NEVER short the terminals of the battery pack (or charging termi-
nals of the transceiver). Also, current may flow into nearby metal
objects, so be careful when placing battery packs (or the trans-
ceiver) in handbags, etc. Simply carrying with metal objects may
cause a short circuit. This will damage not only the battery pack but
also the transceiver.

BATTERY PACKS 3
‘‘Charging connections
DRapid charging with the BC-119+AD-89
qInsert the optional AD-89
DESKTOP CHARGER ADAPTER
into the
charging slot of the BC-119.
wInsert the battery pack, either by itself or attached to the trans-
ceiver, into the charger.
*
BC-119
AD-89
BP-202
AC adapter
IC-40Jr
*NOTE: Put the Ni-Cd
battery adapter into the
AD-89 rear slot when
the BP-202 is attached
to the transceiver.
7

8
4BASIC OPERATION
✔
What is squelch
?
A squelch circuit allows you to mute undesired noise while re-
ceiving no signal and emit audio while receiving signals.
This provides quiet standby. The [MODE] key changes the
squelch setting. This is useful to listen to weak signals that do
not open the squelch.
‘‘Power ON
➥Push [POWER] for 1sec. to turn
the power ON.
• The power on indicator and oper-
ating channel number appear in
the display.
‘‘Adjusting the volume
qPush [MODE] for 1 sec. to open
the squelch.
• The busy indicator appears in the
display while the squelch is open.
wAdjust the audio to a suitable level
using [VOL].
ePush [MODE] for 1sec. to close
the squelch.
Busy indicator
appears.
w
qe

9
4
BASIC OPERATION
‘‘Selecting the operating channel
Push [UP/Y] or [DOWN/Z] keys sev-
eral times until the desired operating
channel number appears in the dis-
play.
• While pushing and holding [UP/Y]
or [DOWN/Z] keys, the displayed
channel changes continuously until
channel number “1” appears.
• When the displayed channel stops
at channel number “1”, a confirmation beep is emitted.
NOTE:
• The transceiver has 40 operating frequency channels.
• The selected channel is memorised when you turn off the
transceiver.
• The transceiver has an auto power save function to conserve
the battery power. The power save function activates automat-
ically when no signal is received for 5 sec., or 5 sec. after key
operation is completed.

10
5RECEIVE AND TRANSMIT
qPush [MODE] for 1 sec. to open
the squelch.
• Adjust volume to the desired
audio level. (See p. 8)
w
Select a desired operating channel.
When a signal is received:
• “ ” appears in the display.
• Squelch opens and audio is emit-
ted from the speaker.
• Further adjustment of [VOL] may
be necessary at this point.
ePush and hold [PTT] to transmit
then speak into the microphone.
• Do not hold the transceiver too
close to your mouth or speak too
loudly. This may distort the signal.
• The transmit indicator “ ” ap-
pears in the display.
rRelease [PTT] to return to receive.
Time-Out Timer (TOT)
The transceiver has a time-out timer function. This function pre-
vents continuous, extended transmissions. This timer turns the
transmission OFF 3 min. after it starts.
A warning beep sounds 10 sec. before the limit is reached, and
the time-out timer turns OFF the transmission automatically.An-
other beep sounds to announce the end of the transmission.
Busy indicator
appears.

11
5
RECEIVE AND TRANSMIT
✔
Talk Range
The IC-40Jr is designed to maximize performance and improve
transmission range in the field. However, the single most impor-
tant factor in transmit range is your surrounding environment.
These radios are “line of sight” radios and as such, transmission
range is influenced by the degree to which you can “see” the
other communicating party. Large concrete structures and heavy
foliage or transmission from inside a building or vehicle will re-
duce your talk range.
• Optimal range : wide, open areas free of obstructions.
• Medium range : large buildings or trees blocking your line of
sight.
• Minimum range : mountainous areas or areas of heavy foliage.

12
6REPEATER OPERATION
A repeater amplifies received signals and re-transmits them on a
different channel, allowing you to communicate over greater dis-
tances with improved reliability. When using a repeater, the transmit
channel is shifted from the receive channel by 30 channels. Please
ask you dealer regarding repeater availability in your local area.
q
Push [UP/Y] or [DOWN/Z] to se-
lect the desired channel from 1 to 8.
• If group code appears next to the
operating channel number, push
[MODE], then select “ -–– ” with
[UP/Y] or [DOWN/Z] to cancel
the group mode (p. 14).
RWARNING!
As group mode is not compati-
ble with repeater operation, no
audio will be heard.
wPush [POWER] momentarily to set repeater mode.
• “RPT” appears in the display.
• The duplex setting affects the selected channel only and the
setting is retained after channel selection.
ePush and hold [PTT] to transmit.
• The displayed channel automatically changes to the transmit
channel (repeater input channel).
rRelease [PTT] to receive.
tTo cancel the duplex setting, push [POWER] momentarily on the
desired channel.
w
Repeater
indicator
appears.
While receiving While transmitting

13
7
SCAN FUNCTION
Scanning is an efficient way to locate signals quickly over all chan-
nels. Select scan resume condition in advance, using Initial Set
Mode (p. 18)
DStarting the scan
➥While pushing [UP/Y], push
[DOWN/Z] to start the scan.
• “-” flashes.
• While pushing [DOWN/Z], push-
ing [UP/Y] also starts the scan.
• Push [DOWN/Z] or [UP/Y] to
change the scanning direction or
resume the scan manually.
• To cancel the scan, push
[DOWN/Z] (or [UP/Y]) while
[UP/Y] (or [DOWN/Z]) is pushed,
or push [PTT].
CH 1 CH 2
CH 40
CH 5 CH 4
CH 3

‘‘Setting the group code
The IC-40Jr is equipped with 38 group codes. Group mode opera-
tion provides communication with silent standby since you will only
receive calls from group members using the same group number.
First of all, set the same group code number for all group member’s
transceivers.
To turn ON the group mode operation:
qPush [MODE] to enter set mode.
• Operating channel number disappears
and “ -–– ” (group mode OFF) appears in
the display.
wPush [UP/Y] or [DOWN/Z] to select the
desired code number.
ePush [MODE] to set the group code num-
ber.
To cancel the group mode operation:
qPush [MODE] to enter set mode.
• Operating channel number disappears
from the display.
wPush [UP/Y] or [DOWN/Z] to select “ -–– ”
(group mode OFF).
ePush [MODE] to cancel the group mode.
IMPORTANT!: Before transmitting, make sure the channel you
will operate with the group mode is clear by pushing [MODE] for
1 sec., to prevent interference to other stations.
NOTE: Only stations with the same group channel number can
be heard during group mode operation, even when the busy in-
dicator appears in the display.
8GROUP MODE (CTCSS)
14
w
wqe

8
GROUP MODE (CTCSS)
15
DCTCSS code table
(unit: Hz)
Code Freq. Code Freq. Code Freq. Code Freq.
01 67.0 11 97.4 21 136.5 31 192.8
02 71.9 12 100.0 22 141.3 32 203.5
03 74.4 13 103.5 23 146.2 33 210.7
04 77.0 14 107.2 24 151.4 34 218.1
05 79.7 15 110.9 25 156.7 35 225.7
06 82.5 16 114.8 26 162.2 36 233.6
07 85.4 17 118.8 27 167.9 37 241.8
08 88.5 18 123.0 28 173.8 38 250.3
09 91.5 19 127.3 29 179.9 --- OFF
10 94.8 20 131.8 30 186.2
✔
What is CTCSS (Continuous Tone Coded Squelch Sys-
tem) GROUP MODE ?
CTCSS (Continuous Tone Coded Squelch System) GROUP
MODE allows communication with silent stand by. Only signals
containing your group code can open the squelch.
This conveniently eliminates unwanted audio and is useful in
group activities or security related activities where unwanted out-
put can be a problem. Note that CTCSS group mode is not pri-
vate— anyone can receive your calls.
The IC-40Jr is equipped with 38 tone codes for CTCSS GROUP
MODE use. Selecting a code applies to all 40 operating channels.
Each push of [PTT] superimposes your group code over your
transmit signal; and, only signals containing the same code can
open your squelch. To temporarily hear all signals (including
noise) push and hold [MODE]. Do not use CTCSS GROUP
MODE if you want to be able to hear all signals on the channel.

9RING FUNCTION
16
‘‘Smart-Ring
The Smart-Ring function has an answer back feature. This allows
you to confirm whether or not a call has reached the receiving party.
qSet the same group code number for all
of your group transceivers. (See p. 14)
w
While pushing [PTT], push [UP/Y].
• A beep is emitted and “ ” flashes in
the display.
eRelease the [PTT].
• When a member of your group an-
swers your call, the transceiver emits
beep tones for 10 sec. and “ ” stops
flashing.
• When no answer comes back, the transceiver emits short faint
beep tones.
rPush [PTT] to answer and to stop the beeps and flashing.
NOTE: This function is available only when the called station has set
the same group number and the same operating channels as you.
‘‘Call-Ring
Sends the ring tones during transmit mode.
➥While pushing [PTT], push [DOWN/Z]
to send a ring tone.
• The ring tone is emitted while pushing
[DOWN/Z].
• The microphone signal is automatically
cut while pushing [DOWN/Z].
Table of contents
Other Icom Transceiver manuals

Icom
Icom IC-F1000S User manual

Icom
Icom IC-M800 User manual

Icom
Icom IC-3200A/E User manual

Icom
Icom IC-M803 User manual

Icom
Icom IC-M24 User manual

Icom
Icom IC-F30GT User manual

Icom
Icom IC-M120 User manual

Icom
Icom IC-2SA User manual

Icom
Icom IC-F3061T Building instructions

Icom
Icom IC-F9020 SERIES User manual
Popular Transceiver manuals by other brands

Delta Electronics
Delta Electronics SFP Bi-Directional Transceiver Module... Specification sheet

Cactus
Cactus V6 IIs user manual

Advanced Wireless Communications
Advanced Wireless Communications AWR Advantage Plus quick start guide

Kenwood
Kenwood TK-3170 Service manual

Kenwood
Kenwood TH-22AT quick start

Yaesu
Yaesu FTM-7250DR Advance manual