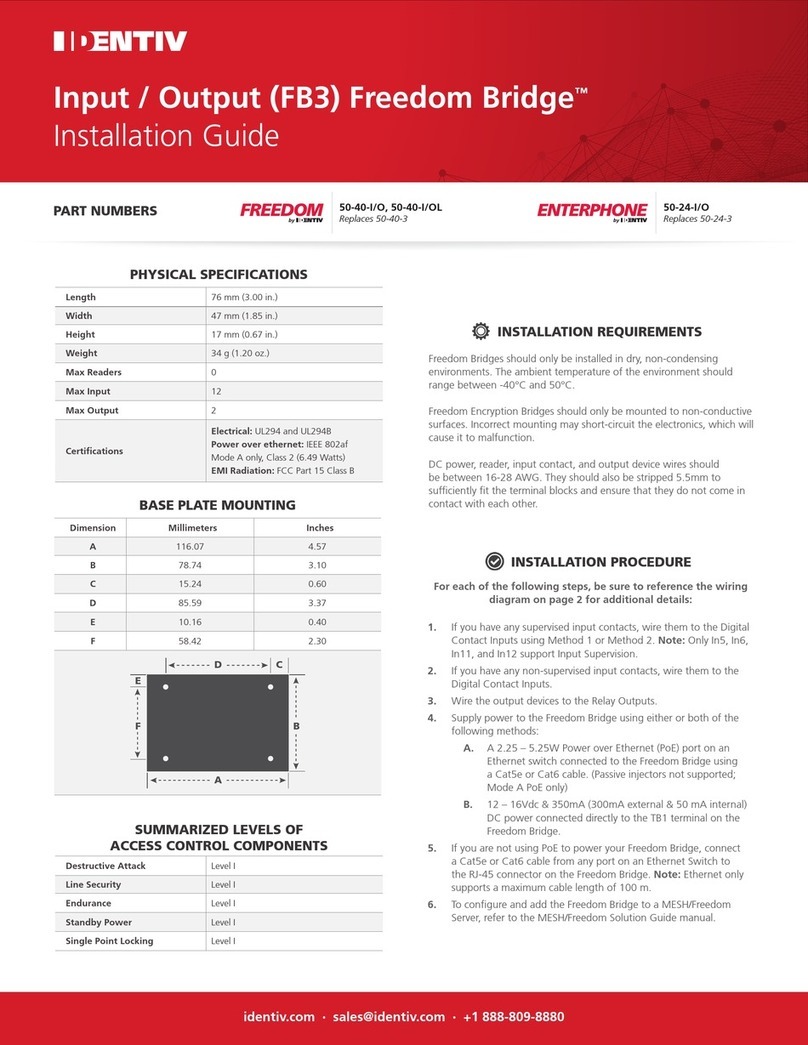
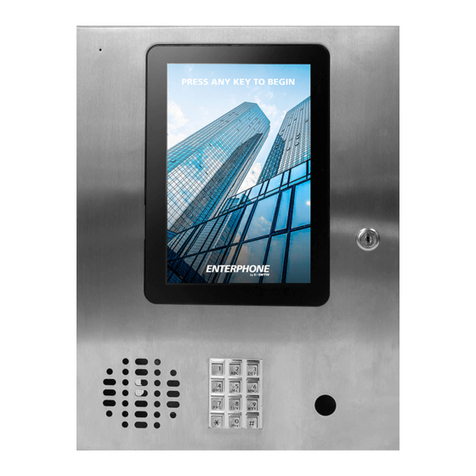
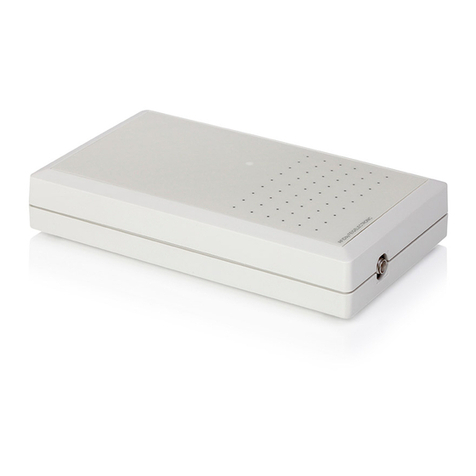
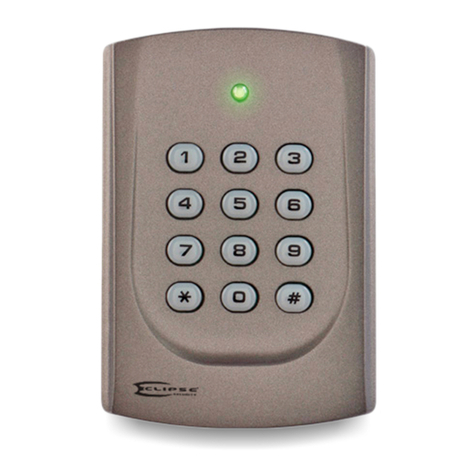
Identiv uTrust TouchSecure Wall Mount User manual

TouchSecure® WallMount User Manual
IDT.QM.P2.T1.DT
Ver1.0
Page 1 of 15
Printed copies of this document are uncontrolled
Internal Use Only
User Manual for
uTrust TS WALL MOUNT
Physical Access Control Readers
Version 1.4
Document number: 81x003
Confidential

TouchSecure® WallMount User Manual
IDT.QM.P2.T1.DT
Ver1.0
Page 2 of 15
Printed copies of this document are uncontrolled
Internal Use Only
Version History
Date
Version
Description of Changes
Author
10-July-15
1.0
Initial version
Suresh Kumar T
09-Oct-15
1.1
Wiegand length details modified
Suresh Kumar T
20-Nov-15
1.2
Updated input voltage range and added
document number
Sudhan
10-Dec-15
1.3
Current ratings updated as per comments from
UL
Sudhan
14-Dec-15
1.4
Document updated as per review comments from
UL
Sudhan

TouchSecure® WallMount User Manual
IDT.QM.P2.T1.DT
Ver1.0
Page 3 of 15
Printed copies of this document are uncontrolled
Internal Use Only
Contents
1.0 Introduction ................................................................................................................................4
2.0 Reader .........................................................................................................................................4
2.1 Functionality..............................................................................................................................4
2.2 Touch Secure® reader with Casing .........................................................................................4
2.3 Back Plate.................................................................................................................................5
2.4 Reader Variants........................................................................................................................5
3.0 Product details ...........................................................................................................................6
4.0 Specifications.............................................................................................................................6
4.1 Rated current at different operating voltages ...........................................................................7
4.1.1 Rated current for Model 8100............................................................................................7
4.1.2 Rated current for Model 8110............................................................................................7
4.1.3 Rated current for Model 8130............................................................................................8
4.1.3.1 Rated current for 6-16V input......................................................................................................8
4.1.3.2 Rated current for POE.................................................................................................................9
5.0 Installation details......................................................................................................................9
5.1 Parts List...................................................................................................................................9
5.2 Recommended Infrastructure...................................................................................................9
5.3 Wiring Information...................................................................................................................10
5.3.1 Cable Color codes for Pig Tail Reader............................................................................10
5.3.2 Pin out for Phoenix Connector Reader ...........................................................................10
5.4 Mounting the Reader..............................................................................................................11
5.4.1 Location of mounting holes on wall.................................................................................11
5.4.2 Reader Installation Steps ................................................................................................12
5.5 Power up and Testing.............................................................................................................14
6.0 Certifications ............................................................................................................................14
6.1 FCC.........................................................................................................................................14
6.2 IC ............................................................................................................................................14
6.3 CE...........................................................................................................................................14
6.4 UL 294 ....................................................................................................................................15
6.4.1 UL 294 access control performance levels .....................................................................15

TouchSecure® WallMount User Manual
IDT.QM.P2.T1.DT
Ver1.0
Page 4 of 15
Printed copies of this document are uncontrolled
Internal Use Only
1.0 Introduction
This document details the Physical Access Control Reader TouchSecure® and its basic operational
and installation procedures. It covers the details of the Wall mount form-factor reader.
Model: Connectivity/Standard WM
The reader comes in two variants for interfacing with the control panel
•Pigtail – 8100ABP, 8110ABP
•Phoenix connectors – 8100ABT, 8110ABT, 8130ABC
•P-refers to Pigtail, T- refers to Terminal (Phoenix header)
The reader comes in three variants in functionality
•Standard HF Only - 8100ABP, 8100ABT
•Standard HF LF - 8110ABP, 8110ABT
•Connectivity HF LF - 8130ABC
•P-refers to Pigtail, T- refers to Terminal (Phoenix header), C- refers to connectivity
•In connectivity, Only Terminal version is available.
2.0 Reader
2.1 Functionality
TouchSecure® is a physical access reader that can read HF and LF contactless credentials .The
reader can interface with an access control system equipped with a Wiegand or RS485 serial
interface Control Panel. It can also be interfaced with a Host Sever / Control Panel that supports
Ethernet interface. User interfaces include RGB LED’s and Buzzer.
The reader consists of the following main parts.
2.2 Touch Secure® reader with Casing

TouchSecure® WallMount User Manual
IDT.QM.P2.T1.DT
Ver1.0
Page 5 of 15
Printed copies of this document are uncontrolled
Internal Use Only
2.3 Back Plate
2.4 Reader Variants

TouchSecure® WallMount User Manual
IDT.QM.P2.T1.DT
Ver1.0
Page 6 of 15
Printed copies of this document are uncontrolled
Internal Use Only
3.0 Product details
Model Name : Connectivity/Standard Wall Mount
Device Type : RFID reader, 13.56MHz (HF) / 125 KHz (LF)
Physical Access control Reader (accessory equipment)
Type of equipment : Potted reader.
Suitable for Indoor Use – 8130ABC and
Outdoor use – 8100ABP, 8100ABT, 8110ABP, 8110ABT
Interface Type : Pigtail Cable (11 Core + Drain) or Phoenix connectors and RJ45
Voltage Rating (8130ABC) : 6-16V DC or 48VDC on RJ45 Connector
Voltage Rating (All other models): 5-16V DC
Communication protocol : Wiegand, RS485 (2wire - Half Duplex), 10BaseT ETH
* Communication via Wiegand was evaluated by UL and serves as the interface between the reader
and panel. Communication via RS485, OSDP or Ethernet was not evaluated by UL
4.0 Specifications
Model
Operating
Voltage
Current @ 12V
Operating temp
8100ABP
8100ABT
STANDARD HF
ONLY
5-16 VDC
Refer graph in
section 4.1
-35 to +65 Deg C
8110ABP
8110ABT
HF LF
5-16 VDC
Refer graph in
section 4.1
8130ABC
HF LF
CONNECTIVITY
6-16 VDC
Refer graph in
section 4.1
0 to +49 Deg C
POE@ 48VDC
* POE sourcing equipment shall be UL 294 or UL 294B Listed with Class 2 output
•When the readers use POE as a power source, the power input wiring from the control unit
(i.e. Red and Black for 8130) shall be disconnected
•The maximum length of the Ethernet cable when using POE as the power source in UL
installations is limited to 30 meters (98.5 feet)
•There shall be no connections made to the RS-485 interface ( RS485+ and RS485-) for UL
installations
Note: Standby Power is not provided by the Card Readers. The Standby Power Level is dependent
on the external power source connected to the Card Reader.
•All wiring or cables to the Card Readers shall be the shielded type

TouchSecure® WallMount User Manual
IDT.QM.P2.T1.DT
Ver1.0
Page 7 of 15
Printed copies of this document are uncontrolled
Internal Use Only
•Only UL Listed POE sourcing equipment, or UL Listed power-limited power supply, or power-
limited output from UL Listed control panel shall be used for the Power-Over- Ethernet
feature. Cat 5e cabling is the minimum performance category recommended. These Card
Readers when using POE feature are not intended for outside wiring as covered by Article
800 of the US National Electrical Code, NFPA 70.
4.1 Rated current at different operating voltages
4.1.1 Rated current for Model 8100
Voltage (V)
Average Current (mA)
Peak Current (mA)
5
147
166
8
150
178
10
116
138
12
97
114
14
83
100
16
73
86
4.1.2 Rated current for Model 8110
Voltage (V)
Average Current (mA)
Peak Current (mA)
5
147
166
8
150
178
10
116
138
12
97
114
14
83
100
16
73
86

TouchSecure® WallMount User Manual
IDT.QM.P2.T1.DT
Ver1.0
Page 8 of 15
Printed copies of this document are uncontrolled
Internal Use Only
4.1.3 Rated current for Model 8130
4.1.3.1 Rated current for 6-16V input
Voltage (V)
Average Current (mA)
Peak Current (mA)
6
280
308
8
261
292
10
217
257
12
172
202
14
148
173
16
131
156

TouchSecure® WallMount User Manual
IDT.QM.P2.T1.DT
Ver1.0
Page 9 of 15
Printed copies of this document are uncontrolled
Internal Use Only
4.1.3.2 Rated current for POE
Voltage (V)
Average Current (mA)
Peak Current (mA)
37
65
70
48
50
55
57
45
50
5.0 Installation details
Wiring methods shall be in accordance with the National Electrical Code (ANSI/NFPA70), local codes,
and the authorities having jurisdiction.
5.1 Parts List
•TouchSecure® reader -1
•Screws (A #6-18X1.5" SS ) - 4Nos – Back Plate mounting screws for Wall
•Snake Eye Screw (SMF #6-32X5/16" SS) – 1 No- Top casing mounting security screw
•Screws (SMF #6-32x3/8" SS) - 3 No’s - 1 casing to back plate mounting screw and 2 Junction
Box mounting screws
•Nylon anchor plug -4 Nos
•6 pin phoenix plug (Phoenix connector version only) – 2 Nos
•Back Plate
5.2 Recommended Infrastructure
•All cabling and wiring shall be UL Listed and/or UL Recognized
•All readers shall be powered by UL listed POE sourcing equipment, UL listed power-limited
power supply, or power-limited output from UL listed control panel

TouchSecure® WallMount User Manual
IDT.QM.P2.T1.DT
Ver1.0
Page 10 of 15
Printed copies of this document are uncontrolled
Internal Use Only
•There shall be no connections made to the RS-485 interface ( RS485+ and RS485-) for UL
installations
•Cable Wiegand - 22AWG Shielded cable. ( Cable P No : ALPHA WIRE, P/N 1299/10C)
•Cable RS485 - RS485 for 1000m** (4000ft) 24AWG STP
•Cable RJ45 - Cat5e / Cat6
•Linear DC PS - 5-16 V, 1A min.
** Tested in lab conditions up to 115Kbaud
5.3 Wiring Information
5.3.1 Cable Color codes for Pig Tail Reader
Red &
+ VDC 12V (nominal)
Black & White
Ground
Green
Wiegand Data 0
White
Wiegand Data 1
Orange
LED Green
Yellow
Buzzer
Blue
Hold
Brown
LED Red
Grey
RS485 -
Pink
RS 485 +
Violet
Tamper Output
Black / Drain
Shield Ground
Table 2
& - Do not connect when reader is powered by Power over Ethernet
5.3.2 Pin out for Phoenix Connector Reader

TouchSecure® WallMount User Manual
IDT.QM.P2.T1.DT
Ver1.0
Page 11 of 15
Printed copies of this document are uncontrolled
Internal Use Only
Pin
Cable color
Description
Comment
P1.1
Orange
LED Green
P1.2
White
Data 1
P1.3
Green
Data 0
P1.4
Black
Drain
Connect drain to Cable shield
P1.5
Black + White
Gnd
P1.6
Red
Power
Do not connect when reader is powered by PoE
P2.1
Blue
Hold
P2.2
Violet
Tamper
P2.3
Gray
RS485-
P2.4
Pink
RS485+
P2.5
Yellow
Buzzer
P2.6
Brown
LED Red
Table 3
Caution:
During Wiring make sure that the +VDC lines does not make contact with any other cables, as it might
affect reader functionality/ cause damage to the reader.
5.4 Mounting the Reader
5.4.1 Location of mounting holes on wall

TouchSecure® WallMount User Manual
IDT.QM.P2.T1.DT
Ver1.0
Page 12 of 15
Printed copies of this document are uncontrolled
Internal Use Only
Phoenix connector Reader – 4 Holes and 1 Slot
5.4.2 Reader Installation Steps
a. Make holes on the wall as per the image above.
b. Insert the nylon screw plugs into the wall.
c. Connect the wires as per the Table 2 or Table 3.
d. TouchSecure® reader with Bottom Casing is to be now secured onto the wall using the
Screws (A #6-18X1.5" SS )
e. The top casing can be inserted onto the bottom casing
f. Secure the Top and bottom casing by the Snake Eye Screw (SMF #6-32X5/16" SS)

TouchSecure® WallMount User Manual
IDT.QM.P2.T1.DT
Ver1.0
Page 13 of 15
Printed copies of this document are uncontrolled
Internal Use Only
Reader Installation Steps - Phoenix Connector Version
Reader Installation Steps - Pig Tail Version

TouchSecure® WallMount User Manual
IDT.QM.P2.T1.DT
Ver1.0
Page 14 of 15
Printed copies of this document are uncontrolled
Internal Use Only
5.5 Power up and Testing
1 Turn power on
The LED blinks 3 times green with a long beep, then turns red
2 Present a card
The LED blinks green, and a short Beep is emitted
This is the default reader behavior.
6.0 Certifications
6.1 FCC
This equipment has been tested and found to comply with the limits for a Class B digital
device, pursuant to part 15 of the FCC Rules. These limits are designed to provide
reasonable protection against harmful interference in a residential installation. This equipment
generates uses and can radiate radio frequency energy and, if not installed and used in
accordance with the instructions, may cause harmful interference to radio communications.
However, there is no guarantee that interference will not occur in a particular installation. If
this equipment does cause harmful interference to radio or television reception, which can be
determined by turning the equipment off and on, the user is encouraged to try to correct the
interference by one or more of the following measures:
—Reorient or relocate the receiving antenna.
—Increase the separation between the equipment and receiver.
—Connect the equipment into an outlet on a circuit different from that to which the receiver is
connected.
—Consult the dealer or an experienced radio/TV technician for help.
Information to user
Changes or modifications not expressly approved by Identive could void the user's authority to
operate the equipment.
6.2 IC
This Class B digital apparatus complies with Canadian ICES-003.
This device complies with Industry Canada licence-exempt RSS standard(s).
Operation is subject to the following two conditions:
(1) This device may not cause interference
(2) This device must accept any interference, including interference that may cause
undesired operation of the device.
6.3 CE
Identive hereby declares that the TouchSecure® Model: Connectivity WM device mentioned herein is
in compliance with the essential requirements and other relevant portions of the Directive R&TTE
1999/5/EC.

TouchSecure® WallMount User Manual
IDT.QM.P2.T1.DT
Ver1.0
Page 15 of 15
Printed copies of this document are uncontrolled
Internal Use Only
6.4 UL 294
•Communication via Wiegand was evaluated by UL and serves as the interface between the
reader and panel
•Communication via RS485 or OSDP is not permitted
•Communication via Ethernet was not evaluated by UL
•The maximum length of the Ethernet cable when using POE as the power source in UL
installations is limited to 30 meters (98.5 feet)
6.4.1 UL 294 access control performance levels
Destructive attack : Level IV
Line Security : Level I
Endurance : Level I
Standby Power : Level I
Table of contents
Other Identiv IP Access Controllers manuals
Popular IP Access Controllers manuals by other brands

Digiplex
Digiplex Paradox ACM12 Installation instructions and instructions for use
KAS
KAS KSS-320-FK user guide
Stanley
Stanley PAC iPAC quick start guide
Chamberlain
Chamberlain Liftmaster Elite LA500 technical information
Roger
Roger MCT86M-IO-HR-CH operating manual
Coppernic
Coppernic C-0ne e-ID MR2 Series user manual
