iglooworks Padlock E User manual

1
Version 0.1 08/22
User guide
Padlock E.

Tip: As we continuously improve our products and services, the latest version of this user
guide can be found in the support & help portal!
Hi there!
Hi there!
We’re so glad you’ve decided to join us on this journey to create a world
without keys. In this guide, you’ll find everything you need to get started with
your lock.
If you do not find what you’re looking for, reach out to us at
support@iglooworks.co. We’re here to help.
Let’s stay connected:
support@iglooworks.co
Singapore: +65 3129 2464
USA: +1 929 224 0688
Support & Help Portal:
go.iglooworks.co/support

Table of Contents
What’s Included 4
Specifications 5
Lock Anatomy 6
Lock Features 7
Changing the Shackle 9
Managing the Battery 10
Emergency Jumpstart 12
Getting Started 13
Pairing the Lock 14
Padlock E Cable Installation 15
Modes of Access 16
Managing Access 18
Managing Lock Features 20
Managing Lock Settings 22
Audio and LED Indications 24
Other Services 25
Troubleshoot 28

4
What’s Included
Padlock E Protective Silicone Case
T27 Torx Security Screwdriver
CR2 Lithium Battery QR Code Stickers x3
Cable

5
Specifications
For damage resulting from incorrect use of lock, use of lock in potentially explosive
environments, or use of lock outside of stipulated specifications, the customer bears sole
responsibility. The company bears no liability whatsoever.
Front Side
SKU SP1E
Body Zinc Alloy, Al Alloy
Shackle Hardened Steel, Rubber
Gross (with packaging) 0.5 kg / 1.1 lbs
Net 0.7 kg / 1.55 lbs
Modes of access (Entry) Pin Code, Bluetooth keys
Power type CR2 Lithium Battery
Battery life Up to 12 months
Emergency power type 9V Alkaline Battery
Battery operating temperature -20°C to 50°C / -4 °F to 122°F
Operating temperature -20°C to 50°C / -4°F to 122°F
Certifications IP66, CE, FCC
Protocols Bluetooth 5.0, algoPIN™ technology
Usage Advised to be installed under sheltered areas, not to be exposed
to wet weather conditions. Any application of the Product near
combustible or explosive environments is at the user’s sole
and exclusive risk.

6
Lock Anatomy
Hardened
Shackle
LED Indicator
Torx Cap
ClosedOpened
CLEAR UNLOCK RubberBumper
Battery
Cover
9V Contact Points

7
Lock Features
Master Bluetooth Key
The Padlock 2E unlocks with Bluetooth
via the app.
Master PIN Code
The Padlock 2E unlocks with a
permanent Master PIN Code.
User PIN Code
The Padlock 2E supports multiple
types of User PIN codes, e.g. One-
Time, Permanent, Recurring &
Duration which can be generated
and shared via the app.
PIN Code/Bluetooth Key
Low Battery Alert
Intuitive audio and visual alerts will
prompt you to change the batteries
when it runs low.
Battery
User Bluetooth Key
The Padlock 2E supports User
Bluetooth keys which can be
generated and shared via the app.
Emergency Jumpstart
Easily jumpstart the Padlock with a
USB-C cable connected to a power
bank if batteries are drained.

8
Lock Features
Manual Relock
Volume Control
Keypad LED Toggle
Manually lock the device by holding
the ‘Unlock’ icon.
Adjust the volume according to
your preference. Select from levels
0 (mute) to 5 (loudest).
Turn the backlight from the keypad
buttons on or o.
Decoy PIN Code
Mask actual PIN code by entering
decoy digits.
Cable
Use the cable provided to
secure your padlock to prevent
unauthorized removal of the
padlock
Security Lockout
Keypad is disabled after several
incorrect access attempts.
Others
Auto Lock
Padlock automatically locks once
shackle is closed.
Learn how to access, activate, and deactivate these features from pages 20 - 21.
Relock Reminder Alert
Obstruction Alarm
Encryption
Padlock will sound an alert to
remind users to fasten the shackle.
The lock will sound an alarm if the
shackle cannot lock or unlock to
alert the user of any obstructions.
AES 128-bit
Audit Trail
Up to 300 activity logs

9
Changing the Shackle
Unlock the Padlock E and pull the shackle to
open position. Turn Torx cap clockwise 120°
with the Torx Screwdriver & push battery
cover out.
Remove the battery cover, locate sticker to
remove and use a sharp object to remove
the retaining pin. The shackle is now
removable.
Replace with the long shackle and place
the retaining pin and sticker back in the
original position. Ensure that the long
shackle remains in the opened position.
Secure the battery cover by turning the torx
cap counter-clockwise 120° with the Torx
Screwdriver while the Padlock E is unlocked.
Push the shackle in and you’re done!
Sticker
Retaining
Pin
2
3 4
Please ensure
that the marking
on the torx cap
is aligned to the
marking on the
padlock.

10
Managing the Battery
2. Turn Torx cap clockwise 120° with the
Torx Screwdriver & push battery cover
out.
1. Unlock the Padlock E and pull the
shackle to open position.

11
3. Replace the CR2 Battery, close
battery cover and turn Torx cap
counter-clockwise 120°.
4. Push the shackle to close position to
lock it via Auto Lock or Manual Relock.
Please ensure that the marking
on the torx cap is aligned to the
marking on the padlock.

12
Emergency Jumpstart
9V Jumpstart
1. Touch and hold the battery contacts against the 9V jumpstart pin on the lock.
2. While holding the 9V battery to the jumpstart, press in PIN code on the keypad
followed by or Bluetooth Key to unlock.
9V
9V
9V
Please ensure terminals of the 9V battery are in contact with
the jumpstart contact points of the Padlock E for 2 seconds
to activate the padlock.
In case of low power:

13
Getting Started
All access begins with the Dashboard. Speak with your owner or admin to get your
accounts set up before you proceed.
Once you receive an invite, you can register for an iglooworks account to start
operating the lock on the ground.
The iglooworks mobile app allows for on-the-ground management of your locks.
Authorized members can perform operational tasks without fuss.
Getting your iglooworks app account
Your app account is tied to your Dashboard account. If you’re an existing member,
you can access the iglooworks app with the same credentials. Otherwise, speak to
your account owner to invite you as a member.
1. Download the iglooworks app on your smartphone via the App Store or
Google Play Store.
2. Log in with your iglooworks account and organization ID.
3. Tap [Enter].

14
Test the lock with the Factory PIN code before you begin the pairing process.
1. Wake the lock by pressing any button on the front body.
2. Tap , then enter 1234567890, followed by .
3. The LED indicator on the lock will flash green when it is successfully unlocked. You will
also hear four ascending tones.
Once you have tested it, you can now begin to pair the lock to your iglooworks account.
1. Select [Locks] from the menu.
2. Tap [Pair New Lock].
3. Select the property.
4. Tap [Next].
5. Select the lock model and follow the steps shown on the screen.
Note:
Ensure yourBluetooth and Location services are turned on. You may have to perform a Bluetooth
sync after successfully pairing the lock to obtain the initial battery status of the device.
Pairing the Lock

15
Padlock E Cable Installation
1. Unlock padlock and loop the cable
through the shackle.
2. You may secure the other end of the
cable to your desired location.

16
Modes of Access
To unlock via PIN code:
1. Wake the lock by pressing any button on the front body.
2. Enter a valid PIN code, with or without decoy digits, followed by .
3. The LED indicator on the lock will flash green when it is successfully unlocked.
You will also hear four ascending tones.
a

17
To unlock via Bluetooth:
If you are an owner or admin, you will be able unlock the lock via Bluetooth. This is also possible
for an authorized manager or lock users once permissions are granted via the Dashboard.
1. Select the lock you want to unlock.
2. Tap [Sync & Unlock].
Note: Ensure your Bluetooth service is turned on and that you are within range of the lock.
b

18
Managing Access
a) If you are away from your property, generate PIN codes on the go with our
unique algoPIN™ technology:
1. On the igloohome mobile app, tap on the icon.
2. Tap on [+Access].
3. Select the access type from the list on the screen.
4. Fill in the required fields.
5. Select [algoPIN™].
6. Tap on [Create PIN code].
b) If you want to create a customised PIN code, you will need to be within
Bluetooth range of the lock with your Bluetooth function turned on:
1. On the igloohome mobile app, tap on the icon.
2. Tap on [+Access].
3. Select the access type from the list on the screen.
4. Fill in the required fields.
5. Select [Bluetooth].
6. Tap on [Create PIN code].
There are 2 ways to create PIN codes for your guests and family members. Choose from
several PIN code validity durations to manage access for dierent users.
All PIN codes generated by algoPIN™ technology have activation periods.
If they are not used within the period, the PIN codes will be considered invalid.
One-Time & Permanent PIN Codes - 24hrs of being generated
I.e. Generated at 1900hrs today, must be used by 1900hrs tomorrow to activate.
Duration & Recurring PIN Codes - 24hrs from the start date and time of its validity period
I.e. Created for 1900hrs on 1 Jan, must be used from 1900hrs - 2000hrs on 1 Jan to activate.
Important:
Creating Guest PIN codes

19
1. On the igloohome mobile app, tap on the .
2. Tap on [+Access].
3. Select [Bluetooth Key].
4. Fill in the required fields.
5. Tap on [Create Bluetooth Key].
6. Tap on [Share].
2Create Guest Bluetooth Keys
Allow guests and family members to use their smartphones to unlock the door. When you
issue a Bluetooth key, you get real-time updates on who has accessed your property.
Your guest can either scan the unique QR code shown on your screen, or you may share the
link via your preferred communication method (Text, Email, WhatsApp, Facebook Messenger
etc.) to claim the Bluetooth key.
Your guest will either need to download the igloohome mobile app and register for an
account or claim the Bluetooth key with their existing igloohome account.
All Bluetooth keys must be claimed within 1 hour of it being generated. If they are unclaimed
within the period, the keys will be considered invalid.
I.e. Generated at 1900hrs today, must be claimed by guest by 2000hrs today.
Bluetooth keys can be revoked by lock owner anytime.
Important:

20
Managing Lock Features
Auto Lock
You can configure the duration before Auto Lock is triggered:
*Please ensure you are within Bluetooth range of the lock and your Bluetooth
function is turned on.
1. On your app, tap [Lock Settings].
2.Select [Auto Lock Timer]
3. Select from the list of preset durations or choose to never automatically lock.
4.Tap [Apply Changes].
If you choose to never automatically lock, you may wish to perform a manual relock:
Hold the on the keypad for 2 seconds. The LED indicator will flash green and you’ll
hear a long beep for successful relocking.
Security Lockout
You can configure the number of attempts before the Security Lockout mode is
enabled:
*Please ensure you are within Bluetooth range of the lock and your Bluetooth
function is turned on.
1. On your app, tap [Lock Settings].
2. Select [Security Lockout].
3. Select the number of attempts from 1 to 10, or choose to deactivate this
function completely.
4. Tap [Apply Changes].
Once this is set, the lockout will be triggered after you exceed the number of
attempts set.
Your lock will reject any further unlocking attempts via the same mode you used. You
can disable it by trying another valid access mode.
Triggered Security Alarm Security Lockout
1st Time 30 Sec 1 Min
2nd Time 60 Sec 5 Min
3rd and
Consecutive Time 90 Sec 10 Min
Relock Reminder
Alert
You can enable, disable and configure the duration before the alert sounds o:
*Please ensure you are within Bluetooth range of the lock and your Bluetooth
function is turned on.
1. On your app, tap [Lock Settings].
2. Select [Relock Reminder Alert].
3. Configure the duration between 5 seconds to 10 minutes, or disable the alert.
4. Tap [Apply Changes].
This manual suits for next models
1
Table of contents
Other iglooworks Lock manuals
Popular Lock manuals by other brands

COMPX
COMPX Stock Locks C425519RL Dimensional drawing
Phoenix
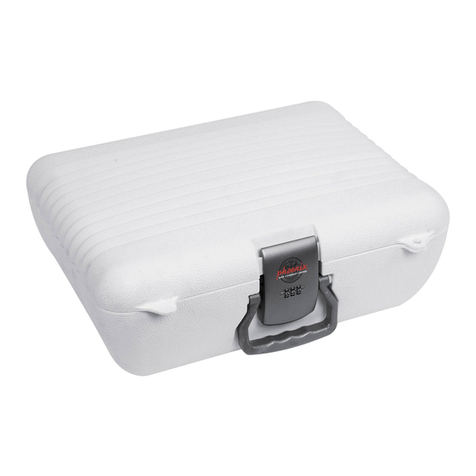
Phoenix FS0352C Instructions & Guarantee Registration
COMPX
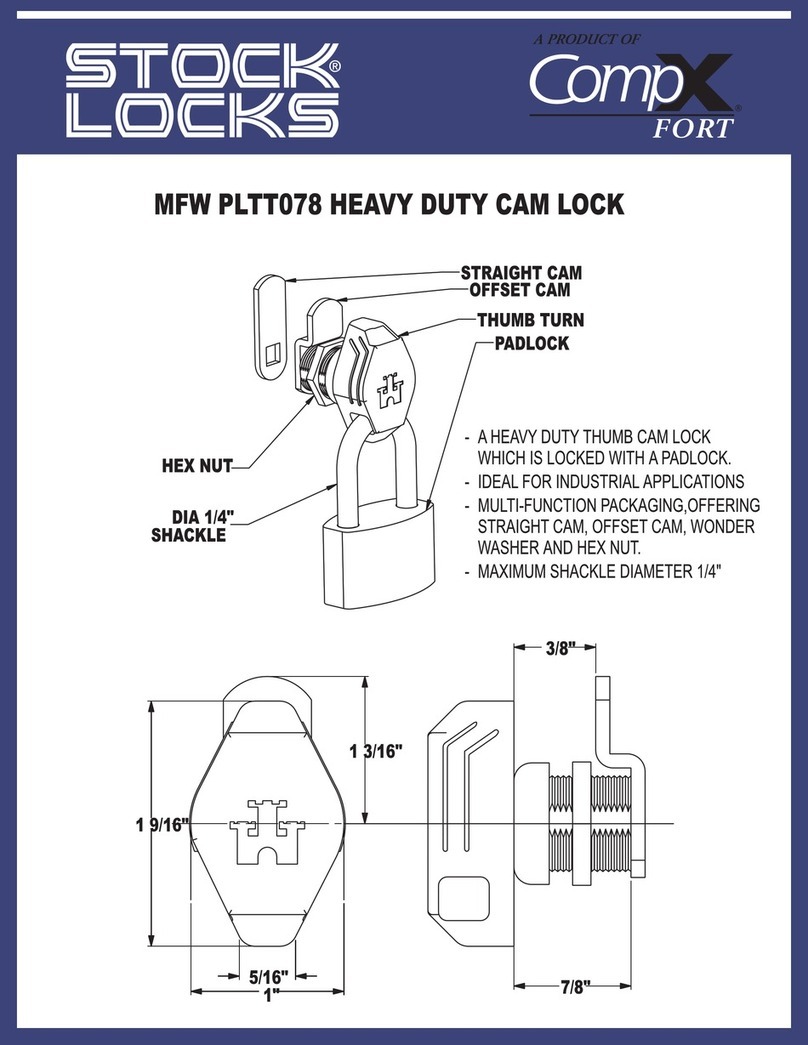
COMPX MFWPLTT078 Dimensional drawing
LOX
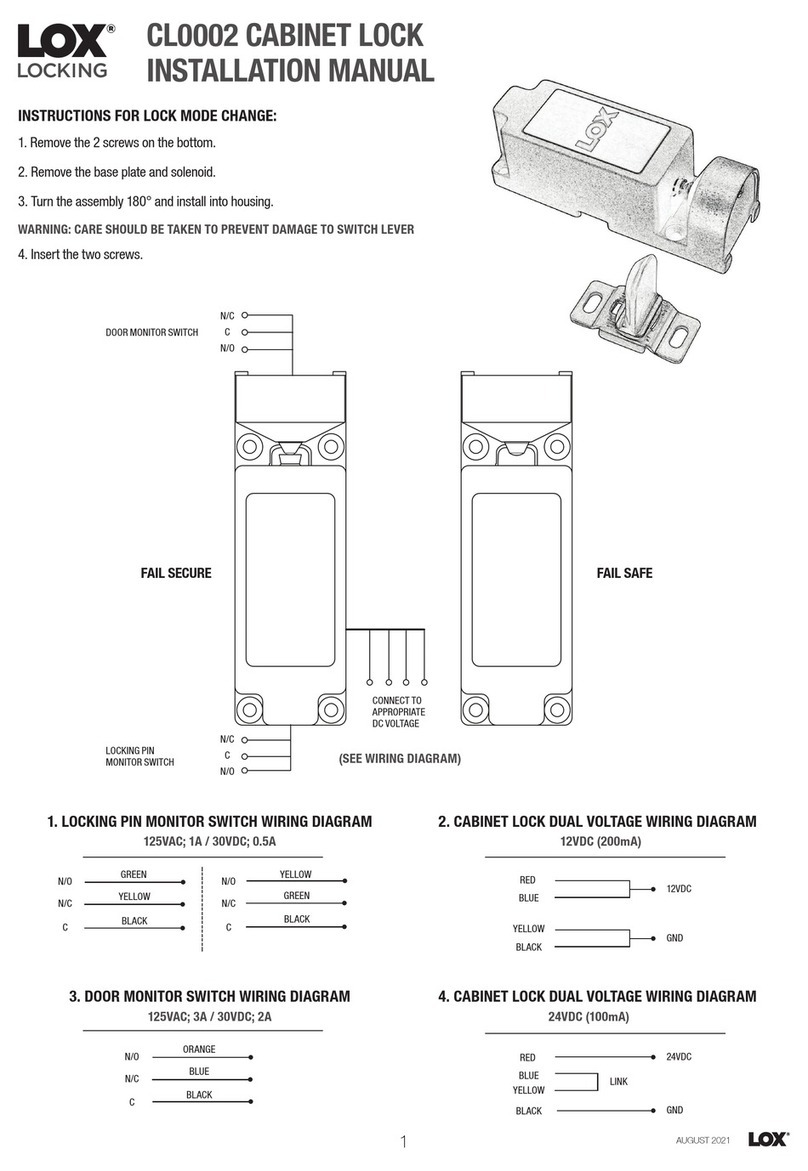
LOX CL0002 installation manual
Gainsborough
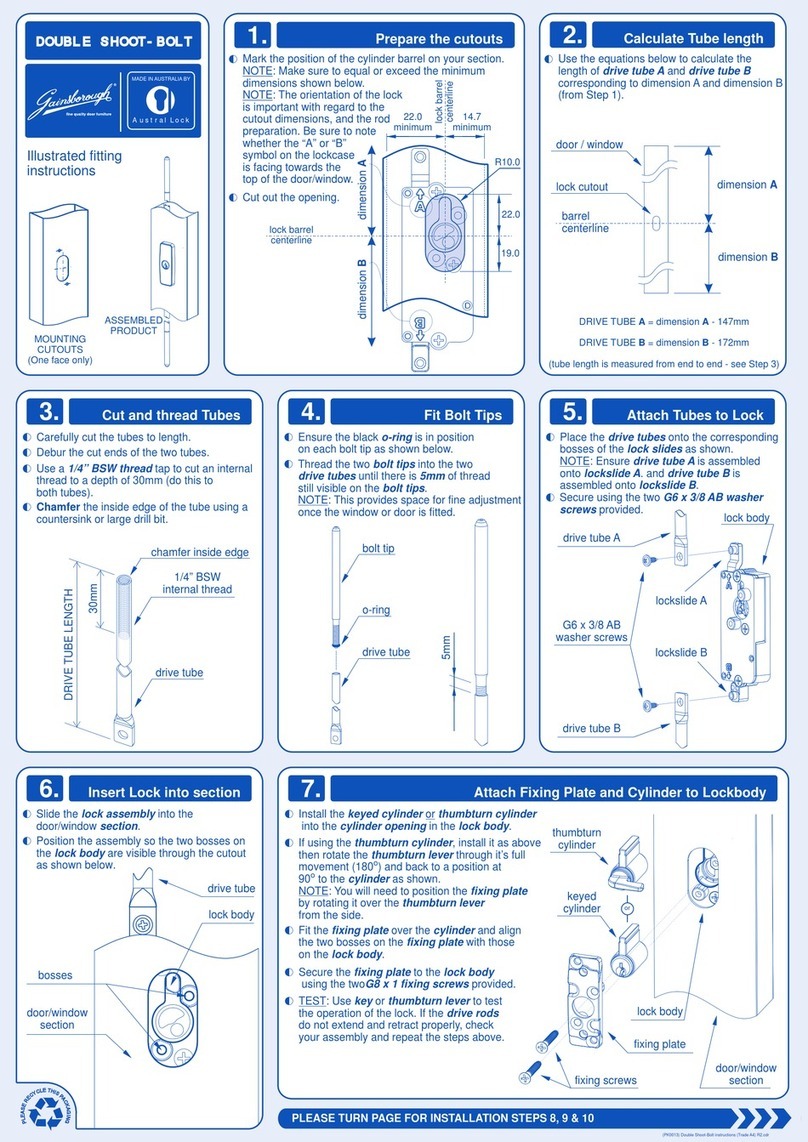
Gainsborough Austral Lock Double Shoot-Bolt ILLUSTRATED FITTING INSTRUCTIONS
DESi
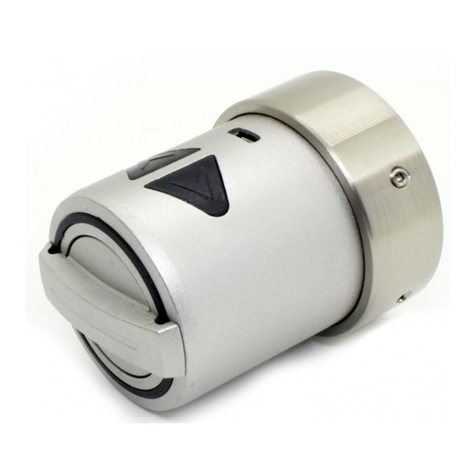
DESi Utopic R OK user manual
