iLive 0915-0820-09 User manual

USER’S GUIDE
V:0915-0820-09
IH319B
Home Dock for iPod with CD Player
For the most up-to-date version of this User’s Guide, go to www.ilive.net
█CONTENTS
WARNINGS AND PRECAUTIONS 2
PRODUCT INFORMATION 4
FEATURES............................................................................................................4
IN THE BOX .........................................................................................................4
POWER OPTIONS 5
AC/DC ADAPTER ................................................................................................5
REMOTE BATTERY ............................................................................................5
PRODUCT STABILITY 5
USING THE BUILT-IN STAND ...........................................................................5
OPERATIONS 6
DOCKING AN IPOD ............................................................................................6
PLAYING AN IPOD .............................................................................................6
OPERATIONS 7
PLAYING A CD ....................................................................................................7
PROGRAMMING A CD .......................................................................................7
OPERATIONS 8
TUNING THE AM/FM RADIO............................................................................8
SAVING AN AM/FM RADIO STATION TO THE UNIT'S MEMORY ..............8
USING THE AUXILIARY INPUT .......................................................................8
OPERATIONS 9
SETTING THE CLOCK........................................................................................9
SETTING THE TIMER.........................................................................................9
CONTROLS & CONTROL GLOSSARY 10-15
COMPANY INFORMATION 16
INTERNATIONAL SUPPORT ...........................................................................16
SERVICE INFORMATION.................................................................................16

• CAUTION: TO PREVENT ELECTRIC
SHOCK, MATCH WIDE BLADE OF
PLUG TO WIDE SLOT, FULLY INSERT.
• WARNING:Topreventreorshock
hazards,donotexposethisunittorainor
moisture.
• CAUTION:Useofcontrolsoradjustments
orperformanceofproceduresotherthan
thosespeciedmayresultinhazardous
radiationexposure.
• WARNING:Changesormodications
tothisunitnotexpresslyapprovedbythe
partyresponsibleforcompliancecouldvoid
theuser’sauthoritytooperatetheequip-
ment.
• WARNING:Donotplacetheunitontop
ofanysoft,porous,orsensitivesurfacesto
avoiddamagingthesurface.Useaprotec-
tivebarrierbetweentheunitandsurfaceto
protectthesurface.
• WARNING:Useofthisunitnearuores-
centlightingmaycauseinterferenceregard-
inguseoftheremote.Iftheunitisdisplay-
ingerraticbehaviormoveawayfromany
uorescentlighting,asitmaybethecause.
Thelightningashwitharrowhead
symbol,withinanequilateraltriangle,
isintendedtoalerttheusertothe
presenceofuninsulated"dangerous
voltage"withintheproduct'senclosure
thatmaybeofsufcientmagnitudeto
constituteariskofelectricshockto
persons.
Theexclamationpointwithinan
equilateraltriangleisintendedtoalert
theusertothepresenceofimportant
operatingandmaintenance(servicing)
instructionsintheliteratureaccompa-
nying the appliance.
WARNING: TO REDUCE THE RISK
OF ELECTRIC SHOCK, DO NOT
REMOVECOVER(ORBACK).
NO USER-SERVICEABLE PARTS
INSIDE. REFER SERVICING TO
QUALIFIED SERVICE PERSONNEL.
1. ReadtheseInstructions.
2. KeeptheseInstructions.
3. HeedallWarnings.
4. Followallinstructions.
5. Donotusethisapparatusnearwater.
6. Clean only with a dry cloth.
7. Donotblockanyventilationopenings.Installin
accordancewiththemanufacturer’sinstructions.
8. Donotinstallnearanyheatsourcessuchasradiators,heat
registers,stoves,orotherapparatus(includingampliers)
thatproduceheat.
9. Donotdefeatthesafetypurposeofthepolarizedor
grounding-typeplug.Apolarizedplughastwoblades
withonewiderthantheother.Agroundingtypeplughas
twobladesandathirdgroundingprong.Thewideblade
orthethirdprongareprovidedforyoursafety.Whenthe
providedplugdoesnottintoyouroutlet,consultan
electricianforreplacementoftheobsoleteoutlet.
10. Protectthepowercordfrombeingwalkedonorpinched
particularlyatplugs,conveniencereceptacles,andthe
pointwheretheyexitfromtheapparatus.
11. Onlyuseattachments/accessoriesspeciedbythe
manufacturer.
12. Useonlywithacart,stand,tripod,bracket,ortable
speciedbythemanufacturer,orsoldwiththeapparatus.
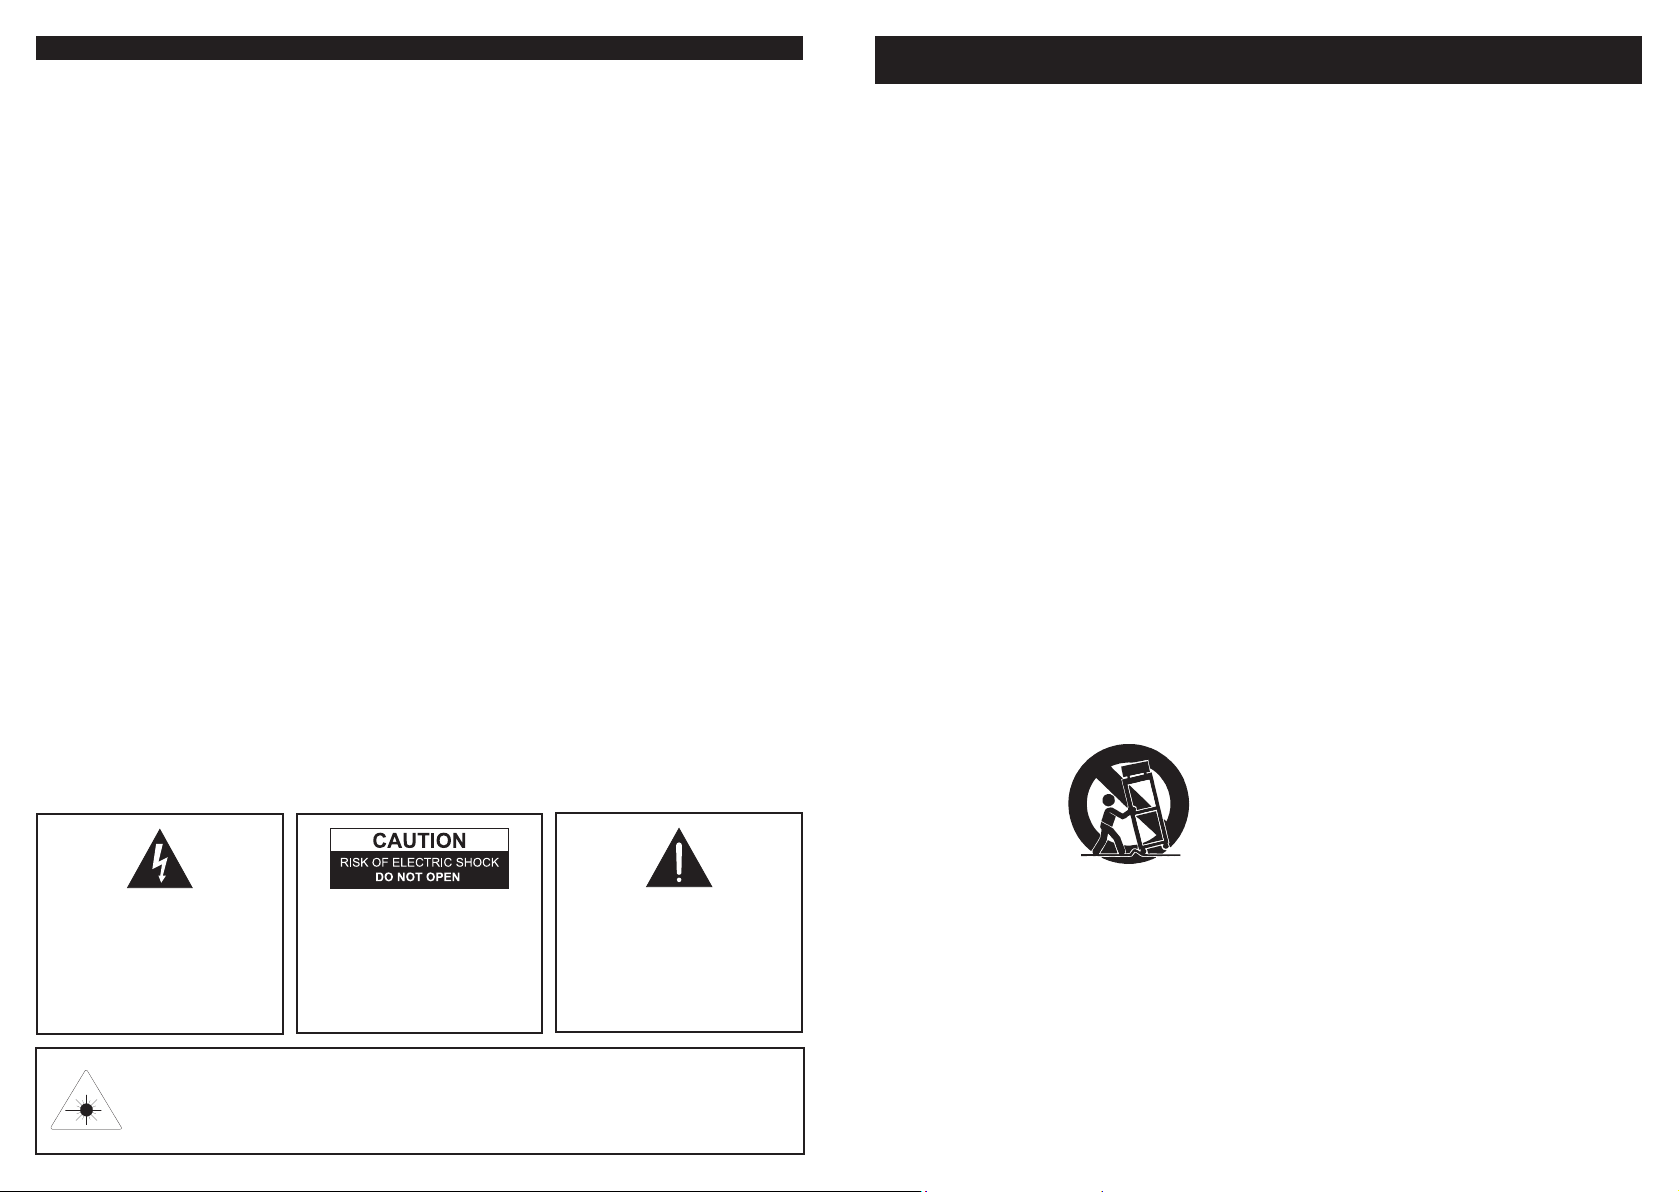
Whenacartisused,usecautionwhenmovingthecart/
apparatuscombinationtoavoidinjuryfromtip-over.
13. Unplugthisapparatusduringlightningstormsorwhen
unusedforlongperiodsoftime.
14. Referallservicingtoqualiedservicepersonnel.
Servicingisrequiredwhentheapparatushasbeen
damagedinanyway,suchaspower-supplycordorplug
isdamaged,liquidhasbeenspilledorobjectshavefallen
intotheapparatus,theapparatushasbeenexposedto
rainormoisture,doesnotoperatenormally,orhasbeen
dropped.
Additional Warnings
• Theapparatusshallnotbeexposedtodrip-
pingorsplashingandthatnoobjectslled
withliquids,suchasvases,shallbeplacedon
apparatus.
L'appareil ne doit pas être exposé aux écoule-
ments ou aux éclaboussures et aucun objet ne
contenant de liquide, tel qu'un vase, ne doit être
placé sur l'objet.
• Mainplugisusedasdisconnectdeviceandit
shouldremainreadilyoperableduringintended
use.Inordertodisconnecttheapparatusfrom
themainscompletely,themainsplugshould
bedisconnectedformthemainssocketoutlet
completely.
La prise du secteur ne doit pas être obstruée
ou doit être facilement accessible pendant son
utilisation. Pour être complètement déconnecté
de l'alimentation d'entrée, la prise doit être
débranchée du secteur.
• Batteryshallnotbeexposedtoexcessiveheat
suchassunshine,reorthelike.
Les piles ne doivent pas être exposées à de forte
chaleur, tel qu'à la lumière du soleil, au feu ou
autres choses de semblable.
• Cautionmarkingislocatedatthebottomof
apparatus.
Les précautions d'emploi sont inscrites en bas
de l'appareil.
• Themarkinginformationislocatedatthebot-
tomofapparatus.
Les marquages sont inscrits en bas de
l'appareil.
FCC Warnings
NOTE:Thisequipmenthasbeentestedand
foundtocomplywiththelimitsforaClassB
digitaldevice,pursuanttoPart15oftheFCC
Rules.Theselimitsaredesignedtoprovide
reasonableprotectionagainstharmfulinterfer-
enceinaresidentialinstallation.Thisequip-
mentgenerates,uses,andcanradiateradio
frequencyenergyand,ifnotinstalledandused
inaccordancewiththeinstructions,maycause
harmfulinterferencetoradiocommunications.
However,thereisnoguaranteethatinterference
willnotoccurinaparticularinstallation.If
thisequipmentdoescauseharmfulinterference
toradioortelevisionreception,whichcanbe
determinedbyturningtheequipmentoffand
on,theuserisencouragedtotrytocorrectthe
interferencebyoneormoreofthefollowing
measures:
• Reorient or relocate the receiving antenna.
• Increasetheseparationbetweentheequipment
and receiver.
• Connecttheequipmentintoanoutletona
circuitdifferentfromthattowhichthereceiver
isconnected.
• Consultthedealeroranexperiencedradio/TV
technician for help.
ThisproductutilizesaClass1lasertoreadCompactDiscs.ThislaserCompactDiscPlayerisequippedwithsafety
switchestoavoidexposurewhentheCDdoorisopenandthesafetyinterlocksaredefeated.Invisiblelaserradia-
tionispresentwhentheCDPlayer’slidisopenandthesystem’sinterlockhasfailedorbeendefeated.Itisvery
importantthatyouavoiddirectexposuretothelaserbeamatalltimes.Pleasedonotattempttodefeatorbypassthe
safetyswitches.
• CAUTION: Dangerofexplosionifbattery
isincorrectlyreplaced.Replaceonlywith
thesameorequivalenttype.
• PRÉCAUTION: Danger d’explosion si les
piles sont remplacées de façon incorrect.
Remplacer les piles seulement par le même
type de pile ou l’équivalent.
• WARNING:Thereisadangerofexplosion
ifyouattempttochargestandardAlkaline
batteriesintheunit.Onlyuserechargeable
NiMHbatteries.
• WARNING:Theremotecontrol’sbutton
cellbatterycontainsmercury.Donotputin
thetrash,insteadrecycleordisposeofas
hazardouswaste
• WARNING: Lithiumionbatteries,likeall
rechargeablebatteriesarerecyclableand
shouldberecycledordisposedofinnormal
householdwaste.Contactyourlocalgov-
ernmentfordisposalorrecyclingpractices
inyourarea.Theyshouldneverbeinciner-
atedsincetheymightexplode.
Donotmixoldandnewbatteries.
Donotmixalkaline,standard(carbon-
zinc),orrechargeable(ni-cad,ni-mh,etc)
batteries.Tumqueomante,vidpecesim
aximeiigingultumpubiterecomant.Casta,
IMPORTANT SAFETY INSTRUCTIONS
WARNINGS AND PRECAUTIONS

PRODUCT INFORMATION POWER OPTIONS
PRODUCT STABILITY
█FEATURES
DockplaysandchargesiPod
CD player with motorized CD door: CD,
CD-RW
AM/FMstereoradiowithdigitaltuning
AuxiliaryinputforiPodshufeandother
audiodevices
Remote
ProgrammableCDtracks
Digitalvolumecontrol
PresetEQsettings
Stationmemorypresets
Lastusersettingforvolumeandfunction
LCDdisplaywithwhitebacklight
Digitalclockwithtimerfunction
Stereospeakers
AC power: AC/DC Adapter
█AC/DC ADAPTER
UsetheincludedAC/DCAdaptertoconnecttheunittoanACpowersource.
█USING THE BUILT-IN STAND
Thereisasmallmetalsupportbuiltintothebottomoftheunit.Whensettingtheunitin
place,foldoutthemetalstandtoprovidesupportfortheunit.
█REMOTE BATTERY
Require1CR2025battery,pre-installed.
█IN THE BOX
IH319B
AC/DC Adapter
DockingSpacersforiPodandiPhone
Documentation RDC: 10V 1A
AUX
L
OPEN
LITHIUM BATTERY
CR 2025
3V
OPEN
LITHIUM BATTERY
CR 2025
3V

6 7
OPERATIONS
█PLAYING AN IPOD
1. DockaniPodontotheunit'sDock
Connector.
2. PressthePower Buttontoturntheunit
on.
3. PresstheSource Buttontoswitchto
iPod Mode.
4. PressthePlay/Pause Buttontobegin
playing the docked iPod.
• PresstheSkip/Tune Buttonstoskip
betweentracksonthedockediPod.
• PressandholdtheSkip/Tune Buttons
tofastforwardandrewindonthecurrent
track.
• PresstheRandom Button on the remote
toplaythecurrentalbumorplaylistin
random order.
• PresstheRepeat Button on the remote
oncetorepeatthecurrenttrack.
• PresstheRepeat Button on the remote
twicetorepeatanentirealbumorplaylist.
• PresstheiPod Select Button on the
remotetomakeselectionsonadocked
iPod.
This button works exactly like the select
button on an iPod.
• PresstheMem+/iPod Menu on the
remotetomovebackthroughthemenus
on a docked iPod.
This button works exactly like the menu
button on an iPod.
• PresstheMenu- and Menu+ Buttons to
moveupanddowninanymenuonthe
docked iPod.
█DOCKING AN IPOD
1. PressthePower Buttontoturntheunit
on.
2. PresstheOpen/Close Button to open the
Motorized CD/iPod Door.
3. Dock an iPod onto the Dock Connector.
4. PresstheOpen/Close Buttontoclosethe
Motorized CD/iPod Door.
█UN-DOCKING AN IPOD
1. PressthePower Buttontoturntheunit
on.
2. PresstheOpen/Close Button to open the
Motorized CD/iPod Door.
3. PressdowntheiPod Eject Button to the
leftoftheiPodinsidethedockforiPod.
ThiswillleantheiPodoutofthedock,
makingiteasiertograbandremove.
OPERATIONS
█PROGRAMMING A CD
FollowtheStepsforPlayingaCD.
1. PresstheStop ButtontostoptheCD
2. PresstheProgram Button on the
remote.
3. PresstheSkip/Tune Buttonstoselectthe
trackyouwanttoplayrst.
4. PresstheProgram Button on the remote,
tosavetheselectedtrackastherst
programmed track.
5. Repeatsteps3and4untilthedesired
trackshavebeenprogrammed.
Up to 20 tracks can be programmed at
one time.
█PLAYING A CD
1. PressthePower Buttontoturntheunit
on.
2. PresstheOpen/Close Button to open the
Motorized CD/iPod Door.
3. Load a CD into the CD player.
4. PresstheOpen/Close Buttontoclosethe
Motorized CD/iPod Door.
5. PresstheSource Buttontoswitchthe
unittoCDMode."CD"willappearon
the LCD Display,indicatingthattheunit
isinCD Mode.
6. PressthePlay/Pause Buttontobegin
playing the loaded CD.
• PresstheSkip/Tune Buttonstoskip
betweentracksontheloadedCD.
• PressandholdtheSkip/Tune Buttons
tofastforwardandrewindonthecurrent
track.
• PresstheStop ButtontostopaCD
duringplay.
• PresstheIntro Button on the remote to
activate Intro Mode. When in Intro Mode,
theunitwillplaytherst10secondsofa
trackandthenskiptothenexttrack.
• PresstheRandom Button on the remote
toplaythetracksofaloadedCDin
random order.
• PresstheRepeat Button on the remote
oncetorepeatthecurrenttrack.
• PresstheRepeat Button on the remote
twicetorepeatanentirealbum.

8 9
█USING THE AUXILIARY INPUT
1. ConnectanMP3Playerorotheraudio
sourcetotheAuxiliary Input.
2. PressthePower Button toturntheunit
on.
3. PresstheSource Button toswitchthe
unittoAux Mode.
Usetheconnecteddevice’scontrolsto
controltheaudioplayingthroughtheunit.
█TUNING THE AM/FM RADIO
1. PressthePower Buttontoturntheunit
on.
2. PresstheSource Buttontoswitchthe
unittoTuner Mode."Tuner"willappear
ontheLCDDisplay,indicatingthatthe
unitisinTunerMode.
3. PresstheSource ButtontoswitchtoAM
or FM radio mode.
4. PresstheSkip/Tune Buttonstotunethe
AMorFMradiostations.
5. PressandholdtheSkip/Tune Buttons for
3secondstosearchforareceptiveAMor
FMradiostation.
6. PresstheSt./Mono Buttontoturnthe
FM Stereo Mode off and on .
7. AdjusttheFM Wire Antenna to improve
FMradioreception.AnAMantennais
builtintotheunit.Adjustthepositionof
theunittoimproveAMradioreception.
OPERATIONS
█SAVING AN AM/FM RADIO
STATION TO THE UNIT'S MEMORY
1. TunetheAM/FMRadiotothedesired
station.
2. PresstheMem/Clk Adj Button.
3. PresstheStop/Mem+ Buttontoselect
amemorychannelforthecurrentradio
station.
4. PresstheMem/Clk Adj Button.
5. Tocyclethroughsavedradiostations,
PresstheStop/Mem+ Button.
█SETTING THE CLOCK
1. PressthePower Buttontoturntheunit
off.
2. The Power Indicator Light will
illuminatered,indicatingthattheunitis
inStandbyMode.
3. PresstheMem/Clk Adj Button.
4. TheHourwillbegintoblink.
5. PresstheSkip/Tune Buttonstoadjust
thehour.
6. PresstheMem/Clk Adj Buttontosetthe
hour.
7. TheMinutewillbegintoblink.
8. PresstheSkip/Tune Buttonstoadjust
theminute.
9. PresstheMem/Clk Adj Buttontosetthe
minute,andnishsettingtheclock.
█SETTING THE TIMER
1. Tosetthetimer,youmustrstgothrough
thestepsofSettingtheClock.
2. Aftertheclockisset,"Timer"willappear
ontheLCDDisplayandthetimerhour
willbegintoblink,indicatingthatyouare
now editing the timer.
3. PresstheSkip/Tune Buttonstoadjust
thehour.
4. PresstheMem/Clk Adj Buttontosetthe
hour.
5. TheMinutewillbegintoblink.
6. PresstheSkip/Tune Buttonstoadjust
theminute.
7. PresstheMem/Clk Adj Buttontosetthe
minute,andnishsettingthetimer.
8. Aftersettingthetimer,pressandhold
the Mem/Clk Adj Button to activate
thetimer.Theword"Timer"willappear
ontheLCDdisplayoncethetimeris
activated.
OPERATIONS

10 11
CONTROLS
RDC: 10V 1A
AUX
L
1
10
9
2
3
4
5
6
7
8
12
13
18
19
14
15
16
17
CONTROL GLOSSARY
01. CD Player
UsetheCDPlayertoloadaCDintothe
unit.
02. Power Button
PressthePowerButtontoturntheunit
off and on.
03. Power Indicator
ThePowerIndicatorlightwillilluminate
redwhentheunitispoweredoff.
04. Source Button
PresstheSourceButtontoswitch
betweenCD,Tuner,iPod,andAux
modes.
05. Mem/Clk Adj. Buttons
PresstheMemoryButtontosaveanAM
orFMradiostationtotheunit’smemory..
PresstheClockAdjustButtontosetthe
unit’sclock.
06. Volume Buttons
PresstheVolumeButtonstoadjustthe
volumeoftheunit.
07. Infrared Receiver
TheInfraredReceiverreceivessignals
sentfromtheremotecontrol.
08. LCD Display
09. Auxiliary Input
UsetheAuxiliaryInputtoconnectan
MP3playerorotheraudiosourcetothe
unit.
10. Speaker Connections
UsetheSpeakerConnectionstoconnecta
setofspeakerstotheunit.
11. iPod Eject Button
12. Dock Connector
UsetheDockConnectortoconnectan
iPodtotheunit.
13. Open/Close Buttons
PresstheOpen/CloseButtontoopenor
closetheMotorizedCD/iPodDoor.
14. Play/Pause/St./Mono Button
PressthePlay/PauseButtontoplayand
pausealoadedCDordockediPod.
PresstheSt./MonoButtontoswitch
betweenFMStereoandFMmonomodes.
15. Stop/Mem+ Button
PresstheStopButtontostopaCDduring
play.
PresstheMem+Buttontocyclethrough
savedradiostations.
16. Skip/Tune Button
PresstheSkipButtontoskipbetween
tracksonaloadedCDordockediPod.
PressandholdtheSkipButtontosearch
throughanindividualtrackonadocked
iPod or loaded CD.
PresstheTuneButtontotunetheAMor
FM radio.
17. DC Power Input
UsetheDCPowerInputtoconnectthe
includedAC/DCadaptertotheunit.
18. FM Wire Antenna
AdjusttheFMWireAntennatoimprove
FM radio reception.
An AM antenna is built into the unit.
Adjust the position of the unit to improve
AM radio reception.
19. Wall Mount Connections
11

12 13
CONTROLS
20
21
22
23
24
25
26
27
28
29
30
31
32
CONTROLS GLOSSARY
20. Power Button
PressthePowerButtontoturntheunit
off and on.
21. Source Button
PresstheSourceButtontoswitch
betweenCD,Tuner,iPod,andAux
modes.
22. Program Button
PresstheProgramButtontoprograma
loaded CD.
PresstheProgramButtontosaveanAM
orFMradiostationtotheunit’smemory.
23. St./Mono Button
PresstheSt./MonoButtontoswitch
betweenFMStereoandFMmonomodes.
24. Menu -/+ Button
PresstheMenu-and+Buttonstomove
upanddownthroughaniPod’smenus.
25. Mem+/iPod Menu Button
PresstheMem+Buttontocyclethrough
radiostationssavedtotheunit’smemory.
PresstheiPodMenuButtontomoveback
throughpreviousmenusonadockediPod.
This button works exactly like the menu
button on an iPod.
26. iPod Select Button
PresstheiPodSelectButtontomake
selectionsonadockediPod.
This button works exactly like the select
button on an iPod.
27. Skip/Tune Button
PresstheSkipButtontoskipbetween
tracksonaloadedCDordockediPod.
PressandholdtheSkipButtontosearch
throughanindividualtrackonadocked
iPod or loaded CD.
PresstheTuneButtontotunetheAMor
FM radio.
28. Mem- Button
PresstheMem-Buttontocyclethrough
savedradiostations.
29. Stop Button
PresstheStopButtontostopaCDduring
play.
30. EQ Button
PresstheEQButtontoadjusttoClassic,
Jazz,Rock,orPopequalizermodes.
31. Bass Button
PresstheBassButtontoturntheBass
Enhancement on.
32. Mute Button
PresstheMuteButtontomutethe
volume.

14 15
CONTROLS
33
34
35
36
38
40
39
37
CONTROLS GLOSSARY
33. Repeat Button
PresstheRepeatButtonontheremote
oncetorepeatthecurrenttrack.
PresstheRepeatButtonontheremote
twicetorepeatanentirealbumorplaylist.
SleepButton.
34. Sleep Button
PresstheSleepButtonconsecutivelyto
setthesleeptimerbetween90and10
minutes(in10minuteincrements).
35. Open/Close Button
PresstheOpen/CloseButtontoopenor
closetheMotorizedCD/iPodDoor.
36. Random Button
PresstheRandom Button on the remote
toplaythecurrentalbumorplaylistin
random order.
37. Intro Button
PresstheIntro Button on the remote to
activate Intro Mode. When in Intro Mode,
theunitwillplaytherst10secondsofa
trackandthenskiptothenexttrack.
38. Play/Pause Button
PressthePlay/PauseButtontoplayor
pauseaCDoriPod.
39. Clock Adj Button
PresstheClockAdjustButtontosetthe
unit’sclock.
40. Volume Buttons
PresstheVolumeButtonstoadjustthe
volumeoftheunit.

COMPANY INFORMATION
©2009DigitalProductsInternational(DPI,Inc.)|Allothertrademarksappearinghereinarethepropertyoftheir
respectiveowners.Specicationsaresubjecttochangewithoutnotice
█INTERNATIONAL SUPPORT
TodownloadthisUser’sGuideinEnglish,Spanish,orFrench,visitthesupportsectionat
www.ilive.net.
Paratransferirestaguíadeusuarioeninglés,español,ofrancés,visitelaseccióndela
ayudaenwww.ilive.net.
Pourtéléchargerceguidedel’utilisateurenanglais,espagnol,oufrançais,visitezla
sectiondesoutienchezwww.ilive.net.
█SERVICE INFORMATION
Address:2116CarrStreet,St.LouisMO,63106
Phone: 1-314-621-2881
Fax:1-314-588-1805
Email:[email protected]
PartsEmail:[email protected]
Website:www.ilive.net
This manual suits for next models
1
Table of contents
Other iLive Docking Station manuals

iLive
iLive IT188B User manual

iLive
iLive ISP150B User manual

iLive
iLive Home Dock for iPhone/iPod with Intelli Set... User manual

iLive
iLive IS608B User manual

iLive
iLive IHT3817DT User manual

iLive
iLive ISP389B User manual

iLive
iLive IHT3807DT User manual

iLive
iLive IH328B User manual

iLive
iLive IH818B User manual

iLive
iLive ISP801B User manual

iLive
iLive IT818B User manual

iLive
iLive IBCD3816DTBLK User manual

iLive
iLive IBP232B User manual

iLive
iLive ISB311B User manual

iLive
iLive IC2807 User manual

iLive
iLive IB319-IB User manual

iLive
iLive IS308B User manual

iLive
iLive IC618B User manual

iLive
iLive ISD131B User manual

iLive
iLive IKC6106DT User manual