Infinite FlexCell Assembly instructions

1
FlexCell
Installation and Setup Guide
for the Prosthetist
TM

2
All rights reserved. FlexCell is a trademark of Innite Biomedical
Technologies, LLC.
This document provides information for the prosthetist that will be
installing FlexCell.
Innite Biomedical Technologies, LLC.
8 Market Place, Suite 500
Baltimore, MD 21202
P. 443.451.7175
F. 443.451.7179
www.i-biomed.com
Mdi Europa GmbH
Langenhagener Str. 71
30855 Langenhagen
Germany
This symbol is used throughout the guide to indicate
important cautionary information. Text following this
symbol should be read carefully.

3
Thank you for choosing FlexCell to help your patient better
power their prosthesis. Whether you’re retrotting FlexCell
into your patient’s existing prosthesis or you’re building a new
prosthesis from the ground up, this guide will introduce you to
FlexCell and help you install the system.
The installation of FlexCell should be performed exclusively
by a licensed prosthetist or technician. Any unauthorized
handling or installation of FlexCell will void the warranty. If
you have any questions or are aware of issues related to
the installation of FlexCell please call (443) 451-7175 or
send an e-mail to [email protected]
FlexCell
Installation and Setup
Guide for the prosthetist
TM

4
TABLE OF CONTENTS
MEET FLEXCELL
1. MEET FLEXCELL 5
1.1 Specications .................................................................. 6
1.2 Outputs.............................................................................. 7
2. INSTALLATION GUIDE 8
2.1 Before You Begin............................................................. 9
2.2 Bend Radius ...................................................................12
2.3 How to Install FlexCell..................................................14
3. USING FLEXCELL 18
3.1 Turning On/Off...............................................................19
3.2 Checking Charge ...........................................................21
3.3 Charging the Batteries .................................................22
4. MAINTAINING FLEXCELL 25
4.1 Preventative Inspection ...............................................26
4.2 Service and Cleaning....................................................26
4.3 Safety and Warnings ....................................................27

5
MEET FLEXCELL
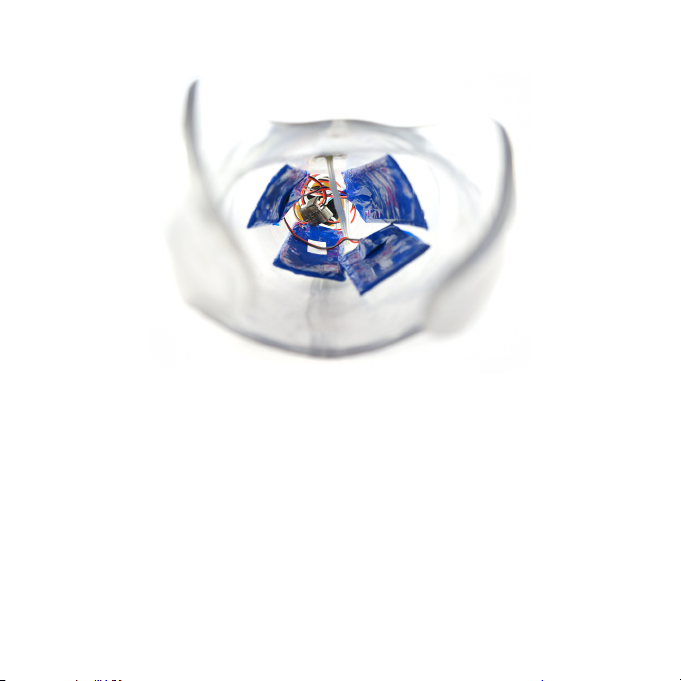
The FlexCell system is intended to power upper-limb prosthetic
devices. The system consists of a charging port with an
on/off button, a charger, and flexible lithium-polymer gel
batteries. The flexibility of the batteries allow practitioners to
conform them to the inner surface of the prosthesis shell.
The battery system is modular to accommodate various
prosthesis setups. Up to four FlexCells can be combined for a
maximum capacity of 2200 mAh using FlexCells or 1320 mAh
for FlexCell Minis.

6
1.1 Specications
Temperature range (use) 0oC to +49oC (32oF to 120oF)
Temperaturerange(transportandstorage) 0oC to +49oC (32oF to 120oF)
Humidity range (use) 0% to 90%
Humidity range (storage and transport) 0% to 95%
Dimensions Standard 4.9” X 1.57” X 0.08”
Dimensions Mini 3.25” X 1.57” X 0.08”
Voltage output 7.4V DC
Capacity (Standard/Mini) 550 mAh / 330 mAh
Expected service life 500 charges / 2 years
Weight (1x Standard/1x Mini) 31g / 17g

7
1.1 Specications
FlexCell is compatible with most terminal devices.
FlexCell is available with three types of output connectors and
has been tested with several prosthetic terminal devices such
as hands, wrists, and elbow units. However, always conrm that
your terminal device is compatible with FlexCell’s specications.
If you have any questions regarding compatibility, please
contact Innite Biomedical Technologies.
Otto Bock Motion Control
1.2 Outputs

8
INSTALLATION GUIDE
This section covers the following:
• Before you Begin
• Bend Radius
• How to Install FlexCell
2.1 Before You Begin

9
2.1 Before You Begin
(A) (B)
(C) (D) (E) (F)
Included in the package:
(A) FlexCell battery
(B) FlexCell Mini battery (if applicable)
(C) Wall adapter
(D) Charging port
(E) 2 flanges for charging port
(F) Charger adapter

10
FlexCell / FlexCell Mini
Charging Port
Battery connector
Junction box
Output Connector Interface

11
Charger Adapter
Magnetic Connector
Adapter Plug

12
2.2 Bend Radius
Long Axis
R0.875 in
Pictured above is the to-scale maximum bend radius for the
long axis of a FlexCell battery. The maximum bend curvature of
the FlexCell cannot exceed the curvature depicted above.
ShortAxis
LongAxis
The FlexCell 550 mAh battery is not intended to bend around
the short axis; doing so can damage the battery and void the
warranty. Bend 550 mAh batteries around the long axis only.
FOR FLEXCELL
AND FLEXCELL MINI

13
2.2 Bend Radius
Pictured above is the to-scale maximum bend radius for the
short axis of a FlexCell Mini battery. The maximum bend
curvature of the FlexCell Mini cannot exceed the curvature
depicted above.
R1.469 in
ShortAxis
Short axis example
FORFLEXCELLMINIONLY

14
2.3 How to Install FlexCell
A. If the charging port will be mounted on the
prosthesis surface, place the provided flange in the
desired location when molding the shell to create an
accurate opening.

15
2.3 How to Install FlexCell
B. Place the FlexCell batteries anywhere within the
prosthesis shell, taking care to ensure the batteries
are not compressed and will never be in contact with
the user’s skin. Adhesives can be used to secure the
batteries to the shell’s inner surface.

16
C. Slip the junction box into the prosthesis and connect each
battery to the junction box on the controller. The connectors
are designed to plug in only one way. Check the orientation if it
does not plug in easily.
Motion Control Connector
Otto Bock Connector
D. Connect the output connector to the terminal device. Pay
close attention to the polarity of the connector depicted below.
Only use FlexCell batteries with the FlexCell charging
port and junction box

17
E. Insert the charging port into the flange. It is designed to only
insert one way and should snap in easily. Check the orientation
if it does not insert easily.

18
USING FLEXCELL
This section covers the following:
• Turning On/Off
• Checking Battery Charge
• Charging the Batteries

19
3.1 Turning On/Off
Charging Pads
On/Off Button
Charging Port Interface

20
To turn on Flexcell, press and hold the controller
button for 3 seconds. The seven LEDs will illuminate
around the button in a clockwise direction and flash.
To turn off FlexCell, press and hold the Control Unit
button for 3 seconds. The seven LEDs will illuminate
around the button in a counter-clockwise direction.
3.2 Checking Battery Charge
How to turn on FlexCell
This manual suits for next models
1
Table of contents
Other Infinite Medical Equipment manuals
Popular Medical Equipment manuals by other brands

Otto Bock
Otto Bock 10V8 Instructions for use

Mangar International
Mangar International Leglifter User instructions

KaVo
KaVo DIAGNOcam Vision Full HD Instructions for use

Jorvet
Jorvet J0744emb Filter Changing Instructions

Zimmer
Zimmer Soleo Sono Instructions for use

Newport
Newport Breeze E150 Service manual

Active Motif
Active Motif PIXUL user manual

orfit
orfit AIO SOLUTION AC-LS Instructions for use

BodyMed
BodyMed ZZAN602 instruction manual

KINEX
KINEX KS2 Shoulder CPM Patient instructions

ZOLL
ZOLL Infusion Dynamics Power Infuser M100B-3A operating instructions

Neurosoft
Neurosoft Poly-Spectrum-8/V Technical manual