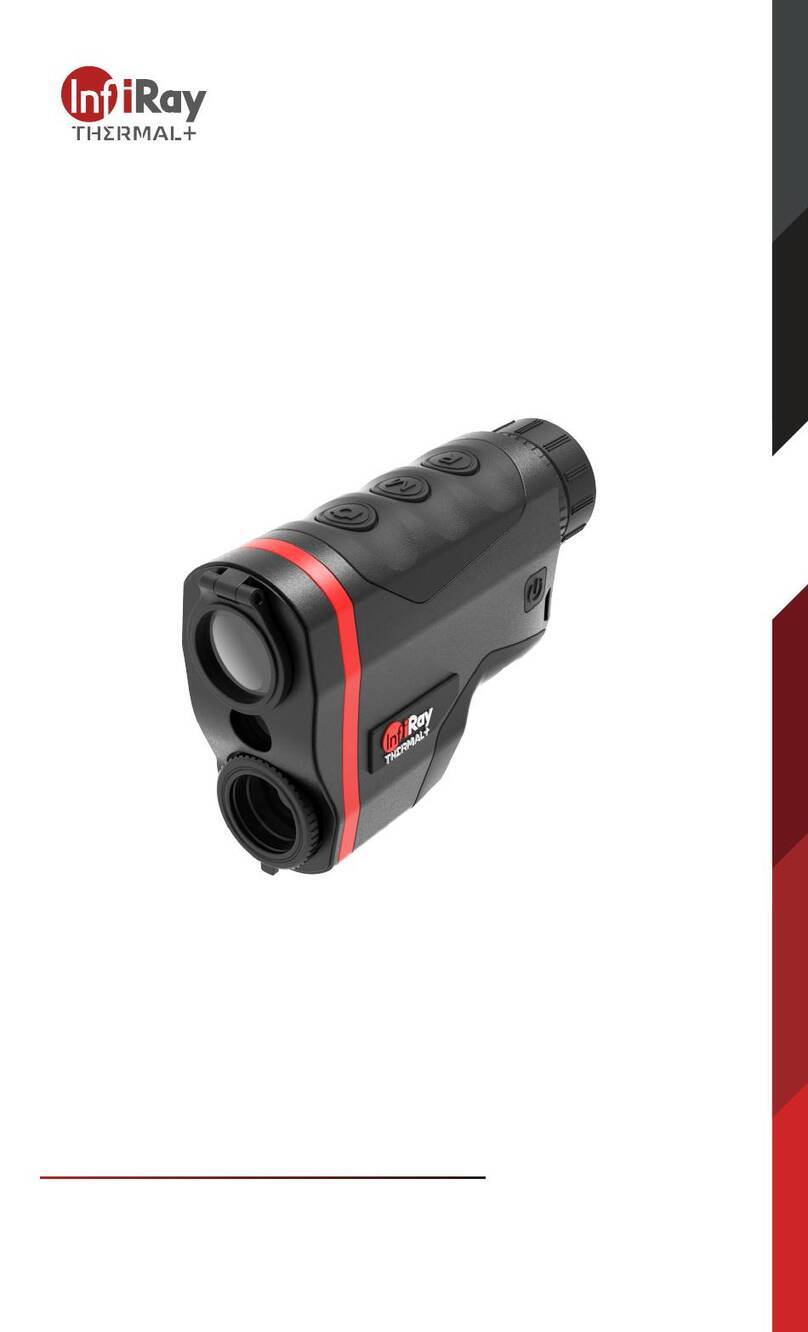
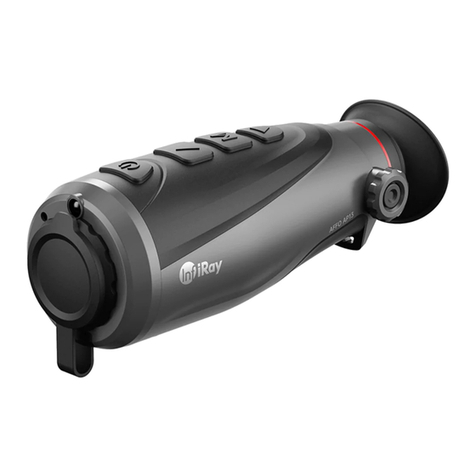
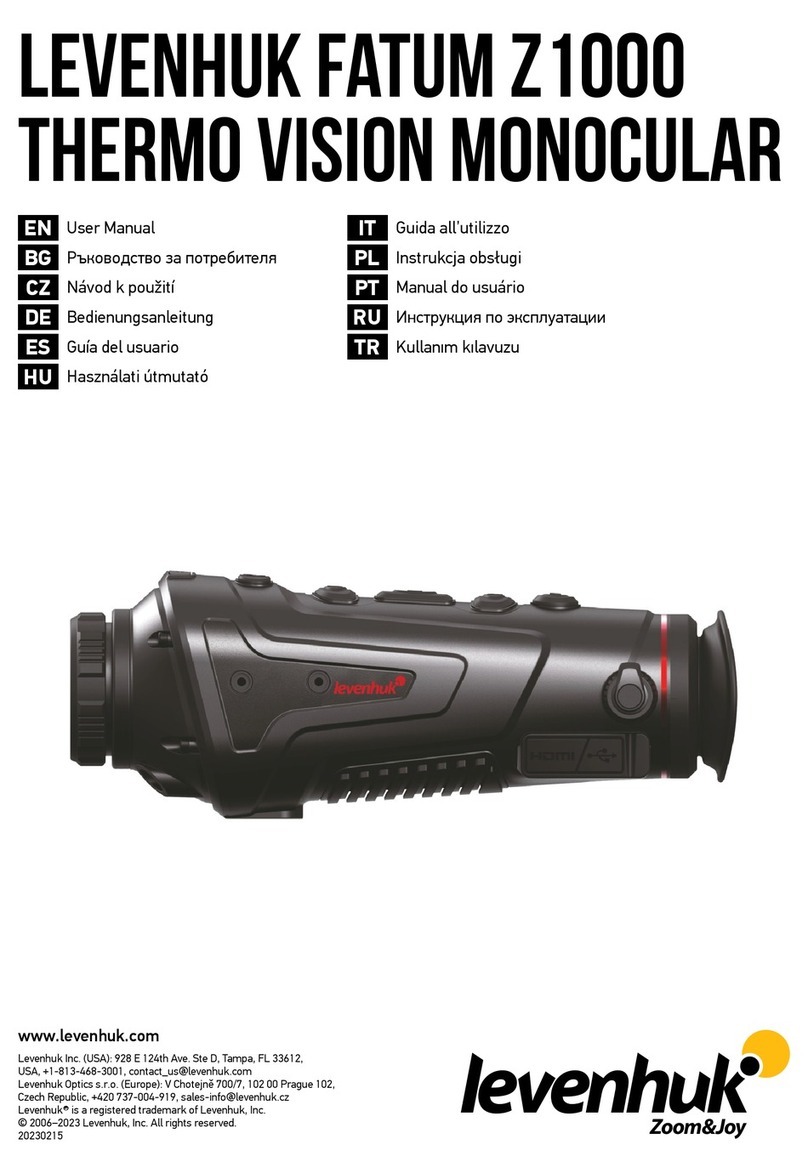
InfiRay EYE III User manual


Thermal Imaging Monocular
1-24
English
Wä rmebild-Monokular
25-50
Deutsch
Monocular de Imagen Té rmica
51-75
Españ ol
Monocolo per immagini termiche
76-101
Italiano
Appareil d'imagerie thermique monoculaire
102-127
Franç ais
Тепловизионный монокуляр
128-155
Русский
Termiskt bildmonokulä r
156-179
Svenska
Termal bilde monokulæ r
180-202
Norsk
Monokular termowizyjny
203-228
Polski
Termovizní monokulá r
229-252
Čeština
Termografický monokulá r
253-277
Slovenčina
Monokuláris hőkamera
278-302
Magyar
Warmtebeeldkijker
303-327
Nederlands

- 1 -
IMPORTANT SAFETY INFORMATION
Environmental influences
WARNING! Never point the lens of the device directly at intense heat
sources such as the sun or laser equipment. The objective lens and
eyepiece can function as a burning glass and damage the interior
components. The warranty does not cover damage caused by improper
operation.
Ergonomics notes
Caution: Take breaks after longer periods of use to avoid wrist pain.
Risk of swallowing
Caution: Do not place this device in the hands of small children. Incorrect
handling can cause small parts to come loose which may be swallowed.
Safety instructions for use
-Handle the device with care: rough handling may damage the internal
battery.
-Do not expose the device to fire or high temperatures.
-Do not disassemble the device to access the battery. The battery is not
meant to be replaced by the end user.
-The battery capacity decreases when operated in a cold ambient
temperature. This is not a fault and occurs for technical reasons.
-The recommended temperature for using this product is -20°to +50°.
Otherwise, it will affect the service life of the product.
-Do not store the device for long periods at temperatures below 20°C or
above 50°C, or this will permanently reduce the capacity of the battery.
-Always store the device in a dry, well-ventilated space.
-If the device has been damaged or the battery is defective, send the
device to our after-sales service for repair.
-Before using this product in an environment with water, ensure that the
Type C cover is tightly covered.
Safety instructions for the power supply unit
-Check the power supply unit, cable and adapter for visible damage
before use.
-Do not use any defective parts. Defective components must be
replaced.
-Do not use the power supply unit in wet or humid environments.
-Only charge the device at temperatures ranging between 0°C and 50°C.
ENGLISH
www.infirayoutdoor.com

- 2 -
-Do not make any technical modifications.
For further information and safety instructions, please refer to the User
Manual provided. This is also available on our website in the download
center: www.infirayoutdoor.com.
Disposal of batteries
Directive 2006/66/EC (battery directive): This product
contains a battery that cannot be disposed of as unsorted
municipal waste in the European Union. See the product
documentation for specific battery information. The
battery is marked with this symbol, which may include lettering to indicate
cadmium (Cd), lead (Pb), or mercury (Hg). For proper recycling, return the
battery to your supplier or to a designated collection point. For more
information see: www.recyclethis.info.
User information on the disposal of electrical and
electronic devices (private households)
2012/19/EU (WEEE directive): Products marked with this
symbol cannot be disposed of as unsorted municipal waste in
the European Union. For proper recycling, return this product
to your local supplier upon the purchase of equivalent new equipment, or
dispose of it at designated collection points.
For more information see: www.recyclethis.info.
For business customers within the European Union
Please contact your dealer or supplier regarding the disposal of electrical
and electronic devices. He will provide you with further information.
Information on disposal in other countries outside of the European
Union
This symbol is only applicable in the European Union. Please contact your
local authority or dealer if you wish to dispose of this product and ask for a
disposal option.
Intended use
The device is intended for displaying heat signatures during nature
observation, remote hunting observations and for civil use. This device is
not a toy for children.
Use the device only as described in this operating manual. The
manufacturer and the dealer accept no liability for damages which arise
due to non-intended or incorrect use.

- 3 -
Function test
-Before use, please ensure that your device has no visible damage.
-Test to see if the device displays a clear, undisturbed image.
-Check that the settings for the device are correct. See the notes in the
section Operation.
Installing/removing the battery
The EYE III series thermal imaging monocular is equipped with a battery
pack. It cannot be removed.
Observation with and without glasses
Thanks to the flexible eye-shade, the EYE III series can be used with or
without glasses. It offers a full field of view in both cases.

- 4 -
1 Specifications
Model
EL25
EL35
EH35
Detector Specifications
Type
Uncooled Vox
Resolution, pixel
384×288
384×288
640×512
Pixel size, μm
12
NETD, mk
≤ 25
Frame Rate, Hz
50
Optical Specifications
Objective Lens, mm
25
35
35
Field of View
10.5°×7.9°
7.5°×5.7°
12.5°×10°
Magnification, ×
2.5 ~ 10
3.5 ~ 14
2.0 ~ 8.0
Digital Zoom, ×
1 ~ 4
Eye Relief, mm
20
Exit Pupil Diameter, mm
6
Diopter, D
-3 ~ +6
Detection Range, m
(Target size: 1.7m×0.5m,
P(n)=99%)
1300
1800
1800
Display Specifications
Type
AMOLED
Resolution
1440 × 1080
Battery Power Supply
Battery Type / Capacity /
Output Voltage
Built-in Li-ion battery / 4.2Ah / 3.6V
Max. operating Time (t=22
ºC), h*
8
External Power Supply, V
5 (Type C)
Physical Specifications
Ingress Protection Rating
IP67
Memory Capacity, GB
32
Wi-Fi / APP
Support (InfiRay outdoor)
MIC
Support
Display-off
Support
Weight, g
< 480
Dimension, mm
54 × 54 ×200
* Actual operation time depends on the density of Wi-Fi use and the built-
in video recorder.
➢Improvements may be made to the design and software of this product
to enhance its features without prior notice to the customer.

- 5 -
2 Package Contents
⚫EYE III Series Thermal Imaging Monocular
⚫Type C cable
⚫Power adapter
⚫Neck strap
⚫Wrist strap
⚫Drawstring bag
⚫Portable bag
⚫Lens cloth
⚫Quick Start Guide
3 Description
The EYE III series thermal imaging monocular is for outdoor use. It can be
used in the day or night, or in harsh weather (such as rain, snow, fog and
haze) without being affected by strong light. It requires no external light
source. Even targets hidden behind obstacles (such as branches, grass,
and shrubs) can be observed.
The EYE III series is light and easy to carry, small in size, suitable for single-
hand operation, comfortable to use, and rich in functions. It can be widely
used for hunting, searching in various outdoor conditions.
4 Features
⚫Cold resistant battery, excellent performance even in -20 ºC
⚫Controller operation, easy to use, only one hand
⚫12μm self-developed detector
⚫High image quality
⚫Long detection distance
⚫Built-in memory space and microphone, support photographing and
video recording with sound
⚫Built-in Wi-Fi module, support App connection
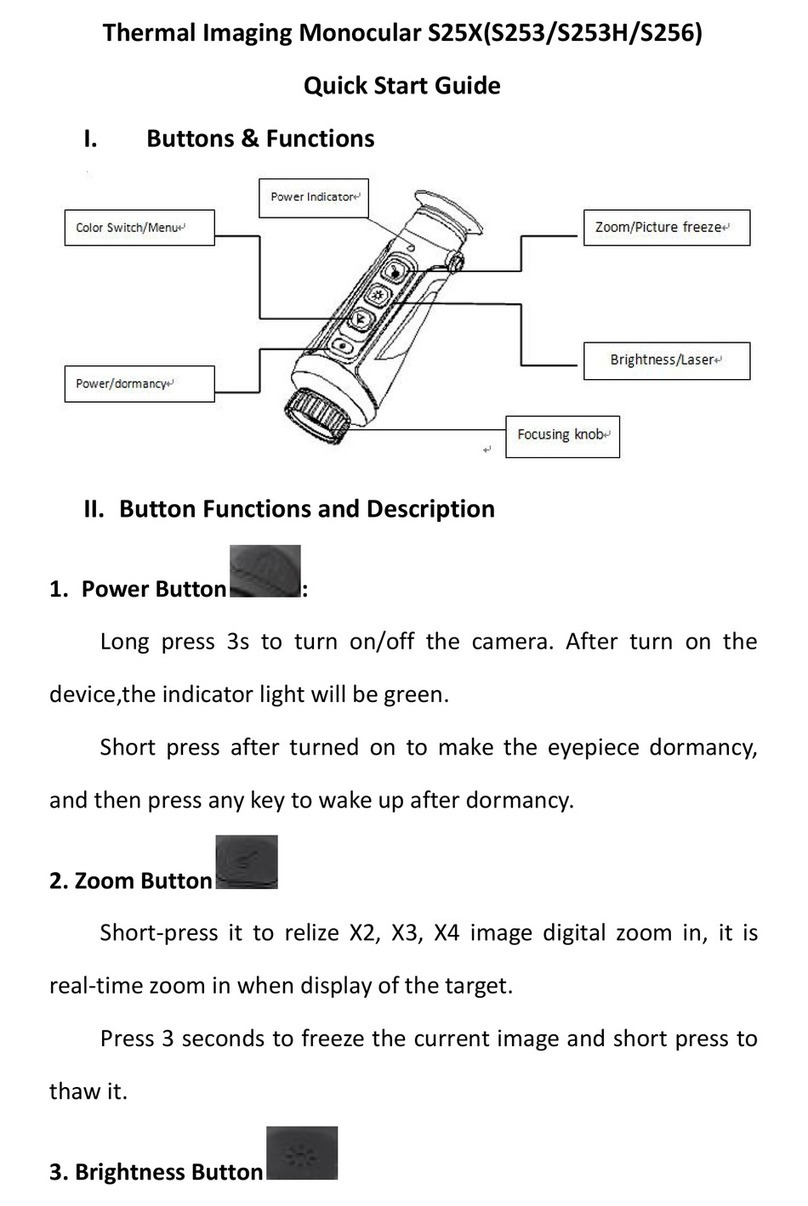
5 Units and Controls
1. Eyeshade
2. Diopter adjustment
3. Controller

- 6 -
4. Camera button
5. Type C port
6. Power indicator
7. Lens focus ring
8. Objective lens
9. Lens cap
6 Button Descriptions
Button
Current Status
Press
Press and Hold
Rotate
Clockwise
Anticlockwise
Controller
Powered off
——
Power on the device
——
Home screen
Open the shortcut menu
Open the main menu
Digital zoom-in
Digital zoom-out
Standby mode
Wake up the device
Wake up the device
Menu interface
Confirm selection
Return to the home screen
Navigate downwards
with the menu options
Navigate upwards with
the menu options
Camera button
Home screen
Start / Stop a video recording
Take a Photo
——
Standby mode
Power off the device
Menu interface
Return to the home screen
——

- 7 -
Controller +
Camera button
Home screen
Standby the device
Power off the device
——
7 Charging
The EYE III series is supplied with a built-in rechargeable Li-ion battery pack,
which allows operation up to 8 hours. When using the device for the first
time, please fully charge it first.
⚫Connect the Type C end of the data cable (10) to the Type C port (5) of
the device.
⚫
⚫Connect another port of the data cable (10) to the power adapter (11).
⚫Insert the plug of the adapter to the 110-240V socket (12).
⚫When the device is charging, the power indicator (6) next to the Type C
port (5) is red. The power indicator (6) is on only in the charging status.
When the power indicator (6) turns green, the device is fully charged.
⚫When charging, a lighting icon will appear inside the battery icon
on the display. The lighting icon will not disappear until the data cable
(10) is removed or the power is cut off.
⚫Charging is finished when the interior of the battery icon on the display
is completely green .
⚫During using, when the battery icon turns red , this means the
power level is low, please charge the device in time to avoid the data
loss.
Safety instructions for battery
⚫The rated voltage of the product is 5V. Please charge the device
promptly when the battery is low so that the service life of the thermal
imaging monocular will not reduce due to battery over-discharge.

- 8 -
⚫Don’t charge the device instantly while bring the battery from cold
environment to warm environment. Charge after 30-40 mins.
⚫Charge the device at a temperature from 0°C to +50°C, otherwise the
battery life will be reduced significantly.
⚫Never use a damaged or modified charger.
⚫Don’t leave the device unattended when charging. Don’t leave the
device with a charger connected to the mains longer than over 24 hours
after full charge.
⚫Do not expose the battery to high temperature or to a naked flame.
⚫Don’t connect external device with a current consumption that exceed
permitted levels.
⚫The battery is short circuit protected. However, any situation that may
cause short-circuiting should be avoided.
⚫Don’t dismantle the battery from the device.
⚫Avoid using the battery at the temperature above the temperature shown
in the table, this may decrease the battery’s life.
⚫If the thermal imaging monocular is not used for a long time, recharge
the device every 2 months at least and charge to 40%-50% power, then
store the device in a dry and ventilated environment.
⚫Partial charging the battery is necessary if the battery is planned to be
idled for long time. Avid fully charged or discharged.
⚫Keep the battery out of the reach of children.
8 Operation
⚫Press and hold the Controller (3) for 3s to power on the device, and the
startup logo will be displayed on the device screen in 1 second.
⚫When an infrared image is displayed in the eyepiece, the thermal
imaging monocular enters the operating status.
⚫Rotate the diopter adjustment (2) to adjust the resolution of the icon on
the display. The diopter adjustment knob is used to adjust the eyepiece
diopter for users with different degrees of myopia.
⚫Shortcut menu: On the home screen, press the Controller (3) to open
the shortcut menu, and set the image mode ( ), image contrast
( ), screen brightness ( ), and image sharpness ( ). Rotate
the Controller (3) to switch between different functions on the shortcut
menu, and press the Controller (3) to set parameters.
⚫Main menu: On the home screen, press and hold the Controller (3) to
enter the main menu interface for more functions. Rotate the Controller
(3) to switch between different functions on the main menu, and press
- 9 -
the Controller (3) to select the option.
⚫Photographing / Video recording: On the home screen, briefly press
the Camera button (4) to start / stop a video recording. And long press
the Camera button (4) to take a photo.
⚫Background Calibration: Cover the lens cap (9) to finish the
background calibration and open the cap (9) after the calibration or
select to standby or shutdown the device as prompted by the icon.
⚫Standby: There are two ways to
standby the device. One way is
to cover the lens cap (9) and
then rotate the Controller (3) to
standby the device; and the
other way is to briefly press the
Controller (3) + Camera button
(4) at the same time on the home
screen.
⚫In the standby mode, rotate the
Controller (3) to wake up the
device, and briefly press the
Camera button (4) to power off the device.
⚫Power off: On the home screen, press and hold the Controller (3) +
Camera button (4) at the same
time to enter the power-off
countdown interface. The device
will be powered off when the 3s
countdown ends. And the
shutdown can be stopped by
rotating the Controller (3) before the countdown ends.
⚫Note: if the standby time exceeds 30 minutes, the device will
automatically shut down.
9 Status Bar
The status bar is located at the top of the image interface and displays the information
related to the current operating status of the device.
1. Current image mode ( : White hot; : Black hot; : Red hot; :
Rainbow)
2. Current digital zoom (1.0× to 4.0× adjustable, with an interval of 0.5,
such as 1.5×)

- 10 -
3. Ultra-clear mode status (displayed when it is on)
4. Wi-Fi status (displayed when it is on, it will not be displayed
simultaneously with the Interconnection icon)
5. Compass (displayed when the compass is on)
6. Interconnection (displayed when it is connected successfully, it will not
be displayed simultaneously with the Wi-Fi icon)
7. Auto calibration (displayed when it is on)
8. Microphone (displayed when it is on)
9. Power status (When the color is green , it indicates that the battery
percentage is higher than 20%, and the power is sufficient. When the
color is red , the power is insufficient and need to be charged
promptly. When a lightning icon is displayed, the device is
powered by an external power supply and the battery pack is in
charging.)
10 Photography and Video Recording
EYE III series is equipped with a function for video recording and
photography of the observed image which is saved on the built-in 32GB
memory storage.
The photo and video files are named with time, so it is suggested to
synchronize date and time in the InfiRay Outdoor application before using
the photo and video functions.
Photography
⚫On the home screen, press and hold the Camera button (4) to take a
photo.
⚫When taking a photo, the photo
icon flashes below the
status bar in the upper left
corner of the screen. The photo
is taken successfully when the
icon disappears.
⚫Photos are stored in the built-in storage.
⚫When the exclamation mark icon appears on the right side of the
camera icon, it prompts that the memory space is insufficient. Check
and transfer videos and images to other media to free up the space.
Video Recording
⚫On the home screen, short press the Camera button (4) to start the

- 11 -
video recording function.
⚫Then, the recording timer in the format of the HH: MM: SS (hour: minute:
second) will appear on the upper right of the display.
⚫During recording, it is supported
to take a photo with a long press
of the Camera button (4). Of
course, the other operations to
the device are supported during
recording.
⚫Short press the Camera button (4) again to stop and save the video
recording.
⚫All videos and photos will be saved in the build-in storage.
Note
-You can open and operate the menu during video recording.
-The images taken and the videos recorded are stored in the built-in
memory space in the format of PIC_HHMMSS.jpg (image) and
VIDEO_HHMMSS.mp4 (video), with HHMMSS indicating
hour/minute/second.
-The maximum duration of a video recording file is 30 minutes. When
the duration is more than 30 minutes, the video will be automatically
recorded onto a new file.
-The number of files is limited by the internal memory space of the
device. Check the remaining space regularly, and transfer your videos
and images to other media to free up the space on the memory card.
Memory Access
When the device is turned on and connected to a computer, it is recognized
by the computer as a flash memory card, which is used to access the
device's memory and make copies of pictures and videos.
⚫Connect the device to a computer through the Type C data cable.
⚫Power on the device for operation. You can view the recorded videos
and photos on the computer and charge the built-in battery pack at the
same time.
⚫Double click “my computer” on the computer desktop - select the USB
flash disk and double click to access the memory space.
⚫There are different folders named by time in the format of xxxx (year) xx
(month) xx (day) in the memory.
⚫You can select required files or folders for copying or deleting operations.

- 12 -
11 Digital Zoom
⚫EYE III series support to quickly increase the magnification by 1.5× / 2×
/ 2.5× / 3× / 3.5× / 4×, as well as to return to the basic magnification 1×.
⚫On the home screen, clockwise
rotate the Controller (3) to
digital zoom in, and rotate the
Controller (3) anticlockwise to
zoom out.
⚫The corresponding magnification
is displayed in the status bar.
12 Shortcut Menu Function
On the shortcut menu, you can quickly adjust basic configurations of
commonly used functions, including the image mode, image contrast,
screen brightness and image sharpness.
⚫In the home screen, press the Controller (3) to enter the shortcut menu.
⚫Rotate the Controller (3) to switch among the options.
-Image mode ( ): Select
the option and press the
Controller (3) to change the
image mode. There are four
modes - White hot, Black
hot, Red hot and Rainbow.
-Image contrast ( ): Select the option and press the Controller

(3) to switch the image contrast from level 1 to 6.
-Screen brightness ( ): Select the option and press the
Controller (3) to switch the screen brightness from level 1 to 6.
-Image sharpness ( ): Select the option and press the
Controller (3) to switch the image sharpness from level 1 to 4.
⚫Press and hold the Controller (3) to save the changes and return to the
home screen.
⚫It will automatically save the changes and return to the home screen if
there is no operation within 5s.
13 Main Menu Function
⚫On the home screen, press and hold the Controller (3) to enter the main

- 13 -
menu interface.
⚫There are two pages of the function options. Rotate the Controller (3)
to switch among the menu options.
⚫Menu navigation is cyclical: as soon as the last menu option of the first
page is reached, it will turn to the first menu option of the second page
when clockwise rotate the Controller (3), and vice versa.
⚫Press briefly the Controller (3) to adjust the current parameters or enter
the sub-menus.
⚫In all menu interfaces, press and hold the Controller (3) to save and
exit to the home screen, or short press the Camera button (4) to return
to the home screen without saving.
⚫Automatic exiting from the menu to the home screen will occur when
there is no operation within 10 seconds.
⚫During the continuous operation of the EYE III, when you exit from the
main menu, the cursor remains at the position before exiting. When
you restart the thermal imaging monocular and enter the main menu for
the first time, the cursor stays at the first menu option.
Menu Options and Descriptions
Ultra-Clear
Turn Ultra-Clear mode on/off
⚫Press and hold the Controller (3) to enter the Main Menu interface.
⚫Rotate the Controller (3) to select the Ultra-Clear option. Ultra-clear option is
selected by default when entering the menu interface for the first time after power-on.
⚫Press briefly the Controller (3) to turn on /off the Ultra-Clear mode, during which you
will hear a click of shutter calibration.
⚫When the function is turned on/off, the icon in the status bar changes accordingly.
⚫When the Ultra-Clear mode is on, the image contrast is enhanced, which is suitable for rainy, foggy and other harsh
weather conditions.

- 14 -
Wi-Fi
Turn Wi-Fi on/off
⚫Press and hold the Controller (3) to enter the Main Menu interface.
⚫Rotate the Controller (3) to select the Wi-Fi option.
⚫Press briefly the Controller (3) to turn on /off the Wi-Fi function.
⚫When Wi-Fi is on, the default password is prompted for 3s behind Wi-Fi function.
⚫The password is only displayed for the first three times. After the password is
changed, it will not be displayed.
⚫When the function is on, the icon appears on the status bar accordingly.
⚫When Wi-Fi is on, it can be connected with mobile device such as smartphone for data transmission via Wi-Fi.
Note: Wi-Fi function will not be enabled when the Interconnection function is on.
Interconnection
Turn interconnection on/off
⚫Press and hold the Controller (3) to enter the Main Menu interface.
⚫Rotate the Controller (3) to select the Interconnection option.
⚫Press briefly the Controller (3) to turn on /off the Interconnection function.
⚫When the function is on, it will automatically search for a WiFi hotspot named ICS and
the password is 12345678.
⚫The method for interconnection refers to the Section 15 Method for Interconnection.
⚫Only when the interconnection is successful, the icon will appear on the status bar.
Note: The Interconnection function and Wi-Fi function cannot be enabled at the same time, that is, Wi-Fi function will not be
enabled when the Interconnection function is on, and vice versa.

- 15 -
PIP
Turn PIP function on/off
⚫Press and hold the Controller (3) to enter the Main Menu interface.
⚫Rotate the Controller (3) to select the PIP option.
⚫Press briefly the Controller (3) to turn on /off the PIP function.
⚫When the PIP function is on, a small window and a blue box will appear on the screen.
The image in the separate window is the 2x magnified image that is captured by the
blue box in the main image.
Auto Calibration
Turn auto calibration on/off
⚫Press and hold the Controller (3) to enter the Main Menu interface.
⚫Rotate the Controller (3) to select the Auto Calibration option.
⚫Press briefly the Controller (3) to turn on/off the Auto Calibration function.
⚫When the Auto Calibration function is on, the icon appears on the status bar accordingly. And the device will calibrate
automatically according to the software algorithm. There is no need to close the lens cover (the internal shutter covers the
sensor).
Microphone
Turn Microphone on/off
⚫Press and hold the Controller (3) to enter the Main Menu interface.
⚫Rotate the Controller (3) to select the Microphone option.
⚫Press briefly the Controller (3) to turn on /off the Microphone function.
⚫When the Microphone function is on, the icon appears on the status bar accordingly.
⚫When the Microphone is on, the sound around the device will be synchronously collected during video recording.

- 16 -
Image hue
Set the image hue
⚫Press and hold the Controller (3) to enter the Main Menu interface.
⚫Rotate the Controller (3) to select the Image Hue option.
⚫Press briefly the Controller (3) to switch the Image Hue between W (warm) and C
(cool).
⚫Cool color image is brighter and warm color image is softer and eye protection.
⚫The switch between the warm and cool hues is not applicable to the Rainbow mode.
Compass
Turn on/off and calibrate the compass function
⚫Press and hold the Controller (3) to enter the Main Menu interface.
⚫Rotate the Controller (3) for select the Compass option.
⚫Short press the Controller (3) to enter the submenu of the Compass function.
⚫In the submenu, you can choose to turn the Compass function on / off, or select
Calibration to calibrate the compass.
⚫Rotate the Controller (3) for select the option and press the Controller (3) to confirm
your selection.
⚫When the Compass is on, it will be displayed on the middle of the status bar on the
top.
Compass Calibration
⚫When Calibration option is selected, short press the Controller (3) to enter the
compass calibration interface. An icon like a triaxial coordinate system appears on the screen.

- 17 -
⚫In the 15 seconds, rotate the scope along the three axes indicated by the icon, with each axis rotating at least 360°.
⚫After 15s, the calibration is finished automatically and exit to the Main Menu interface.
Language
Set the GUI Language
⚫Press and hold the Controller (3) to enter the Main Menu interface.
⚫Rotate the Controller (3) for select the Language option.
⚫Short press the Controller (3) to enter the submenu of the language.
⚫Rotate the Controller (3) to select the desired language.
⚫Confirm your selection with a short press of the Controller (3) and return to the Main
Menu interface automatically.
Note: The language is not be restored when the device is reset to the factory settings.
Firmware
Update
Firmware update
⚫Press and hold the Controller (3) to enter the Main Menu interface.
⚫Rotate the Controller (3) to select the Firmware Update option.
⚫Press briefly the Controller (3) to open the submenu of the firmware update function.
⚫Rotate the Controller (3) to select Yes or No and press the Controller (3) to confirm
the selection.
⚫When select Yes, it will automatically search for the update file in the folder named
update in the memory space and update it.
⚫For details about how to update, please refer to the Section 16 Firmware Update.
Note: Please ensure that the power of the device is sufficient before the update.

- 18 -
Factory Reset
Reset to the factory settings
⚫Press and hold the Controller (3) to enter the Main Menu interface.
⚫Rotate the Controller (3) to select Factory Reset option.
⚫Press the Controller (3) to open the submenu of the Factory Reset.
⚫Rotate the Controller (3) to select Yes for restoring factory settings or No for
canceling the operation.
⚫Press the Controller (3) to confirm the selection.
⚫If Yes is selected, the scope will restart automatically.
⚫If No is selected, it will be back to the upper menu automatically.
The following functions will be restored to their default settings:
-Image Mode: White hot
-Image Contrast: level 3
-Screen Brightness: level 2
-Image Sharpness: level 3
-Magnification: 1×
-Auto Calibration: On
-Image Hue: C
-Ultra-Clear Mode: Off
-Wi-Fi: Off
-Wi-Fi Password: 12345678
-Interconnection: Off
-PIP: Off
-Microphone: Off
-Compass: Off
Info
Show device information
⚫Press and hold down the Controller (3) to enter the Main Menu interface.
⚫Turn the controller for select the Info option.
⚫The relevant information of the device will be shown by a short press of the Controller (3).
Other manuals for EYE III
3
This manual suits for next models
3
Table of contents
Languages:
Other InfiRay Monocular manuals

InfiRay
InfiRay Xclip User manual

InfiRay
InfiRay AFFO Series User manual

InfiRay
InfiRay Clip T Series User manual

InfiRay
InfiRay Tube Series User manual

InfiRay
InfiRay Affo AP09 User manual

InfiRay
InfiRay Mini Series User manual

InfiRay
InfiRay FINDER FL25 User manual

InfiRay
InfiRay Rico Series User manual

InfiRay
InfiRay AP13 User manual

InfiRay
InfiRay EYE III User manual