manuals.online logo
Brands
  1. Home
  2. •
  3. Brands
  4. •
  5. InfiRay
  6. •
  7. Monocular
  8. •
  9. InfiRay Clip T Series User manual

InfiRay Clip T Series User manual

Clip T Series
Thermal Imaging Attachment
Operating Manual
1.Description
Clip T Series is one of the most compact and cheapest thermal
imager attachment for sights on the market, which is mainly used with
day riflescope and low cost, low power consumption and miniaturization.
2. Components
1. Objective Lens
2. Power (P) Button
3. Type-C Interface
4. Menu (M) Button
5. Battery Compartment
6. Eyepiece Locking Ring
7. Eyepiece Interface
3. Features
l12µm thermal imaging detector
lHigh image quality
lThe most compact size
lUltra light weight
lLow power consumption and long endurance
lHD resolution OLED Display
lIP67 Rating
4. Battery Installation
lRemove the battery cap by unscrewing it counter clockwise
lInsert a CR123 with positive pole inwards
lReturn battery cap into housing, screw clockwise until tight
Tips:
ØAvoid removing the O shape seal ring.
ØNotice the poles of battery placed in right directions.
2
3
1
4
6
7
5
Whitehot
Blackhot
Redhot
Color
Displaylightness
ManualCalibration
AutomaticCalibration
USBmode
BatteryIndicator
A
M
6. Menu/Status Bar Icons
7. Operations
7.1 Switch On/Off
Press and hold the P button(2) to turn on the device. Waiting for 3
seconds to enter the home interface.
Press and hold the P button (2) until the shutdown countdown is 0,
release the button to turn off the device.
7.2 Standby Mode
Press and hold P button(2) until the countdown appears, release the
button within 3s countdown to active the standby mode.
Short press P button(2) again to exit standby mode.
7.3 Status Bar
In the home interface, there are system information hints at the bottom of
the screen including: Palette, Screen Brightness, Calibration mode,
Battery status etc.
5.Mounting Clip T on a DaylightScope
Before installing Clip T onto your daylight device, the following
preparations should be made:
lSelect an adaptor fixture (9) with an insert of the required diameter
depending on the outer diameter size of the objective lens of your
daylight device.
lPrepare a thread adapter insert (8) that can match with the thread
interface of Clip T eyepiece and metal adaptor fixture.
Insallation
lInstall the threaded adapter insert (8) to Clip T by rotating clockwise
along the thread.
lRotate the eyepiece locking ring (6) counterclockwise to lock the
adapter insert (8).
lInstall the threaded insert (8) fully into the adapter fixture (9).
lInstall fully the adapter fixture (9) with Clip T onto the objective lens
(10) of your daylight device.
lPull the handle (11) on the adapter fixture (9) to lock it firmly on your
daylight device. Check that the adapter fixture (9) is snugly fitted onto
the objective lens (10) .
lIf there is space or if the lever cannot reach the locking position, adjust
the locking screw with the hex-nut wrench to ensure that the adapter
fits tightly the objective lens.
Tips:
ØClip may be installed in wrong position while tighten on screw thread,
change its position by adjust eyepiece locking ring.
ØThe eyepiece interface thread (7) of Clip T series is M30*1.0;
ØA thread adapter ring with M52*0.75 thread interface will be presented
in the package of Clip T;
8910
7
11
7.4 Calibration
In the home interface, short press the P button(2) for shutter calibration.
7.5 Image Movement
In home interface, press and hold the P button(2) and M button(4) to
enter into the image movement interface.
lThe movement distance and direction on X & Y axis appear on the
interface.
ØShort press P button(2) to move upward one pixel.
ØLong press P button(2) to move upward ten pixels.
ØPress and hold P button(2) constantly to move upward
continuously.
ØPress the M button(4) to move downward, and the adjustment
mode is the same as steps above.
lPress P button(2) and M button(4) simultaneously to switch the
movement directions.
lWhile switched to horizontal movement, press P button(2) to move
towards left and M button(4) to move towards right. Movement
method is same as vertical on Y-axis.
lLong press the P button(2) and M button(4) simultaneously to save
calibration data. Once saved, the device will exit this interface after 2s.
Tips: While idle, the device will exit image movement interface in 30s,
without saving.
7.6 Shortcut Menu
In the home interface, short press the M button(4) to enter shortcut
menu. Options in Shortcut menu are as follow: Palette - Screen
Brightness – Calibration – Exit.
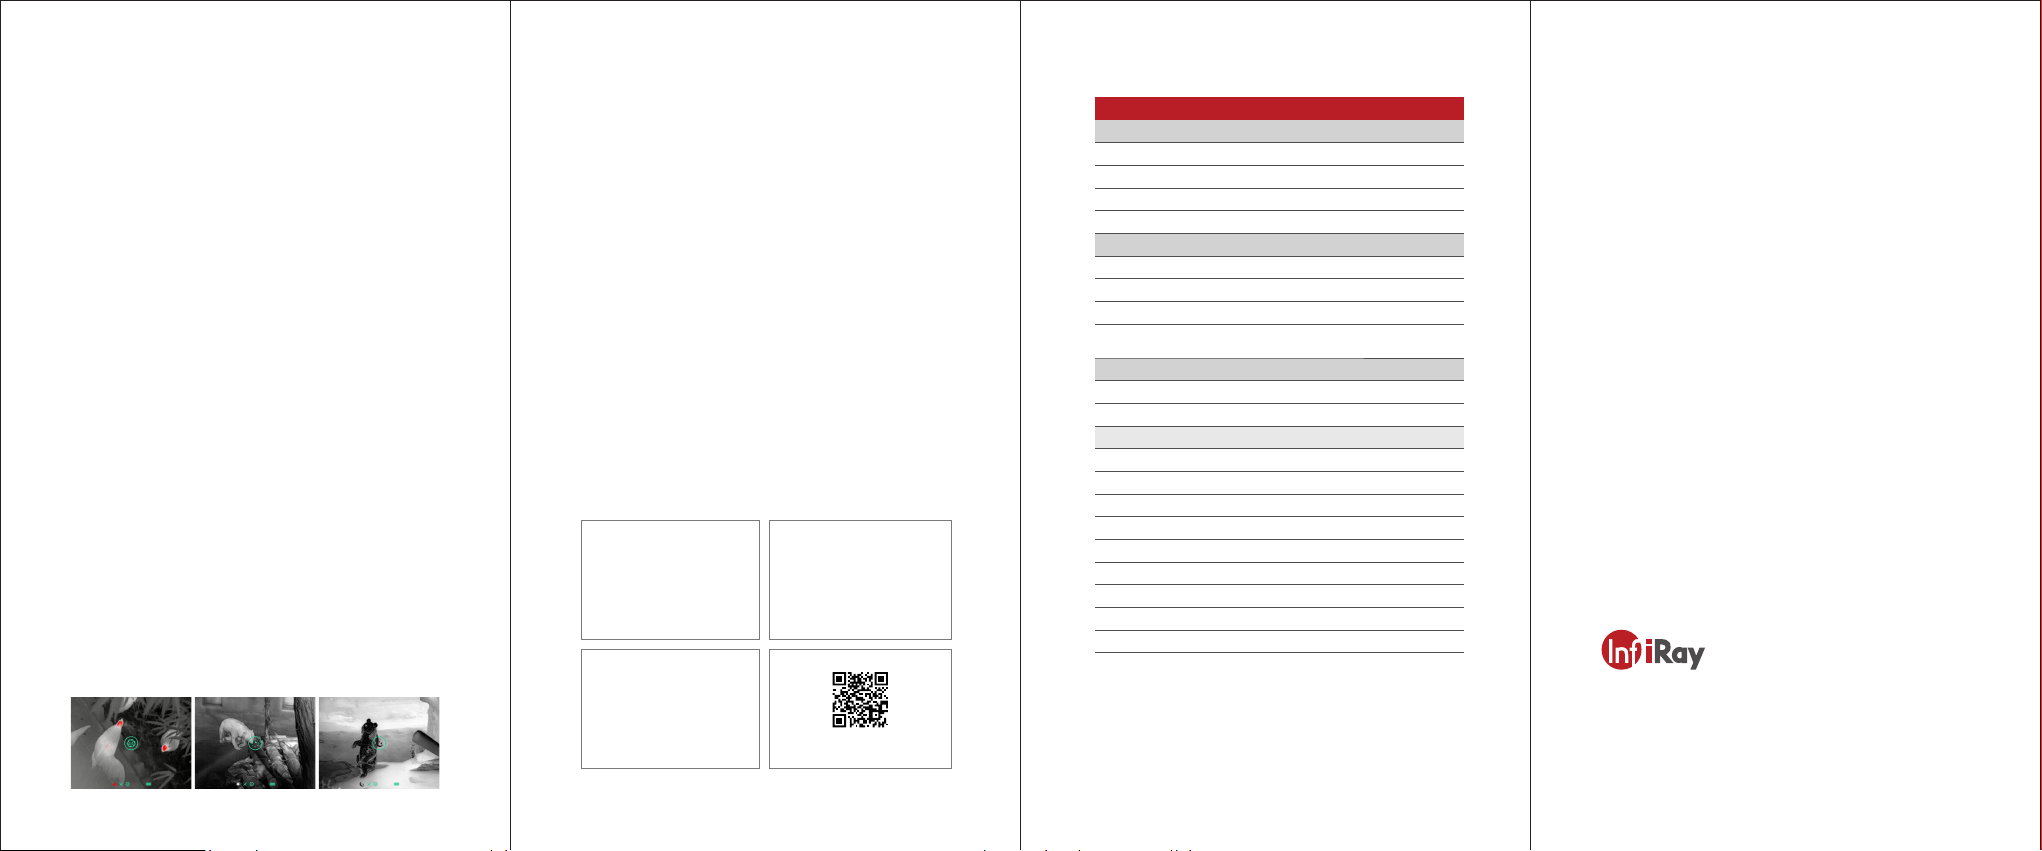
lPalette: press P button(2) briefly to switch between White Hot - Black
Hot - Red Hot - Pseudo Colour.
lScreen Brightness: Press P button(2) briefly to adjust the screen
brightness among four levels.
lCalibration: short press P button(2) to switch between Automatic (A)
mode and Manual (M) mode.
Specifications
lImprovements may be made to the design and software of this
product to enhance its user features.
lTechnical parameters of the device may be improved without prior
notice of the customer.
Model
CTP13
Microbolometer
Resolution, pixels
256×192
Pixel size, µm
12
NEDT, mk
≤40
Frame refresh rate, Hz
25
Optical Specifications
Objective Lens, mm
13
Field of view, degree
13.5×10.1
Magnification
1×
Detection range, m
(Target size: 1.7mx0.5m, P(n)=99%)
675
Display
Type
0.39" OLED
Resolution, pixels
1024×768
Operational Specifications
Battery type
CR123(3.7V)×1
Power consumption, mW
About 800
Max. battery life(t=25 °C), h
3.5
Operation temperature, °C
-20 ~ +50
IP Rating
IP67
Dimension, mm
79×52×46
Weight(without battery), g
≤140
USB Type
Type-C
Eyepiece Interface
M30×1.0
7.7 Type-C Mode
In the home interface, while connected with Type C cable, press and hold
the M button(4) and meanwhile quickly press P button(2) five times to
activate Type C Mode for updating firmware.
Repeat previous steps or plug out USB cable to exit Type C mode.
8. Cautions
lDo not look directly at high radiation sources (such as solar).
lAvoid contact lens with sharp items.
lPlease use standard battery. Don't throw used batteries anywhere
or into fire.
lAvoid to expose in high temperature environment (>60℃).
lAvoid short circuit product.
lAvoid put the device into fire.
9. Maintenance
lPolish the device with soft cloth by dipping certain amount of
alcohol.
lFor optical glass parts (such as eyepiece lens and objective lens),
blow dust first, and then wipe slightly with charcoal pen or
absorbent cotton swab that dipping unmethylated alcohol.
10. Customer Service
24h Hotline
+86-400-998-3088
Fax
+86-535-3410604
Email
infirayoutdoor@infiray.com
www.infirayoutdoor.com
IRay Technology Co., Ltd.
Add: 11th Guiyang Street, YEDA, Yantai 264006, P.R. China
Tel: 0086-400-998-3088
Email: infirayoutdoor@infirayout.com
Web: www.infirayoutdoor.com

This manual suits for next models

1

Other InfiRay Monocular manuals

InfiRay Tube Series User manual

InfiRay

InfiRay Tube Series User manual

InfiRay EYE III User manual

InfiRay

InfiRay EYE III User manual

InfiRay Affo AP09 User manual

InfiRay

InfiRay Affo AP09 User manual

InfiRay Rico Series User manual

InfiRay

InfiRay Rico Series User manual

InfiRay Xclip User manual

InfiRay

InfiRay Xclip User manual

InfiRay AFFO Series User manual

InfiRay

InfiRay AFFO Series User manual

InfiRay Mini Series User manual

InfiRay

InfiRay Mini Series User manual

InfiRay DUAL User manual

InfiRay

InfiRay DUAL User manual

InfiRay EYE III User manual

InfiRay

InfiRay EYE III User manual

InfiRay FINDER FL25 User manual

InfiRay

InfiRay FINDER FL25 User manual

InfiRay EYE III User manual

InfiRay

InfiRay EYE III User manual

InfiRay EYE III User manual

InfiRay

InfiRay EYE III User manual

InfiRay AP13 User manual

InfiRay

InfiRay AP13 User manual

Popular Monocular manuals by other brands

Celestron 72374 instruction manual

Celestron

Celestron 72374 instruction manual

Bushnell Night Vision 26-2042W user guide

Bushnell

Bushnell Night Vision 26-2042W user guide

Bushnell Equinox Z  260130 instruction manual

Bushnell

Bushnell Equinox Z 260130 instruction manual

ATN PS22-3 Specifications

ATN

ATN PS22-3 Specifications

Levenhuk Halo 13x user manual

Levenhuk

Levenhuk Halo 13x user manual

AGM Global Vision ASP TM25-384 user manual

AGM Global Vision

AGM Global Vision ASP TM25-384 user manual

Creative XP GlassCondor PRO user manual

Creative XP

Creative XP GlassCondor PRO user manual

Kite Optics MONO ED user manual

Kite Optics

Kite Optics MONO ED user manual

FLIR ARMASIGHT user manual

FLIR

FLIR ARMASIGHT user manual

Barska AA11278 Instructions for use

Barska

Barska AA11278 Instructions for use

ATN Night Star user guide

ATN

ATN Night Star user guide

FLIR Breach PTQ136 user manual

FLIR

FLIR Breach PTQ136 user manual

Levenhuk Fatum Z100 user manual

Levenhuk

Levenhuk Fatum Z100 user manual

Yukon PHANTOM 26057T Use manual

Yukon

Yukon PHANTOM 26057T Use manual

FLIR Recon M24 Specifications

FLIR

FLIR Recon M24 Specifications

ATN NVG7-3I Specifications

ATN

ATN NVG7-3I Specifications

Celestron UPCLOSE G2 instruction manual

Celestron

Celestron UPCLOSE G2 instruction manual

AGM PVS-14 user manual

AGM

AGM PVS-14 user manual

manuals.online logo
manuals.online logoBrands
  • About & Mission
  • Contact us
  • Privacy Policy
  • Terms and Conditions

Copyright 2025 Manuals.Online. All Rights Reserved.