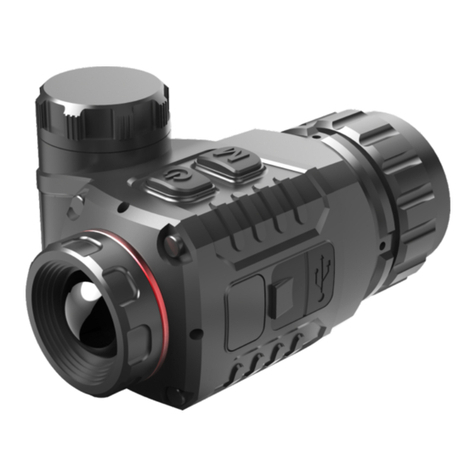
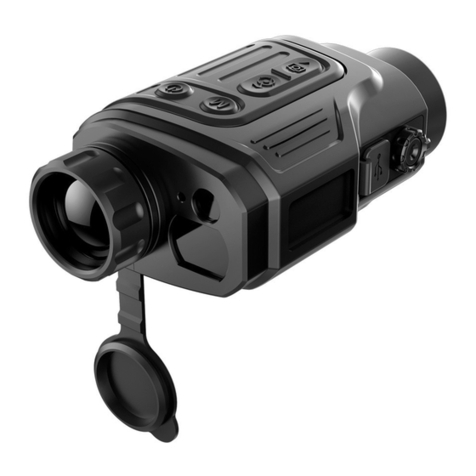
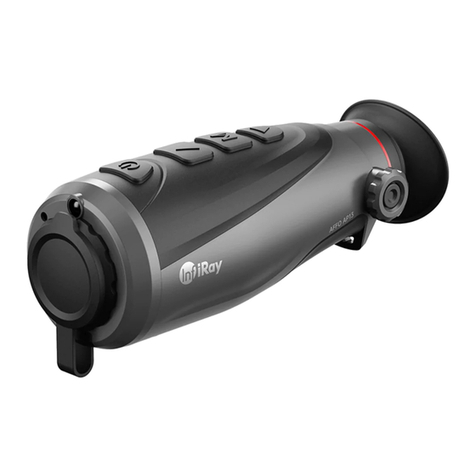
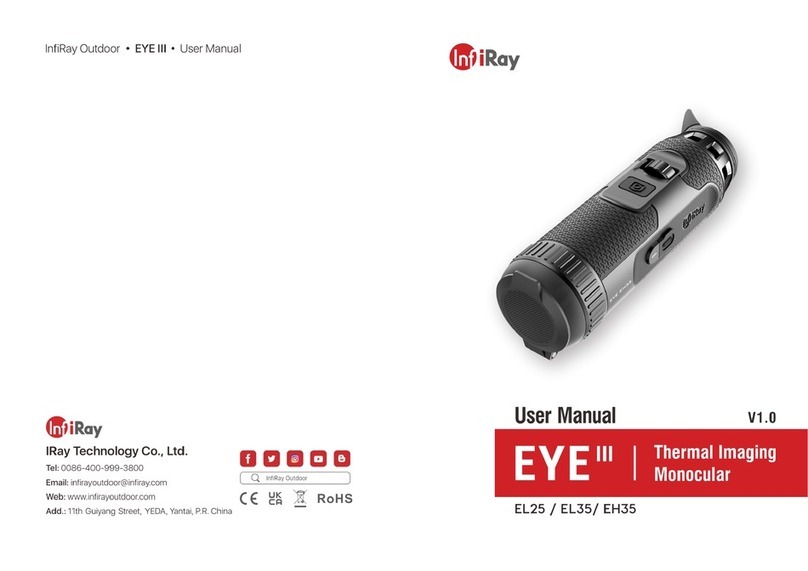
InfiRay EYE III User manual

EYEEL25 / EL35 / EH35Quick Start GuideV1.0Thermal ImagingMonocular EN/DE/FR/HU


Please read this guide before using the product, and keep the guide for future reference.For detailed information about the device, please download the complete user manual from the official website (www.infirayoutdoor.com).Bevor Sie dieses Produkt benutzen, lesen Sie bitte dieses Benutzerhandbuch sorgfältig durch und bewahren Sie es zum späteren Nachschlagen gut auf.Für weitere Informationen laden Sie bitte die vollständige Version des Benutzerhandbuchs von unserer offiziellen Website (www.infirayoutdoor.com) herunter.Veuillez lire attentivement ce manuel d'utilisation avant d'utiliser ce produit et conservez-le convenablement pour toute référence ultérieure.Pour les détails, veuillez télécharger la version complète du manuel d'utilisation sur notre site officiel (www.infirayoutdoor.com).Kérjük, figyelmesen olvassa el ezt a használati útmutatót a termék használata előtt, és őrizze meg megfelelően a későbbi használatra.A részletekért töltse le a felhasználói kézikönyv teljes verzióját hivatalos weboldalunkról (www.infirayoutdoor.com).ENFRDEHU

15-30Wärmebild-Monokular31-47Appareil d'imagerie thermique monoculaire1-14Thermal Imaging MonocularQuick Start Guide49-62HUMonokuláris hőkameraDEFRENEYE

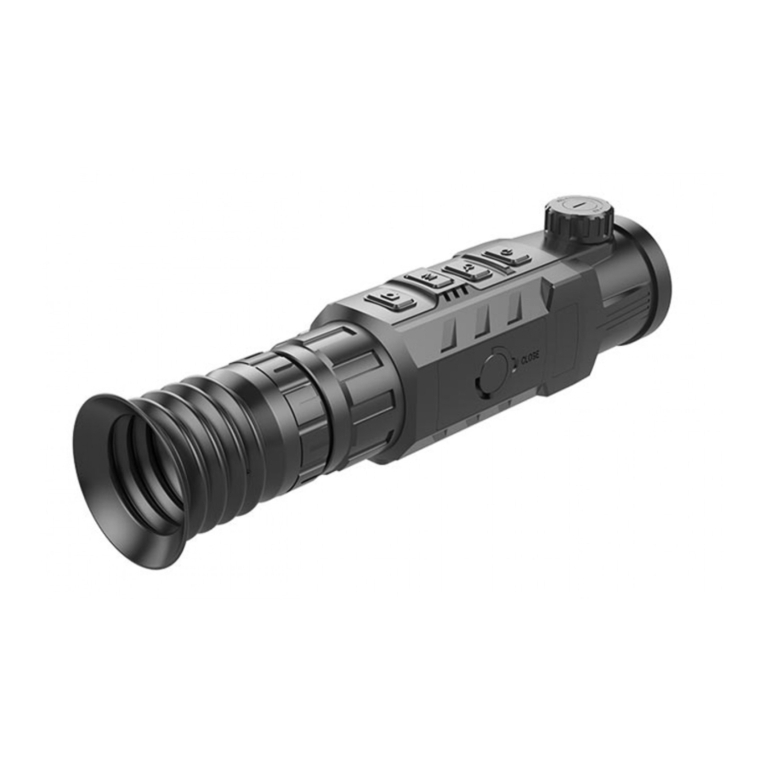
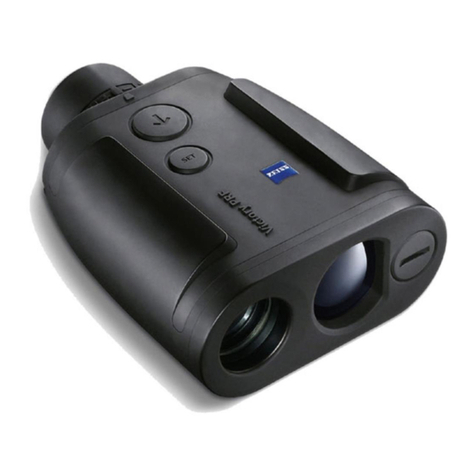
Package ContentslEYE III Series Thermal Imaging MonocularlType C cablelPower adapterlNeck straplWrist straplDrawstring baglPortable baglLens clothlQuick Start GuideComponents and ControlsENGLISH1. Eyeshade2. Diopter adjustment3. Controller4. Camera button5. Type C port6. Power indicator7. Lens focus ring8. Objective lens9. Lens cap1234567891ENGLISH

Button Operations
Button
Current Status
Short Press
Long Press
Controller(3)
Powered off
--
Power on device
Home screen
Open the shortcut menu
Open the main menu
Standby mode
Wake up the device
Menu interface
Confirm selection
Return to the home screen
Camera button(4)
Home screen
Start / Stop a video recording
Take a photo
Standby mode
Power off the device
Menu interface
Return to the home screen
--
Controller (3) + Camera button (4)
Home screen
Standby the device
Power off the device
Button
Current Status
Clockwise Rotation
Anticlockwise Rotation
Controller(3)
Home screen
Digital zoom-in
Digital zoom-out
Standby mode
Wake up the device
Menu interface
Navigate downwards with the menu options
Navigate upwards with the menu options
2ENGLISH

Getting StartedlPress and hold the Controller (3) for 3s to power on the device and the startup LOGO will be displayed on the device screen in 1 second.lWhen an infrared image is displayed in the eyepiece, the thermal imaging monocular enters the operating status.lRotate the diopter adjustment (2) to adjust the resolution of the icon on the display. The diopter adjustment is used to adjust the eyepiece diopter for users with different degrees of myopia.lShortcut menu: on the home screen, press the Controller (3) to open the shortcut menu, and set the image mode ( ), image contrast ( ), screen brightness ( ), and image sharpness ( ). Rotate the Controller (3) to switch between different functions on the shortcut menu, and press the Controller (3) to set parameters.lMain menu: on the home screen, press and hold the Controller (3) to enter the main menu interface for more functions. Rotate the Controller (3) to switch between different functions on the main menu, and press the Controller (3) to select the option. lPhoto / Video recording: On the home screen, briefly press the Camera button (4) to start/stop a video recording. And long press the Camera button (4) to take a photo.lStandby: There are two ways to standby the device. One is to cover the lens cap (9) and then rotate the Controller (3) to standby the device; and the other way is to briefly press the Controller (3) + Camera button (4) at the same time on the 3ENGLISH
home screen. Press or rotate the Controller (3) to wake up the Device.lIn the standby mode, briefly press the Camera button (4) to power off the device.lPower off: On the home screen, press and hold the Controller (3) + Camera button (4) at the same time to enter the power-off countdown interface. The device will be powered off when the 3s countdown ends. And the shutdown can be stopped by rotating the Controller (3) before the countdown ends.Charging The Eye III series is supplied with a built-in rechargeable Li-ion battery pack, which allows operation up to 8 hours. When using the device for the first time, please fully charge it first. lConnect the Type C end of the data cable (10) to the Type C port (5) of the device.lConnect another port of the data cable (10) to the power adapter (11).lInsert the plug of the adapter to the 110-240V socket (12).lWhen the device is charging, the power indicator (6) next to the Type C port (5) is red. The power indicator (6) is on only Note: If the standby time exceeds 30 minutes, the device will automatically shut down.4ENGLISH

in the charging status. When the power indicator (6) turns green, the device is fully charged. lWhen charging, a lighting icon will appear inside the battery icon on the display. The lighting icon will not disappear until the data cable (10) is removed or the power is cut off.lCharging is finished when the interior of the battery icon on the display is completely green . lDuring using, when the battery icon turns red , this means the power level is low, please charge the device in time to avoid the data loss.Socket12Power adapter11100-240VType C cable10565ENGLISH

Specifications
Model
EL25
EL35
EH35
Microbolometer
Resolution, pixels
384×288
384×288
640×512
Pixel size, μm
12
NETD, mk
≤ 25
Frame Rate, Hz
50
Optical Specifications
Objective lens, mm
25
35
35
Field of view, º
10.5×7.9
7.5×5.7
12.5×10
Magnification, ×
2.5 ~ 10
3.5 ~ 14
2.0 ~ 8
Digital zoom, ×
1~ 4
Eye Relief, mm
20
Exit Pupil Diameter, mm
6
Diopter, D
-3 ~ +6
Detection range, m(Target size: 1.7m×0.5m, P(n)=99%)
1300
1800
1800
Display
Type
OLED
Resolution, pixels
1440×1080
Battery
Battery type / Capacity / Output voltage
Built-in li-ion battery / 4.2Ah / 3.6V
6ENGLISH

* The actual operation time depends on the intensity of Wi-Fi use, photographing and video recording.ØImprovements may be made to the design and software of this product to enhance its useful features without prior notice to the customer.
Model
EL25
EL35
EH35
Max. battery life * , h
8 (t=22 °C )
External power supply, V
5 (Type C)
Physical Specifications
IP rating
IP67
Memory capacity, GB
32
Wi-Fi / APP
Support (InfiRay outdoor)
MIC
Support
Display-off
Support
Weight, g
< 500
Dimension, mm
54 × 54 × 203
7ENGLISH

8ENGLISHUpdate and InfiRay Outdoor EYE III series thermal imaging monocular support InfiRay Outdoor technology, which allows you to transmit the image from the monocular to smartphone or tablet via Wi-Fi in real time. You can find the detailed instruction about InfiRay Outdoor at the site www.infirayoutdoor.com.Download and install the InfiRay Outdoor at the official website (www.infirayoutdoor.com) or app store or scanning the QR code below.

Important Safety InformationEnvironmental influencesWARNING! Never point the lens of the device directly at intense heat sources such as the sun or laser equipment. The objective lens and eyepiece can function as a burning glass and damage the interior components.Ergonomics notesTake breaks after longer periods of use to avoid wrist pain.Risk of swallowingCaution: Do not place this device in the hands of small children. Incorrect handling can cause small parts to come loose which may be swallowed.Safety instructions for uselHandle the device with care: rough handling can damage the internal battery.lDo not expose the device to fire or high temperatures.lDo not disassemble the device to access the battery. The battery is not meant to be replaced by the end user.lThe battery capacity decreases when operated in a cold ambient temperature. This is not a fault and occurs for technical reasons.lThe recommended temperature for using this product is -20 °C to +50 °C. Otherwise, it will affect the service life of the product.lDo not store the device for long periods at temperatures below -20°C or above +50°C. Otherwise, it will permanently reduce the capacity of the battery.9ENGLISH

10ENGLISHlAlways store the device in a dry, well-ventilated space. lIf the device has been damaged, send the device to our after-sales service for repair.lBefore using this product in an environment with water, ensure that the Type C cover is tightly covered.Safety instructions for the power supply unitlCheck the power supply unit, cable and adapter for visible damage before use.lDo not use any defective parts. Defective components must be replaced.lDo not use the power supply in wet or humid environments.lOnly charge the device at temperatures ranging between 0°C and 50°C.lDo not make any technical modifications.Disposal of batteriesDirective 2006/66/EC (battery directive): This product contains a battery that cannot be disposed of as unsorted municipal waste in the European Union. See the product documentation for specific battery information. The battery is marked with this symbol, which may include lettering to indicate cadmium (Cd), lead (Pb), or mercury (Hg). For proper recycling, return the battery to your supplier or to a designated collection point. For more information see: www.recyclethis.info.User information on the disposal of electrical and electronic devices (private households)2012/19/EU (WEEE directive): Products marked with this

11ENGLISHsymbol cannot be disposed of as unsorted municipal waste in the European Union. For proper recycling, return this product to your local supplier upon the purchase of equivalent new equipment, or dispose of it at designated collection points. For more information see: www.recyclethis.info.For business customers within the European UnionPlease contact your dealer or supplier regarding the disposal of electrical and electronic devices. He will provide you with further information.Information on disposal in other countries outside of the European UnionThis symbol is only applicable in the European Union. Please contact your local authority or dealer if you wish to dispose of this product and ask for a disposal option.Intended useThe device is intended for displaying heat signatures duringnature observation, remote hunting observations and for civil use. This device is not a toy for children.Use the device only as described in this operating manual. The manufacturer and the dealer accept no liability for damages which arise due to non-intended or incorrect use.Function testlBefore use, please ensure that your device has no visible damage.lTest to see if the device displays a clear, undisturbed image.lCheck that the settings for the device are correct.

Installing/removing the batteryThe Eye III series thermal imaging monocular is equipped with a battery pack. It can not be removed. Observation with and without glassesThanks to the flexible eye-shade, the EYE III series can be used with or without glasses. It offers a full field of view in both cases.Legal and Regulatory InformationWireless transmitter module frequency range: WLAN: 2.412-2.472GHz (For EU)Wireless transmitter module power<20dBm (only for EU)We, IRay Technology Co., Ltd., hereby declares that the radio equipment EYE III series is in compliance with the Directives 2014/53/EU, 2011/65/EU and RER 2017 (SI 2017/1206). The full text of the EU&UK declaration of conformity is available at: www.infirayoutdoor.com.FCC StatementFCC ID: 2AYGT-2K-00Labeling requirementsThis device complies with part 15 of the FCC Rules. Operation is subject to the following two conditions: (1) This device may not cause harmful interference, and (2) this device must accept any interference received, including interference that may cause undesired operation.Information to the user12ENGLISH

13ENGLISHAny Changes or modifications not expressly approved by the party responsible for compliance could void the user's authority to operate the equipment. Note: The manufacturer is not responsible for any radio or TV interference caused by unauthorized modifications to this equipment. Such modifications could void the user's authorityto operate the equipment.Note: This equipment has been tested and found to comply with the limits for a Class B digital device, pursuant to part 15 of the FCC Rules. These limits are designed to provide reasonable protection against harmful interference in a residential installation. This equipment generates uses and can radiate radio frequency energy and, if not installed and used in accordance with the instructions, may cause harmful interference to radio communications. However, there is no guarantee that interference will not occur in a particular installation. If this equipment does cause harmful interference to radio or television reception, which can be determined by turning the equipment off and on, the user is encouraged to try to correct the interference by one or more of the following measures:lReorient or relocate the receiving antenna.lIncrease the separation between the equipment and receiver.lConnect the equipment into an outlet on a circuit different from that to which the receiver is connected.lConsult the dealer or an experienced radio/TV technician for help.This equipment complies with FCC RF radiation exposure limits set forth for an uncontrolled environment.

Body-worn OperationThis device was tested for typical body-support operations. To comply with RF exposure requirements, a minimum separation distance of 0 cm must be maintained between the user's body and the handset, including the antenna. Third-party belt-clips, holsters, and similar accessories used by this deviceshould not contain any metallic components. Body accessories that do not meet these requirements may not comply with RF exposure requirements and should be avoided. Use only the supplied or an approved antenna.14ENGLISH

Lieferumfang lWärmebildmonokular der EYE III-SerielUSB-C-KabellNetzteillTrageriemenlHandgelenkbandlKordelzugbeutellTragetaschelLinsentuchlSchnellstartanleitungEinheiten und Steuerelemente DEUTSCH12345678915DEUTSCH6. Betriebsanzeige7. Linsen-Fokusring8. Objektivlinse9. Linsendeckel1. Augenschirm 2. Dioptrieneinstellung 3. Regler 4. Kamera-Taste 5. USB-C

Tastenbeschreibungen
Taste
Aktueller Status
Kurzes Drücken
Langes Drücken
Regler(3)
Ausgeschaltet
--
Gerät einschalten
Startbildschirm
Kontextmenü öffnen
Hauptmenü öffnen
Standby-Modus
Gerät aufwecken
Menüschnittstelle
Auswahl bestätigen
Zum Startbildschirm zurückkehren
Kamera-Taste(4)
Startbildschirm
Videoaufnahme starten / beenden
Foto machen
Standby-Modus
Gerät ausschalten
Menüschnittstelle
Zum Startbildschirm zurückkehren
--
Regler (3) + Kamera-Taste (4)
Startbildschirm
Gerät Standby machen
Gerät ausschalten
Taste
Aktueller Status
Drehen im Uhrzeigersinn
Drehen gegen denUhrzeigersinn
Regler(3)
Startbildschirm
Digitales Vergrößern
Digitales Verkleinern
Standby-Modus
Gerät aufwecken
Menüschnittstelle
Mit den Menüoptionen nach unten navigieren
Mit den Menüoptionen nach oben navigieren
16DEUTSCH
Other manuals for EYE III
3
This manual suits for next models
3
Table of contents
Languages:
Other InfiRay Monocular manuals

InfiRay
InfiRay DUAL User manual

InfiRay
InfiRay Tube Series User manual

InfiRay
InfiRay AFFO Series User manual

InfiRay
InfiRay Xclip User manual

InfiRay
InfiRay EYE III User manual

InfiRay
InfiRay Mini Series User manual

InfiRay
InfiRay Rico Series User manual

InfiRay
InfiRay AP13 User manual

InfiRay
InfiRay EYE III User manual

InfiRay
InfiRay FINDER FL25 User manual