EN
EN-6 80448517 Rev A
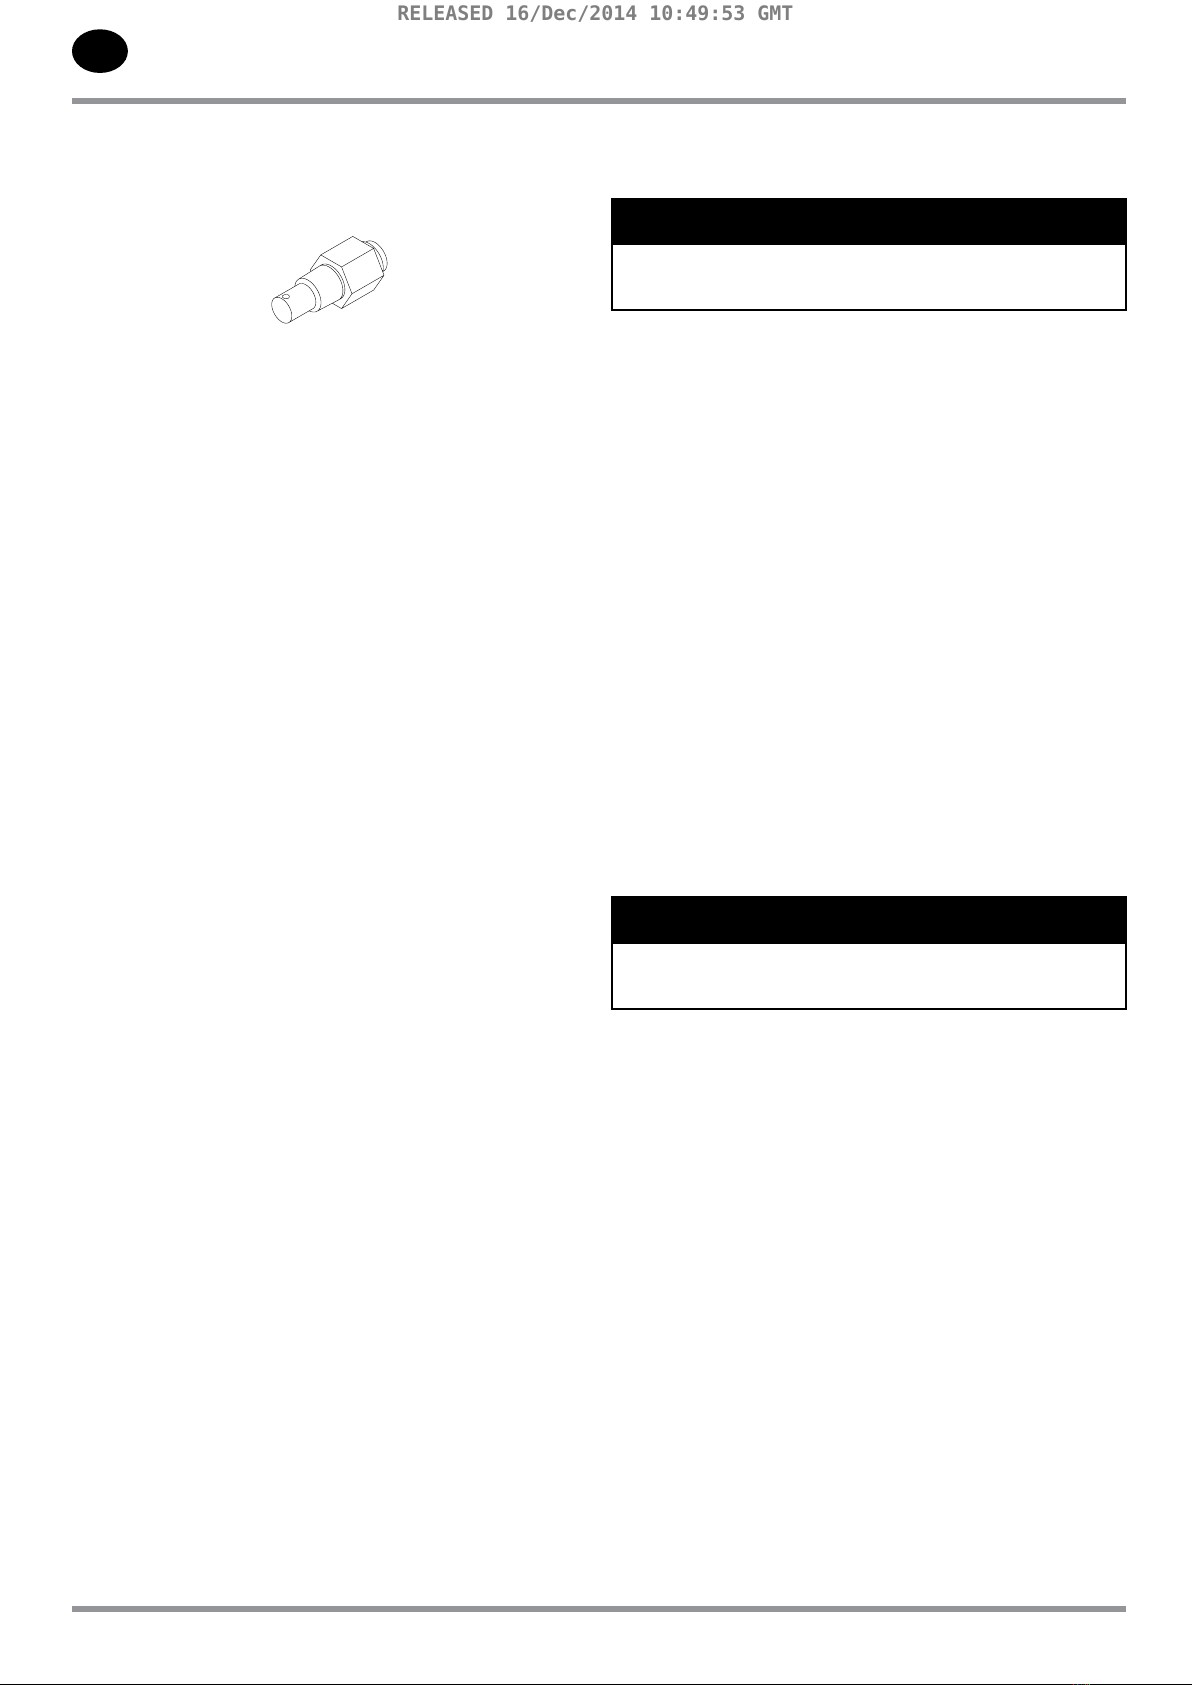
Cleaning / Checking Blowdown Orice
The blowdown orice is integrated into the push-in connector at the inlet
valve (see gure 5). This blowdown orice should be examined and cleaned
as recommended in the maintenance schedule.
Figure 5: Blowdown Orice
To remove the blowdown orice:
1. Stop the machine, electrically isolate and vent all trapped pressure.
2. Disconnect the synex tubing from the blowdown orice.
3. Unscrew the blowdown orice from the body of the inlet valve.
4. Inspect blowdown orice and tubing for clogging and clean prior to
re-installation. If there is any scaling identied, the blowdown orice
will need to be replaced before the compressor is put back into
service.
5. Ensure synex tube is full inserted back into the blowdown orice
once re-installed on inlet valve.
Replacing Coolant Hoses
The exible hoses that carry coolant through the cooling system may
become brittle with age and will require replacement. Replace them as
recommended.
1. Depending on the location of the hose, it may contain compressor
coolant. It is recommended to drain the coolant into a clean
container. Cover the container to prevent contamination. If the
coolant is contaminated, replace with new coolant.
2. Remove the hose.
3. Install the new hose and rell the compressor with coolant.
4. Start the compressor, check for leaks and check coolant level. Rell as
necessary.
Checking Minimum Pressure Check Valve (MPCV)
The minimum pressure check valve (MPCV) shall be frequently tested and
regularly maintained. Verify that the valve opens at 60 psi and that the valve
fully seals in the reverse ow direction. If operating conditions are particularly
severe, the frequency of testing and maintenance shall be increased
accordingly. The user shall establish the frequency of such tests as it is
inuenced by such factors as the severity of the operating environment.
Changing Air Filter Element
1. Check the retaining cap for dirt and debris and wipe clean.
2. Unscrew the retaining cap and withdraw the old element.
3. Fit the new element and ret the retaining cap.
Cleaning Air Cooled Combination Cooling System
Air compressor operating temperatures will be higher than normal if the
external passages between the ns of the cooler cores become restricted
with foreign material. Regular cleaning of the cooler surfaces will support
the reliable operation of the air compressor system, improve the life of
the compressor coolant and improve overall compressor eciency. When
performed frequently as determined by site conditions and airborne
contamination, more signicant cleaning or replacement may not be
necessary.
1. Stop the compressor.
2. Isolate the compressor from the system and vent all pressure. For TAS
compressors, isolate the compressor from the receiver by using the
ball valve located between the dryer discharge and the receiver inlet.
For non-TAS, receiver-mounted compressors, evacuate all air from
the receiver.
3. Press the emergency stop to vent the separator tank and airend.
Fixed speed compressors can take more than two minutes to fully
de-pressurized once stopped.
4. Ensure the main power disconnect switch is locked o and tagged.
NOTICE
For any required lifting of air compressor parts or required tools,
always use the proper certied lifting equipment, and employ sound
working principles.
5. Visually check the outside of the cooler core to determine the
appropriate cleaning method detailed as follows:
a. For loose dirt, dust and other light foreign material, gently blow
compressed air across the cooler surface from the top of the
machine. Remove the blower fan and cowl, then use a vacuum
hose with a soft brush to clean the exposed face of the cooler.
Repeat the process until the cooler is suciently clean. Replace
the blower fan and cowl before returning the compressor to
service.
b. For thick, packed dirt, coolant or grease, or other heavy material,
the cooler will need to be removed from the compressor for
pressure washing. Ingersoll Rand does not support the act
of pressure washing coolers when they are installed in the
compressor due to the dangers of spraying water in or around
potential electrical power sources. Follow the steps below for
cooler removal.
Removing / Installing Air Cooled Cooler
To remove:
1. Stop the compressor.
2. Isolate the compressor from the system.
3. Press the emergency stop to vent the separator tank and airend.
Fixed speed compressors can take more than two minutes to fully
de-pressurize once stopped.
4. Ensure the main power disconnect switch is locked o and tagged.
NOTICE
For any required lifting of air compressor parts or required tools,
always use the proper certied lifting equipment, and employ sound
working principles.
5. Remove front and back access panels.
6. Disconnect aftercooler discharge tube or hose.
7. Remove top assembly by removing eight bolts while supporting
assembly properly.
8. Disconnect hoses from cooler.
9. Carefully remove cooler from cooler shroud.
To install:
1. Stop the compressor.
2. Isolate the compressor from the system.
3. Press the emergency stop to vent the separator tank and airend.
Fixed speed compressors can take more than two minutes to fully
de-pressurize once stopped.
4. Ensure that the main power disconnect switch is locked o and
tagged.
RELEASED 16/Dec/2014 10:49:53 GMT