INNO 90 User s Manual
1. Before You Start
16
15
1. Before You Start
< Main Display Screen >
The background image is displayed according to the setting of Wallpaper menu. Please see Section 9
for details. You can set the background image from the Sample Image, Photo Album, Image File,
MFlash or Video.
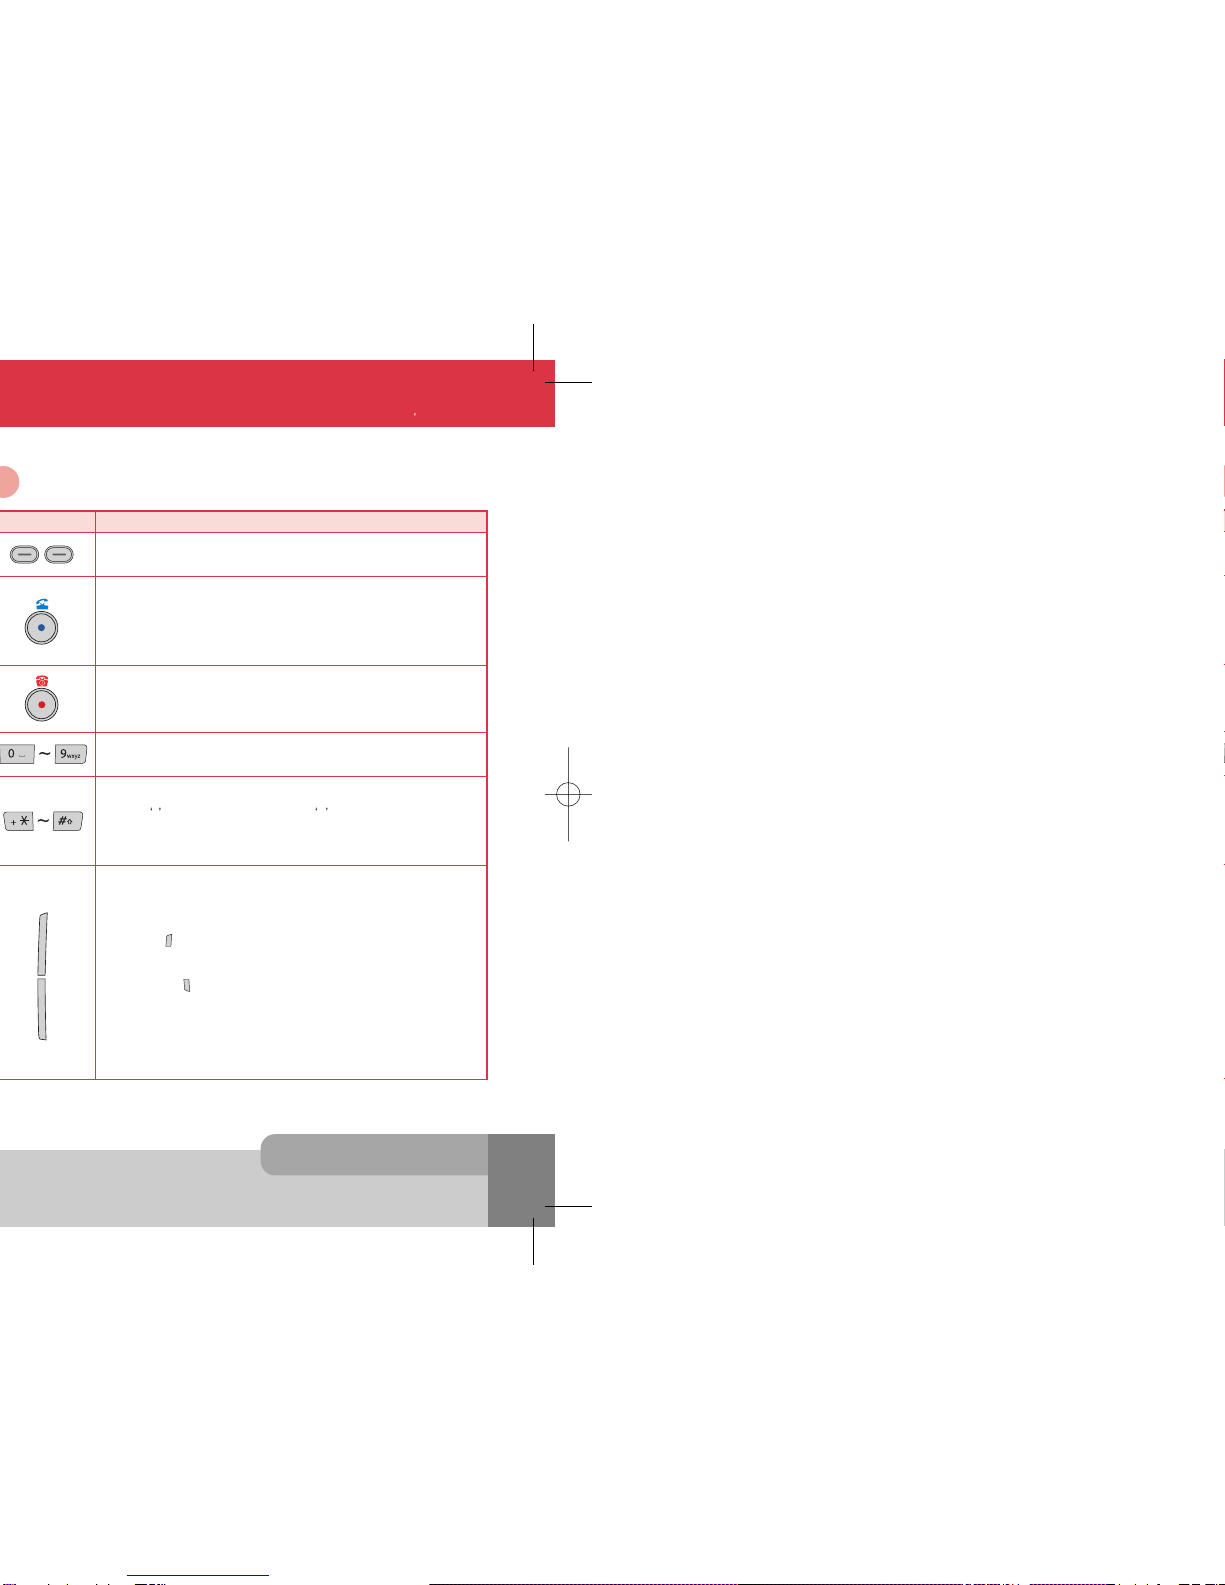
Icon Area:
9 icons such as Signal Level, GPRS, SMS, Vibrator, Alarm, Roaming, Battery Level, PUSH
and Voicemail are displayed indicating the phone status.
If the quick silence mode is enabled, icon will appear in the Vibrator icon’s place.
If there is an active GPRS connection, icon will appear in the GPRS icon’s place.
If Traver Charger is inserted, the Battery icon will be scrolled.
Network Status or Event Area:
Network name registered is displayed. If Network Name Display menu is set to Off, the network name
is not displayed even though your phone is registered to any GSM or GPRS network.
If there is not any GSM or GPRS network near the location you are, No Service is displayed.
If you are in the coverage of a GSM or GPRS network but you are not allowed to be registered to the
network, Emergency Only is displayed.
If an event is occurred, an adequate big event icon is displayed.
Broadcast and Digital Time Area:
If you set to get the broadcast message from the network, you can see it on this area of the idle screen.
For details of how to activate and deactivate it, please see Broadcast menu in Section 9. In this case,
the User Selectable Area updates the received broadcast messages. If you want to go back to default
screen, press .
<-- Icon Area
<-- Network Status or Event Area
<-- Broadcast and Digital Time Area
<-- Function Key Area
1.6 Display Screens in the Idle Mode
If Network Name Display menu is set to Off, the network name is not displayed even
though your phone is registered to any GSM or GPRS network.
Note :
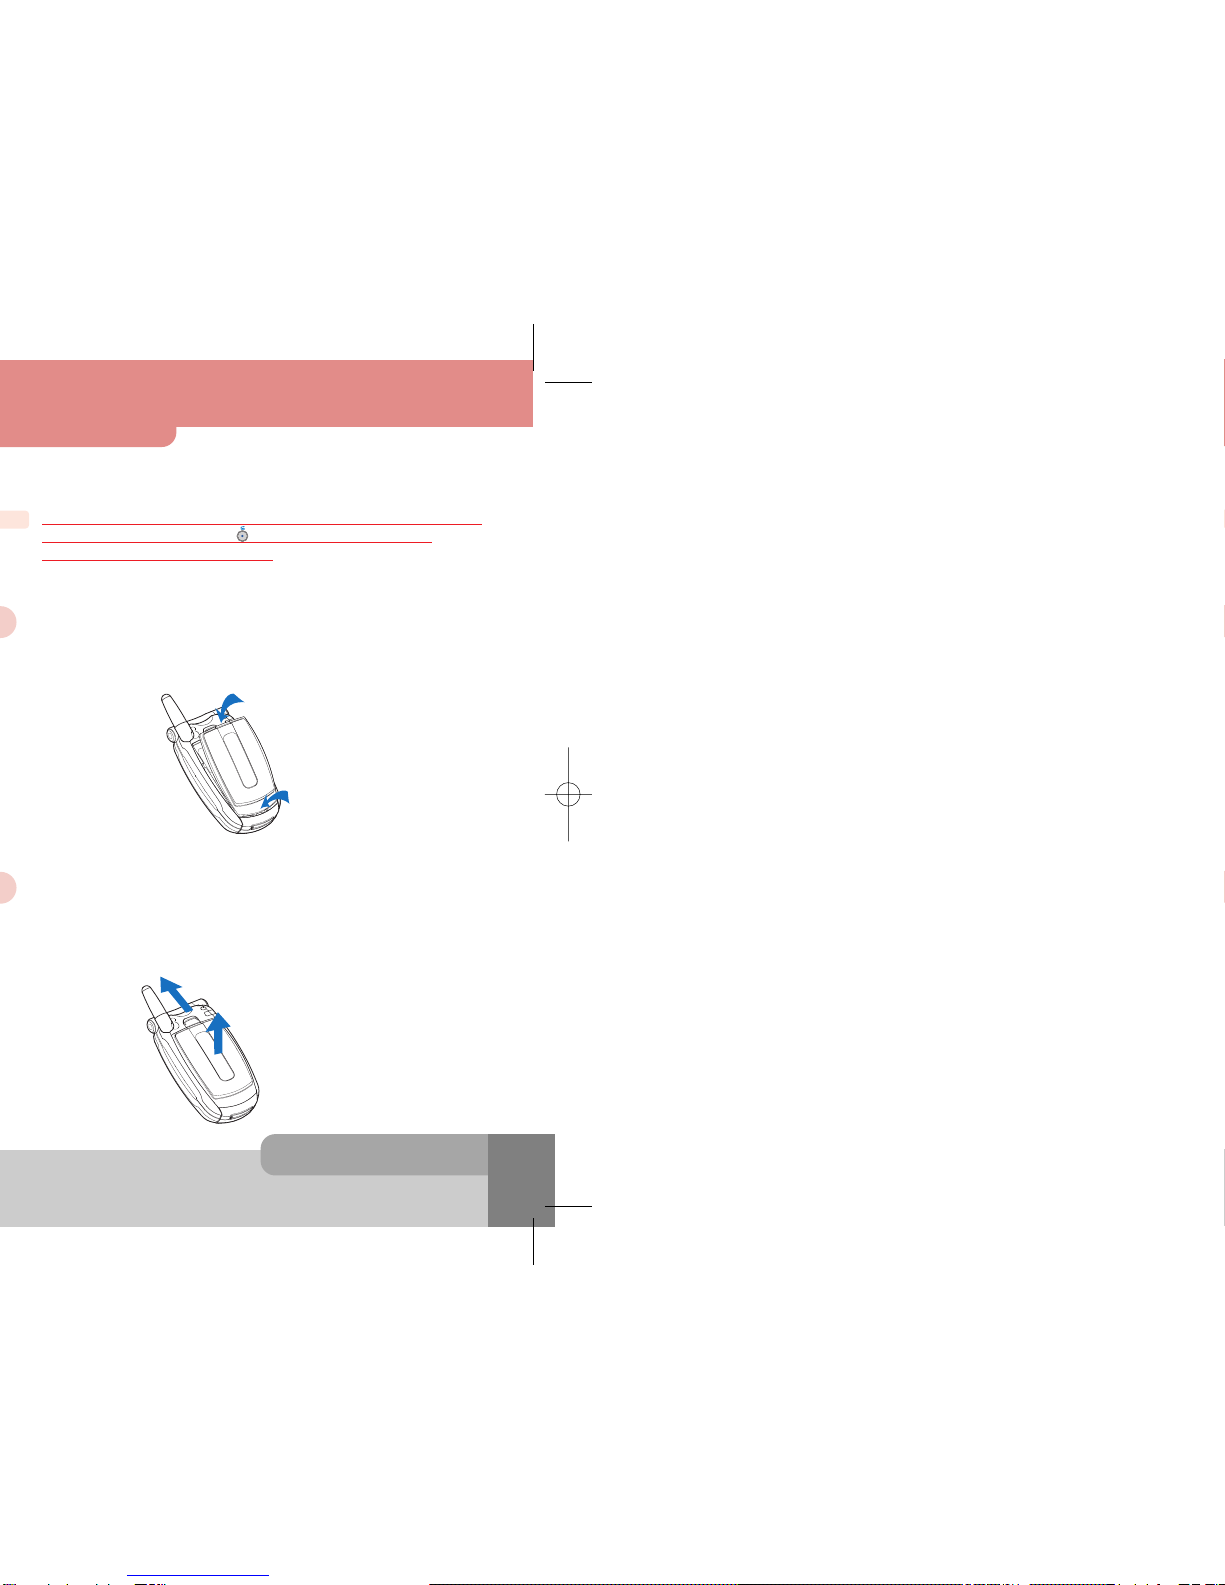
If you insert the earphone to the jack on the left side of your phone, you can use it in the same way as
your phone°’s earpiece and microphone.
You can answer or end a call by pressing the hook button on the earphone.
When new waiting call is come while you are in a call, you can answer the waiting call by pressing the
hook button on the earphone. (The first call will be held automatically)
You can make the last number dialed call in the idle screen by pressing the hook button on the
earphone. The last number dialed is launched by pressing the hook button, and then the call will be
made by pressing the hook button again.
1.5 Using the Earphone
INNO 90(„`˙)-‡»`…`⁄2004.2.6 3:10 PM ˘` 15 SaehanP&D Co.,Ltd HyperLaser G3Plus 1200DPI 175LPI