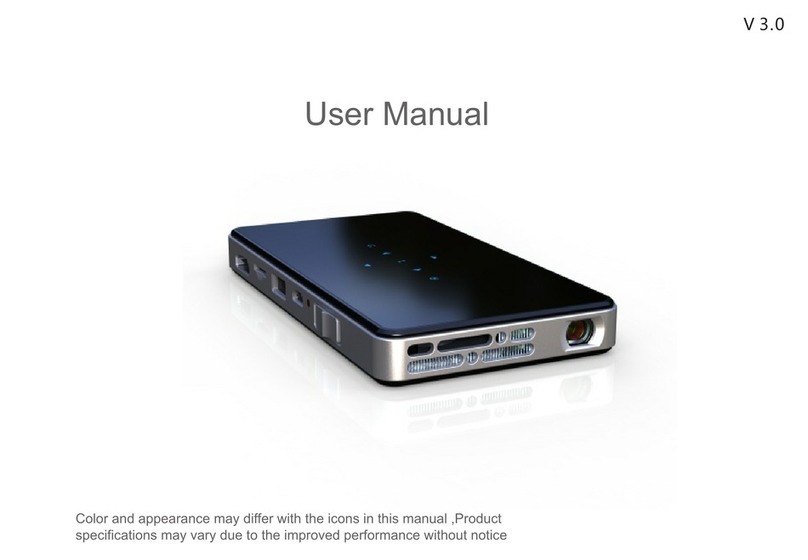
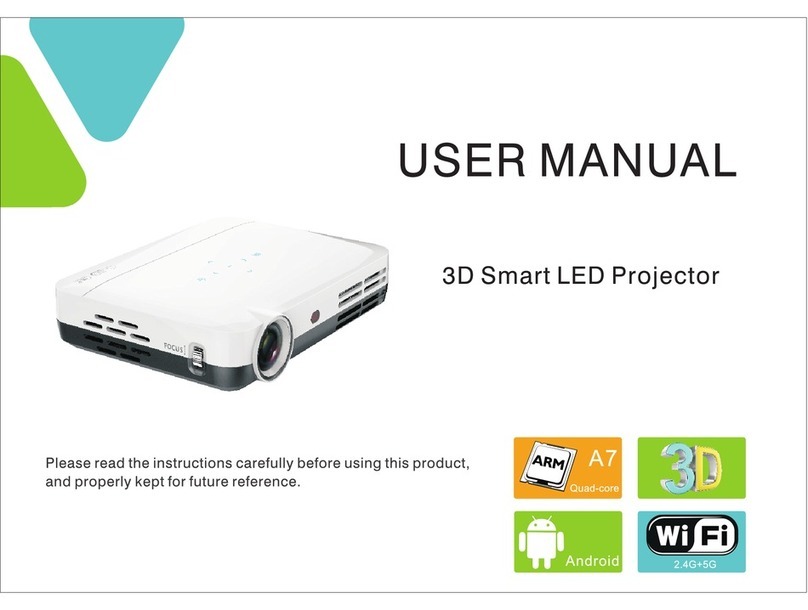
Innovative K8 User manual

User Manual
Color and appearance may differ with the icons in this manual,product
specifications may vary due to the improved performance without notice
V 1.0
innovative
.
K8
www.innovative.com.sg

Features… … … … … … … … … … … … … … … … … … … … … … … … … … … … … … … … .1
Safety Instructions… … … … … … … … … … … … … … … … … … … … … … … … … .2
List of Items… … … … … … … … … … … … … … … … … … … … … … … … … … … … .10
Projector Ex t e r i o r Vi e w… … … … … … … … … … … … … … … … … … … … … … .1 1
Touch Key Instructions And Remote Instructions………………………………………………………………….12
Pr o j e c t i o n D i s t a n c e a n d S i z e … … … … … … … … … … … … … … … … … … … . 1 3
Operations Instructions… … … … … … … … … … … … … … … … … … … … … … … .13
Focus adjustment… … … … … … … … … … … … … … … … … … … … … … … .14
Select Input Source… … … … … … … … … … … … … … … … … … … … … … … .15
Connect to U-Disk or Multimedia… … … … … … … … … … … … … … … … … … … … … … … .16
Connecting to video device………………………………………………….17
Connecting to Audio Device ………………………………………………….18
Connect to Wifi Display Dongle… … … … … … … … … … … … … … … … … … … … .19
Connecting to HDMI device…………………………………………………………………….20
Connecting to PC… … … … … … … … … … … … … … … … … … … … … … … … … … .21
System Setting Menu… … … … … … … … … … … … … … … … … … … … … … … … … … .22
3 D F u n c t i o n … … … … … … … … … … … … … … … … … … … … … … … … … … . 2 6
Watching 3D Image Requirements… … … … … … … … … … … … … … … … … … … … … … … … … … .26
… … … … … … … … … … … … … … … … … … … … … … … … … … .27
…………………………………………………………………….
Multimedia Menu………………………………………………………………….29
… … … … … … … … … … … … … … … … … … … … … … … … … ......... 30.
PPT/PDF Document Play … … … … … … … … … … … … … … … … … … … … … … … .32
Trouble Shooting… … … … … … … … … … … … … … … … … … … … … … … … … … … … .34
Technical Specification…………………………………………………………….36
Watch 3D Movie
Use DLP-LINK (DLP-Ready) type glasses 28
Multimedia Interface
Content
1
Thank you for our LED mini projector!purchasing
Please read the manual carefully before you start to use the projector. The projector is designed
for home entertainment, and it will project a big screen as you like at any time.
1 Features
The projector integrates high performance optical engine and friendly interfaces with high reliability.
Driven by RGB LED and DLP, it provides you with vivid images.
● 1280×800 Resolution; Support DLP-LINK 3D READY
● R/G/B LED, over 20000 hours lamp life;
● Support AV/HDMI/VGA sources; HDMI port can supply power for smart dongle; Coaxial audio
output for multi-channel surround sound;
● Built-in multimedia, support 1080P, 3D video/Music/Photo/E-book;
● Video playback breakpoint memory function;
● Built-in TV(optional);built-inli-ion battery(optional);built-in FM audio transmitter(optional);
● 100% offset, easy to use and install;
● Instant ON/OFF, without waiting for the machine to cool;
● Display 16.7 million color.

2
1.1 Safety Instructions
● To ensure the safety of using this product, please follow the using instructions.
● Please use the adaptor specified, other products may damage the projector.

3
● Do not disassemble, modify, throw, or drop the projector, otherwise it may cause damage;
● The Projector must be repaired by professional technicians;
● The battery is integrated, do not to cover up or modify.

4
● Do not drop metal objects into the projector, otherwise it will result in damage; if any external objects
land inside the projector, please turn off the power quickly.
Do not place liquids near or on the projector. If liquid has been spilled into the machine, immediately
turn off the power, and do not use.
●

5
● Use the projector in a well-ventilated area with temperature range 0-35℃/humidity 0~85%. Use at an
elevation2000m or lower.
● Do not block the air outlet vents; do not use the projector on bedding, blankets and other soft surfaces; Do
not cover the vents with cloth or other objects; If the projector ventilation holes are disrupted, excessive
internal temperature may damage the projector, or may cause a fire hazard;

6
● Do not use the projector under extreme light or near a strong magnetic field.
● Do not use the projector in dirty or dusty condition.

7
● Do not look directly into the lens while the projector is running, it may damage your eyes.
● This product and the user manual for further improvement or supplementsed without notice.

8
Attention for viewing 3D movie
● Long close watch will affect vision;
● Wear stereo glasses watch program or game for long time will cause dizziness or eye fatigue;
● Pregnant women, elderly, patients with heart disease or prone to vomiting, to avoid excessive viewing;
● May make viewing three-dimensional images as reality frightened or excited。
● Do not place fragile or dangerous goods around when viewing stereo movie;
● The illusion of viewing stereo movie may cause people have suddenly action to injure other person;
● Prohibit children under 5 years old to view stereo movie. May affect the normal visual development;
● Photosensitive (light anaphylactic) allergy warning
1.Some people see specific things or flashing screen or certain mode screen in video or game,
there will be an exception. Viewer or a loved one has epilepsy, photosensitive allergy history, please
consult with a doctor before watching. Such as the viewing of the following symptoms immediately
terminate and rest.
2.Dizziness, visual disorders, eyes or facial instability, as unconscious, convulsions, loss of
consciousness, confusion, disorientation, nausea. If the above phenomenon continues, please consult your
doctor.
● Taking the following measures to reduce the risk of allergies and other photosensitive when view 3D movie
1.Please rest 5-15 minutes when watch an hour.

9
2.If the vision of two eyes are different, please watch after correction.
3.The eye height aim the 3D image, positive watch.
4.Please stop watching when feel headache or fatigue, dizziness.
5.Do not watch long when hardship, fatigue or illness.
● Children watch in the guardian care.
Please confirm when watching 3D
1.Please watch 3D image in effective audition angle and distance.
2.May not see the screen outside the valid audition or distance. You can not see the screen when prone
position.
3.There is a short adaption time to re-watch screen when divert attention in watch halfway.
4.Under fluorescent lights(50 Hz ~ 60 Hz), 3-wavelenth lights, window around, the image may flick when
watching.Recommend use the curtain to block the lights, to maintain indoor dim.
5.Must use the active 3D glasses support the DLP-LINK.
6.Can not see the image when there is a obstacle between the projector and glasses.
7.The position of the projector should keep a distance as far as possible with other machines.
● Product and user manual may vary due to the improved performance without notice.

10
Please unpack the box carefully; Box contents include:
1.2 List of items
Projector Remote TF card
(optional)
Power Cable
Adaptor
AV CABLE
active
(optional)
3D
OK
3
3
D
D

11
2 Projector Exterior View
Lens
Touch Panel(optional)
Infrared receiver window
Focus
Coaxial audio output
Outlet
Speaker
AV
VGA
HDMI
Support tripod
Inlet
Lifting screw
Headphone/
Power ON/OFF
USB
Charging indicator
TF card
TV
Power
(optional)

OK
3
3
D
D
Left/Vol+
ON/OFF
Source UP/Prev
Return
OSD Menu
Mute
Left/Vol-
OK
Down/Next
3D Mode
Return
OK/Menu
Source
Left/Vol-
UP/Prev Right/Vol+
Down/Next
3. Touch Key Instructions
12

13
4 Projection size and distance table(just for reference)
Turn the focal wheel to adjust the focal length to obtain a more clear picture.
5 Projector operations
Connect one side of the projector to the AC plug,
the other side to the projector DC port, then press the
power for 3 seconds, the indicator flash till normally
on, then access signal, select the corresponding channel
can get the required image.
Note: When there is no signal for 15 minutes, it will shutdown automatically.
The projector may be equipped with battery, charging indicator light, said charging;
charging indicator off, suggesting the power is full, completely full of power will take
1-4 hours. When using the battery, the remote boot is disabled, you can only press the
body switch key to start the projector.
20 0.50-0.53
40 1.04-1.08
50 1.30-1.34
60 1.56-1.62
80 2.09-2.17
100 2.60-2.70
120 3.16-3.28
16:10
0.53-0.55
1.06-1.10
1.33-1.37
1.59-1.65
2.12-2.20
2.65-2.75
3.22-3.34
16:9
0.57-0.61
1.16-1.20
1.46-1.50
1.75-1.81
2.33-2.41
2.91-3.01
3.49-3.61
4:3
0.63-0.66
1.27-1.31
1.59-1.63
1.92-1.95
2.56-2.59
3.20-3.25
3.84-3.90
Distance(unit:m) Series number with H
16:10
Size(unit:inch)
Remark: The suggested projection is between
40 inches and 100 inches.

Push this wheel forward or backward
5.1 Focus Adjustment
Push the forward or backward make the clear.wheel picture
Note: keep projector and screen in horizontal level
Screen
Light Axis
14

5.2 Select Input Source
This projector support following sources:
T-Flash------Play contents inside TF-card
HDMI------Connect to external devices with HDMI output
Blue-ray DVD----Connect Blue-ray player with HDMI output
VGA-----Connect to PC with VGA output
USB----play contents inside USB stick
AV----connect external devices with AV output
Press “Source” button upon the projector or the remote control and select related source input,
press “OK” or “Enter” button for confirmation.
OK
3
3
D
D
»É´ĂĽ
15

14
TF
U-flash memory or mobile HDD
5.3 Connect to U-Disk or Multimedia
Operating the projector into multimedia system
Connecting U-disk or TF card, insert U-disk or TF card into the marked direction of the
projector, select the media type in the main menu, enter the file fold of the USB or TF,
choose the corresponding file to play.
16

17
5.4 Connecting to video device
Connect one end of the AV cable to the projector, the other end to the AV equipment corresponding
hole. press on the panel or Source on the remote to change AV channel.
The complete connection should be like shown below.
Note: There is different definition of the AV port, please use the AV cable in the packing.
DVD player/SAT
Game console
Portable media player
DV
Composite AV cable
Projector AV
input cable
yellow
white
red
yellow
white
red

18
5.5 Connecting to Audio device
Plug one end of the coaxial audio cable into the projector, the other end to the audio device that support
AC-3/DTS decoding, you can enjoy 5.1 multi-channel surround sound, or plug in the stereo
headphones to appreciate 2.0 stereo.
The complete connection should be like shown below.
Note: There is different definition of the coaxial audio out pine, please use out dedicated coaxial
audio output line.
Headphone
Dedicated coaxial audio output line()optional)
AC-3\DTS decoder
Amplifier support AC-3\DTS decoding
Table of contents
Other Innovative Projector manuals

Innovative
Innovative K6M User manual

Innovative
Innovative K7i User manual

Innovative
Innovative SP-3000 User manual

Innovative
Innovative LED Mini Projector User manual

Innovative
Innovative K4 User manual

Innovative
Innovative K6 User manual

Innovative
Innovative DS7 User manual

Innovative
Innovative K5 User manual

Innovative
Innovative DS 8 User manual