Insane Audio IACAM1 User manual

IACAM1
www.insanejeepaudio.com
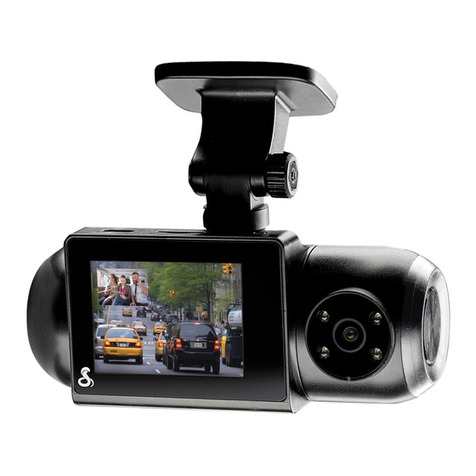
IACAM1 is a universal, ruggedized, waterproof
camera that can be used as either a front facing rock
cam or as a backup camera.
While this product is designed specificially for Insane
Audio’s JK1001, it will also work in other applications.
This installaion guide will focus only on installation
with Insane Audio’s JK1001.
Installation is fairly straight forward, however, if you
are not entirely sure what you are doing we highly
recommend consulting a professional installer.
For technical support or additional information, feel
free to reach out to us anytime at:
Also, be sure to visit our online user forum where
you can get technical information, share ideas and
join the Insane Audio user community. Check it
out here: www.insanejeepaudio.com/forum
Enjoy your new camera and we’ll see ‘ya on the
trail!
IACAM1 Installing as a backup camera
1. Place the camera in the desired location
2. Tap into your reverse light circuit for power
3. Run the video extension cable from your IACAM1
to the CAM IN port on your JK1001
4. Seal all joints with waterproof tape
5. Test out your camera by placing the vehicle in
reverse, adjust the viewing angle as necessary
then mount your camera.
jk1001 inputs
Your JK1001 has an accessory pigtail with a number
of different connections available. This pigtail plugs
direcly into the rear of your JK1001. Note the VIDEO
IN and CAM IN ports below.
Insane
Audio
IACAM1 can be mounted just about anywhere you’d
like and can be used as either a front facing camera
or as a reverse camera. Either way, we recommend
placing the camera in your desired location first then
check the viewing angle on your JK1001 before
perminantly mounting.
Mounting Options
Installing as a Front camera
Insane Audio’s JK1001 is pre-wired to automatically
work with a reverse camera and your camera should
automatically display when the vehicle is in reverse.
Troubleshooting for Reverse
Camera Applications
Insane Audio’s JK1001 is pre-wired to automatically
work with a reverse camera and your camera should
automatically display when the vehicle is in reverse.
Once everything is hooked up properly, if your vehicle
is in reverse and you see a “no signal” warning, then
that means that you aren’t getting a clean signal to
that CAM IN port. Check your camera connection
and power connection.
If everything is hooked up properly and when your
vehicle is in reverse nothing at all happens, make
sure the CAMERA wire on your JK1001’s wiring
harness is fully engaged.
1. Place the camera in the desired location
2. Power your camera from a switched 12V source
such as a cig lighter port
3. Run the video extension cable from your IACAM1
to the VIDEO IN port on your JK1001
4. Seal all joints with waterproof tape
5. Test out your camera, adjust the viewing angle as
necessary then mount your camera.
You can access your front camera through the AVIN
app on your JK1001.
Programming IACAM1
Insane Audio’s IACAM1 has a single push
button switch that enables you to program
certain core features of the camera to
support different vehicle applications.
*If you require any further support or if your wiring harness looks different
The switch modes are based on continuous button
press times. You first need to enter the desired
programming mode, then you can toggle options.
To entter a desired programming mode, press the
button continuously in .5 sec intervals after the button
is depressed (i.e. don’t count while holding it down)
After the camera goes into a specific mode, you can
toggle features by pressing the button again between
.5 and 3 sec. After 3 sec, the camera will return to
default mode.
IACAM1 programming modes:
1. Turn on/off Guidelines (default mode)
2. Image upside down/left and right reversal
3. Image system NTSC/PAL shift
4. Guideline selections
5. Guideline left and right extension
6. Guideline shift up and down
www.insanejeepaudio.com
