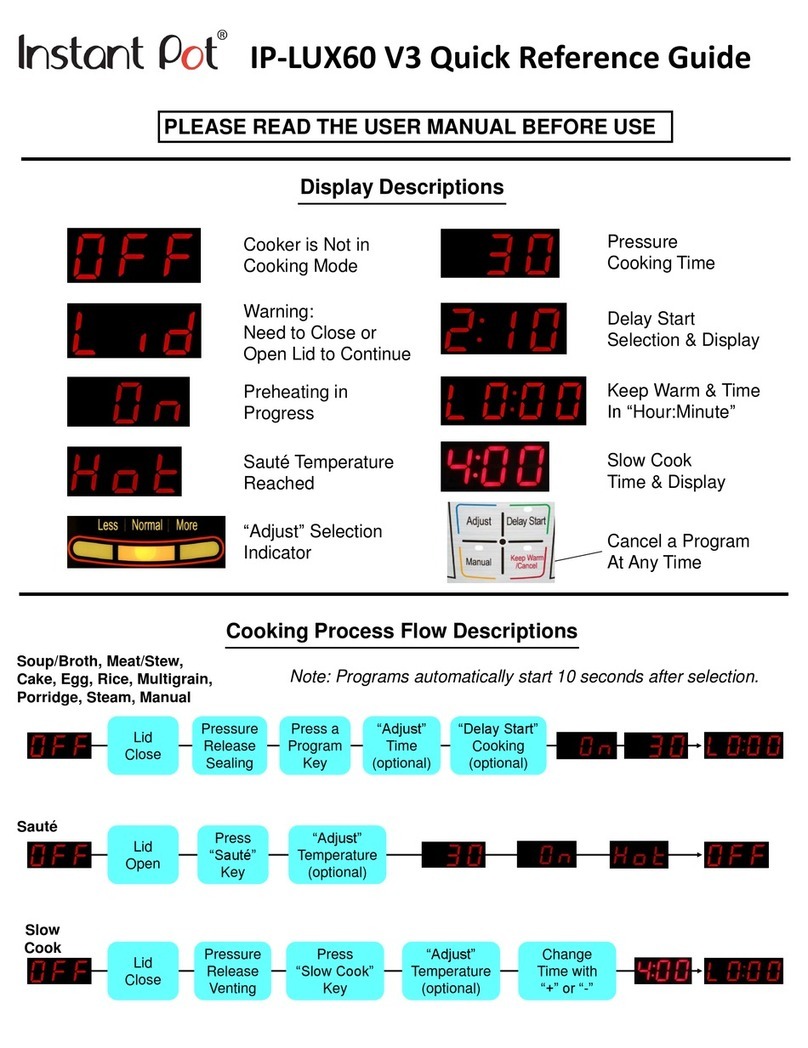
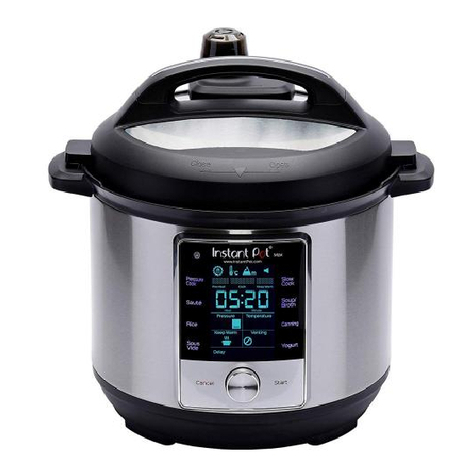
InstantPot Max Series User manual

User Manual
Max
Series
Instant Pot® Free Recipe App
• 500+ Free Recipes
• New User Tips
• Getting Started Videos

Welcome to the World of
Robert J. Wang
Founder, CEO
Robert J. Wang
Thank you for selecting an Instant Pot®smartcooker! Our vision for
Instant Pot®is to provide you with the right tools to enhance your food
preparation experience. Our smartcookers are designed to save you
time, replace a number of appliances, and prepare healthy and tasty
meals in a safe, convenient and dependable way.
We partner with chefs, authors, and bloggers to compile a collection of
recipes that we hope you enjoy! As well, for over 500+ additional
recipes, videos and more, download the Instant Pot®Recipe App.
Happy Instant Pot®Cooking!
Cooking!

Welcome
Important Safeguards 1 - 4
Product Specifications 5
Detachable Cord
What’s Included 6
Overview
Lid Structure 7
Cooker Base Structure 8
Getting Started 9 - 11
Controls & Features 12
Venting Methods 13
Initial Test Run (15 psi Water Test) 14 - 15
System Settings & Time 16
Operation Field
Delay Start 17
Usage Tips 18
Smart Programs & Advanced Features
Pressure Cook 19
NutriBoost™ 20
Canning 21 - 23
Sauté 24
Slow Cook 25
Sous Vide 26 - 27
Yogurt 28
Care & Cleaning 29
Troubleshooting 30 - 31
Warranty 32 - 33
Notes 34
Index 35 - 36
Please read the manual carefully and retain for future use.
Table of Contents
1

IMPORTANT SAFEGUARDS
2
IMPORTANT SAFEGUARDS
When using electrical appliances, basic safety precautions should always be
followed:
1. READ ALL INSTRUCTIONS.
2. Do not touch hot surfaces. Only use side handles for carrying or moving.
3. Close supervision is necessary when the appliance is used near children.
4. Do not place the appliance on or in close proximity to a hot gas or electric
burner, or a heated oven; heat from an external source will damage the
appliance.
5. Extreme caution must be used when moving the appliance
containing hot liquids. Do not move the appliance when it is under pressure.
6. Do not use appliance for anything other than intended use.
7. This appliance cooks under pressure. Improper use may result in scalding
injury. Make certain the appliance is properly closed before operating.
Please see the "Getting Started" section.
8. Do not fill the appliance over 2/3 full. When cooking foods that expand
during cooking such as rice or dried vegetables, do not fill the appliance
over 1/2 full. Over filling may cause a risk of clogging the vent pipe and
developing excess pressure. Please see the ”Pressure Cooking” section.
9. Be aware that certain foods, such as applesauce, cranberries, pearl barley,
oatmeal or other cereals, split peas, noodles, macaroni, rhubarb, or
spaghetti can foam, froth, and sputter, and clog the anti-block shield, the
steam release valve/handle, float valve or the steam release pipe. These
foods should not be cooked in a pressure cooker. When cooking these
types of foods, follow instructions in a trusted recipe.
10. Before each use, check the steam release valve/handle, steam release pipe,
anti-block shield and float valve for clogging.
11. Do not open the appliance until the appliance has cooled and all internal
pressure has been released. If the float valve is still up and/or the lid is
difficult to open, this indicates that the appliance is still pressurized – do not
force it open. Any pressure in the appliance can be hazardous. Please see
the "Getting Started" section for instructions to safely remove lid.
12. Do not use this appliance for pressure frying with oil.
13. To protect against electrical shock, do not immerse the power
cord, plugs, or appliance in water or other liquid.
Read and save these safety guidelines.
When using pressure cookers, basic safety precautions
should always be followed.
WARNING
2
CAUTION
CAUTION

14. Always attach plug to appliance first, then plug cord into the wall outlet. To
disconnect, turn appliance “off”, then remove plug from wall outlet.
15. Unplug from outlet when not in use and before cleaning. Allow to cool
before putting on or taking off parts, and before cleaning or storage.
16. Do not operate any appliance with a damaged cord or plug, or after the
appliance malfunctions or has been damaged in any manner. Contact
Customer Care.
17. The use of accessory attachments not recommended by the appliance
manufacturer may cause injuries.
18. Do not use outdoors. Not for commercial use. For household use only.
19. Do not let power cord hang over edge of table or counter, or touch hot
surfaces.
20. Intended for countertop use only. Keep the appliance on a stable,
heat-resistant platform. Do not place on anything that may block the vents
on the bottom of the appliance.
21. Spilled food can cause serious burns. Keep appliance and cord
away from children. Never drape cord over edge of counter, never use
outlet below counter, and never use with an extension cord.
22. Before inserting the inner pot into the appliance, wipe the outer surface of
the inner pot and cooking element to confirm they are dry and free of food
debris.
23. Do not attempt to repair, replace, or modify components of the appliance, as
this may cause electric shock, fire or injury, and will void the warranty.
24. Do not use near water or flame. Please keep out of direct sunlight.
25. Do not lean over or place your hands or face over the steam release
valve/handle or float valve when the appliance is in operation or has residual
pressure. Do not touch the metal portion of the lid when the appliance is in
operation; this could result in injury.
26. Do not cover or obstruct the steam release valve/handle and float valve with
cloth or other objects. Obstructing the steam release valve/handle and float
valve can create a safety issue and may cause injury.
27. When cooking meat with skin (e.g. sausage with casing), the skin can swell
when heated. Do not pierce the skin as long as it is swollen; this could result
in scalding injury.
IMPORTANT SAFEGUARDS
3
Read and save these safety guidelines.
When using pressure cookers, basic safety precautions
should always be followed.
WARNING

28. Turn the appliance off if steam escapes from the steam release
valve/handle or float valve in a steady stream for longer than 3 minutes.
There may be residual pressure in the appliance. Allow the appliance to cool
naturally or release all excess pressure before opening. Please see the
“Troubleshooting” section.
29. Turn the appliance off if steam escapes from the sides of the lid and ensure
sealing ring is properly installed. Please see the “Getting Started” section.
30. Do not tamper with any of the safety mechanisms.
31. Do not use appliance in electrical systems other than 120V/60Hz for North
America. Do not use with power converters or adapters.
32. When pressure cooking food with a doughy or thick texture, or a high fat/oil
content, contents may splatter when opening the lid. Please follow recipe
instructions for pressure release method. Once steam is fully released,
gently shake the appliance and then release the steam again, if necessary,
before removing the lid.
33. This appliance should not be used by children; by individuals whose
physical, sensory or mental abilities may prevent safe use of the appliance;
or by individuals with limited knowledge of how to use the appliance. Close
supervision is needed when using this appliance near these individuals.
34. SAVE THESE INSTRUCTIONS.
IMPORTANT SAFEGUARDS
0
Do not lean over the steam
release cover at any time during
cooking or releasing pressure.
20
Do not cover or
obstruct the steam
release cover.
2
4
Read and save these safety guidelines.
When using pressure cookers, basic safety precautions
should always be followed.
WARNING
Do not move the cooker
during a cooking
operation. Always carry
the cooker by the side handles.
While the cooker is in
operation or releasing
pressure, do not place unprotected
skin over the steam release cover.

Product Specifications
For Household Use Only
13.25 lbs
6.01 kg
120V – 60Hz
1100 W
6 Quart
6 Pintes
Model: Max
13.8"L x 13.8"W x 13"H
cm : 35L x 35L x 33H
5
Detachable Cord
The length of the detachable power cord (35 in / 0.89 m) is as
per UL safety requirement.
This smartcooker has a 3-prong grounding plug which protects
those who use the smartcooker from electric shock, as well as
protecting the smartcooker from power surges.
To avoid the risk of electric shock, first tightly secure the power
cord to the base power socket, then plug the power cord into a
grounded electrical outlet that is easily accessible.
Remove the cord when not in use. Only use Instant Pot®
authorized power cords.
Note: Ensure the plug is pushed into the socket fully; the loose contact
could cause the risk of sparks.
Electrical Shock Hazard
Plug into a grounded
3 prong outlet.
Do not remove
ground prong.
Do not use an adapter.
Do not use an
extension cord.
Failure to follow these
instructions can result
in death, fire, or
electrical shock. Spilled food can cause serious burns.
Keep appliance & cord away from
children.
NEVER:
• Drape cord over edge of
counter.
• Use outlet below counter.
• Use extension cord.
WARNING
WARNING

What’s Included
Before using your new Instant Pot®Max, please remove all items from the box and read over all
instructions carefully. Pay special attention to Important Safeguards and operation instructions,
in order to avoid personal injury and/or property damage.
Please see the “Unboxing” tutorial video at: www.InstantPot.com/faq/instant-pot-help-video/
Cooker BaseLid Inner Pot
Silicone
Mini Mitts
Rice
Measuring
Cup
Steam Rack
with Handles
Soup Spoon
& Rice Paddle
Silicone Sealing Ring
(currently installed within lid) Condensation Collector
6
Detachable
Power Cord
Manual
Quick Start Guide Recipe Book Cooking Time Tables

Lid Structure
When attached to the base, the lid becomes powered, enabling an automated venting process
to occur during and after cooking. This technology also enables the thermal sensor to transmit
the temperature readings to the cooker base for precision cooking.
Lid Position
Marker
Lid Handle
Lid Fin
Steam Release Cover
Steam Release Valve
Steam Release Pipe
Float Valve
Locking Pin
Sealing Ring
Rack
Thermal
Sensor
Float Valve
Silicone Cap
Anti-Block
Shield
Silicone
Sealing Ring
Steam Release
Assembly
7

Cooker
Handle
LCD Touch
Screen
Central Dial
Heating
Element
Stainless Steel
Outer Pot
Base
Power Socket
Cooker
Handle
Condensation
Drain Hole
Cooker Base Structure
8
INSTANT TIP: The Cooker Handles are also a Lid Holder
The lid has been designed with lid fins that fit
perfectly inside the right and left handed cooker
handles.

Getting Started
Remove all packaging materials and accessories
from in and around the pressure cooker, and
verify that all parts are accounted for.
Read all safeguards and instructions. Remove
all warning cards and hanging tags after
reading. Do not remove safety warning sticker
placed on top of the lid and back of cooker base.
Safety Warning
Sticker
Rating Label
The condensation collector has a groove on
either side that fits over the condensation
collector tabs on the cooker base. Align the
condensation collector grooves over the tabs
and push the condensation collector into place.
The condensation collector captures any
condensation that develops during cooking and
should be cleaned after each use.
Condensation
Collector
3Install the Condensation Collector
1Read Safeguards & Remove Tags
9
To Open:
To Close:
To Open: Remove the lid by gripping the handle
and turning the lid counter-clockwise until the
symbol on the lid is aligned to the symbols
on the cooker base. Lift the lid up from the cooker
base.
To Close: Align the symbol on the lid to the
symbols on the rim of the cooker base,
then turn the lid clockwise until the lid fins line up
over the cooker base handles.
2Open & Close the Lid

Getting Started
Remove the Steam Release Cover: Turn the
steam release cover counter-clockwise until it can
be pulled off from the lid.
Remove the Steam Release Valve: Pull the
steam release valve up and off the steam
released pipe.
Install the Steam Release Valve: Place the
steam release valve onto the steam release pipe
and press down.
Install the Steam Release Cover: Place the
steam release cover over the steam release
valve and turn the steam release cover clockwise
until it locks securely in place.
Note: The steam release valve will pop into place, but
will fit loosely when it is seated properly in place—this is
required for proper function. You should feel some
resistance as you remove or install the steam release
valve. This part should be inspected and cleaned
frequently, especially after cooking the foamy foods.
4
Steam Release
Cover
Steam Release
Valve
Steam Relase
Pipe
Remove & Install the
Steam Release Assembly
To remove: Grip the lid like a steering wheel. Using
your thumbs for leverage, press firmly against the
side of the anti-block shield (pressing towards the
side of the lid and up) until it pops off. The anti-block
shield will snap off of the prongs underneath.
To install: Press the anti-block shield over the prongs
and press down until it snaps into place.
Note: The anti-block shield prevents food particles from
clogging the steam release pipe. These fine particles can
become trapped underneath the shield and prevent
pressure regulation. The anti-block shield should be
removed for regular cleaning.
Anti-Block
Shield
5Remove & Install the Anti-Block Shield
10

Getting Started
Remove the inner pot from the cooker base —
always ensure that the inner pot’s exterior is
clean and dry, and that the heating element is
free of food debris.
Always check that the element is clean and in
good condition before use.
Check that the sealing ring is sitting snuggly
behind the sealing ring rack. When installed, the
sealing ring creates an airtight seal between the
lid and the cooker base. The sealing ring must
always be in place on the sealing ring rack during
use.
To remove: Pull the sealing ring out from behind
the sealing ring rack and set it aside.
To install: Place the sealing ring over the sealing
ring rack, and use your thumbs to press it into
place.
Note: Inspect the sealing ring rack. It should be centered
in the lid and the same height all the way around. Do not
attempt to repair a deformed ring rack. Always check for
cracks, wear, or deformations in your sealing ring prior to
cooking.To prolong the life of your sealing ring, do not
remove it from the lid unless necessary for cleaning.
Secure the power cord into the base power socket
before connecting to a 120V power source. The
pressure cooker will remain in standby mode when
plugged in but not in operation.
6Remove & Clean the Inner Pot
7Check the Sealing Ring &
Sealing Ring Rack
8Secure the Power Cord
Heating
Element
Sealing Ring
Sealing
Ring Rack
11

Slow
Cook
Soup /
Broth
Canning
Pressure
Cook
Sauté
Rice
Sous
Vide Yogurt
Cancel Start
Max
ft
Hour Minute
ft
m
Pressure Temperature
Keep Warm Venting
Delay
Pre-Heat Cook Keep Warm
Controls & Features
The LCD touch screen control panel of your Instant Pot® Max
is divided into 8 functions:
Smart Programs: [Pressure Cook], [Sauté], [Rice], [Sous Vide], [Slow Cook],
[Soup/Broth], [Canning], Manual [Keep Warm], and [Yogurt]
3
System Settings: System Settings Lock / Unlock, Temperature displays in
Fahrenheit or Celsius, Altitude adjustment in feet or meters, and Sound ON/OFF
2
Cooking Progress Indicator: Real-time cooking temperature display and
cooking progress, including Pre-heat, Cook, and Keep Warm status
5
Local Time & Cooking Display: Standby Mode: 12-hour AM / PM clock
In-Program Time: ‘hour’ and ‘minute’
6
Smart Program Settings: Pressure (Low / High / Max), Temperature (Low / High
/ Custom), [Keep Warm], Venting Options (Natural Release, Pulse Release, and Quick
Release), [Delay Start]
7
Pressure Indicator: The icon will be lit when the pressure cooker is still under
pressure, indicating that the lid is locked and cannot be removed
1
Central Dial: Turn the central dial to adjust the time, temperature, altitude, etc.
8
4Control Keys: [Cancel] and [Start]
3
4
8
7
6
5
2
1
12

Venting Methods
This setting allows the pressure cooker to dissipate heat and
pressure naturally. This method must be used when cooking
food that is thick or starchy, such as soups, stews or chilies, as
well as food that expands, such as beans and grains. It is also
commonly used when cooking clear broths, as it allows for the
liquid to cool while undisturbed, resulting in crystal clarity.
Note: Depressurization time will vary, based upon the volume of food/liquid and a
variety of other factors.
1Natural Release (NR)
This method of venting releases incremental bursts of steam
at precisely programmed intervals.
2Pulse Release (PR)
A short warning burst followed by a continuous stream of
steam will be released. This method is most commonly used
when cooking vegetables, fish, eggs or other foods that may
overcook during NR or PR.
3Quick Release (QR)
Your pressure cooker has an automated venting system, which can be
activated for pressure cooking programs when desired. The default
venting method is Natural Release.
To stop or pause once a venting method has begun, touch the
[Venting] field and the pressure cooker will automatically return to
NR .
There are 3 methods to release pressure:
13

Initial Test Run ( 15 psi Water Test)
Below is a short test to run prior to cooking your first meal. This will check for proper functionality of
your Instant Pot®. If you’ve never used a pressure cooker before, this is a great opportunity to get a
feel for exactly what you should expect when cooking with your Instant Pot® Max.
~30
MINS.
14
Cancel Start
Max
ft
Hour Minute
ft
m
Pressure Temperature
Keep Warm Venting
Delay
Pre-Heat Cook Keep Warm
5
Touch [Minute] to
adjust the cook time.
Cancel Start
Max
ft
Hour Minute
ft
m
Pressure Temperature
Keep Warm Venting
Delay
Pre-Heat Cook Keep Warm
4
Touch [Pressure Cook].
6
Turn the central dial to
adjust the cook time to
15 minutes .
3
Turn the lid clockwise to
close until a jingle
sounds.
2
Line up the unlock
arrow on the cooker
base with the arrow on
the lid.
x3
PC MAX 2/3
1/2
1
Add 3 cups (750 mL) of
water to the inner pot.
8
Touch [Venting] to toggle
between auto-venting
options NR, PR, and QR.
Select QR .
7
Touch [Pressure] to
toggle between Low,
High, and Max. Select
Max.
Cancel Start
Max
ft
Hour Minute
ft
m
Pressure Temperature
Keep Warm Venting
Delay
Pre-Heat Cook Keep Warm
9
Touch [Start] to begin
cooking. 3 beeps will
sound.
3

Initial Test Run ( 15 psi Water Test)
INSTANT TIP: Making On-the-Fly Changes
You can make on-the-fly changes during the cook cycle
of any Smart Program.
Touch the field you want to change: [Pressure], [Temperature], [Keep Warm] or
[Venting] and then make the adjustment by toggling to the correct setting.
Touch the [Start] key or wait 5 seconds for a beep to sound. The cook cycle will
resume.
Within the [Sauté], [Yogurt], and Manual [Keep Warm] Smart Programs, on-the-fly
temperature changes are limited to Low and High options. To select and adjust a
Custom setting, touch [Cancel], then re-key in your desired cooking commands. In the
[Temperature] field, you may toggle between Low and High freely, but you will not
have the option to adjust to a Custom temperature setting. To select a Custom
setting, touch [Cancel], then re-key in your desired cooking commands.
15
1
2
The float valve will drop
to indicate the pressure
has been fully released.
11 12
A short warning burst
followed by a continuous
stream of steam will be
released.
10
When the Smart Program
has completed, 10 beeps
will sound.
14
Turn the lid counter
clockwise to open until a
jingle sounds.
Once the Pressure
Indicator has turned
OFF you may open the
lid.
13

System Settings & Time
Adjust the System Settings:
The system settings will remain on your display so you always know which ones are in effect. To
change your system settings, touch the icon (when in standby mode) and note that the
padlock symbol disappears . This means that your system settings are “unlocked”, and you
can now alter them as you wish.
Switch Between Celcius (C) & Fahrenheit (F):
Touch the icon to toggle between Celsius (°C) or Fahrenheit (°F). The symbol that is flashing
indicates your current selection.
Adjust Altitude Display:
Touch the icon to toggle between feet (ft) or meters (m). The symbol that is flashing
indicates your current selection. Once the unit has been selected, turn the central dial to adjust
the altitude. Set your present altitude on the smartcooker before setting the cook time. The
smartcooker will adjust the cook time automatically based on your altitude settings.
Turn Sound ON & OFF:
Touch the icon to toggle the Sound ON or Sound OFF . Error code alerts cannot be
silenced.
Set Local Time:
To set the local time, touch the ‘hour’ field, then turn the central dial to adjust. Next, touch the
‘minute’ field and turn the central dial to adjust. If you scroll past , the AM/PM will switch
automatically.
Lock the System Settings:
Touch the icon to lock in your selections. If you do not lock your settings, no changes will be
saved. If you do not wish to save your settings, touch the [Cancel] key (or wait 10 seconds and
the settings will return to the previous selection).
Factory Reset (Specific Smart Program):
When the pressure cooker is in standby mode, touch the Smart Program to be reset. Touch and
hold the [Cancel] key for 2-3 seconds until a beep sounds.
Factory Reset (All Settings):
When the pressure cooker is in standby mode, touch and hold the [Cancel] key for 2-3 seconds
until a beep sounds.
ft
16

Cancel Start
Max
ft
Hour Minute
ft
m
Pressure Temperature
Keep Warm Venting
Delay
Pre-Heat Cook Keep Warm
Cancel Start
Max
ft
Hour Minute
ft
m
Pressure Temperature
Keep Warm Venting
Delay
Pre-Heat Cook Keep Warm
Cancel Start
Max
ft
Hour Minute
ft
m
Pressure Temperature
Keep Warm Venting
Delay
Pre-Heat Cook Keep Warm
Operation Field - Delay Start
To set a [Delay] cook timer, touch the [Delay]
field.
Once the ‘hour’ field or ‘minute’ field is flashing,
the pressure cooker is ready to be customized.
Note: the delay start time will be based upon the programmed
local time and does not function as a count-down timer.
Touch the ‘hour’ field and turn the central dial to
select the desired hour value.
Touch the ‘minute’ field and turn the central dial
to select the desired minute value.
To adjust AM/PM, turn the central dial until the
display rolls past .
1
2
3
Touch the [Start] key to start the delay cooking
process.
When the [Delay] function is active, a second
hand will tick around the clock icon.
4
Start
17
The setting [Delay Start]can be applied to all Smart Programs with the exception of [Sauté],
Manual [Keep Warm], and [Yogurt]. The [Delay Start]setting is not recommended to be used in
conjunction with the Auto Venting feature (PR or QR ) when cooking thick or foamy foods.
The liquid may cause spattering during the cooking process.

Usage Tips
• For all pressure cooking programs [Pressure Cook], [Rice],
[Soup/Broth], and [Canning], the total amount of pre-cooked food and
liquid in the inner pot should not exceed the PC MAX—2/3.
• For food that expands during cooking, the inner pot should not be filled higher than the —
1/2 line.
• Certain food (such as applesauce, cranberries, pearl barley, oatmeal, split peas, noodles,
etc.) can foam, froth, or spatter, and can clog the steam release pipe and/or steam release
valve. Extreme caution must be used when cooking and venting these foods—the inner
pot should not be filled higher than the — 1/2 line.
• When pressure cooking food with a doughy or thick texture, or a high fat/oil content,
contents may spatter when opening the lid. Please follow recipe instructions for pressure
release method. Once pressure is fully released, gently rock the cooker back and forth on
its feet, then if necessary, release the steam again before removing the lid.
• Replace the silicone sealing ring every 12-18 months, as it may become less effective over
time.
• Always ensure that the steam release valve, steam release cover, steam release pipe,
anti-block shield, and float valve are clean and free of food particles and residue before
cooking.
•There needs to be at least 1½ cups (375 mL) of liquid in the inner pot (unless otherwise
specified in your recipe), so enough steam can be generated to pressurize the unit.
• Acceptable liquids include water, broth, stock, wine, beer, fruit juice, vegetable juice,
thin cooking sauces, etc. Liquid must have a high water content.
• Oils and oil-based sauces do not have enough water content to bring the pressure
cooker to pressure.
• Thick sauces should be diluted, keeping in mind that some of the added liquid will be
turned into steam for pressurization—sauces should be fairly thin in consistency
before cooking begins.
• The time it takes the pressure cooker to pressurize and depressurize will depend on a
variety of factors. For this reason, the pre-heat cycle may take up to 40 minutes.
• Frozen food will take a longer amount of time to pressurize.
• When cooking meat with skin (e.g. sausage with casing), the skin can swell when heated.
Do not pierce the skin as long as it is swollen; this could result in scalding injury.
18
INSTANT TIP: Sweet & Savory Sealing Rings
It is recommended to use separate sealing rings when cooking sweet and
savory dishes. nstant Pot®sealing rings are an integral part of product safety.
Only use Instant Pot®authorized sealing rings, designed specifically for use in
Instant Pot®pressure cookers.
Visit www.store.instantpot.com to purchase.
Other manuals for Max Series
3
Table of contents
Other InstantPot Kitchen Appliance manuals
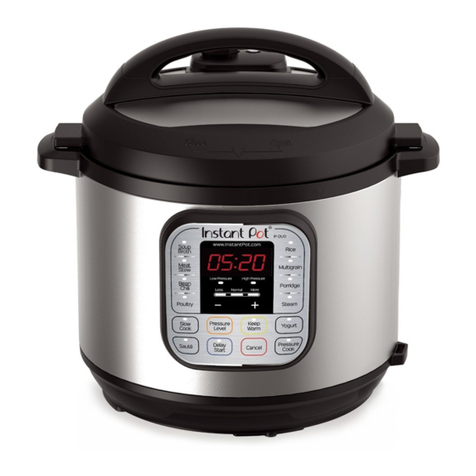
InstantPot
InstantPot DUO60 User manual
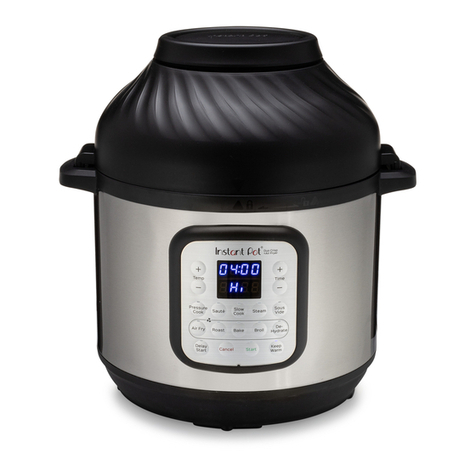
InstantPot
InstantPot DUO CRISP + AIR FRYER Guide
InstantPot
InstantPot Pro 60 User manual
InstantPot
InstantPot DUOTM NOVA Guide
InstantPot
InstantPot Duo Plus 30 v2 Specification sheet
InstantPot
InstantPot Accu SV800 User manual

InstantPot
InstantPot DUO CRISP+ AIR FRYER User manual
InstantPot
InstantPot AIR FRYER LID 6 User manual
InstantPot
InstantPot Accu Slim User manual
InstantPot
InstantPot Aura User manual
