manuals.online logo
Brands
  1. Home
  2. •
  3. Brands
  4. •
  5. INSTEON
  6. •
  7. Controllers
  8. •
  9. INSTEON 5010A User manual

INSTEON 5010A User manual

Quick-Start Guide
EZRain Irrigation Controller
Model #5010A
Your EZRain is an 8-zone irrigation controller capable of managing valves
either individually, or in program sequences in response to INSTEON or
X10 commands. EZRain stores separate timers to prevent a valve to be left
ON indefinitely, and for valve timing of up to four independent irrigation
programs. Although a PC/controller is needed to program its timers,
independent or sequenced valve control can be initiated by group
commands from an Insteon controller such as ControlLinc or KeyPadLinc,
or direct messages from a PC. Once triggered, EZRain carries out valve
timing and sequencing independently.
EZRain has a built-in power line interface for programming and control,
and requires only a 24VAC irrigation transformer to power the valves.
INSTEON and X10 compatibility means virtually unlimited connectivity,
including wireless networks and the Internet.
Pass-through
Outlet
Terminal Block for
Connection to Valves
and Transformer
Installation
• Select a suitable power outlet that is close to the valve wires
for the irrigation zones to be connected. Avoid exposure to
moisture. If installing outdoors, use only an approved out-
door weather-proof enclosure.
• The connector termi-
nals are numbered 1-12
and labeled as shown
on the right. Connect
the valve (zone) wires per the label. Each valve has two
wires, one that connects to terminals 1-8 and another, desig-
nated a “common” wire that is connected to either of termi-
nals 9 or 10. Join the common wires into one or two groups
and connect with single wires to
terminals 9 and/or 10. The com-
mon wires are usually connected
together at the valve manifold
(see picture for typical valve
setup), and brought to the con-
troller location by a single wire
in a cable bundle.
• Make a note of the zone that each valve
(1-8) will serve. Later on, if you are
using an automation program such as
mControl, HomeSeer or Indigo, you
will be able to name these valves in
plain language as desired.
• Connect the 110V to 24V AC, 500ma (12VA or larger)
transformer to terminals 11 and 12. Note that there is no
polarity on these terminals. If desired, the transformer may
be plugged into the EZRain pass-thru outlet.
• Plug your EZRain into the AC outlet. The LED will go on
and off a few times and then will glow steadily.
Programming EZRain
• The many features of your EZRain are best exploited with
an automation PC/Server application. Since the number of
applications supporting EZRain is ever increasing, please
call or visit our website for the most recent list and refer to
the specific application operating directions.
• EZRain keeps track of the time to run each valve when
commanded to either turn on one valve or a whole sequence
of them (a program). The PC application is used to set the
specific timer ON values for each valve when activated sin-
gly or via program sequences. The application is also used
to set up irrigation schedules that are then stored either in a
power line interface such as the Smarthome INSTEON PLC
(Serial or USB), or on a PC/Server that is always left pow-
ered.
• Using the PC application of choice, program the valve tim-
ers desired for manual valve control and for the selected
program sequences.
• Next, program the desired times of day and days of the
week to turn on and off a given valve or execute a given
program sequence.
• If desired, EZRain can be inhibited or restored to normal
operation with a single command in response to changing
weather. PC applications would also make possible wire-
less or wired remote control via home networks, telephone
and the Internet.
• X10 Setup: EZRain uses an entire House code (see Com-
mand Set document) and is shipped with X10 disabled. To
enable or disable X10, push and hold the Set button for 4
seconds, then release it. The LED will blink at a low rate.
Now enter 3 consecutive ON (or OFF for disabling) com-
mands from your X10 controller. The LED will stop blink-
ing indicating X10 enabling or disabling was successful.
The new setting is stored in EZRain’s memory.
Set-Button and
LED
Version 2—03/14/07 © Copyright 2006 Compacta International, Ltd.
Simplehomenet and EZIOxx are trademarks of Compacta International, Ltd.
1-877-495-0144 www.simplehomenet.com
INSTEON and Smarthome are trademarks of SmartLabs, Inc. and the INSTEON networking technology is covered by pending U.S. and foreign patents.
Quick-Start Guide
EZRain Irrigation Controller
Linking to INSTEON Senders (Controllers)
Your EZRain can be controlled from any INSTEON controller that sends
INSTEON All-Link (Group) commands. The unit can be set up out-of-the-
box to respond to commands to turn on or off a specific valve, a program, or
a “snapshot” of a previously memorized status. During the linking process,
the user decides the mode of operation for the specific link by entering a
number from zero to twelve via “taps” on the set button. A software utility
can also be used to establish these links and to change them later on.
EZRain can store up to 31 links.
Typical INSTEON sender devices include the Smarthome KeypadLinc and
ControlLinc, and the Simplehomenet EZIOxx and EZSnsxx controllers.
Set Up Your EZRain to Be Remotely Controlled by an INSTEON Device
1) Ensure that your INSTEON network is fully operational and that the controller to be used is
properly plugged in and powered.
2) Ensure your EZRain is properly plugged in and verify that it responds to commands from de-
vices in the network. This can be easily done with our set up software utiltity.
3) Decide what type of link is desired. If you want to memorize a “snapshot” of the EZRain
while it is operating (e.g running a program, or active on a given valve), place the EZRain in
that state using our free utility or a home automation software application such as HomeSeer,
mControl or HouseLinc. If you simply want to link a button on the sender with a specific
valve or program number, then there is no need to place the EZRain in any particular state. It
just needs to be plugged in and operational.
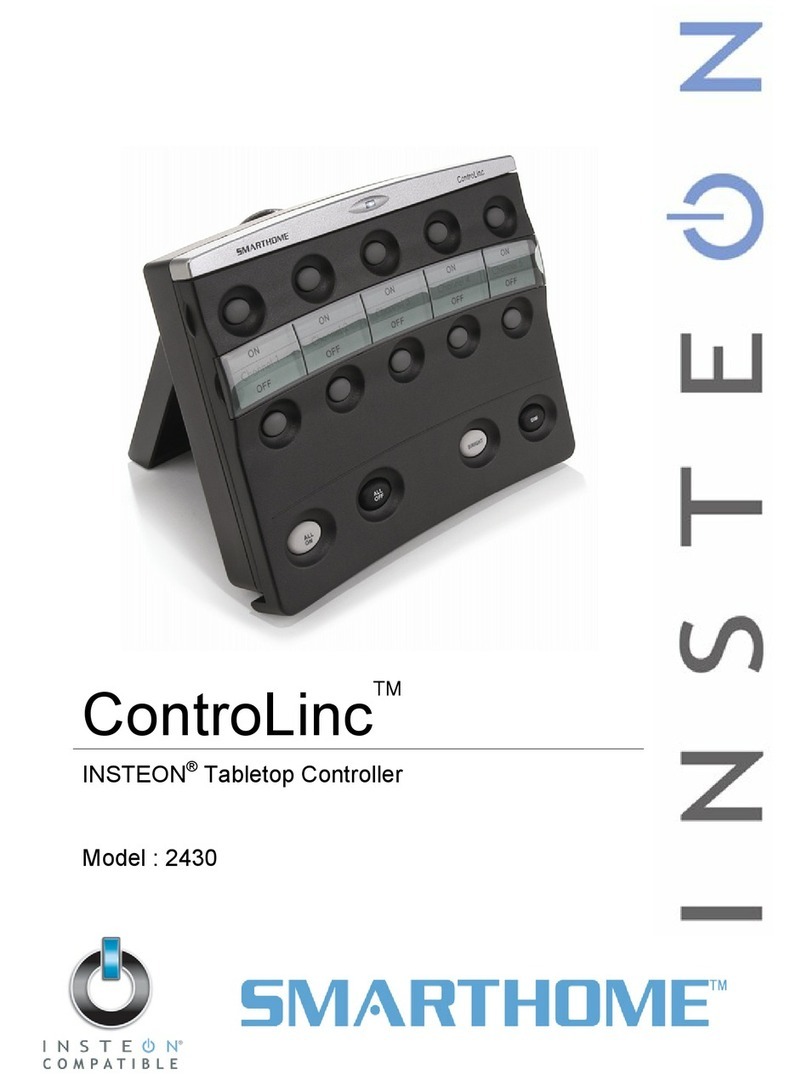
4) In this example we will use a Smarthome ControlLinc Tabletop Controller as the Sender de-
vice. For other senders, this step must follow the specific directions for that device to enter
linking mode. On the controller, Press and hold the ON button of your choice for 10 seconds
until the status LED on the controller begins to blink slowly, then release the button.
5) On the EZRain, Press and Hold the set button for 4 seconds, then release. At this point, the status LED on the controller will
stop blinking indicating it linked successfully with the EZRain. The LED on the EZRain will flash briefly and then turn off indi-
cating it is ready to complete the linking process.
6) In this step we complete the link process by telling EZRain what kind of link we want. This is done by “tapping” (briefly press-
ing and releasing) the set button on the EZRain. If a “snapshot” type link is desired, go to the next step. If linking to control an
individual valve, enter the number of taps corresponding to the valve number (1 through 8) and proceed to the next step. If link-
ing to control the triggering of one of the four programs, enter 9 taps for program 1, 10 taps for program 2, 11 taps for program
3 and 12 taps for program 4.
7) Now complete the linking process by holding the set button on EZRain for 4 seconds, then releasing it. The LED will now glow
steadily indicating a successful link. Pressing the linked ON button on the ControlLinc will activate the corresponding linked
item on the EZRain. Conversely, pressing the linked OFF button on the ControlLinc will turn off the corresponding linked item
on the EZRain.
Deleting a Link (Unlinking From a Controller)
1) Press and Hold the OFF button of the button pair to be unlinked for 10 seconds until the status LED on the controller begins to
flash slowly.
2) Press and Hold the set button on the EZRain for at least 10 seconds, then release it. The LED on the EZRain will flash briefly
and then will glow steadily. The LED on the ControlLinc will flash briefly and then glow steadily. This indicates a successful
unlinking session.
3) Pressing the previously linked button pair on the ControlLinc will no longer have effect on the EZRain operation.
Version 2—03/14/07 © Copyright 2006 Compacta International, Ltd.
Simplehomenet and EZIOxx are trademarks of Compacta International, Ltd.
1-877-495-0144 www.simplehomenet.com
Set-Button and
LED
INSTEON and Smarthome are trademarks of SmartLabs, Inc. and the INSTEON networking technology is covered by pending U.S. and foreign patents.

Other INSTEON Controllers manuals

INSTEON KeypadLinc 2487S User manual

INSTEON

INSTEON KeypadLinc 2487S User manual

INSTEON 2450 User manual

INSTEON

INSTEON 2450 User manual

INSTEON 2412N User manual

INSTEON

INSTEON 2412N User manual

INSTEON 2475F User manual

INSTEON

INSTEON 2475F User manual

INSTEON 2477SA1 User manual

INSTEON

INSTEON 2477SA1 User manual

INSTEON FanLinc User manual

INSTEON

INSTEON FanLinc User manual

INSTEON 2477SA1 User manual

INSTEON

INSTEON 2477SA1 User manual

INSTEON ControLinc 2430 User manual

INSTEON

INSTEON ControLinc 2430 User manual

INSTEON 2477SA1 User manual

INSTEON

INSTEON 2477SA1 User manual

INSTEON 2444-222 User manual

INSTEON

INSTEON 2444-222 User manual

Popular Controllers manuals by other brands

Amano Nexus Lite ISC920-0-0-AC Series installation manual

Amano

Amano Nexus Lite ISC920-0-0-AC Series installation manual

Danfoss VLT Compact Starter MCD 201 installation guide

Danfoss

Danfoss VLT Compact Starter MCD 201 installation guide

Paladon PNS Series Installation, commissioning and maintenance manual

Paladon

Paladon PNS Series Installation, commissioning and maintenance manual

Trinamic TMCM-1310 Hardware manual

Trinamic

Trinamic TMCM-1310 Hardware manual

Advantech AIIS-1882 user manual

Advantech

Advantech AIIS-1882 user manual

Emerson 818-2050 Overview & operation

Emerson

Emerson 818-2050 Overview & operation

Jung 230061SR operating instructions

Jung

Jung 230061SR operating instructions

IFM Ecomat 300 AC1307 Basic device manual

IFM

IFM Ecomat 300 AC1307 Basic device manual

KELCO F60 MK3 Installation & programming manual

KELCO

KELCO F60 MK3 Installation & programming manual

Trio MC405 Quick connection guide

Trio

Trio MC405 Quick connection guide

t.a.c. DuraDrive MS40-7171 General instructions

t.a.c.

t.a.c. DuraDrive MS40-7171 General instructions

Resol DeltaSol C Plus Mounting, Connection, Operation, Troubleshooting, Examples

Resol

Resol DeltaSol C Plus Mounting, Connection, Operation, Troubleshooting, Examples

Festo ESBF-LS-32 operating instructions

Festo

Festo ESBF-LS-32 operating instructions

SMC Networks ITV2010-X155 Installation and maintenance manual

SMC Networks

SMC Networks ITV2010-X155 Installation and maintenance manual

GEM 9428000ZG05YS08C1A01015 operating instructions

GEM

GEM 9428000ZG05YS08C1A01015 operating instructions

Steca Suntana Instructions for installation and operation

Steca

Steca Suntana Instructions for installation and operation

Johnson Controls G861 Series Technical bulletin

Johnson Controls

Johnson Controls G861 Series Technical bulletin

Wachendorff ur3274 manual

Wachendorff

Wachendorff ur3274 manual

manuals.online logo
manuals.online logoBrands
  • About & Mission
  • Contact us
  • Privacy Policy
  • Terms and Conditions

Copyright 2025 Manuals.Online. All Rights Reserved.