manuals.online logo
Brands
  1. Home
  2. •
  3. Brands
  4. •
  5. Intermec
  6. •
  7. PDA
  8. •
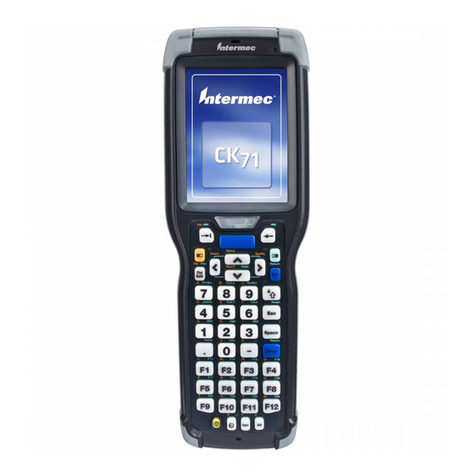
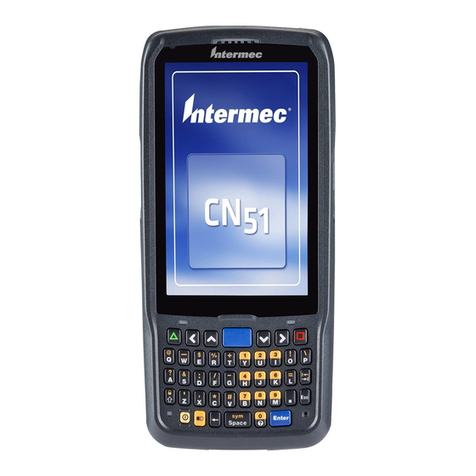
  9. Intermec CN51 User manual

Intermec CN51 User manual

Other manuals for CN51

13

Other Intermec PDA manuals

Intermec CN70G User manual

Intermec

Intermec CN70G User manual

Intermec CN51 User manual

Intermec

Intermec CN51 User manual

Intermec Trakker Antares 2400 User manual

Intermec

Intermec Trakker Antares 2400 User manual

Intermec CK3R User manual

Intermec

Intermec CK3R User manual

Intermec 70 User manual

Intermec

Intermec 70 User manual

Intermec 5020 User manual

Intermec

Intermec 5020 User manual

Intermec 751G Manual

Intermec

Intermec 751G Manual

Intermec 600 Series 602 User manual

Intermec

Intermec 600 Series 602 User manual

Intermec CT60 Manual

Intermec

Intermec CT60 Manual

Intermec Trakker Antares 2425 User manual

Intermec

Intermec Trakker Antares 2425 User manual

Intermec Trakker Antares 2400 User manual

Intermec

Intermec Trakker Antares 2400 User manual

Intermec NORAND 6642 User manual

Intermec

Intermec NORAND 6642 User manual

Intermec CN4 User manual

Intermec

Intermec CN4 User manual

Intermec 5020 User manual

Intermec

Intermec 5020 User manual

Intermec Trakker Antares 2410 Manual

Intermec

Intermec Trakker Antares 2410 Manual

Intermec 6640 Programming manual

Intermec

Intermec 6640 Programming manual

Intermec CN51 User manual

Intermec

Intermec CN51 User manual

Intermec M90 Series User manual

Intermec

Intermec M90 Series User manual

Intermec Trakker Antares 2480 User manual

Intermec

Intermec Trakker Antares 2480 User manual

Intermec Janus 900 User manual

Intermec

Intermec Janus 900 User manual

Intermec 5020 User manual

Intermec

Intermec 5020 User manual

Intermec CN4e User manual

Intermec

Intermec CN4e User manual

Intermec CN3E Series Guide

Intermec

Intermec CN3E Series Guide

Intermec CK30 User manual

Intermec

Intermec CK30 User manual

Popular PDA manuals by other brands

SmartOffice Mobile for Pocket PC user guide

SmartOffice

SmartOffice Mobile for Pocket PC user guide

Palm Tungsten T2 Software guide

Palm

Palm Tungsten T2 Software guide

HTC PHAR100 user manual

HTC

HTC PHAR100 user manual

Mindeo M40 Reference manual

Mindeo

Mindeo M40 Reference manual

SPOT SPOT user guide

SPOT

SPOT SPOT user guide

Palm handheld Getting started guide

Palm

Palm handheld Getting started guide

Winmate E500QK user guide

Winmate

Winmate E500QK user guide

Getac PS236 Specifications

Getac

Getac PS236 Specifications

Sharp CE-1600P Operation manual

Sharp

Sharp CE-1600P Operation manual

Audiovox Maestro Quick start card

Audiovox

Audiovox Maestro Quick start card

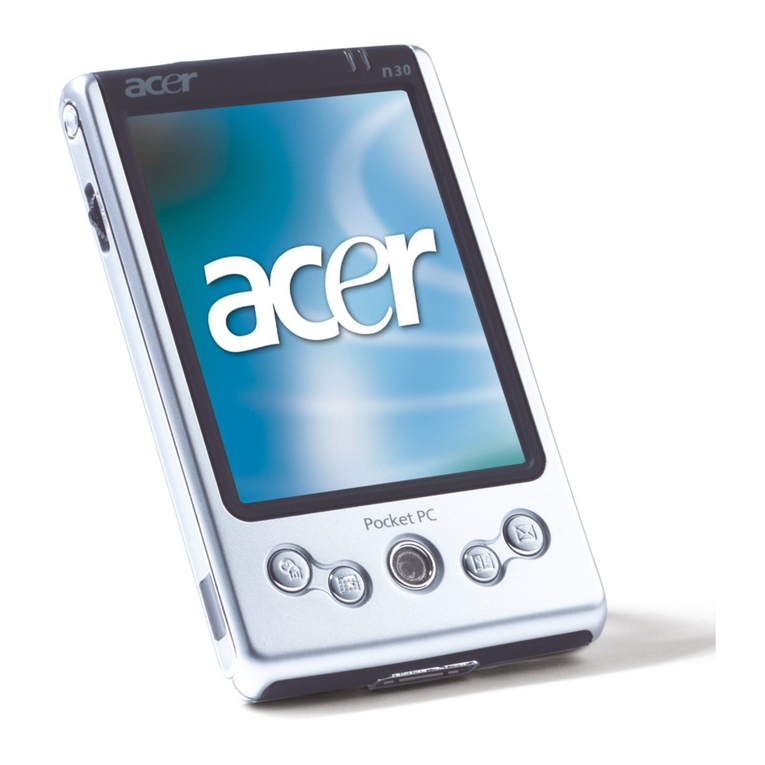
Acer n30 manual

Acer

Acer n30 manual

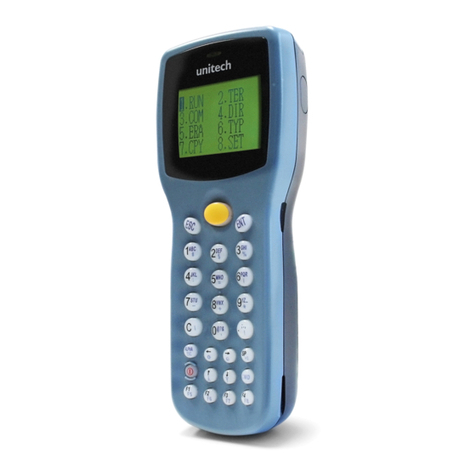
Unitech PT630 Programming reference guide

Unitech

Unitech PT630 Programming reference guide

Unova Intermec 700 Series user guide

Unova

Unova Intermec 700 Series user guide

Sharp Zaurus SL-5500 quick start guide

Sharp

Sharp Zaurus SL-5500 quick start guide

ASCOM 9D24 EX brochure

ASCOM

ASCOM 9D24 EX brochure

Asus P505 user guide

Asus

Asus P505 user guide

Sony CLIE PEG-N610C operating instructions

Sony

Sony CLIE PEG-N610C operating instructions

Unitech PA520BTNF user manual

Unitech

Unitech PA520BTNF user manual

manuals.online logo
manuals.online logoBrands
  • About & Mission
  • Contact us
  • Privacy Policy
  • Terms and Conditions

Copyright 2025 Manuals.Online. All Rights Reserved.

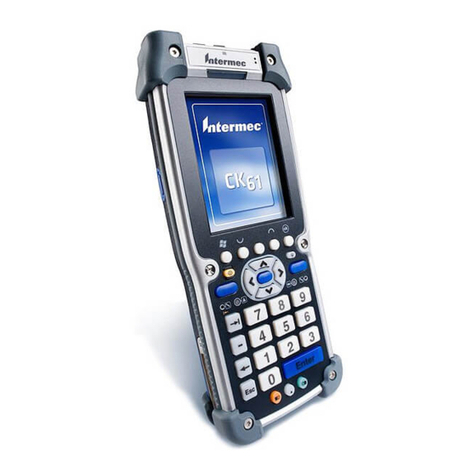
1. CN51 Battery Install and Cradle Connect
a) Unpack handheld and install battery.
b) Insert tabs on the battery into the
CN51 and snap into place.
c) Place handheld in the cradle with the
power plugged into the cradle and charge
the battery for at least 24 hours in order to
get a good charge.
*The handheld has the ability to connect
wirelessly using your company’s wireless or
via sync software
installed on your
desktop. We at
AccuBar
recommend
wireless if
available. For
wireless setup
steps, please continue forward using step 2.
For desktop options please skip to step 3 or
4. Contact AccuBar Support (800) 643-9517
for any questions or help regarding your
setup.
2. Wi-Fi Setup
*If you want to use the AccuBar handheld
wirelessly without having to dock the
handheld, here are the procedures to set up
the wireless connection. These settings are
specific to your company’s
wireless network. You may need
to contact your IT representative
to assist you with the setup.
a) On the handheld, tap on
Start>Settings.
b) Select Connections icon. Scroll
down to find the Wireless Center
icon and click on that.
c) Tap on the Wi-Fi in order to
turn on the wi-fi.
d) Next, tap on the menu in
the bottom right corner in
order to enter the Wi-Fi
Settings.
e) From the wi-fi settings
screen, the settings for
security choice default to use
Funk Security.
f) Tap on the Funk Security
to go into the setup page for
the wi-fi network. This is
where we setup the wi-fi
profile that will be used for
the wi-fi network.
g) Select the Profile you want
to use to setup the network.
You can leave the profile
name as the default or you
can change the name of the
Profile to the same as your
network to better easily
identify it later whenever
you have to make edits or
changes. Tap OK to go to
the next page to add the
SSID and Association Type.
h) Tap into the box of the SSID (Network Name) and
enter the network name. This is case sensitive so
be sure to type it in correctly as it
is setup.
i) Tap the Association
dropdown to choose the security
type for the network. Typically
this should
be WPA2
but could be
different
depending
on the
network .
Scroll down to enter the Pre-
Shared Key (Network
Password).
j) Tap into the box of the Pre-
Shared Key and enter it.
Again, this is case sensitive so
be sure to type it in exactly as
the network is setup.
k) Click OK when finished
to accept the settings. Then
click OK again to exit out to the
Wireless Center to verify the
Wi-Fi Network has accepted
the setting and is connected to
the desired network.
l) Once the hand held has
been verified that it connected
to the Wi-Fi Network, exit back
to the Start Screen by selecting the OK button on
the bottom right corner.
m) Click on Connect on the
bottom left of the screen
to connect your wireless
network to the Internet.
This will allow the
handheld to have access
to the AccuBar server.
n) In order to check and
confirm that the Wi-Fi
has been setup correctly,
check the Internet
connection. Click on
Start > Internet Explorer and tap into the address
field. Enter something like www.accubar.com to
test the connection.
o) Once you have confirmed that the wireless
connection is working, click on the X to exit Internet
Explorer.
p) AccuBar will only enable the wireless when it needs
to be enabled within the program, for example, to
send inventories or to refresh items from server.
Otherwise, it will disable the wireless connection to
prevent the battery from being drained due to
constantly searching for a network.
* If you choose NOT to use wireless, the following
steps are your choice of connection. You may need
to contact your IT department to install this
software. Browse to v5.accubar.net and log in to
your AccuBar account using login information that
was sent to you in the welcome letter.
Navigate to Support > Support Home > Download
Sync
Software for latest sync software for your PC.
3. For Vista/Windows 7/Windows 8:
Install Windows Mobile Device Center
a) Click Run to download and install Windows Mobile
Device Center.
b) Click Yes to all security warnings.
c) Accept the License Agreement.
d) Device Setup: Connect cradle to power and to
computer using power supply and USB cable, then
place the handheld in the cradle.
e) Partnership Setup: Click on Setup your device.
* You MUST setup the partnership in order for the
handheld to
automatically
sync with the
PC.
f) On the Sync Options screen, if any boxes display as
checked, uncheck all boxes, then click Next.
g) Enter a device name and click Setup.
h) Your device
will now be
connected.
Click Finish.
4. For Win
XP/Win
2000:
Install Microsoft ActiveSync
a) Click Run to download ActiveSync.
b) Click Run to install ActiveSync.
c) Click Next to install ActiveSync on the computer.
d) Select the Accept radial to accept the License
Agreement and click Next.
e) Enter a User Name or use the default and click
Next.
f) Select Next to install to the default directory.
g) Click Install to begin the install.
i) Click Finish when the install has finished.
j) Device Setup: Connect cradle to power and to
computer using power supply and USB cable, then
place the handheld in the cradle.
h) Partnership Setup:
Choose Standard Partnership and click Next.
* You MUST setup the partnership in order for the
handheld to automatically sync with the PC.
i) Choose
Synchronize
with this
desktop
computer
and click
Next, (Do
Not select
Synchronize
with
Exchange Server).
j) On the Sync Options screen, if any boxes display as
checked, uncheck all boxes.
k) Click Finish.
Congratulations!
You have completed the setup of your handheld. See
the Getting Started Guide to complete setup. For any
support questions, please contact AccuBar Support at:
(800) 643-9517.