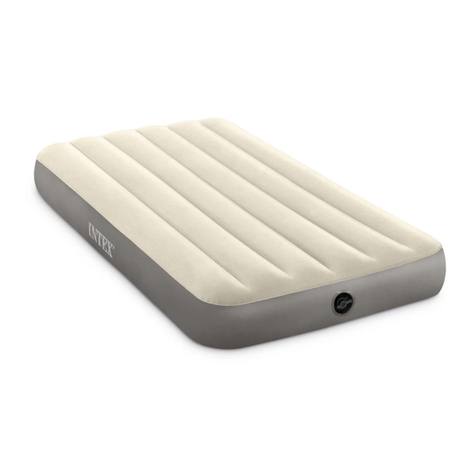
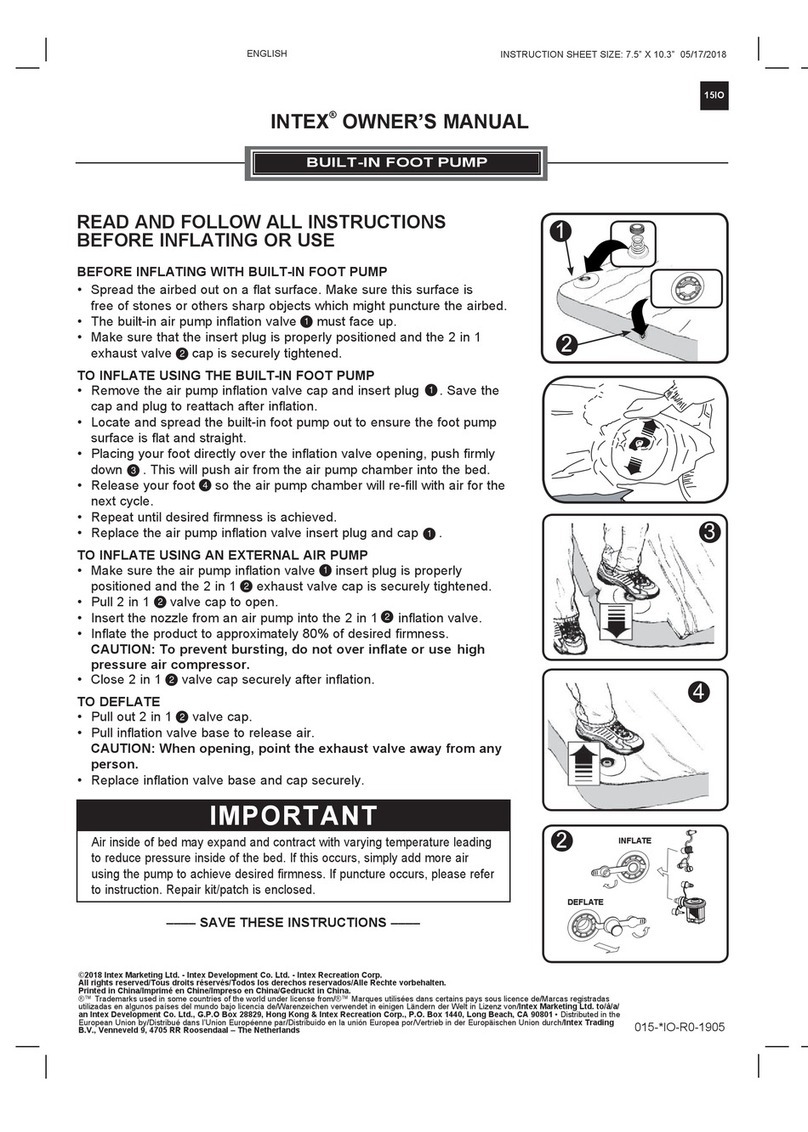
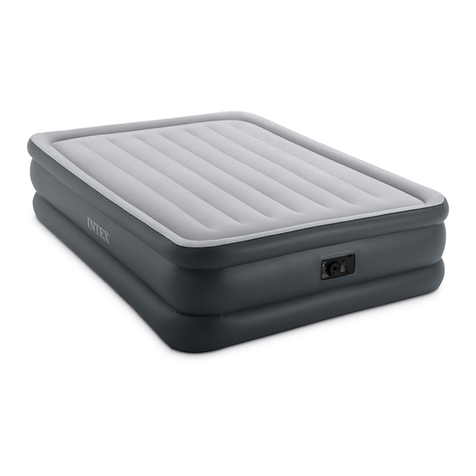
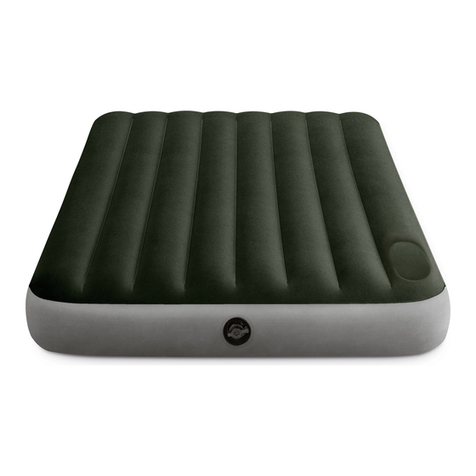
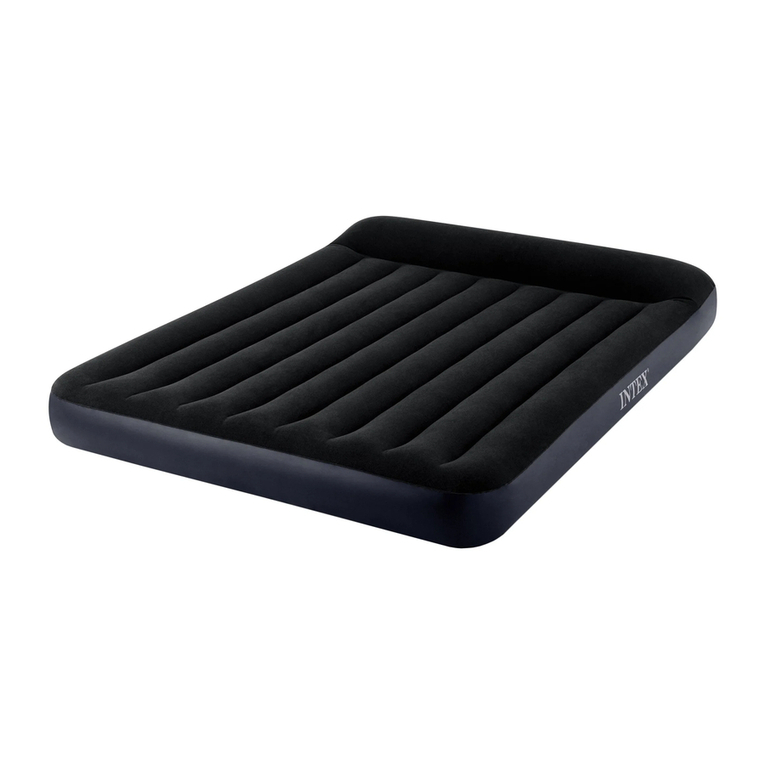
Intex Fast-Fill I638AA User manual

(38IO) I638AA AIRBED ENGLISH 4.875” X 7.25” 07/28/2020
38IO
SAVE THESE INSTRUCTIONS
Page 1 038-*IO-R0-2107
IMPORTANT SAFETY INSTRUCTIONS
READ AND FOLLOW ALL INSTRUCTIONS BEFORE USING THIS PRODUCT
INTEX®OWNER'S MANUAL
Fast-Fill™ Airbed with 2-step battery inflation system
Model I638AA 4 AA Cell Size Batteries 6 V
• Never introduce any flammable substance into the inflatable airbed, SUCH AS AEROSOL TIRE
REPAIR PRODUCTS, as it may ignite or explode.
•This is not a toy. Children must not be left unattended when using the airbed.
• Keep the storage bag (if included) away from babies and children. The storage bag is not a toy.
When not in use, fold the bag and put it away out of the reach of children.
•Do not walk, stand on or jump on or use the airbed as a trampoline.
•Do not use on or near water. This is not a raft.
•Do not set up bed near stairs, doors, sharp edges or breakable objects. Provide adequate space
between bed and objects to avoid entrapment.
•Make sure the area is flat, smooth, even and free of sharp objects that could puncture the bed.
•Keep pets away from the airbed. Pets may puncture the surface of the bed.
•Avoid sleeping on the edge of the airbed. Edges produce less support than the middle of the bed.
•Do not operate air pump for more than 5 minutes at a time. Let pump cool at least 15 minutes
between use.
•Do not obstruct the air passage opening or insert any objects into the air passage opening.
•This appliance can be used by children aged from 8 years and above and persons with reduced
physical, sensory or mental capabilities or lack of experience and knowledge if they have been
given supervision or instruction concerning use of the appliance in a safe way and understand the
hazards involved.
•Children shall not play with the appliance. Cleaning and user maintenance shall not be made by
children without supervision.
• Do not dispose of the batteries in regular trash, municipal waste stream or by fire as battery may
leak or explode. Always dispose of the batteries safely in accordance with your local law and
regulations.
• Never recharge non-rechargeable batteries.
• Do not short-circuit the terminals of the battery or rechargeable battery.
FOLLOW THESE RULES AND ALL INSTRUCTIONS TO AVOID SUFFOCATION, PROPERTY
DAMAGE, ELECTRIC SHOCK, BURNS OR OTHER INJURY.
WARNING
©2020 Intex Marketing Ltd. - Intex Development Co. Ltd. - Intex Recreation Corp. All rights reserved/Tous droits réservés/Todos los derechos
reservados/Alle Rechte vorbehalten. Printed in China/Imprimé en Chine/Impreso en China/Gedruckt in China.
®™ Trademarks used in some countries of the world under license from/®™ Marques utilisées dans certains pays sous licence de/Marcas registradas
utilizadas en algunos países del mundo bajo licencia de/Warenzeichen verwendet in einigen Ländern der Welt in Lizenz von/Intex Marketing Ltd. to/à/a/
an Intex Development Co. Ltd., G.P.O Box 28829, Hong Kong & Intex Recreation Corp., P.O. Box 1440, Long Beach, CA 90801 • Distributed in the
European Union by/Distribué dans l’Union Européenne par/Distribuido en la unión Europea por/Vertrieb in der Europäischen Union durch/Intex Trading
B.V., Venneveld 9, 4705 RR Roosendaal – The Netherlands
www.intexcorp.com

(38IO) I638AA AIRBED ENGLISH 4.875” X 7.25” 07/28/2020
38IO
SAVE THESE INSTRUCTIONS
Page 2
OPERATING INSTRUCTIONS
General
• This airbed is ideal for temporary indoor and outdoor use particularly when no electrical
power outlet is readily available.
• This product operates on four (4) replaceable AA size batteries (not included).
• For maximum power use alkaline batteries. Remove batteries from equipment which is
not to be used for an extended period of time.
• Do not mix old and new batteries. Do not mix alkaline, standard (Carbon - Zinc), or
rechargeable (Nickel - Cadmium) batteries.
• Remove used batteries promptly.
• Keep away from heat or direct sunlight.
• Always purchase the correct size and grade of battery most suitable for the intended use.
• Replace all batteries of a set at the same time.
• Clean the battery contacts and also those of the device prior to battery installation.
• Ensure batteries are installed correctly with regard to polarity (+ and -).
• If leaking battery liquid (electrolyte) comes in contact with skin, wash immediately with
soap and water or neutralize it with vinegar or lemon juice. In case of contact with eyes,
rinse immediately with plenty of water for 10 minutes and seek medical advice.
• Make sure the area is flat, level, clean and free from sharp objects. To prevent puncture
or damage to the airbed, never drag the airbed across the ground. Lift the inflated airbed
when moving or changing location.
• During outdoor use,place a protective layer such as a tarp (not included) between the
selected surface and the airbed in order to prevent damage to the airbed.
•No specific air pump maintenance is required.
•
For airbed cleaning use only clean cloth with mild soapy solution.Do not use any chemicals.
• In case of repairs, use only common PVC repair glue and patches. For flocked surfaces:
rub away the flocking material with an eraser first before applying the glue and/or patch.
•
To reduce the risk of electric shock or injury, do not expose to rain. Store indoors.
CAUTION
Proper inflation of the airbed.
The ambient temperatures of air have an effect on the airbed internal pressure. At low
ambient temperature the air will contract within the airbed and the airbed will feel softer:
add air as necessary. At high ambient temperature the air within the airbed will expand
significantly and the airbed will become hard and may burst: release air to avoid damage
to the airbed or to soften the feel. Do not expose the airbed to extreme temperatures (hot
or cold). Stretching is a natural characteristic of new vinyl. During initial use, the airbed
may become soft and require additional inflation to maintain desired firmness. This is
normal for the first few days of use. Dimensions shown are approximate and will vary due
to the vinyl temperature and the air temperature.
In no event shall Intex, their authorized agents or employees be liable for damages
(such as pin holes) to the airbed caused by negligence, ordinary wear and tear,
abuse and carelessness, or external forces.
IMPORTANT NOTE

(38IO) I638AA AIRBED ENGLISH 4.875” X 7.25” 07/28/2020
38IO
SAVE THESE INSTRUCTIONS
Page 3
PARTS REFERENCE
BATTERY INSTALLATION
1. Unfold the airbed and open the electric air pump cover (3) to reveal the electric air pump
(2). See Fig (1).
2. Remove the electric air pump by turning the air pump rim counterclockwise, and pull the
air pump out. See Fig (1).
3. Open the battery cover (5), insert 4 “AA” alkaline batteries (NOT INCLUDED) as shown
on the drawings inside the battery compartment, close and latch the battery cover.
See Fig (2).
Note: Drawings for illustration purposes only. Actual product may vary. Not to scale. Due to
a policy of continuous product improvement, Intex reserves the right to change specifications
and appearance, which may result in updates to the instruction manual, without notice.
4. Insert the electric air pump in the airbed by aligning the arrow on the pump body with the
arrow on the pump holder frame (1). Turn the air pump clockwise to lock it. See Fig (3-4).
2
8
7
5
1
4
3
6
1. Pump holder frame
2. Electric air pump
(Part number: #12991)
3. Electric air pump cover
4. Manual inflation port and cap
5. Battery cover
6. Power switch
7.
Built-in pressure adjuster insert plug
(Part number: #10044)
8. Built-in pressure adjuster cap
(Part number: #10043)
3
Alignment
arrow
4
Airbed
1
1
2
2

(38IO) I638AA AIRBED ENGLISH 4.875” X 7.25” 07/28/2020
38IO
SAVE THESE INSTRUCTIONS
Page 4
INFLATION
USING THE ELECTRIC AIR PUMP AND TOP OFF THE FIRMNESS WITH THE BUILT-IN
PRESSURE ADJUSTER
NOTE: The electric pump is a low pressure inflator. Start by inflating the airbed using the
electric air pump until the sides are up and then use the built-in pressure adjuster to reach
your desired firmness.
1. Make sure the manual inflation port cap (4) on the electric air pump cover (3) is closed by
pushing in firmly. See Fig (5).
2. Open the electric air pump cover (3) and turn the switch ON to inflate the airbed until the
airbed side walls are up.See Fig (6). The airbed will take shape but still feel soft.
3. To switch off the pump, simply close and latch the electric pump cover (3) and the pump
will stop. See Fig (7).
IMPORTANT: Do not just turn the switch OFF with your finger as this will allow the air
to escape. Close the large electric air pump cover while the pump is still operating to
switch OFF.
4. To achieve the desired firmness, flip the airbed over with the flocked side facing down.
5. Locate the built-in pressure adjuster, unscrew the cap (8) and remove the insert plug (7).
See Fig (8).
8
5 6
7

(38IO) I638AA AIRBED ENGLISH 4.875” X 7.25” 07/28/2020
38IO
SAVE THESE INSTRUCTIONS
Page 5
6. Top off with hands or foot, whichever is more convenient. Place your hands or foot
directly over the pressure adjuster valve opening, covering the opening completely, and
press down firmly. This will push air from the air pump chamber into the bed. See Fig (9).
MANUAL INFLATION OPTION
A conventional external foot, manual or electric operated air pump (not included) can be
used by connecting it to the manual inflation port located on the electric air pump cover (3).
See Fig (11). Follow these steps:
1. Make sure the built-in pressure adjuster insert plug
(7) and cap (8) are securely closed.
2. Make sure the electric air pump cover (3) is latched
closed. To prevent misplacing or damage to the
electric air pump (2), the pump should be properly
attached.
3. Remove the cap from the manual inflation port (4)
and insert the nozzle of the pump into the port.
Inflate the airbed to desired firmness.
NOTE: To prevent bursting, do not over inflate or
use high pressure air compressor.
4. Remove nozzle from manual inflation port and
close the cap firmly.
FIG (11)
7. Remove your hands or foot so the air pump chamber will re-fill with air for the next cycle.
See Fig (10).
8. Repeat until the desired firmness is achieved.
9. Replace the built-in pressure adjuster insert plug and cap. Turn the airbed over with the
flocked side facing up.
10
OR
9
OR

(38IO) I638AA AIRBED ENGLISH 4.875” X 7.25” 07/28/2020
38IO
SAVE THESE INSTRUCTIONS
Page 6
3. With the airbed fully deflated begin rolling the airbed from
the end opposite of the pump towards the end where the
pump is located. See Fig (14).
4. Remove the electric air pump from the airbed and switch
it OFF. Now re-attach the pump in its original fully recessed
position: With the power switch facing away from the airbed,
align the arrow on the pump body with the arrow on the pump
holder frame (1) and reattach the air pump to the airbed.
Turn the air pump clockwise to lock it and close the air pump
cover (3).
FIG (14)
MANUAL DEFLATION
1. Open the air pump cover (3) and remove the electric air pump (2) from the airbed.
See Fig (12).
2. Begin rolling the airbed from the end opposite of the pump towards the end where the
pump is located. See Fig (14).
3. With the power switch facing away from the airbed, align the arrow on the pump body
with the arrow on the pump holder frame (1) and reattach the air pump to the airbed.
Turn the air pump clockwise to lock it and close the air pump cover (3).
POWER DEFLATION
1. Open the air pump cover (3) and remove the electric air pump (2) from the airbed.
The open port will start deflating the airbed naturally. See Fig (12).
2. Switch ON the pump by pressing “I” and reattach it to the airbed in the reverse direction:
With the power switch facing the airbed, align the arrow on the pump rim with the arrow
on the pump holder frame and turn pump clockwise to lock in place. The pump is only
slightly recessed with the pump body sticking out of the airbed for deflation. See Fig (13).
13
Airbed
Alignment
arrow
12

(38IO) I638AA AIRBED ENGLISH 4.875” X 7.25” 07/28/2020
38IO
SAVE THESE INSTRUCTIONS
Page 7
TROUBLESHOOTING GUIDE
PROBLEM CAUSE SOLUTION
Electric air pump is
not working / pump
motor not running.
• Batteries are depleted, low in
power.
• Check batteries are correctly
installed.
• Battery cover is not securely
latched.
• Power switch is off.
• Dirt, lint, hair or object inside
the electric air pump.
• Change to a new set of batteries.
• Ensure batteries are installed correctly
with regard to polarity (+ and -).
• Push in the battery cover firmly.
• Turn on the power switch.
• Remove any dirt, lint, hair, etc inside the
electric air pump.
After ination, air
ows out when
turning the electric air
pump power switch
o with the nger.
• Incorrect way to turn off the
electric air pump.
• Simply close the electric air pump cover
while the pump is still operating to switch
OFF. Make sure the cover is securely
latched.
Air is leaking around
the electric air pump
cover.
• Electric air pump cover not
securely closed and latched.
• Dirt, dust, etc on the electric
air pump cover O-ring.
• Check the electric air pump is fully
inserted and locked in place. Close and
latch the electric air pump cover.
• Make sure there is no dirt, dust, lint, hair
on the electric air pump cover O-ring.
Air is leaking around
the manual ination
port cap.
•Manual inflation port cap is
not securely closed.
• Push the manual inflation port cap firmly
in.
Air is leaking around
the built-in pressure
adjuster insert plug/
cap.
• Built-in pressure adjuster
insert plug missing.
• Built-in pressure adjuster cap
is not securely tightened.
• Open the built-in pressure adjuster cap
and make sure the insert plug is present
and firmly inserted.
• Make sure the built-in pressure adjuster
cap is securely tightened.
STORAGE INSTRUCTIONS
1. Deflate the airbed following the “DEFLATION” instructions.
2. Make sure the airbed is clean and dry.
3. Lay the airbed flat with the sleeping surface facing upwards and follow the folding steps
on Figs (15 - 19). Fold the airbed loosely and avoid sharp bends, corners and creases
which can damage the airbed.
4. Store the airbed in a dry, cool storage location.
FIG (15) FIG (16) FIG (17)
FIG (19)
FIG (18)
Table of contents
Other Intex Indoor Furnishing manuals
Popular Indoor Furnishing manuals by other brands

Home Decorators Collection
Home Decorators Collection NOVA 21038-M24-ST Assembly instructions

LuxenHome
LuxenHome WHIF897 instruction manual

Nico & Yeye
Nico & Yeye POCO quick guide

Gami
Gami 230 manual

Rauch
Rauch M2337 Assembly instructions

Simpli Home
Simpli Home WyndenHall Brooklyn+Max AXCRAMH20-HIC manual

Woltra
Woltra SILKEBORG SI-83 R Assembly instructions

SI
SI Nano Roll installation instructions

highwood
highwood Manhatten Adirondack Chair Assembly guide

agatameble
agatameble OLE 864 installation instructions

Simpli Home
Simpli Home AXWELL3-003 Assembly guide

VITRA
VITRA Metal Wall Reliefs quick start guide