manuals.online logo
Brands
  1. Home
  2. •
  3. Brands
  4. •
  5. iOptron
  6. •
  7. Accessories
  8. •
  9. iOptron CEM26 User manual

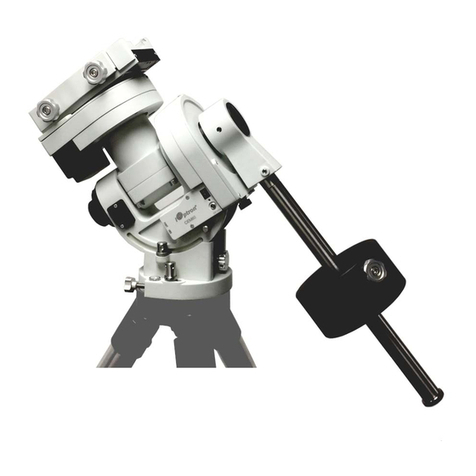
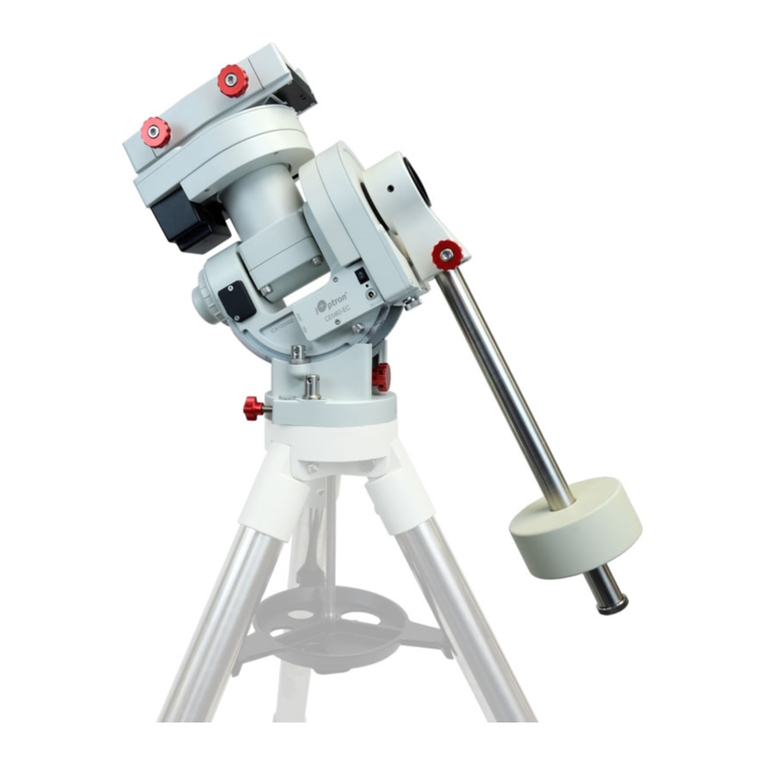
iOptron CEM26 User manual

For iOptron Internal Use Only
CEM26/GEM28 Worm Play Identification and Adjustment
Tool needed: a set of metric Allen wrench and a
small flat top screw driver, a pair of nose pliers or
tweezers.
1. After open the RA/DEC ring gear cover to
expose worm assembly and ring gear, exam
the worm assembly movement when hold and
rotating the ring gear.
(1) If the whole worm assembly moves up and
springs back down, this is normal for a
spring loaded worm/gear system
(2) If the whole worm assembly moves left/right,
or even gets free at one end, the hinge(s)
may get loose. Go to next step to fix it.
(3) If only the worm itself is moving freely, the
worm end cap needs be tightened. Please
refer to Step 13 to adjust it.
2. Remove mount motor cover.
3. Carefully unplug the motor cable from the DEC
control board.
4. Release two screws and remove the motor
5. Check the worm assembly to see if both hinge
pins are in position. They should be almost
flash with the bearing.
Hinge pin
(1)
(2)
(3)
For iOptron Internal Use Only
6. Check two hinge locking screws. Make sure
they are tightened.
7. Release hinge bearing end cap locking screw
half turn.
8. Turn the brass end cap clockwise all the way in
using a pair of strong tweezers or a screw
driver. Rotate the ring gear to confirm the free
play is eliminated. Then un-tighten the end cap
1/16-1/8 turn. Check the free play again.
9. Tighten the end cap set screw as in Step 7.
Check the play again.
10. Thread the belt over motor pulley and attached
the motor to the worm assembly. Tighten the
screws slightly.
11. Tension the belt while tighten the motor
mounting screws.
12. Reconnect the cable and put the cover back.
13. The worm/worm pulley lateral movement is
cause by a loose worm bearing end cap. It is
not accessible without remove the worm
assembly from the mount. Follow Step 2 to
Step 4 to remove motor cover, cable, control
board and motor.
14. Set the Gear Switch to locking position.
Carefully remove the gear switch locking pin.
End cap
Locking Pin
For iOptron Internal Use Only
15. SLOWLY Pull the gear switch knob outwards.
Put your palm underneath to collect the little
spring and the ball bearing. The ball bearing is
spring loaded and very easy to be sprung off.
16. Release two set screws on mount assembly:
two for locking assembly hinge pins and one for
hinge bearing end cap.
17. Remove the hinge pin bearing end cap. Use a
small screw driver to push the hinge pins
inward. It will drop off from the center slot.
There are small washers as well. Pull the worm
assembly from top of the ring gear
compartment.
18. Tap the bearing out of the housing if needed.
The following is a set of a bearing, a washer
and a hinge pin.
The following shows the relative position of the
end cap, hinge pin/bearing and a worm
assembly.
Spring underneath
the ball bearing
For iOptron Internal Use Only
19. Release a small set screw on Worm pulley and
remove the worm pulley.
20. Check the worm by pulling-pushing the shaft.
You should see/feel the lateral movement if
there is free play.
21. Release worm end cap set screw a little.
Tighten the brass end cap by using a pair of
nose pliers or a pair of strong tweezers. Back
out the end cap 1/16-1/8 turn. Turn the worm
shaft with fingers. There should be no stiffness.
Check if the lateral free movement is eliminated.
Tighten the set screw. Check the worm
smoothness again. If there is any stiffness
exists, you need to readjust the worm end cap.
Until there is no lateral play, or worm stiffness.
22. Put the worm pulley back on to the worm shaft.
Locate the flat surface on the shaft and tighten
the set screw onto it. Make sure that the worm
shaft end if aligned flash to the pulley surface.
23. Before install the worm assembly, insert one
hinge bearing into the bearing housing without
the locking end cap.
24. Wrap the belt over the worm pulley and insert
the worm assembly back into the ring gear
compartment. You may rotate the mount head
90 degree so the worm pulley and open-ended
hinge pin bearing house is on top.
Hinge bearing
Hinge bearing
and end cap
Set screw
For iOptron Internal Use Only
25. Insert hinge pins while insert the washer
between the bearing and worm assembly body.
Tap the hinge pin inward to make sure its end
flash with the bearing surface.
26. Lock hinge pin by tightening the locking set
screws.
27. Turn the brass end cap clockwise all the way in
using a pair of strong tweezers or a screw
driver. Then un-tighten the end cap 1/16-1/8
turn. Check the worm assembly that it can
moved freely and no free play.
28. Tighten the hinge end cap set screw. Check the
play again.
29. Now install the gear switch back.
30. Insert the spring into the gear switch hole. Put
the ball bearing on top of it. Insert gear switch
into the worm assembly while align the ball
bearing to the slot. Push ball into the switch
body while push the gear switch into the worm
assembly. Need be very careful not to spring
away the ball and spring.
31. Turn the gear switch while push it inward to
check if it is smooth. Then insert the gear
switch locking pin and secure it.
Washer goes next
to bearing
Hinge pin end
End cap
Ball bearing
goes in this slot
For iOptron Internal Use Only
32. Check the play with worm/ring gear engaged
while rotating the ring gear.
33. Follow steps 10-12 to put the motor, control
board and cover back.

Other manuals for CEM26

3

This manual suits for next models

1

Other iOptron Accessories manuals

iOptron SmartStar iEQ45 User manual

iOptron

iOptron SmartStar iEQ45 User manual

iOptron StarFi User manual

iOptron

iOptron StarFi User manual

iOptron iPolar User manual

iOptron

iOptron iPolar User manual

iOptron SmartEQ Pro+ User manual

iOptron

iOptron SmartEQ Pro+ User manual

iOptron SkyHunter Portable EQ GOTO System User manual

iOptron

iOptron SkyHunter Portable EQ GOTO System User manual

iOptron SmartStar User manual

iOptron

iOptron SmartStar User manual
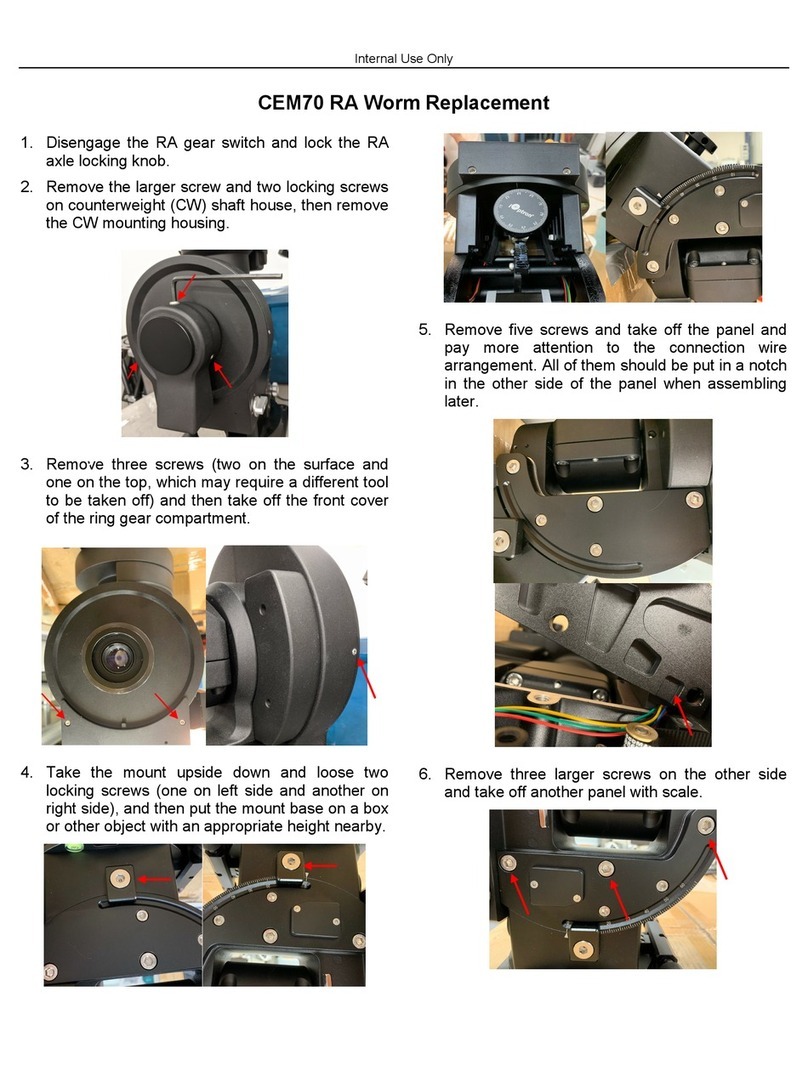
iOptron SmartStarMiniTower II User manual

iOptron

iOptron SmartStarMiniTower II User manual

iOptron iEQ45 Pro User manual

iOptron

iOptron iEQ45 Pro User manual

iOptron CEM70G User manual

iOptron

iOptron CEM70G User manual

iOptron HAE69 User manual

iOptron

iOptron HAE69 User manual

iOptron SkyGuider User manual

iOptron

iOptron SkyGuider User manual

iOptron HEM15 User manual

iOptron

iOptron HEM15 User manual

iOptron SmartStar 8600A User manual

iOptron

iOptron SmartStar 8600A User manual

iOptron iPolar User manual

iOptron

iOptron iPolar User manual

iOptron SmartStar iEQ45 User manual

iOptron

iOptron SmartStar iEQ45 User manual

iOptron SmartStar iEQ45 User manual

iOptron

iOptron SmartStar iEQ45 User manual

iOptron CEM70 User manual

iOptron

iOptron CEM70 User manual

iOptron PoleMaster 3338-25? PoleMaster 3338-34? PoleMaster... User manual

iOptron

iOptron PoleMaster 3338-25? PoleMaster 3338-34? PoleMaster... User manual

iOptron SmartStar Cube E Series User manual

iOptron

iOptron SmartStar Cube E Series User manual

iOptron CEM25 User manual

iOptron

iOptron CEM25 User manual

iOptron CEM70 User manual

iOptron

iOptron CEM70 User manual

iOptron ZEQ25GT User manual

iOptron

iOptron ZEQ25GT User manual
iOptron iE1300 User manual

iOptron

iOptron iE1300 User manual
iOptron SmartStarMiniTower User manual

iOptron

iOptron SmartStarMiniTower User manual

Popular Accessories manuals by other brands

EdgeStar BR3002SS owner's manual

EdgeStar

EdgeStar BR3002SS owner's manual

ultron Real Power PB-20k SE manual

ultron

ultron Real Power PB-20k SE manual

Owon WSP408 quick start guide

Owon

Owon WSP408 quick start guide

Onset S-BPB-CM50 manual

Onset

Onset S-BPB-CM50 manual

Advaning CLASSIC Series owner's manual

Advaning

Advaning CLASSIC Series owner's manual

Icemoon Wi-Fi Camera Power Bank user manual

Icemoon

Icemoon Wi-Fi Camera Power Bank user manual

Nordic Deltaco PB-C1004 user manual

Nordic

Nordic Deltaco PB-C1004 user manual

Conrad 99 77 77 operating instructions

Conrad

Conrad 99 77 77 operating instructions

HiWeigh K8 user manual

HiWeigh

HiWeigh K8 user manual

AQUANTIS Moisture-Sense user guide

AQUANTIS

AQUANTIS Moisture-Sense user guide

nvent Raychem MONI-PT100-4/20MA manual

nvent

nvent Raychem MONI-PT100-4/20MA manual

PCB Piezotronics ICP 208C02 Installation and operating manual

PCB Piezotronics

PCB Piezotronics ICP 208C02 Installation and operating manual

Keating Of Chicago Pasta Baskets Specification sheet

Keating Of Chicago

Keating Of Chicago Pasta Baskets Specification sheet

KewlFlow 6429B user guide

KewlFlow

KewlFlow 6429B user guide

Ezviz T31 quick start guide

Ezviz

Ezviz T31 quick start guide

ATI Technologies SR-61 manual

ATI Technologies

ATI Technologies SR-61 manual

CSS AssistX IR one Instructions for use

CSS

CSS AssistX IR one Instructions for use

ideus PB1800 user guide

ideus

ideus PB1800 user guide

manuals.online logo
manuals.online logoBrands
  • About & Mission
  • Contact us
  • Privacy Policy
  • Terms and Conditions

Copyright 2025 Manuals.Online. All Rights Reserved.