manuals.online logo
Brands
  1. Home
  2. •
  3. Brands
  4. •
  5. iOptron
  6. •
  7. Accessories
  8. •
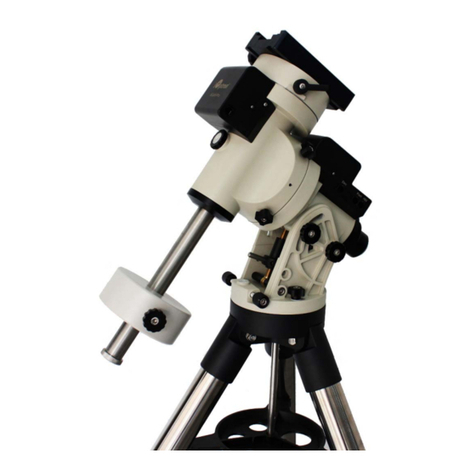
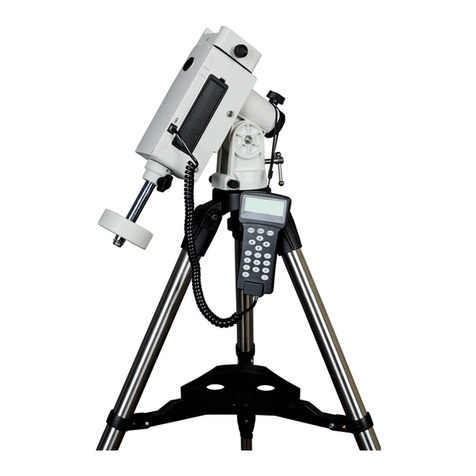
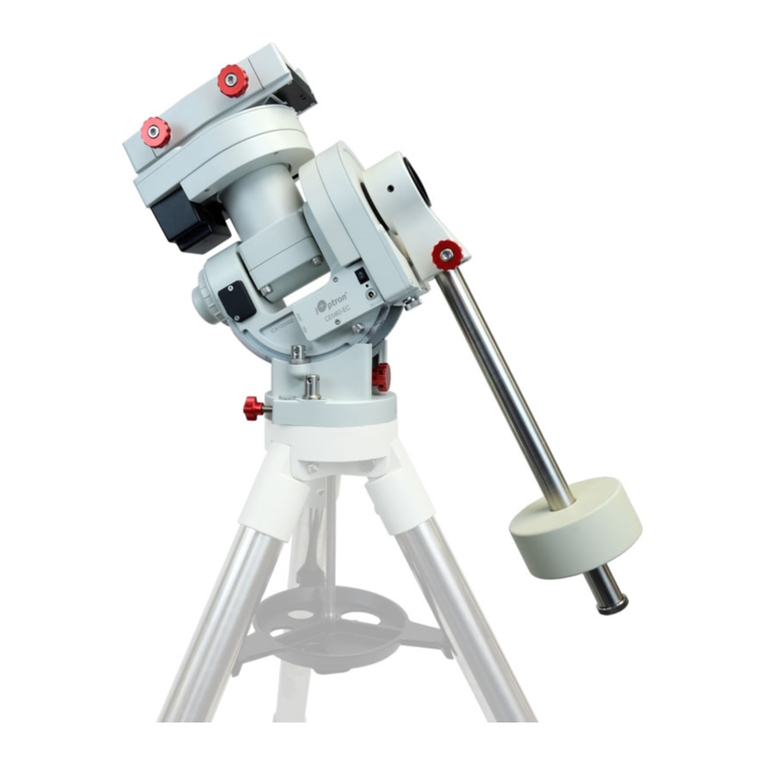
  9. iOptron CEM70 User manual

iOptron CEM70 User manual

Internal Use Only
CEM70 RA Worm Replacement
1. Disengage the RA gear switch and lock the RA
axle locking knob.
2. Remove the larger screw and two locking screws
on counterweight (CW) shaft house, then remove
the CW mounting housing.
3. Remove three screws (two on the surface and
one on the top, which may require a different tool
to be taken off) and then take off the front cover
of the ring gear compartment.
4. Take the mount upside down and loose two
locking screws (one on left side and another on
right side), and then put the mount base on a box
or other object with an appropriate height nearby.
5. Remove five screws and take off the panel and
pay more attention to the connection wire
arrangement. All of them should be put in a notch
in the other side of the panel when assembling
later.
6. Remove three larger screws on the other side
and take off another panel with scale.
Internal Use Only
7. Remove four screws for RA motor bracket (two in
one side and two in the other side).
8. Remove RA motor and its protection bar.
9. Loosen three setting screws (two for locking the
worm assembly hinge axles on each side and
one for locking the end cap). Loosen the brown
end cap and then push the axle.
10. Take out the hinge axle. Push the second axle
from another side and take it out, too. Please pay
more attention to the two brass washers between
RA worm assembly and the mount frame on
each side, which are easy to drop below the main
board or even behind the RA ring gear.
11. Remove the latch for RA gear switch knob.
12. Make sure that the gear switch is in disengage
position. Pull out the gear switch knob slowly.
(RE) Please pay more attention to the small ball
while pulling out the gear switch knob. If
necessary, move RA worm assembly up and
down slowly while pulling out the gear switch
knob further.
13. Pull out the whole RA worm assembly with belt.
Loose two setting screws and then remove the
pulley.
Internal Use Only
14. Remove the brown end cap and pull out the old
RA worm and its two bearings.
15. Remove the two bearings and check if they work
well. If working properly, use them with the new
worm. Otherwise, they should be replaced.
16. Put new worm with bearings into RA worm
housing. Then install the brown end cap. Adjust
and tighten the worm end cap to make sure that
the worm rotates freely and there is no free play.
(replace pic) Then fasten the setting screw gently.
17. Put back the pulley and pay more attention to
make sure that its surface with a dent is toward
outside. Tighten the setting screws for the pulley
and the worm end cap.
18. Grease the worm. Then wrap the belt to the
pulley and put back the whole worm assembly
into the mount frame.
19. Put back the clutch knob with the small ball and
spring by turning the clutch knob back and
forward slightly and while pushing it. Please pay
more attention to the small ball.
20. Install latch for RA gear switch knob.
21. Put one brown washer back between the worm
assembly and the mount frame. Insert one axel
from one side of the mount frame into the bearing
inside the worm assembly, and adjust the washer
and worm assembly to make sure the axel to go
through the bearing, washer and the worm
assembly. Then tighten the setting screw for the
axle.
Internal Use Only
22. Similarly, put the second washer back in the
other side between the worm assembly and the
mount frame. Insert the second axel into the bearing
inside the worm assembly, and adjust the washer
and worm assembly to make sure the second axle to
go through the bearing, washer and the worm
assembly. Then tighten the setting screw for the
second axle.
23. Install the brown end cap and tighten it. Push the
axle to an appropriate position. Fasten three
setting screws.
24. Put back RA motor and its protection bar. Install
the protection bar by installing four screws. To
make the belt tight, use a small flat screwdriver to
lift the motor a little bit while fastening four
screws.
25. Put back the panel with scale by installing three
screws and fastening them all.
26. Put back another panel while pay more attention
to arrange the connection wires well. The two
sets of connection wires must be put in the notch
which is in the other side of the panel.
27. Hold and push hard the panel while making sure
if the two sets of connection wires can move
freely inside and outside of the panel. If any of
connection wires cannot move freely, please go
to Step 28 and rearrange connection wires and
put them all in the notch.
28. Put back the base, make the locking nut in a
correct orientation and fasten it. Do the same on
the other side.
29. Install front cover by installing three screws.
30. Install CW nose by installing one screw and two
setting screws.

Other manuals for CEM70

4

Other iOptron Accessories manuals

iOptron iE1300 User manual

iOptron

iOptron iE1300 User manual

iOptron SmartStar User manual

iOptron

iOptron SmartStar User manual
iOptron SkyGuider User manual

iOptron

iOptron SkyGuider User manual

iOptron CEM25 User manual

iOptron

iOptron CEM25 User manual

iOptron HAE69 User manual

iOptron

iOptron HAE69 User manual

iOptron CEM60 User manual

iOptron

iOptron CEM60 User manual

iOptron SmartStar iEQ45 User manual

iOptron

iOptron SmartStar iEQ45 User manual

iOptron ZEQ25GT User manual

iOptron

iOptron ZEQ25GT User manual

iOptron SmartEQ Pro+ User manual

iOptron

iOptron SmartEQ Pro+ User manual

iOptron SmartStar Cube User manual

iOptron

iOptron SmartStar Cube User manual

iOptron HEM15 User manual

iOptron

iOptron HEM15 User manual

iOptron PoleMaster 3338-25? PoleMaster 3338-34? PoleMaster... User manual

iOptron

iOptron PoleMaster 3338-25? PoleMaster 3338-34? PoleMaster... User manual

iOptron AccuAligning User manual

iOptron

iOptron AccuAligning User manual

iOptron HAE29 User manual

iOptron

iOptron HAE29 User manual

iOptron iPolar User manual

iOptron

iOptron iPolar User manual

iOptron iPolar User manual

iOptron

iOptron iPolar User manual

iOptron CEM60EC User manual

iOptron

iOptron CEM60EC User manual

iOptron iPolar User manual

iOptron

iOptron iPolar User manual

iOptron ZEQ25 User manual

iOptron

iOptron ZEQ25 User manual

iOptron CEM26 User manual

iOptron

iOptron CEM26 User manual

iOptron iPolar 3339R-SGP User manual

iOptron

iOptron iPolar 3339R-SGP User manual

iOptron SmartStar CubePro User manual

iOptron

iOptron SmartStar CubePro User manual

iOptron SmartEQ User manual

iOptron

iOptron SmartEQ User manual

iOptron SmartStarMiniTower II User manual

iOptron

iOptron SmartStarMiniTower II User manual

Popular Accessories manuals by other brands

CARDIOSTRONG CST-FT-125 Assembly and operating instructions

CARDIOSTRONG

CARDIOSTRONG CST-FT-125 Assembly and operating instructions

Silvercrest SWD 100 C2 Operating instructions  and safety advice

Silvercrest

Silvercrest SWD 100 C2 Operating instructions and safety advice

Resolution CONNECT O2 quick start guide

Resolution

Resolution CONNECT O2 quick start guide

SUP’AIR MINIMAX BUMP user manual

SUP’AIR

SUP’AIR MINIMAX BUMP user manual

A-EON Aeotec MultiSensor 6 user guide

A-EON

A-EON Aeotec MultiSensor 6 user guide

CO/Tech MS01 manual

CO/Tech

CO/Tech MS01 manual

holthausen elektronik ESW-small-Compact user manual

holthausen elektronik

holthausen elektronik ESW-small-Compact user manual

Bigben 3DS Parental Control user manual

Bigben

Bigben 3DS Parental Control user manual

Silvercrest STK 17 A1 Assembly, operating and safety instructions

Silvercrest

Silvercrest STK 17 A1 Assembly, operating and safety instructions

HAMPTON BAY HB-7951-02 Use and care guide

HAMPTON BAY

HAMPTON BAY HB-7951-02 Use and care guide

Fly Sky FS-iBA01 quick start guide

Fly Sky

Fly Sky FS-iBA01 quick start guide

RichardSolo JK005 instruction manual

RichardSolo

RichardSolo JK005 instruction manual

home & CO TT-1101XQF instruction manual

home & CO

home & CO TT-1101XQF instruction manual

Asahi KASEI Sensair aSENSE VAV installation manual

Asahi KASEI

Asahi KASEI Sensair aSENSE VAV installation manual

Silvercrest WIRELESS SOCKET SET Operation and safety notes

Silvercrest

Silvercrest WIRELESS SOCKET SET Operation and safety notes

High Adventure BEAMER 3 owner's manual

High Adventure

High Adventure BEAMER 3 owner's manual

Life Fitness M051-00K58-A034 installation instructions

Life Fitness

Life Fitness M051-00K58-A034 installation instructions

Pure Fun 9005MTH product manual

Pure Fun

Pure Fun 9005MTH product manual

manuals.online logo
manuals.online logoBrands
  • About & Mission
  • Contact us
  • Privacy Policy
  • Terms and Conditions

Copyright 2025 Manuals.Online. All Rights Reserved.