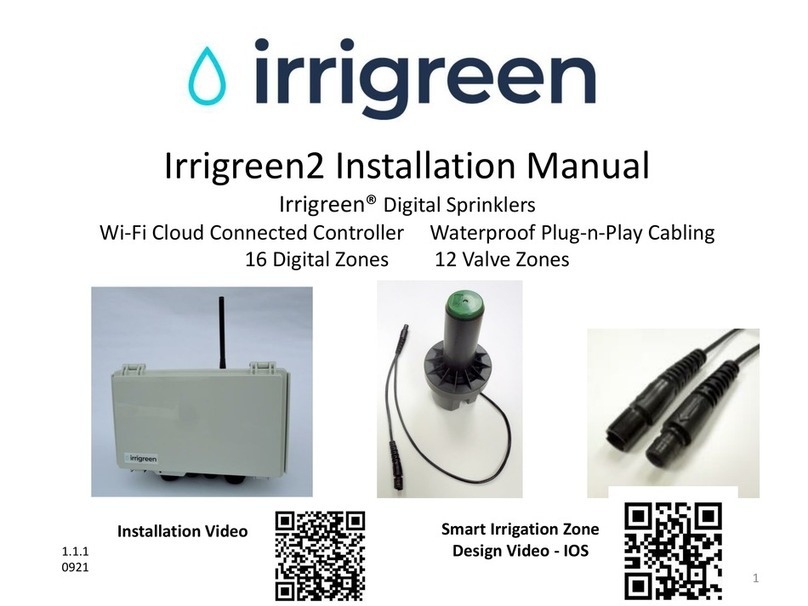
IrriGreen 2 User manual

Quick Install Guide
v2 - 11/21

2
With our revolutionary all-digital
sprinkler system, you use fewer, more
efficient heads, that accurately water
to the exact shape of your landscape.

4
Included in Your Box:
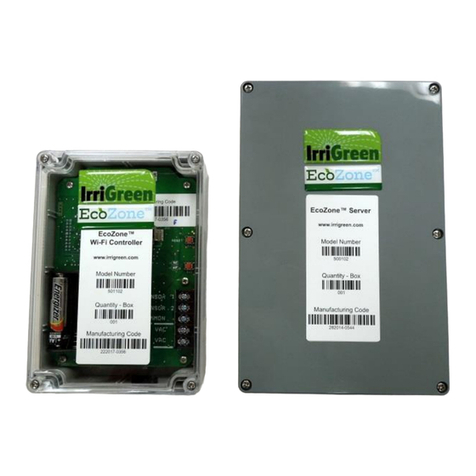
Irrigreen 2 WiFi / Cloud Controller
Standard: 16 Digital Zones, 12 Valve Zones
Pro: 32 Digital Zones, 24 Valve Zones
24 VAC Transformer
with 10’ wire (40VA, indoor)
Digital Sprinkler(s)
1 per zone, ~2000 sq. ft.
Controller Cable
50’ with end plug
15” FlexPipe
1” MPT to mainline tee
50’ Sprinkler Cable
Cable Tee with end plug
CableLok

Quick Install Guide
45
Other Items You’ll Need:
1” Mainline PVC
or Poly Pipe
1” Elbows,
connectors, end caps
1” Tees with 1”
female pipe thread
Teflon Tape
Pressure Gauge
+Any other connectors and end caps needed for your yard
PVC Glue Pipe Cutter
Recommended: 6” Valve
Box (one per head)

6
Irrigreen System Requirements:
1 Constant pressure (between 40-80 psi)
2 Good flow (8+ gpm )
3 Clean water
Well Systems: Water Sources with Particulates:
Well Systems require a constant
pressure pump or regulated constant
pressure supply, e.g. with a pressure
regulating valve (PRV) set below the
lowest pump setting.
Any water source with particulates
such as sand and grit, require a 500
Micron water filter (similar to drip
systems).

Quick Install Guide
67
Step 1: Measure Pressure
Click or scan for Step
1 video
Measuring your water pressure will tell you the
maximum distance that your sprinkler head will be
able to spray, and help you determine where to place
your sprinkler head(s).
Step 2: Bucket Test (Flow)
Connect your pressure gauge
to your water spigot.
Pressure: 40-80 psi
Make sure you can fill a 5 gallon
bucket in less than 45 seconds
(8 gallons per minute).
Flow: 8+ gpm
Click or scan for
Step 2 video

8
Step 3: Sprinkler Head Placement
1. Mark where you want to place
your sprinkler heads.
(Exact placement not critical as you can
program the head to the shape of the zone.)
2. Using a tape measure, measure to the farthest corner of each zone to
make sure you have enough watering range to reach every part of the zone.
NOTE: Refer to the psi/distance chart before placing heads. The farthest corner is the
longest distance on the zone.
Click or scan for Step
3 video
• Don’t overlap sprays or zones.
• Place 1 Sprinkler Head per Zone
• Place heads so that they can reach your furthest corners.
Example of two Zones:
Irrigreen
Sprinkler Head
(Zone 2)
Irrigreen
Sprinkler
Head (Zone 1)
22 Ft.
19 Ft.
*Place sprinkler
heads in the
approximate
center of each
zone.

Quick Install Guide
89
For Narrow Zones:
*For narrow zones
(less than 10’ wide):
• Place head along the edge.
• Heads can be programmed
to water in a 180° pattern.
• The 5 ft. minimum throw
distance ensures head has
enough pressure to stay
popped up.
Check minimum throw distance (cannot be less than 5 feet).
NOTE: Heads cannot be programmed to distances less than 5 feet, to keep
the riser from retracting.

Quick Install Guide
10 11
Step 5: Find and Tap into Your Water Line
You need to find your water line (mainline) to connect Irrigreen to your water source.
Tapping into Your Existing Mainline:
1. Shut off water and find your mainline.
2. Cut the mainline underground.
3. Glue in a tee connector to provide water to
Irrigreen sprinkler heads.
*Make sure you check the backflow and anti-
siphon valve regulations in your area.
Tap off
here
Irrigration shut
off valve
Water Main
Line
Tap off
here
1. Near a Spigot 2. Near Irrigation
Shut Off Valve
3. Upstream Side of
Irrigation Valve Box
Where is my mainline?

Quick Install Guide
12 13
Click or Scan for
Step 8 video
Step 7: Connect FlexPipe to Mainline
1” end of FlexPipe:
Use 2-3 layers of Teon tape
and screw on FlexPipe
Step 8: Flush out the Pipes for 3 minutes
1. Point the flexpipe outside the hole.
2. Turn on the mainline to flush out.
3. Let water run for 3 minutes.
*This step is very important!
• It gets rid of any dirt, debris, or glue in pipes.
• Operating heads with unflushed debris in pipe voids warranty.
Click or scan for
Step 7 video

Quick Install Guide
14 15
End Plug
Sprinkler
Cable
End Plug
Step 10: Connect Irrigreen Cables to Head
Click or scan for
Step 10 video
If this is the last sprinkler on the
line, put an end plug on the open
connector to keep connector dry.
If there are more sprinklers on this
line, connect a sprinkler cable to the
larger connector end to “daisy chain”
to the next sprinkler on the line.
End Plug
with CableLok
1. Align arrows on connectors
2. Push connectors together unl they boom out
3. Place CableLok Top over connectors
align ridge with corresponding ridge on connector
4. Snap CableLok Top down into place 5. Align and Snap CableLok Boom into place
To remove: use
sloed screwdriver
Align arrows
Align ridges
CableLok
Larger End
Smaller End
Align
Arrows

16
1. Align arrows on connectors
2. Push connectors together unl they boom out
3. Place CableLok Top over connectors
align ridge with corresponding ridge on connector
4. Snap CableLok Top down into place 5. Align and Snap CableLok Boom into place
To remove: use
sloed screwdriver
Align arrows
Align ridges
CableLok
Step 11: Use CableLok Over Connectors
CableLoks help prevent any leakage or
corroding. Use CableLok over all connectors.
1. Align arrows on connectors. Push
connectors together until they bottom out.
2. Place CableLok Top over
connectors and align ridge with
corresponding ridge on connector.
3. Snap CableLok Top down into place. 4. Align and Snap CableLok Bottom
into place.
1. Align arrows on connectors
2. Push connectors together unl they boom out
3. Place CableLok Top over connectors
align ridge with corresponding ridge on connector
4. Snap CableLok Top down into place 5. Align and Snap CableLok Boom into place
To remove: use
sloed screwdriver
Align arrows
Align ridges
CableLok
Click or scan for
Step 11 video

Quick Install Guide
16 17
1. Align arrows on connectors
2. Push connectors together unl they boom out
3. Place CableLok Top over connectors
align ridge with corresponding ridge on connector
4. Snap CableLok Top down into place 5. Align and Snap CableLok Boom into place
To remove: use
sloed screwdriver
Align arrows
Align ridges
CableLok
Click or scan for
Step 12 video
Step 12: Controller Box Mounting
1. Remove top bracket from controller and place it
level on the wall.
2. Screw in the top bracket.
3. Put the controller on top bracket and slide it
down in place.
4. Put screws in the two holes on bottom bracket
to hold the controller box in place.
Controller slides onto
mounting bracket and
screws hold it in place.

18
50 Ft.
Sprinkler Cable
Can repeat up to 8x
Sprinklers per line.
If more sprinklers are
needed, connect a new
line to the controller for
Sprinklers 9-16.
Female End
Plug
Sprinkler
Pigtail
CableLok
Top & Bottom
Drip/Standard
Valve:
50 Ft.
Controller
Cable
One Wire
Valve 1-12
Other Wire
Common
Power Adapter
24 Volts AC
Red Wire
Digital 1-8
White Wire
Common
For
Controller
Cable:
Connects to next
sprinkler in the line
Click or scan for
Step 13 video
Step 13: Controller Box Wiring
End Plug

Quick Install Guide
18 19
Click or scan for
Step 14 video
Step 14: App Setup
(Make sure you are on the site WiFi).
Follow instructions to connect
controller to home WiFi.
3
*Be sure to allow “Location Access” for the app.
NOTE: Turn off VPN, if any. Turn VPN back on
when controller is connected to home Wi-Fi.

20
Click or scan for
Step 15 video
Step 15: Check Sprinkler Connections
2. Open the Irrigreen 2 App on your device.
6. Make sure that all hooked up sprinklers are green with no
errors. (If there is an error, re-check your wiring and check that
the wiring connections on your controller are tight).
7. Finish burying your heads so
that they’re 1/2” above grade
and level with the ground.
3. Press: 4. Press “Test
Sprinkler Wiring”
5. Press “Test All
Connections”
More
1. Make sure all sprinklers are connected with cables.
Other manuals for 2
1
Table of contents
Other IrriGreen Irrigation System manuals