TH4330,4290,4260
2
TO OUR CUSTOMER ................................................... 1
TABLE OF CONTENTS ............................................... 2
1. SAFETY .................................................................... 4
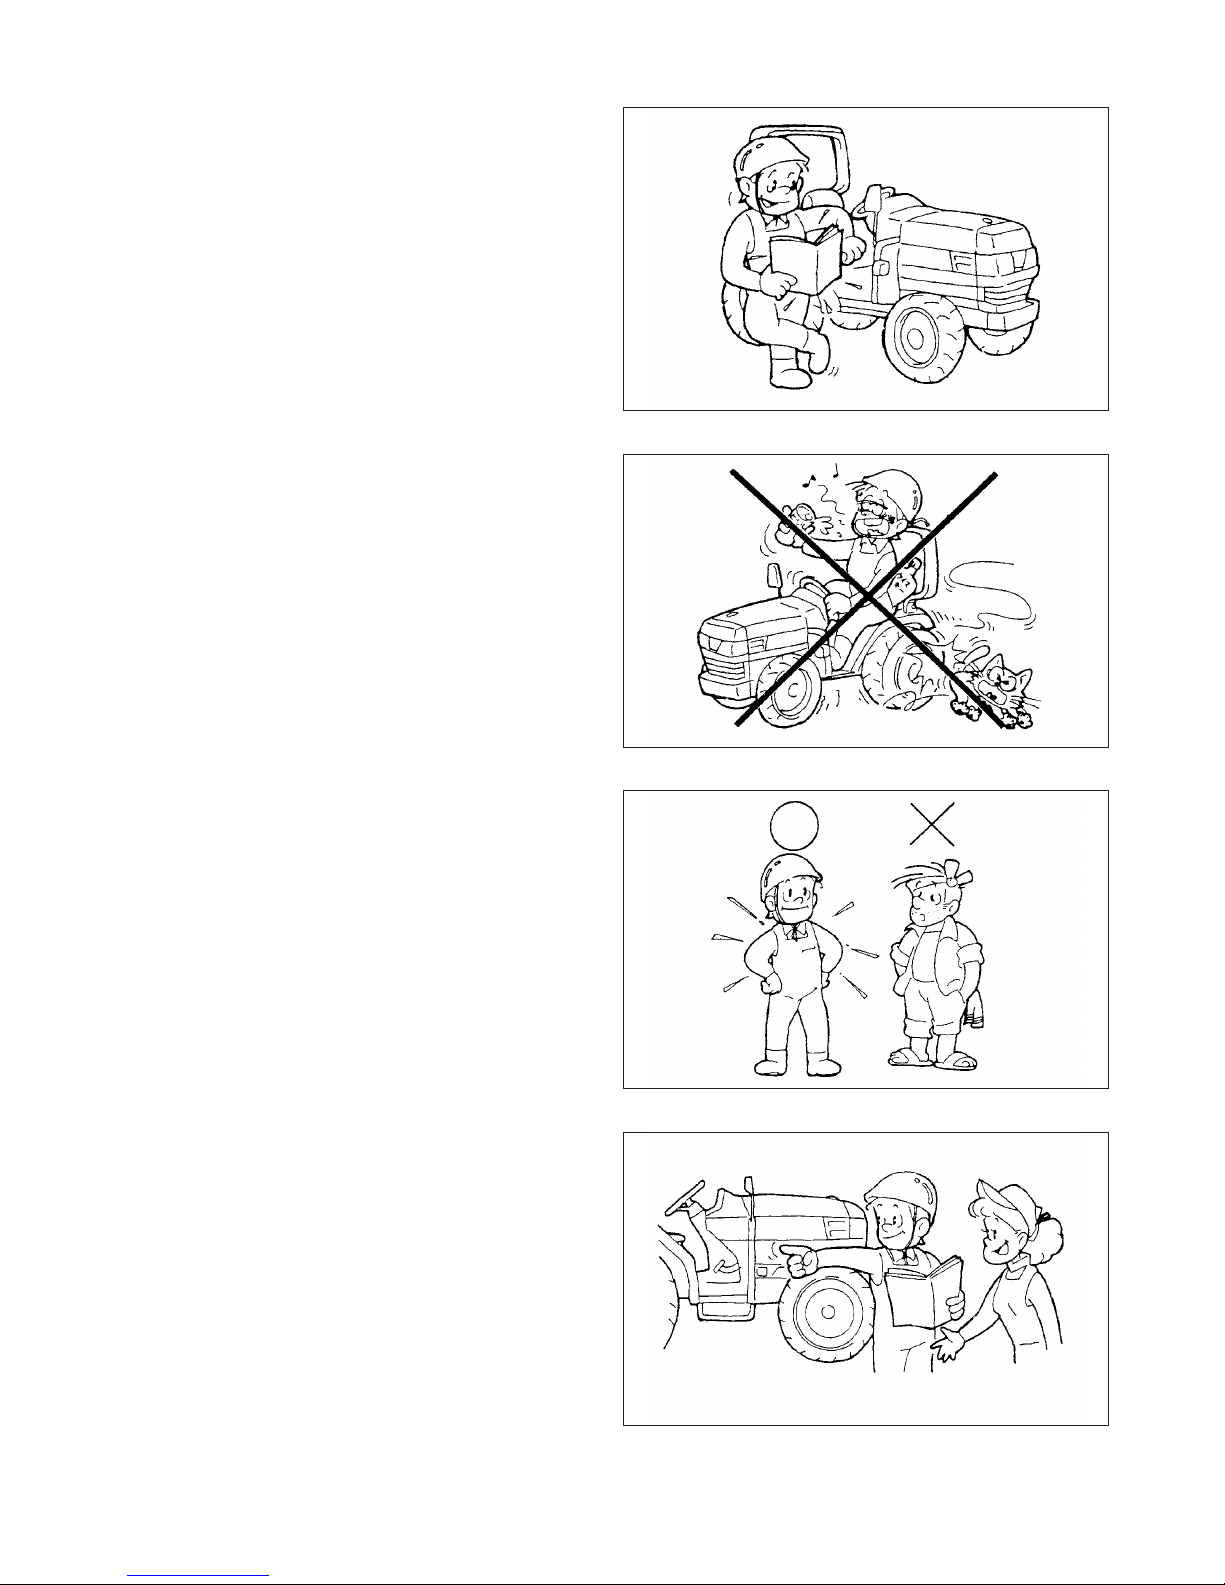
PERSONAL SAFETY INSTRUCTIONS ................... 4
MAKING YOUR TRACTOR A SAFE VEHICLE ....... 4
HOW TO MAINTAIN SAFETY ............................ 4
HOW TO BE A SAFE OPERATOR .................... 5
WHEN ANOTHER PERSON OPERATES
YOUR MACHINE ................................................ 5
BEFORE OPERATION ....................................... 6
STARTING ENGINE AND MOVING TRACTOR 6
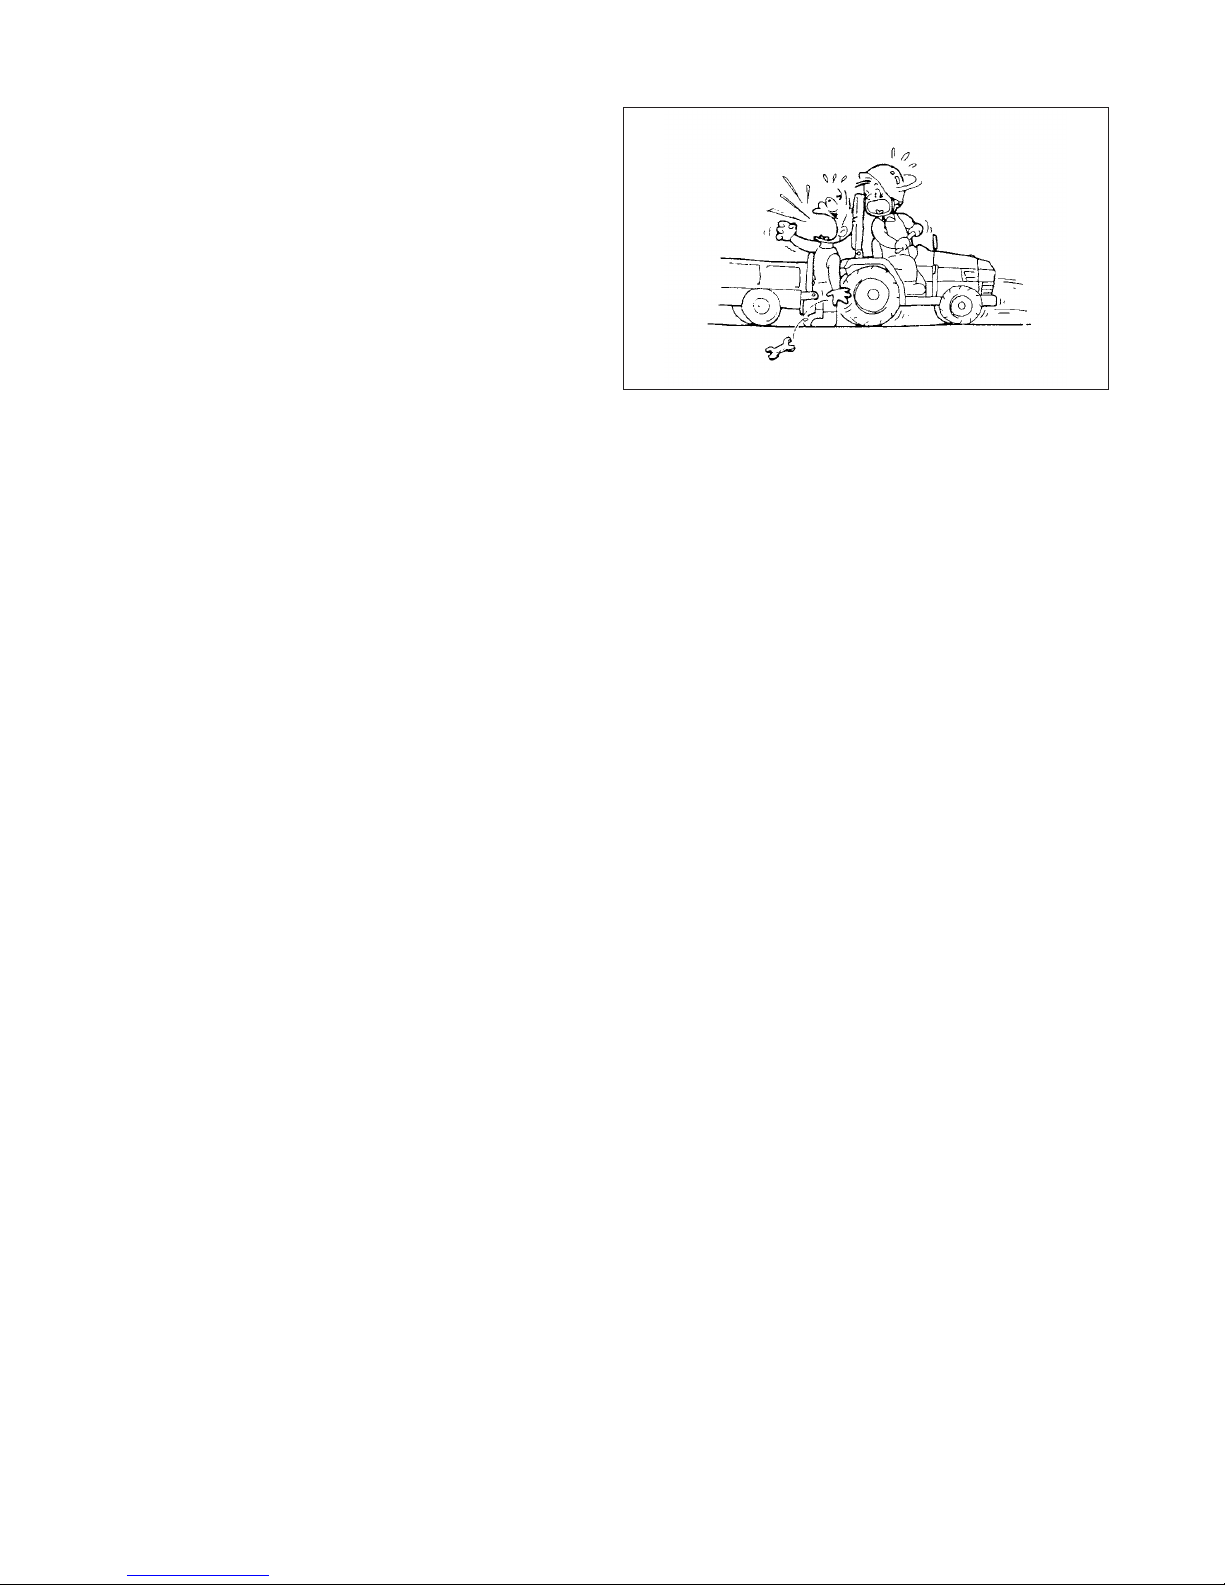
WHEN TRAVELING ............................................ 7
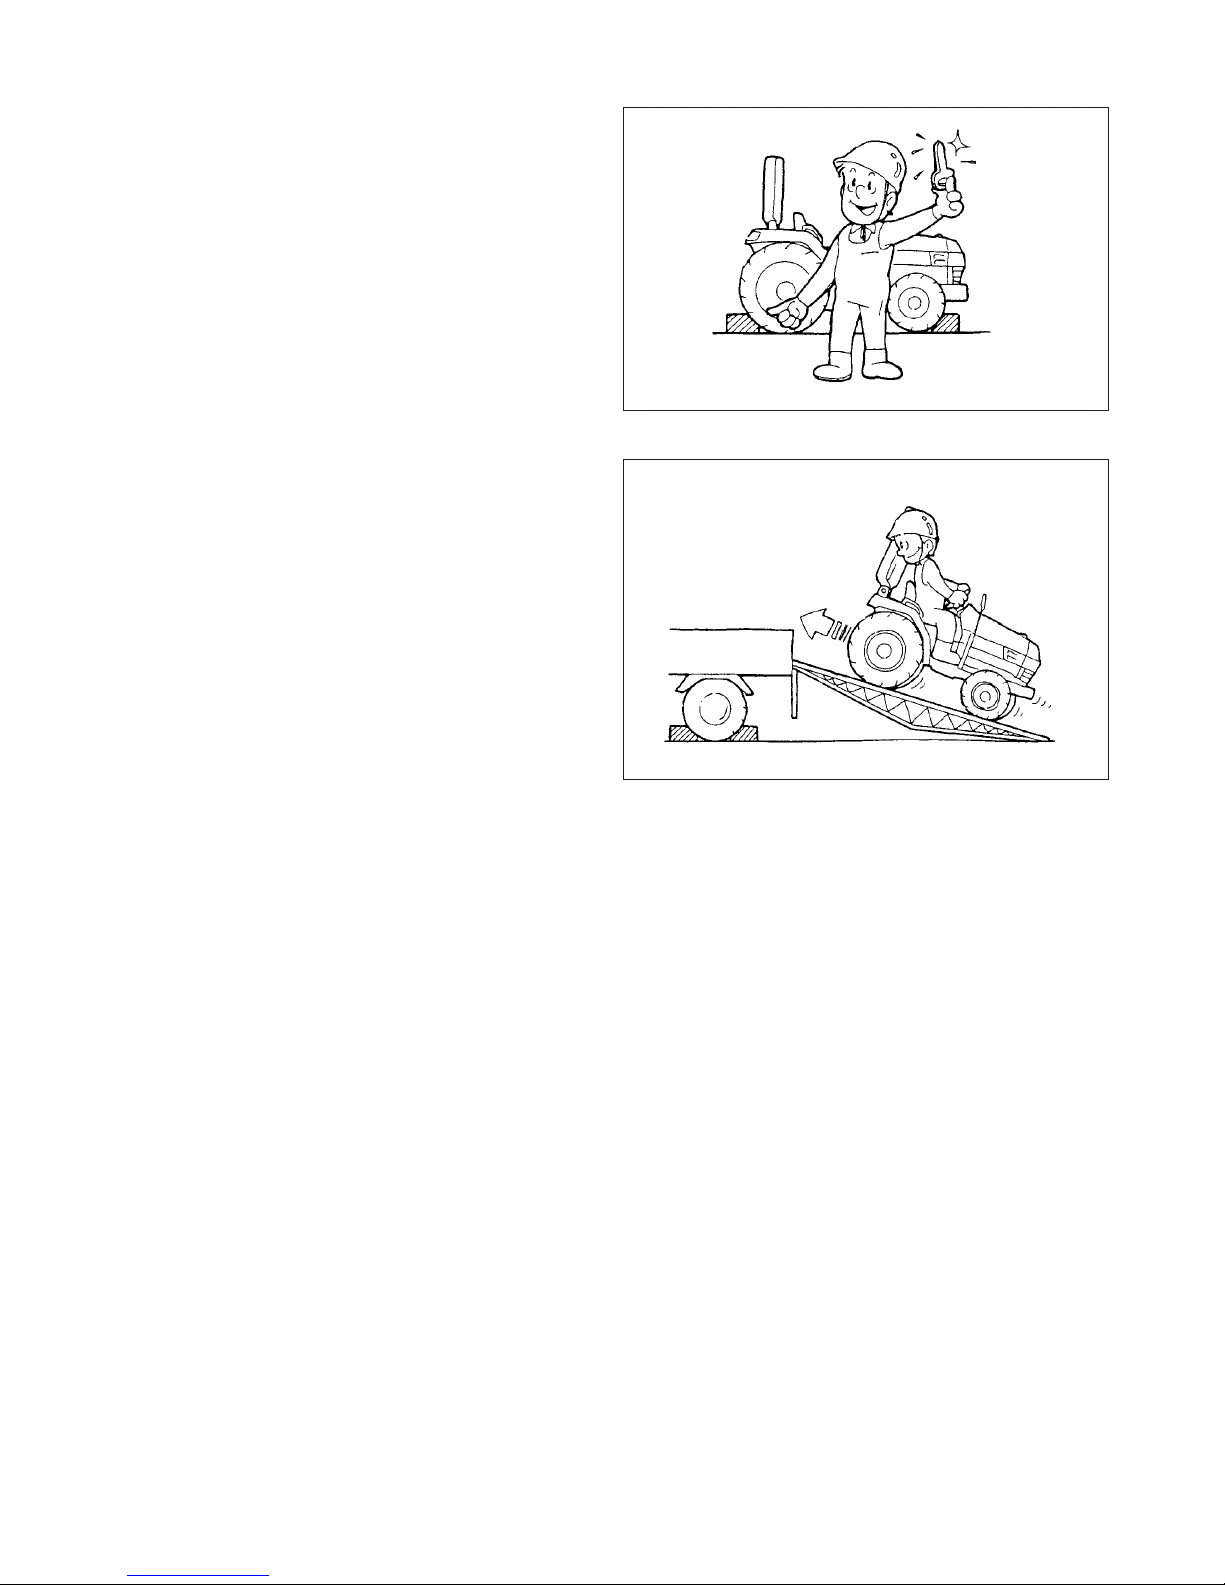
LOADING ONTO OR UNLOADING
FROM A TRUCK ................................................. 8
DURING OPERATION ........................................ 9
INSPECTION AND MAINTENANCE ..................10
STORAGE ..........................................................11
MAINTENANCE OF THE ELECTRIC SYSTEM .....12
TO MAINTENANCE ELECTRIC WIRING ...........12
TO HANDLE THE BATTERY ..............................12
TO HANDLE BOOSTER CABLE ........................13
SAFETY DECALS ...............................................13
SAFETY DECALS AND THEIR LOCATIONS ....14
2. INTRODUCTION........................................................18
3. TRACTOR IDENTIFICATION ...................................19
MODEL / SERIAL NUMBER.....................................19
ENGINE MODEL / SERIAL NUMBER .....................20
CHASSIS NUMBER .................................................20
MAJOR COMPONENTS ..........................................21
4. INSTRUMENTS & CONTROLS ...............................22
INSTRUMENT PANEL .............................................24
Electric Fuel Shut-Off ..........................................24
MAIN SWITCH..........................................................24
Indicator Light Strip .............................................25
Battery Charge ....................................................25
Engine Oil Pressure ............................................25
Main (High) Beam ...............................................25
Coolant Temperature Gauge ..............................25
Tachometer .........................................................25
Fuel Gauge .........................................................26
Parking Lamp Switch ..........................................26
Horn & Light &Turn Switch ..................................26
Hazard Signal Switch ..........................................26
Power Take-Off (PTO) Switch ............................27
MAIN CLUTCH PEDAL.............................................28
BRAKES....................................................................28
Brake Pedal ........................................................28
ENGINE SPEED CONTROL ....................................29
Throttle Lever ......................................................29
TRANSMISSION CONTROLS..................................30
TRANSMISSION SHIFT LEVER
AND CONTROLS (Mechanical Transmission) ....30
TRANSMISSION SHIFT LEVER
AND CONTROLS (Hydrostatic Transmission).....31
Range Gearshift Lever ........................................31
Hydrostatic Control Lever ...................................31
Hydrostatic Control Pedals .................................31
Control Lever Positions .......................................31
(Mechanical Transmission)
DIFFERENTIAL LOCK LEVER.................................32
FOUR-WHEEL DRIVE SHIFT LEVER......................32
REAR PTO SELECTOR LEVER...............................32
MID PTO SELECTOR LEVER..................................32
(Hydrostatic Transmission)
DIFFERENTIAL LOCK LEVER.................................33
FOUR-WHEEL DRIVE SHIFT LEVER......................33
REAR PTO SELECTOR LEVER...............................33
MID PTO SELECTOR LEVER..................................33
THREE-POINT HITCH..............................................34
POSITION CONTROL LEVER..................................34
Lowering Rate Control Knob ...............................34
COMFORT ADJUSTMENT.......................................34
5. OPERATION..............................................................35
BREAK-IN PERIOD .................................................35
STARTING ...............................................................35
Pre-Start Inspection ............................................35
Normal Starting ...................................................36
Restarting Warm Engine .....................................37
Cold Weather Starting .........................................37
Warm Up Period .................................................38
Operator Observations ........................................38
Starting Circuit Operation ....................................38
GROUND SPEED SELECTION
(Mechanical Transmission) ......................................39
STOPPING TRACTOR (Mechanical Transmission) 39
GROUND SPEED SELECTION
(Hydrostatic Transmission) ......................................41
STOPPING TRACTOR (Hydrostatic Transmission) 42
DIFFERENTIAL LOCK OPERATION .......................42
FOUR-WHEEL DRIVE .............................................43
POWER TAKE OFF (PTO) ......................................44
Rear PTO Shaft ..................................................44
Mid PTO Shaft ....................................................45
PTO Operating Controls
(Mechanical Transmission) .................................45
PTO Operating Controls
(Hydrostatic Transmission) .................................46
THREE-POINT HITCH..............................................47
Hitch Controls .....................................................47
Position Control ...................................................47
Draft Control ........................................................47
Rear Linkage .......................................................48
Attaching Implements .........................................49
Using Position Control ........................................50
TABLE OF CONTENTS