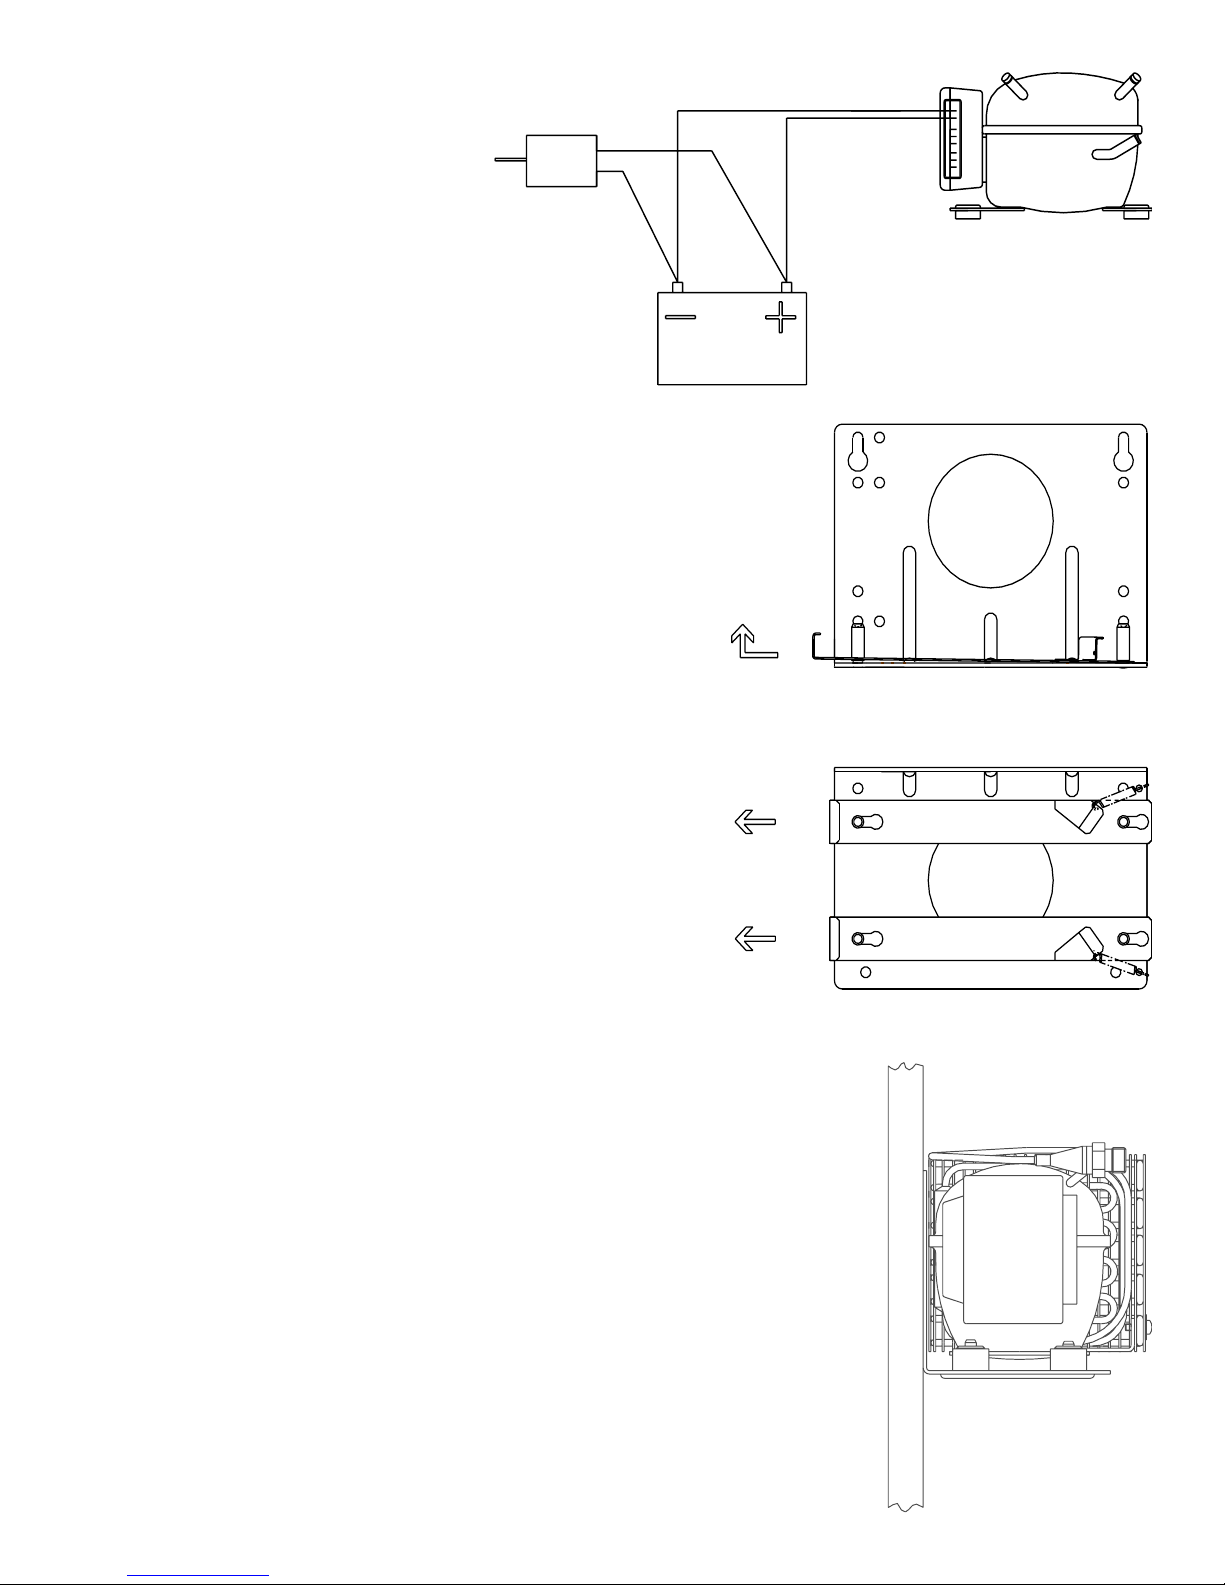
2.12 Thermostat Control Box
The thermostat control box can
be installed either inside or out-
side the refrigerator. When lo-
cating the thermostat make sure
it is in a dry area and will not be
subjected to damage. Check that
the thin capillary sensor tube is
long enough so that it may be at-
tached to the evaporator, either
with a clip or with a special
screw on clamp (fig. 9). Uncoil
the required length of capillary
tubing and secure the excess in a
coil. Avoid bending or twisting
the capillary tube repeatedly to
prevent kinking or cracking the
tube. Connect the thermostat
wiring to the electronic unit con-
nections “T” and “C” (fig. 10).
The polarity of these connections
is not important. On some mod-
els, the speed of the Danfoss
compressor is set with a resistor
that is part of a three inch
jumper that is connected to the
"C" terminal. Leave this wire in
place. Connect the free end of
this short wire to one of the ther-
mostat wires.
After mounting the thermostat
housing, turn the control knob
completely counterclockwise to
the off position.
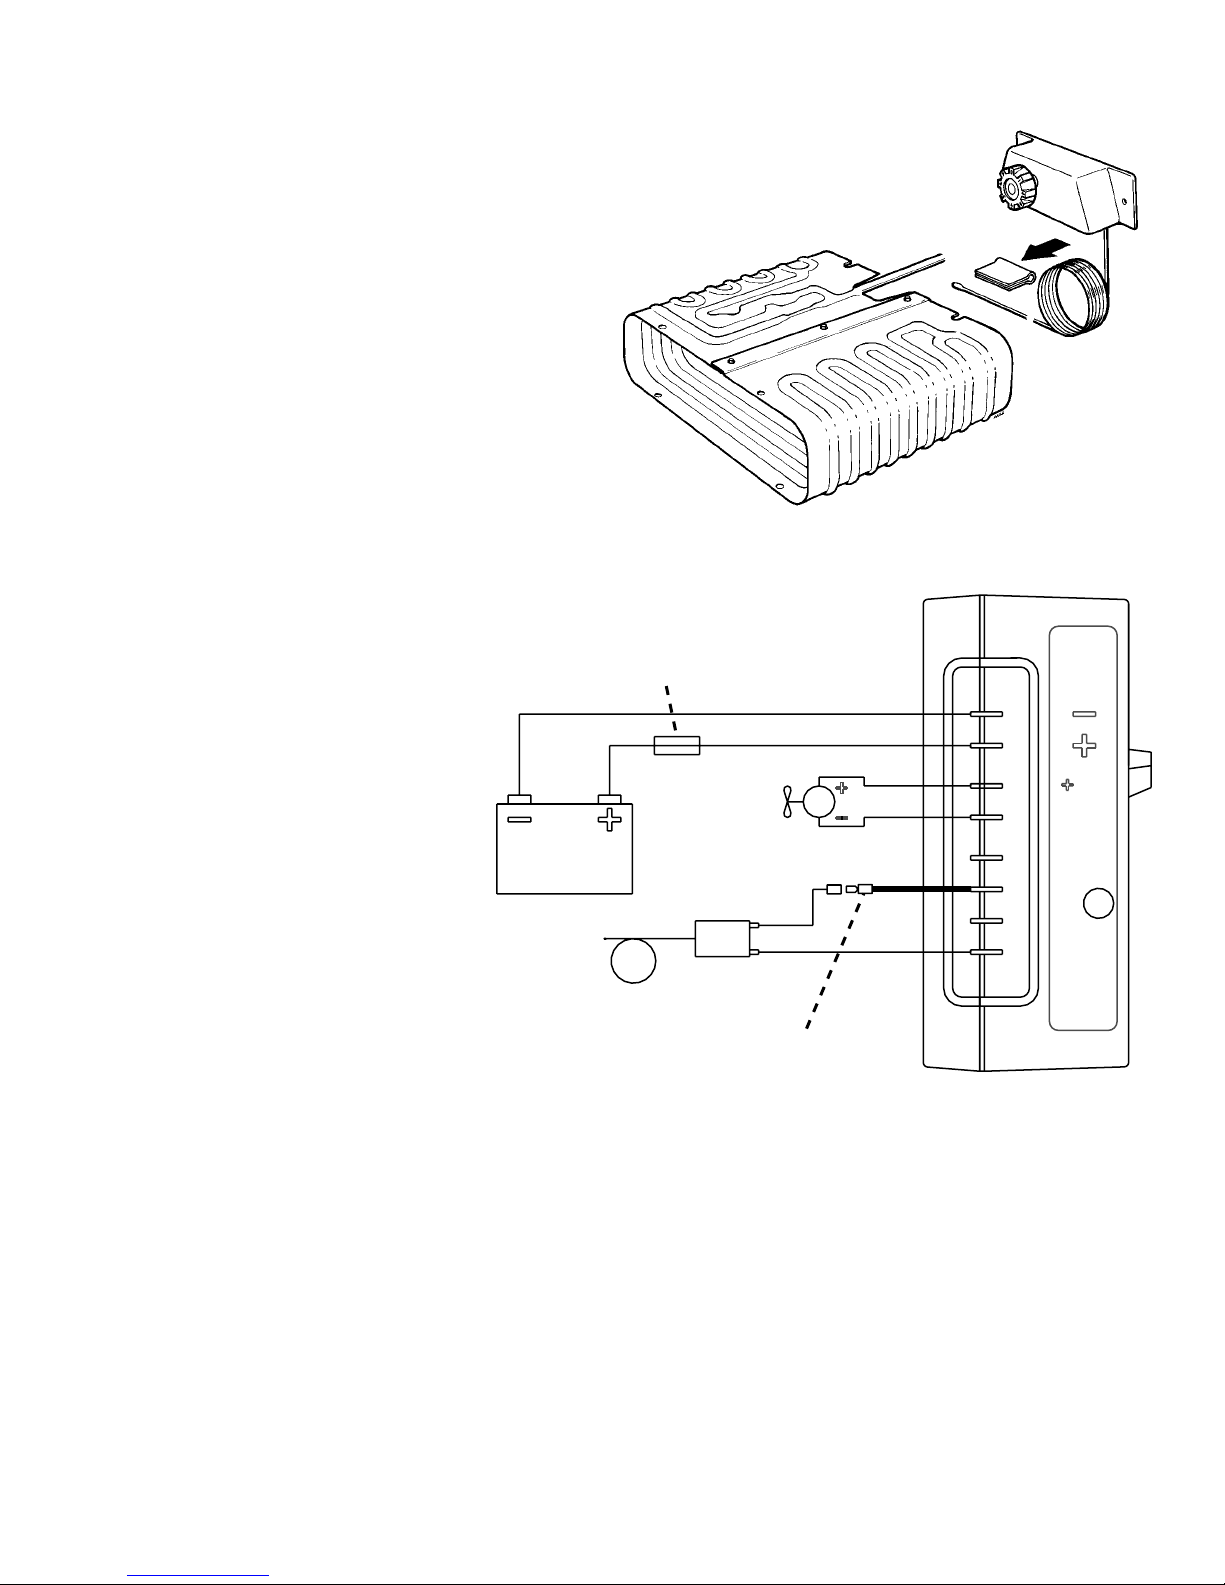
Fig. 9
F
D
C
P
T
Fuse/
Circuit Breaker
Sensor Tube
Thermostat
Speed Setting Resistor
(on some models)
Fig. 10
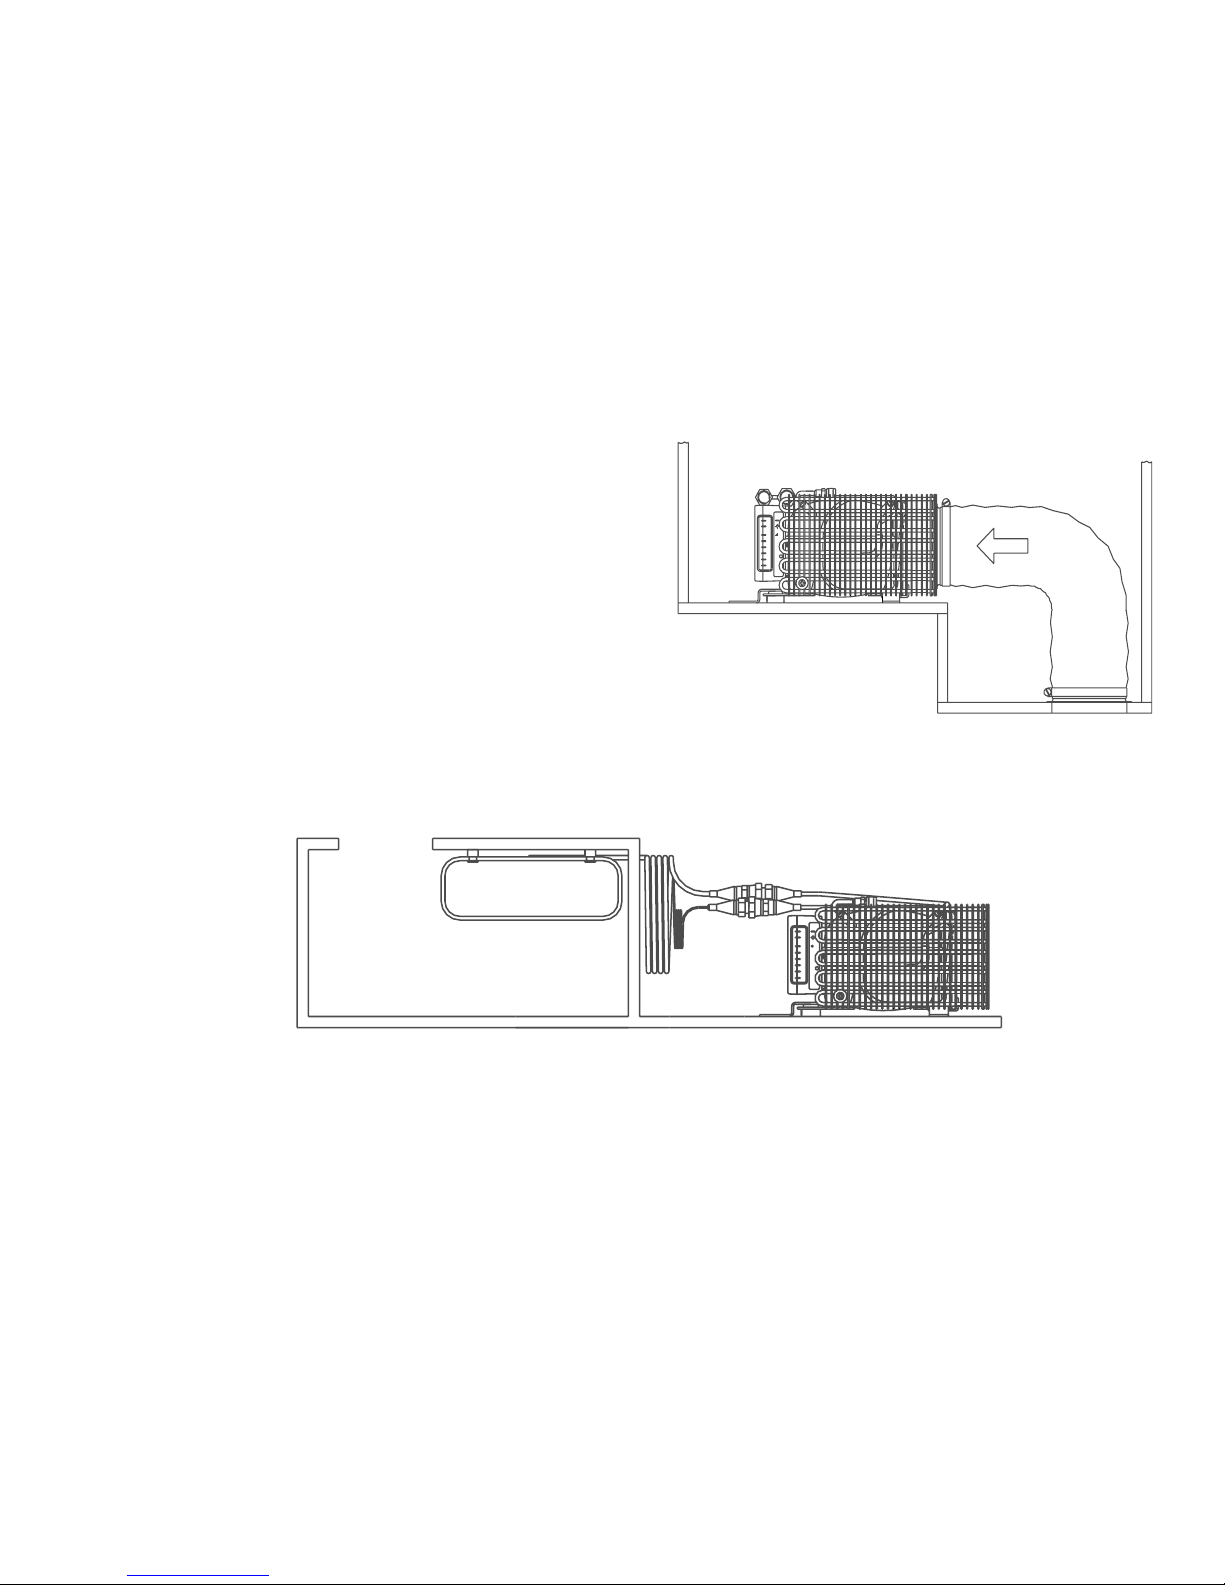
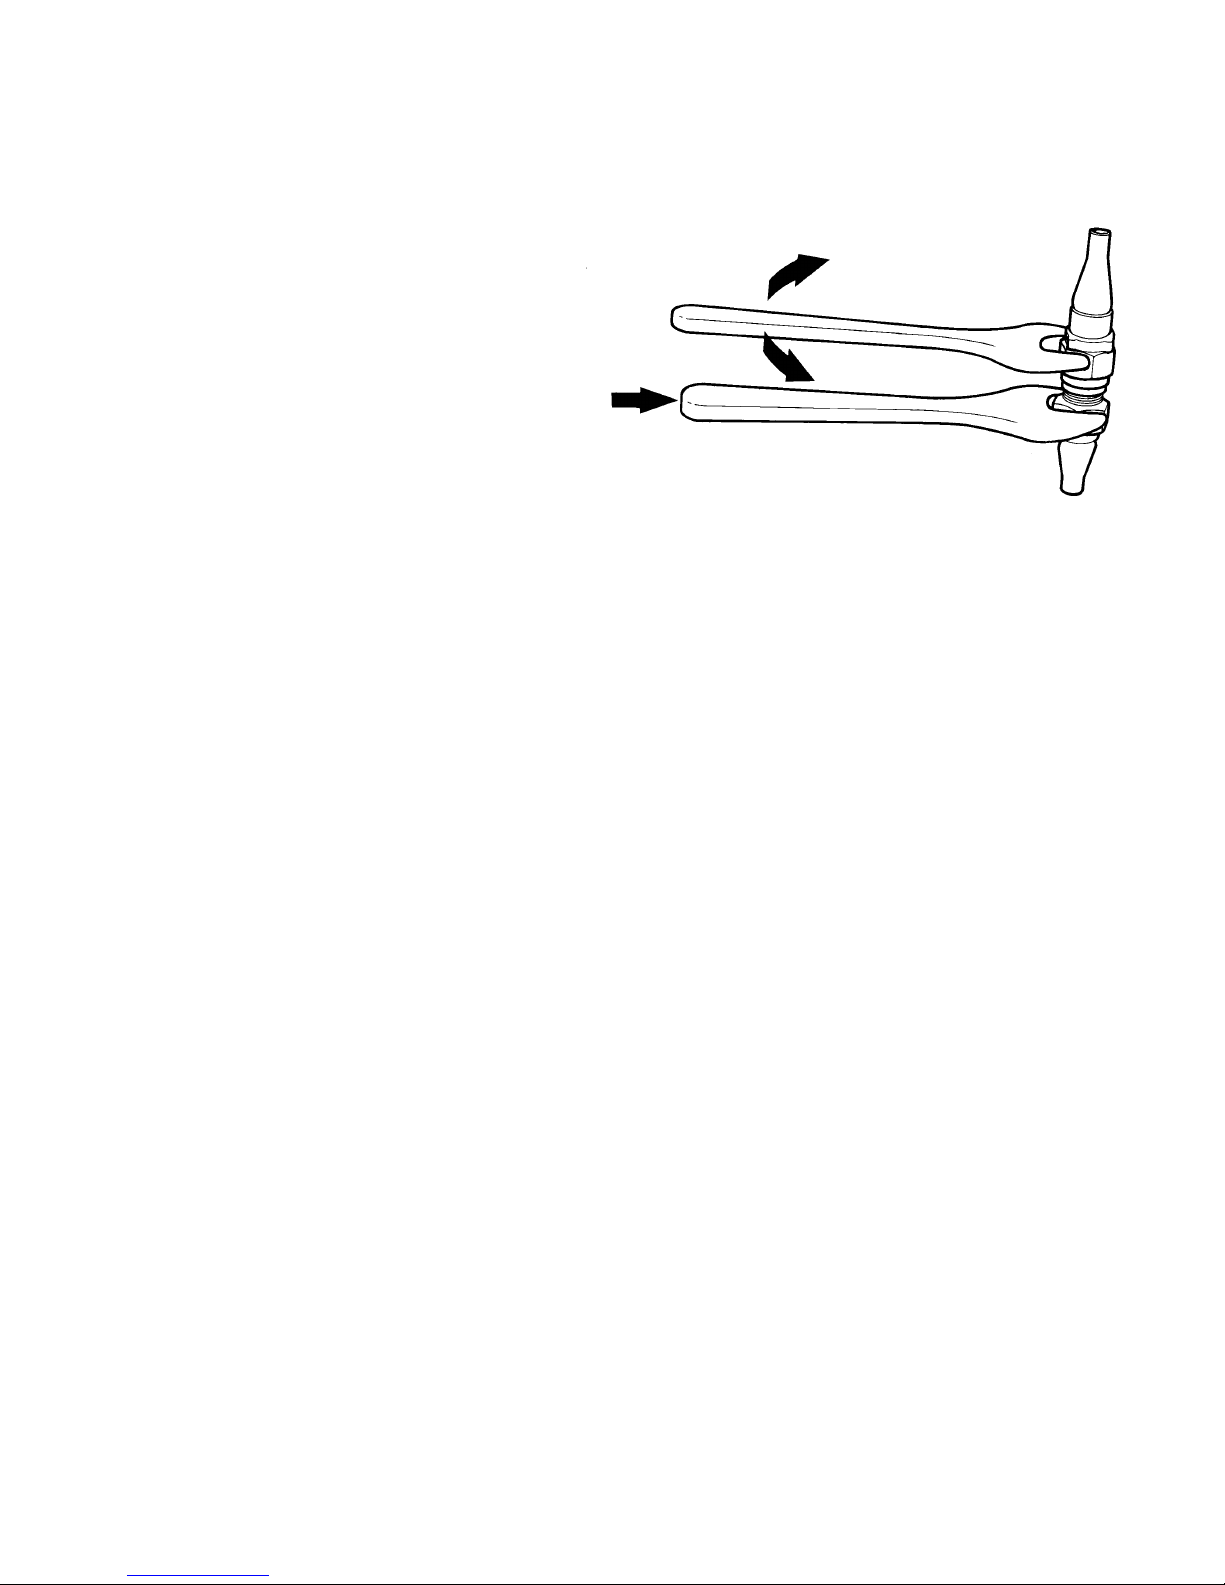
2.13 Quick-Couplings
The evaporator is supplied with 6 feet of pre-charged tubing with a pair of self-sealing quick con-
nect couplings. The compressor/condensing unit has a mating pair of these fittings. Connecting
the quick-connect couplings together completes the refrigeration circuit without the loss of any
refrigerant.
All quick connect couplings must be kept free of dirt and moisture. Any contamination can
cause failures.
Save the caps in the event the system needs to be removed for service.
A suggestion: screw the caps together, place them in a small plastic bag and tape them to the
tubing near the fittings so they will be available if needed.