5
5. The Anion (or Ionization) feature controls the production and dispersal of negative ions. You will know that this
feature is currently activated by the red Power/Anion indicator light on the front of the unit above the Power/
Anion button. The Anion feature activates by default when the unit is turned on, and it remains on while the unit
is in operation.
6. Use the Time/Set button to set/adjust the unit’s clock, as well as the optional Unit and Ozone Timers, both of
which are described in detail in the following sections with the instructions for setting them. Regardless of whether
you use the optional Ozone Timer with the Unit Timer or not, you should ensure that the time on your air purifier
is properly set.
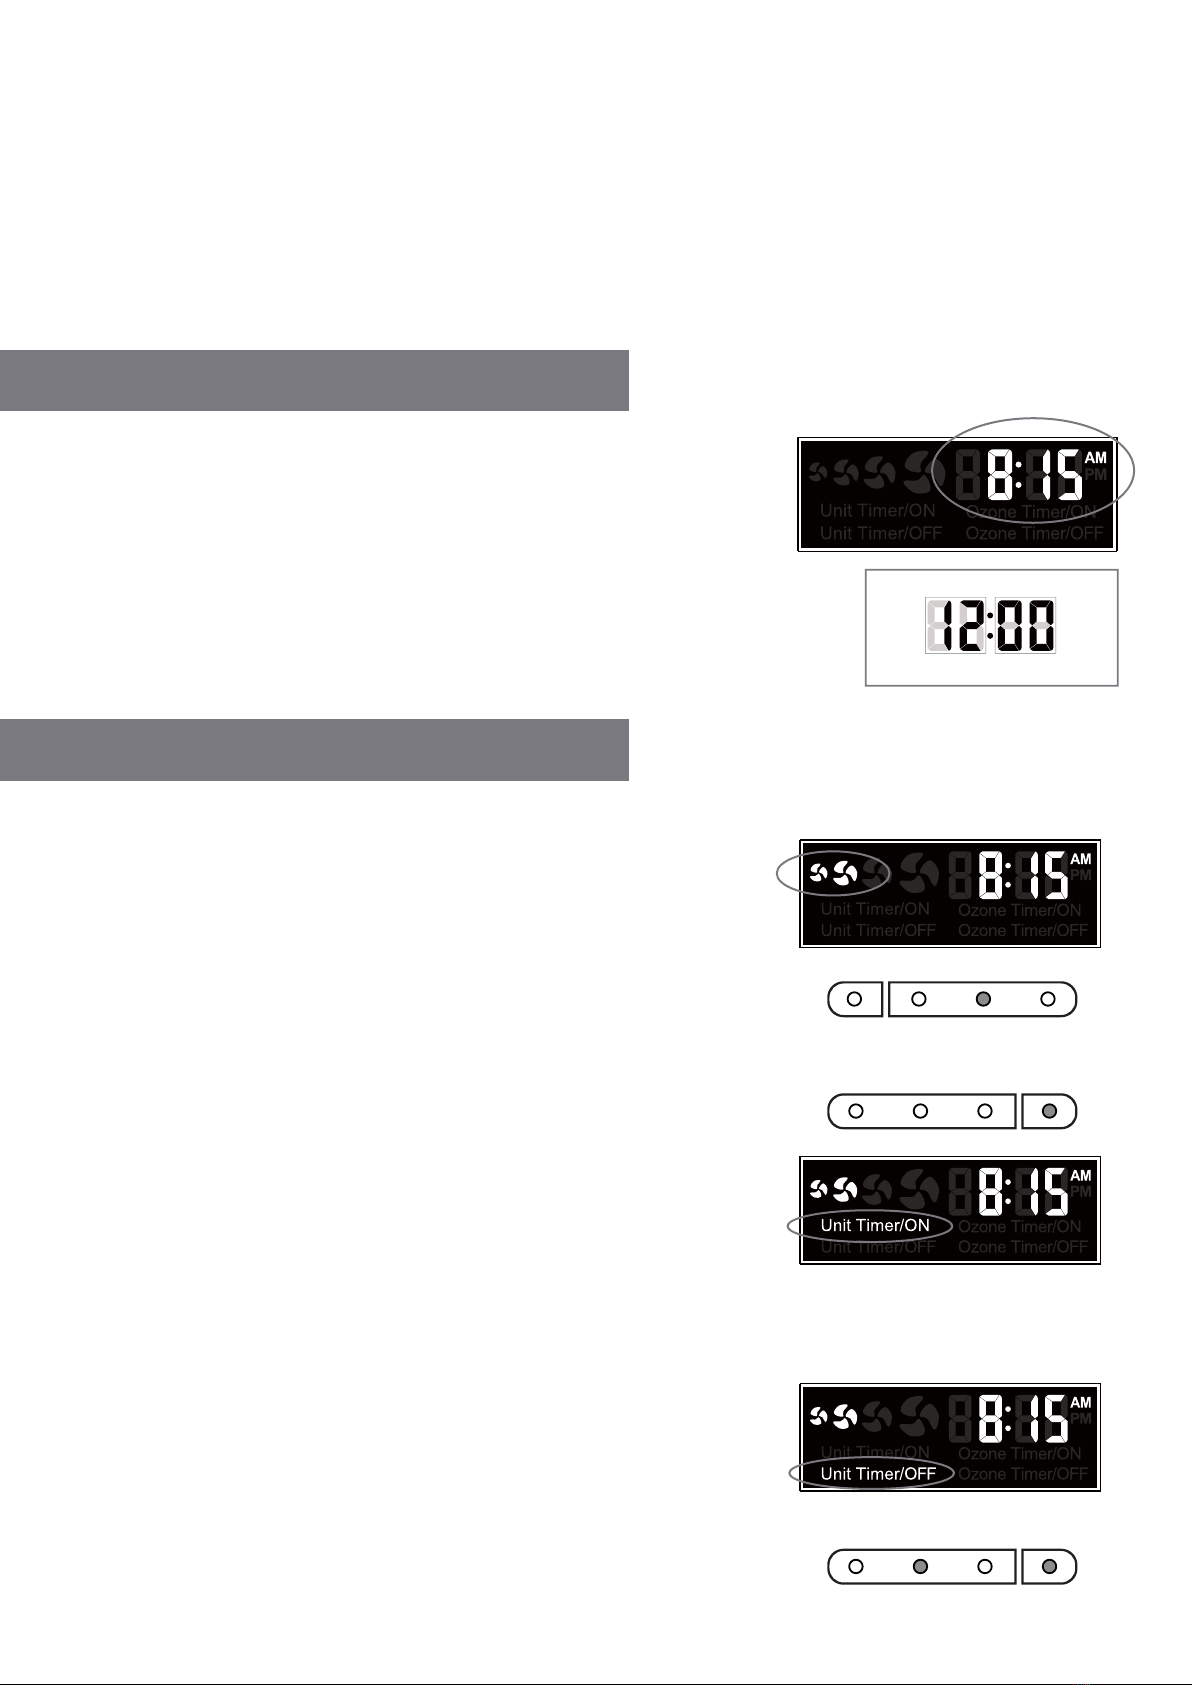
SETTING THE TIME
1. Make sure the unit is plugged in and turned on.
2. Press the Time/Set button once. The hour and minutes will start flashing.
3. While the hour and minutes are flashing, use the Fan or Fan
buttons to set the hour, ensuring the time of day (AM/PM) is correct,
and use the Ozone or Ozone buttons to set the minutes.
NOTE: This air purifier utilizes a standard US 12-hour clock. 24-hour time is not available.
4. After you have set the correct time, press the Time/Set button one more time to
finish the process and finalize the time setting.
SETTING THE UNIT TIMER
1. Turn o the unit by pressing the Power/Anion button. (Make sure the power switch on the back of the
ozone generator is still in the ON position.) Once the fan stops spinning,
your ozone air purifier is ready to be programmed.
2. Use the Fan or Fan buttons to set your desired fan speed. Your
chosen fan setting will be illuminated on the LCD panel display.
3. Use the Ozone or Ozone buttons to set your desired ozone
output level. The level you choose will be illuminated on the LCD
panel display. There are four levels: I, II, III, and IV.
NOTE: If the Fan or Ozone levels have not been set, the unit will not turn on.
4. Use the UV button to turn on the UV light. The blue UV indicator light
on the front of the unit will light up to confirm the UV light has
been activated.
5. To set the times for the air purifier to activate/deactivate:
a. Press the Time/Set button twice. The Unit Timer/ON indicator will
begin to blink on the LCD panel display.
b. While the Unit Timer/ON indicator is blinking, use the Fan or
Fan buttons to set the hour you want the purifier to turn on. Fan increases the hour, and Fan
decreases the hour.
c. Use the Ozone or Ozone buttons to adjust the minutes of the time when you want the purifier
to turn on.
d. Once you’ve set your desired time for the air purifier to turn on, press
the Time/Set button one more time. The Unit Timer/OFF indicator
on the LCD display screen will start blinking.
e. While the Unit Timer/OFF light is blinking, use the Fan or Fan
buttons to set the hour you want the purifier to turn o.
f. Use the Ozone or Ozone buttons to adjust the minutes of the
time when you want the purifier to turn on.
I II III IV
Power/
Anion Unit
Timer Ozone
Timer UV
Power/
Anion Unit
Timer Ozone
Timer UV
Ozone Fan
Fan
Adjust
hour Adjust
minute
Ozone