WARRANTY
OWNERS WARRANTY AND SERVICE RECORD.
Complete and keep the following information as it is vital for warranty claims and service calls. Ensure
you maintain proof of purchase including date.
DO NOT SEND THIS CARD TO IXL.
Cat./Model Number .........................................................................................
Serial Number ....................................Date purchased.........../.........../............
Installed by .....................................................................................................
GETTING THE MOST FROM YOUR Vent ‘n’ Lite
Retain this card for operating instructions, warranty and service details.
The IXL Vent ‘n’ Lite range has been designed to exacting standards to give you many years of trouble-free
operation. To ensure you get the most from your Vent ‘n’ Lite there are a few simple points to keep in mind.
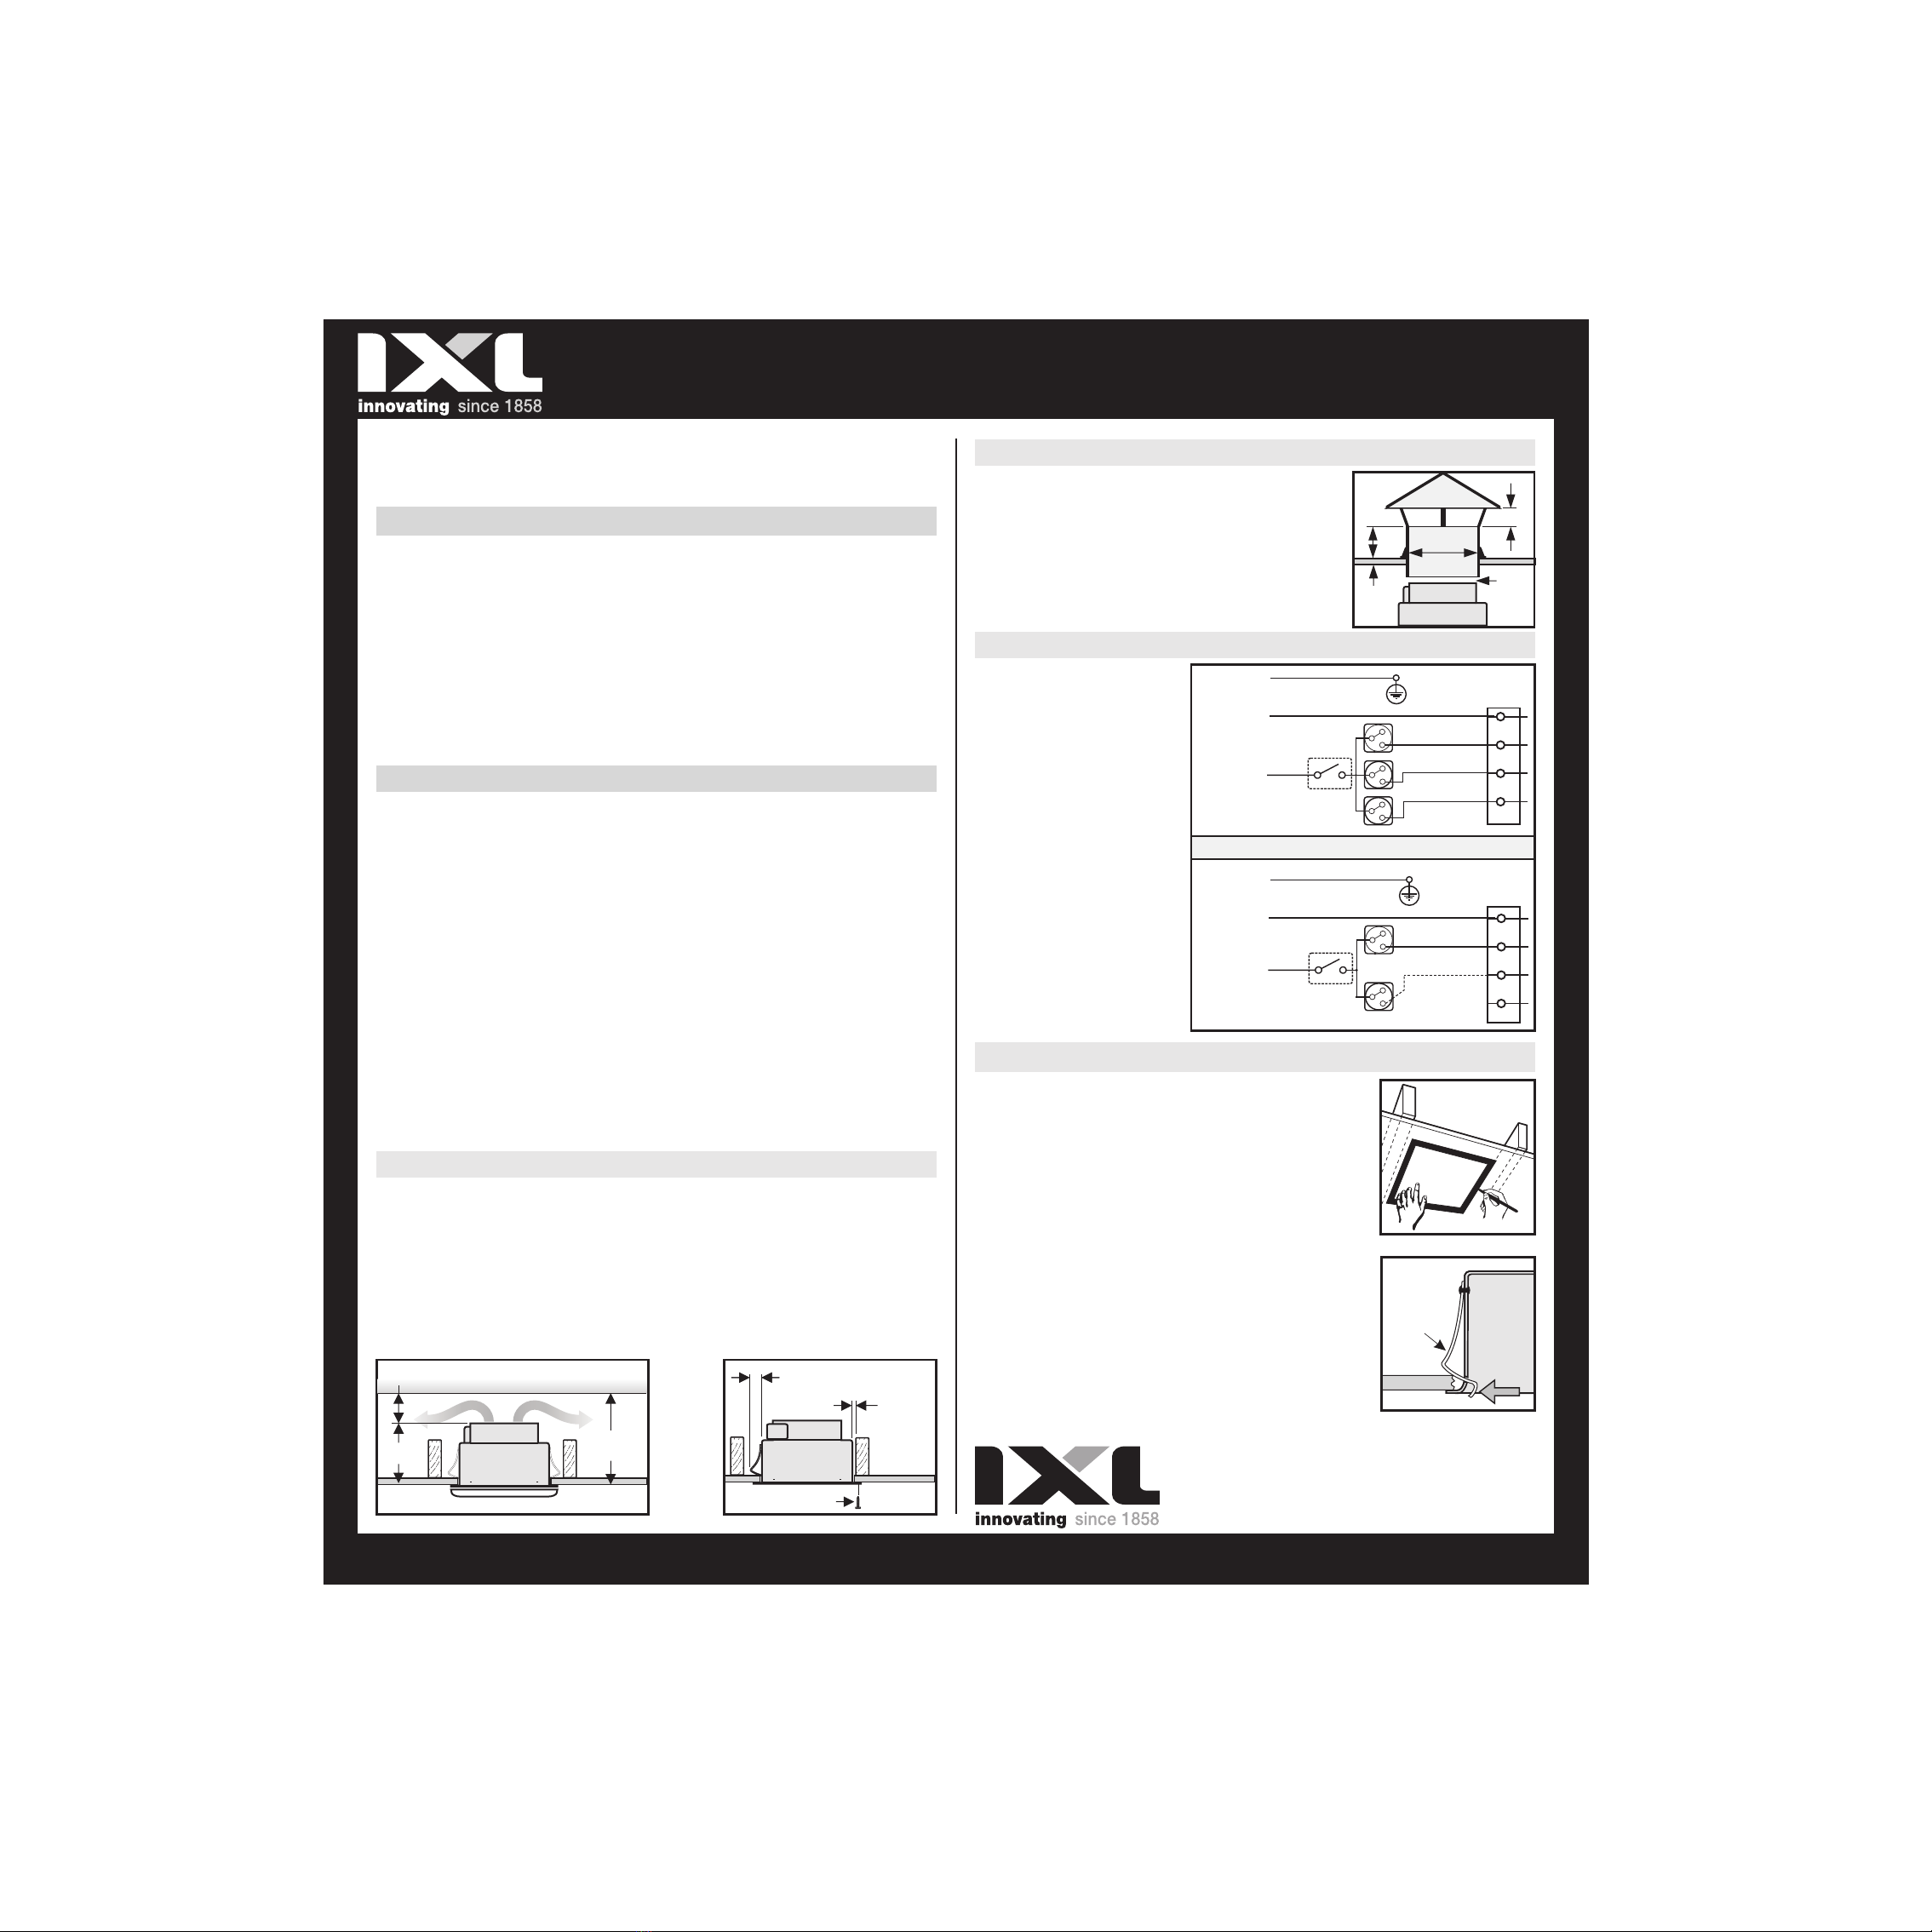
VENTILATION To ensure optimum performance of the exhaust fan, it is essential that there is adequate air flow into
the room exist through windows, vents or under the door. Air flow path from inlet to fan should ideally pass over
the steam or odour source. Please note that the Vent n Lite can be used with either one or two fan speed settings.
If two fan speed settings are required please ask your electrician to supply a three gang wall switch, otherwise a two
gang wall switch will suffice if only one fan setting is required.
CENTRE LIGHTS The two 60 watt lights in all Vent ‘n’ Lite models is designed to provide general illumination in the
bathroom, ensuite, kitchen, laundry, toilet, workshop . For specific tasks like shaving or putting make-up on, you may
need extra lighting to suit your individual needs, lighter coloured walls and decor also help brighten any room by
reflecting more light.
Fascia must be removed prior to replacing globe.
Ensure globes are screwed well in after replacement to give good electrical contact.
Replace with 12212 Crompton R63 ES halogen globes 42W (60W equivalent).
Light globes are not covered by manufacturer’s warranty.
Note: 60 watt maximum light globe is recommended, replacement with any other may cause damage
to the moulding and void the warranty.
REPLACEMENT LAMPS
SAFETY PRECAUTIONS
+
Make sure the globes have cooled and power is off to the Vent ‘n’ Lite before removing lamps for replacement.
+
Do not operate this appliance without the plastic fascia in position.
+
This appliance is not intended for use by persons (including children) with reduced physical, sensory or mental
capabilities, or lack of experience and knowledge, unless they have been given supervision or instruction
concerning use of the appliance by a person responsible for their safety.
Young children should be supervised to ensure they do not play with the appliance.
+
This appliance must be mounted with the lowest point at least 2.1 metres from the floor.
C L E A N I N G - W A R N I N G : A l l o w g l o b e t o c o o l b e f o r e c l e a n i n g .
To clean globes and fascia use a cloth dampened with mild detergent or liquid glass cleaner.
TEMPLATE NOTE: Outside dimensions of card are 262 mm x 262 mm..
For comments, questions or warranty matters:
Sampford IXL Pty Ltd
Service Department
1/391 Boundary Road
Truganina Victoria 3029 Australia
Phone: 1300 727 421
Fax: 1300 727 425
www.sampfordixl.com.au
SERVICE
TEMPLATE NOTE: Outside dimensions of card are 262 mm x 262 mm..
Operation & Care Instructions
Vent ‘n’ Lite
This Warranty against defects for your newly purchased IXL Vent 'n' Lite product is proudly prepared by
Sampford IXL Pty Ltd of 1/391 Boundary Road, Truganina, VIC 3029, phone 1300 727 421.
1. Sampford IXL Ventilation products come with guarantees that do not exclude the following consumer entitlements under the
Australian Consumer Law:
a. replacement or refund for a major failure and compensation for any other reasonably foreseeable loss or damage; and
b. to have the goods repaired or replaced if goods fail to be of acceptable quality and the failure does not amount to a major
failure.
2. Sampford IXL warrants that your product and related supply will be free from defects in materials and workmanship during
the warranty term. Your warranty term is three years commencing from the date of purchase. Sampford IXL acknowledges this
product requires professional installation and product removal is hazardous to consumers, accordingly any necessary
inspections and services will be carried out on site. You should not attempt de-installation.
3. Subject to Point 1, Sampford IXL will repair any defects in materials and workmanship during the warranty term and if the
product is deemed irreparable provide a replacement of an equivalent current model where the balance of the warranty period
from the original date of purchase will take effect.
4. To the fullest extent permitted by law and subject always to Point 1, Sampford IXL will not be liable for:
a. any loss or damage arising from loss of use, loss of profits or revenue; or
b. for any indirect or consequential loss or damage resulting from any breach of this warranty against defects.
5. Defective Sampford IXL Tastic products may be repaired using refurbished parts or if required, completely replaced by a
refurbished product of the same type. Limitations to Your IXL warranty
6. Subject to Point 1, this Warranty:
a. will only be provided to the original purchaser where the original purchase was made from a Sampford IXL Authorised Dealer
or Reseller and proof of such purchase can be presented at the time of service;
b. only applies to Sampford IXL products purchased in Australia from a Sampford IXL Authorised Dealer or Reseller and
installed by a qualified person where a Certificate of Compliance in accordance with State/Territory laws is provided;
c. will not apply where the defect in or failure of the product is attributable to misuse, abuse, accident or non-observation of
the manufacturer's instructions. This product must be used in accordance with the manufacturer's instructions;
d. will not cover faults due to normal wear and tear with reasonable use nor consumable components such as globes, filters,
glass items, etc;
e. will not cover any damages or problems caused to this product by natural forces eg. storm, fire, flood, and earthquake; or by
intrusion or accumulation (or both) of foreign matters eg. dust, soil, and moisture. Sampford IXL recommends that you take
out appropriate insurances to protect your product to this end;
f. will not apply if this product is installed in a mobile dwelling eg. caravan or boat;
g. will not apply if this product is removed from the location where it was first installed;
h. is immediately void if the serial or model number label is removed or defaced;
i. is immediately void if the product is serviced or repaired by an unauthorised/unqualified personnel;
j. covers use of this product for domestic use only;
k. will not be restarted or extended upon repair or replacement of the product or a part.
How to make a Claim under Your IXL Warranty
7. To make a claim under this Warranty you will need to:
a. contact Sampford IXL service department on 1300 727 421 or to provide details and register your claim
enabling a Sampford IXL assessment;
b. submit proof of purchase with your claim eg. tax invoice or purchase receipt;
c. where a property has been constructed by a builder/developer and it is fitted with IXL products, please submit proof of
purchase by way of the certificate of occupancy, with your claim.
8. Sampford IXL will contact you to make arrangements for service on site.
9. Subject to Point 1, you will be responsible for any costs relating to the provision of your product to a Sampford IXL
Authorised Service Dealer.
10. Subject to Point 1, in the event you live more than 50 km from a Sampford IXL Authorised Service Dealer you may be subject
to travel or transport costs to facilitate the repairing or replacement of your IXL product.
11. Sampford IXL and its Authorised Service Dealers reserve the right to seek reimbursement of any costs incurred by them
should your IXL product be found to be in good working order.
Privacy
The privacy of your personal information has always been important to us. To learn more about how we collect, keep and use
your personal information, please obtain a copy of our privacy statement by visiting our website at or
by contacting us via email on or by telephone on 1300 727 421.
www.sampfordixl.com.au
© Sampford IXL, 2015