Jaco Ultralite 100 Series User manual

25-0183 Rev 01

1
Table of Contents
100 SERIES,MODEL &PART NUMBERS .................................................................................... 2
SYMBOL INFORMATION ...................................................................................................... 3
PRODUCT LABELING ......................................................................................................... 3
GENERAL SPECIFICATION .................................................................................................... 4
SAFETY RECOMMENDATIONS AND WARNINGS........................................................................... 5
PROPER OPERATION,CARE &MAINTENANCE ........................................................................... 5
BASIC MOBILE CART INTEGRATION &OPERATION...................................................................... 6
UNPACKING &ASSEMBLY: ............................................................................................... 6
CHANGING THE HEIGHT POSITION: .................................................................................... 6
INSTALLING YOUR LAPTOP ON THE 100 CART: ....................................................................... 6
INSTALLING OPTIONAL SCANNER MOUNT................................................................................ 8
INSTALLING TABLET HOLDER ONTO 105 CART.......................................................................... 8
INSTALLING AND LOCKING YOUR TABLET: ............................................................................ 9
HAVE A QUESTION?WE’RE HERE TO HELP.
CALL US AT 1-800-649-2278 OR VISIT JACOINC.COM/SUPPORT
JACO INC.140 CONSTITUTION BLVD,FRANKLIN MA, USA

2
100 Series, Model & Part Numbers
Model: 100, Podium Laptop Cart Model: 105, Tablet Cart

3
Symbol Information
The following symbols are used within this Users Guide and / or on the JACO product.
Symbol Meaning
This symbol indicates that Caution should be taken.
Product Labeling
All 100 Series Mobile Carts
The 100 Series Mobile Cart is shipped with a P/N & Serial Number label for tracking and service assistance. This
label is located on the rear Post Assembly. The information on this label is needed when contacting JACO Technical
Service.

4
General Specification
Mobile Cart
Work Surface Height:
28.5" to 44.5"
Keyboard Height:
25.5" to 41.5" (Keyboard tray is optional)
Work Surface:
100 Podium Carts- 17" wide x 12.75"
105 Tablet Cart - 13" wide x 12.75"
Casters:3" Single Wheel, Front Locking
Wheel Base:
13.5" x 16"
Cart Weight:
(without options)
100 Podium Cart - 30 lbs
105 Tablet Cart - 35 lbs
Additional weight may be added based on Cart
configuration & options
Battery Power:
The 100 and 105 Carts do not offer power.

5
Safety Recommendations and Warnings
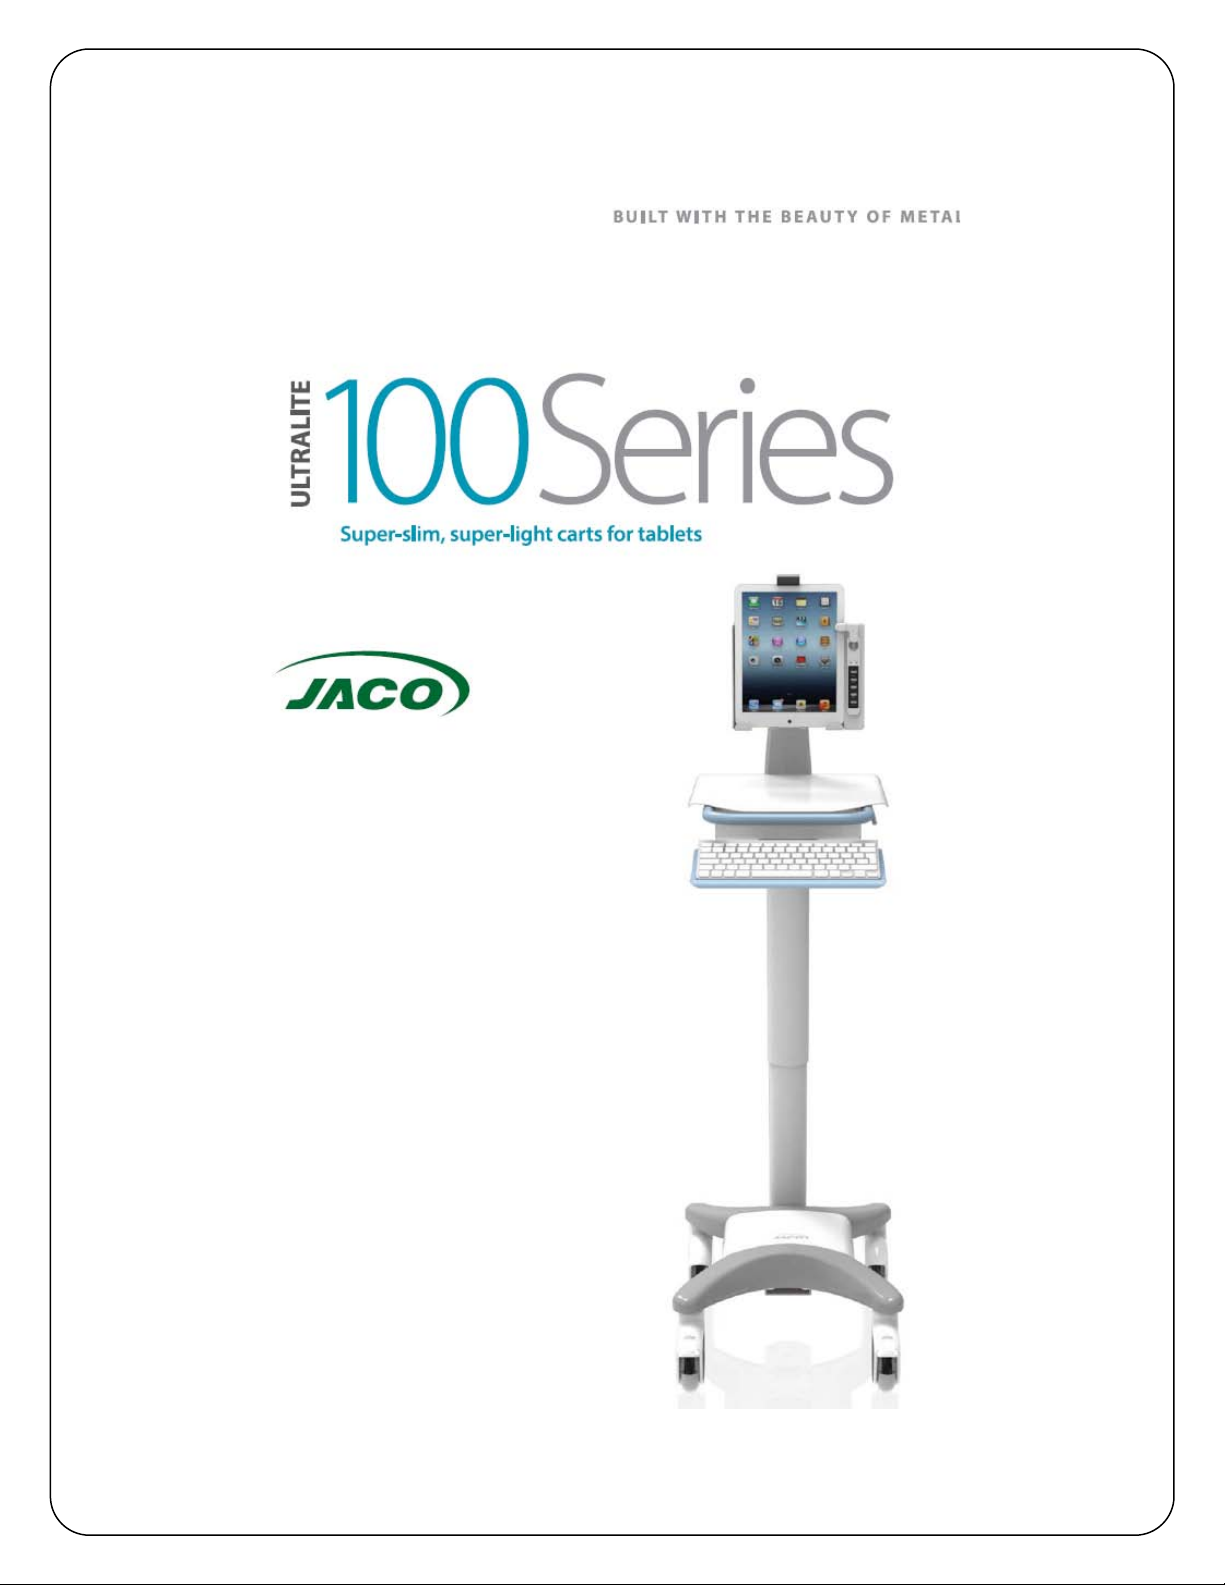
WARNING: As with any mobile cart, caution must be taken when pushing the cart through elevator
doorways and over thresholds. It is recommended that you lower the work surface to waist high and
position the cart so that only one wheel contacts the threshold at a time. This will help keep the
momentum of the cart moving forward and provide a safe transition.
WARNING: The JACO Mobile Cart was designed to account for the added weight of the devices sold as
part of the configuration, do not add additional weight to the Cart. When moving the Cart, do not
transport at more than a 5 degree slope.
Proper Operation, Care & Maintenance
HAVE A QUESTION?WE’RE HERE TO HELP.
CALL US AT 1-800-649-2278 OR VISIT JACOINC.COM/SUPPORT
JACO INC.140 CONSTITUTION BLVD,FRANKLIN MA, USA
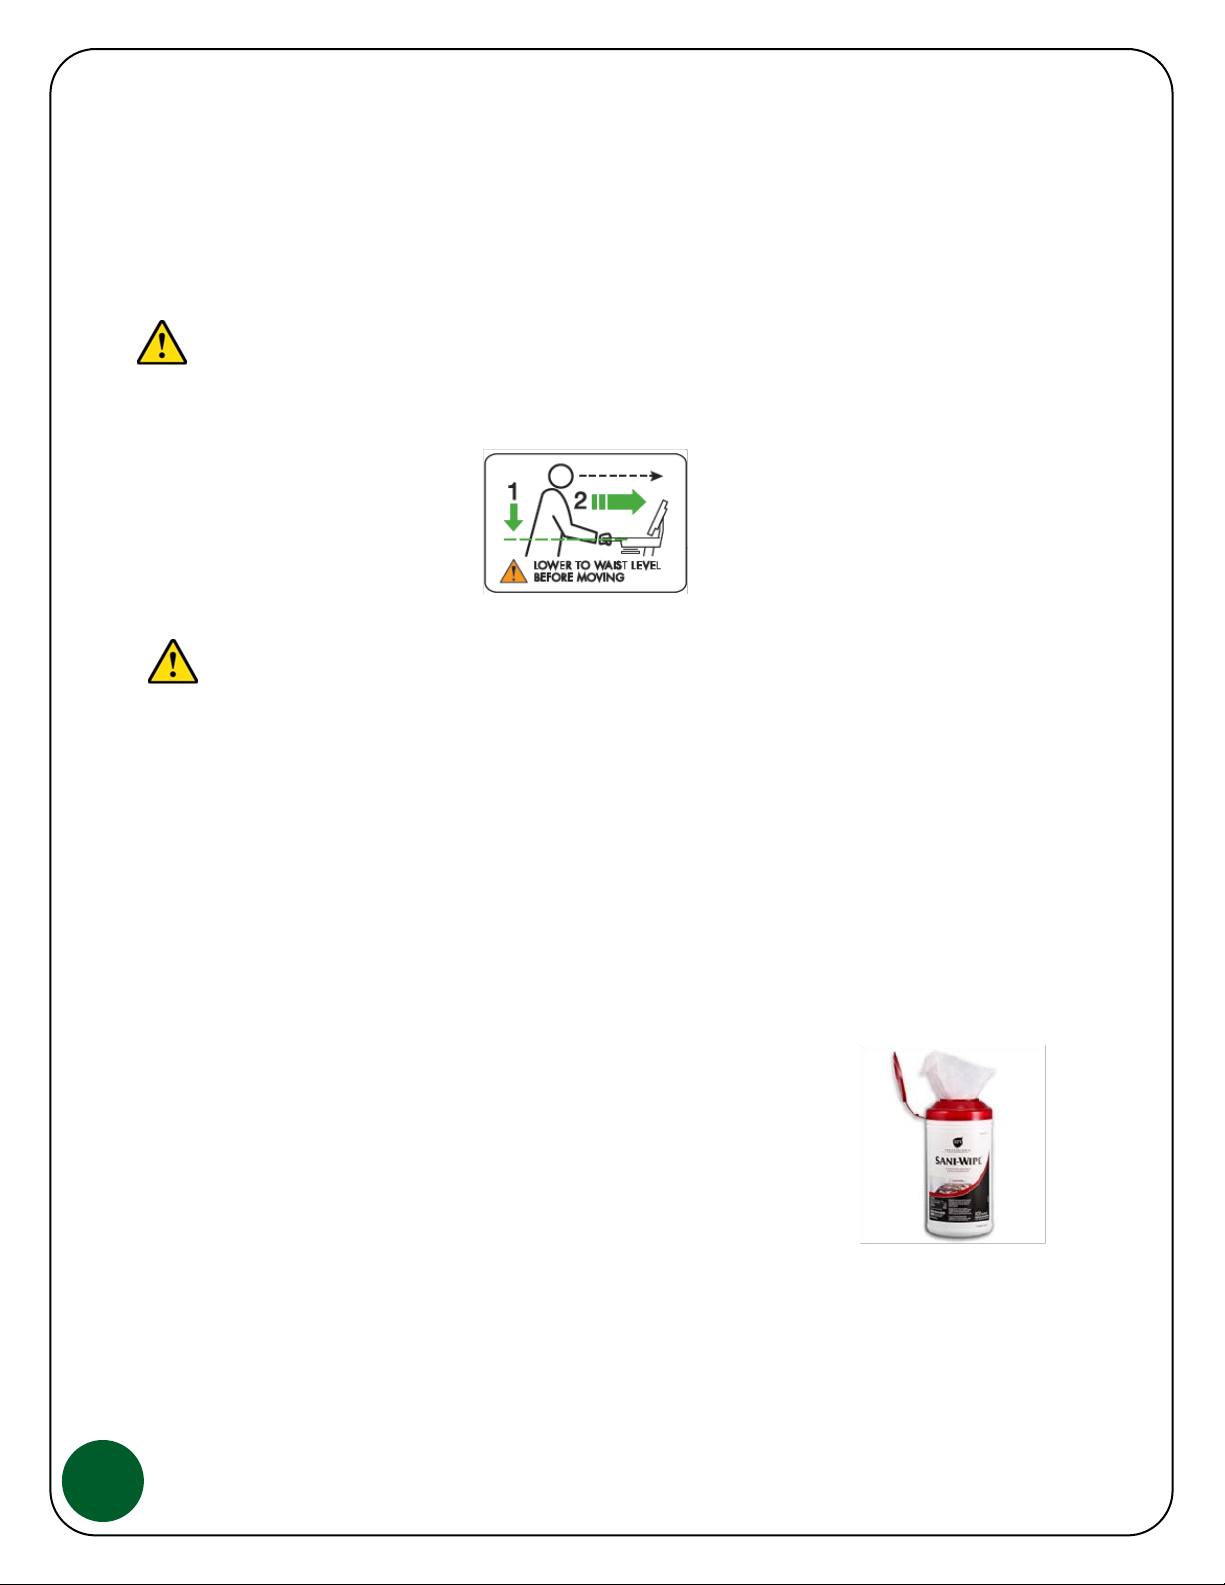
Most of the surfaces of your JACO product are finished using a durable, antimicrobial powder coat finish. It
is recommended that the surface areas that are in contact with day to day use be cleaned regularly. Always
review the cleaning products that are being used and verify that it is safe to use on the powder coat finish.
In general, a solution or wipe that is no more than 10% bleach, such as most germicidal wipes used in
hospitals, will be acceptable but it is recommended that you consult with JACO Customer Service if you are
not sure it is safe to use.

6
Basic Mobile Cart Integration & Operation
Unpacking & Assembly:
Your JACO Mobile Cart may be delivered stacked with one container on top of another. Please use caution
when removing the top Cart for unpacking. This is a two person lift and the top Cart must be placed on the
ground before unpacking. Once unpacked, there will be minimal assembly required depending on the Mobile
Cart model and options you have ordered. Due to the shipping container, the 105 Cart Tablet Mount and Arm
will not be mounted and will requires some assembly. Several options will also need to be installed, see
details below.
Changing the Height Position:
Your JACO Mobile Cart is height adjustable for proper ergonomics when used in a standing or sitting position.
To change the height, place the palms of your hands on the left and right sides of the work surface and on the
right side, squeeze the release lever by pulling it upward. This will free the internal locking piston and will allow
you to pull the Cart top up or push it down and offers a total of 16” of travel. Release the lever when the cart is
in the desired position.
Installing your laptop on the 100 Cart:
Before placing your laptop on the top surface, we recommend that you install the power converter and
excess power cable in the cable management area below the top surface. To access this area, you will need
a 11/32 Nut Driver or ratchet and socket. Loosen the 4 nuts as shown below, you do not need to remove
these nuts, just loosen so that the top can slide forward and be lifted off the Cart.

7
Once the top surface is removed, the open bay area is available for cable management. If you did not order
the optional retractile extension power cord with your order, rout both the laptop wall power cord and the
laptop DC power cord through the side opening as shown. Leave enough length on the laptop DC cable so
that it will reach the laptop power port when the laptop is placed on top of the Cart for use. If the optional
Retractile Power Cord was ordered, plug the laptop power cord into the retractile power cord.
We recommend that you use the cable strain relieve included to fasten the wall power cord to the Cart as
shown below. It is also recommended that you take the time to gather the excess cable length and use the
supplied ty-wraps for proper cable management as shown below.
Without Optional Power Cord With 24-0154, Retractile Power Cord
Depending on your laptop, you may want to rout the laptop DC power cable out the rear of the Cart and
not the side position. If so, remove the rear cover plate and discard. The cable can simply pass through the
opening at the rear of the Top Assembly and then plug into the laptop. See routing option below.

8
Installing Optional Scanner Mount
If you have ordered a Scanner Holder option, you may need to install this onto the Cart. Remove the work
surface as shown above and place the Scanner Holder so that the (2) threaded studs will insert into the hole at
on the rear surface. Left or Right side mount Scanner Holders are available. A right side mount is shown
below for reference.
Installing Tablet Holder onto 105 Cart
The Tablet Holder and Arm are shipped with the Cart but not attached due to the shipping container. Before
attaching the arm, first remove the rear storage cup. Remove the (2) Phillips Head screws and slide the cup
upward to remove.
With the Cart Top removed (see instruction on page 6) use the (4) Phillips Head Screws included to attach the
stand to the rear surface of the Cart. Make sure to tighten all (4) screws.
Attach the rear cup to the Tablet Arm, slide the cup down into position and attach using the (2) Phillips Head
screws removed above. This storage cup can be use to hold a mouse if one is needed on the Mobile Cart.

9
Installing and locking your Tablet:
To install your Tablet into the JACO Tablet Holder, place the bottom of the Tablet into the bottom catch flanges
and push the Tablet back into the holder. For the style of Locking Tablet Holder shown below, rotate the
combination lock clockwise while holding the Tablet in the holder. A locking tab will lock the Tablet into position.
The default combination for the type of locking holder is 0,0,0.
You can easily change the default combination. With the lock in the 0, 0, 0 position, use a paperclip end to press
and hold the reset pin that is located on the edge of the combination lock as shown below. With this pin
depressed, change the combination and then release the pin.
Remember that all combinations need to be recorded. If the combination is changed and you forget the
new number, the only way to remove your Tablet will be to remove the (4) Torx Head screws that hold the locking
assembly to the holder. It is your responsibility to record all combinations. JACO does not supply Tools for
removing Tablets.

10
You may decide that you want to block the reset pin to prevent combination code changes. This can be done by
disassembling the lock housing and rotating the lock 180 degrees.
To remove this housing, a Trox Head drive is needed. First remove the (4) black Torx head screws that hold the
lock housing to the rest of the holder and then, working on a flat surface, remove the other (4) Torx head screws.
You will see the internal locking tab as shown on the left below. Using a Phillips Head driver, remove the screw
that holds the locking tab. Pull the combination lock out completely and rotate 180 degrees before re-inserting,
keep the locking spacer in the same position as it was before removing the lock as shown in the photo on the right.
Place the locking tab back in the same position as it was and fasten using the Phillips Head screw removed earlier.
Alternative Tablet Holder
The 1st generation of JACO locking tablet holders included a 4 digit
electronic push button lock as shown. This combination lock is battery
operated (batteries included) and the combination can be changed as
needed.
Follow the steps below to set-up and use this 1st generation JACO locking
tablet holder.
1) Install the 2 AAA batteries in the Battery Box located on the
back surface of the holder.
2) Press 1,2,3,4 then the OK button to open the lock.
3) Turn the locking pawl to the open position.
4) Once the lock is operating correctly, with the locking pawl in the open position, place your tablet into the
bottom hook supports 1st then push the top of the tablet under the top support, you will feel the tablet
click into position.
5) Turn the locking pawl counterclockwise, the locking pawl will be positioned in front of the tablet.
6) To remove the tablet, press 1,2,3,4 then the OK button, turn the locking pawl clockwise and pull the top
of the tablet out from under the top support.

11
To change the combination:
1) Enter the active combination (1,2,3,4 if still the default combination)
2) Press the OK button twice
3) Enter your new code (can be up to 8 digits)
4) Press the OK button, you will hear a long beep
Alarm
If the wrong combination is entered four times continuously, an alarm tone will sound and last for I minute. To
silence the alarm, enter correct code + OK.
Low Battery
The lock will indicate three short beeps with light flash when battery power is low. The lock will operate for
approximately 300 times with low battery. Batteries should be changed as soon as possible.
Emergency Power Supply
If the battery fails completely, you can unlocked by using the by-pass cable provided with your locking tablet
holder and a 9V battery (battery not included). Connect the 9V battery to the cable and connect the cable to the
port on the front of the lock.
Forgot your combination?
It is recommended that you record the combinations of you JACO locking tablet holders. If you do forget
the combination, we do offer a rescue code that will allow you to open the lock and reset the combination. You
will need to contact JACO and provide the serial number of the lock which is etched along the side of the front
edge as shown below. Once JACO has this information, we will forward a by-pass code that will open that
particular lock. Each lock will require a different by-pass code.
This manual suits for next models
2
Table of contents
Other Jaco Outdoor Cart manuals
Popular Outdoor Cart manuals by other brands

Fisher & Paykel
Fisher & Paykel DCS CAD30 Use, care and installation guide

Oskar-Bebehut
Oskar-Bebehut BT-504S Owner's instruction and safety manual

Craftsman
Craftsman 486.24385 owner's manual

Safco
Safco 3084 quick start guide

Copernicus
Copernicus Tech Tub2 FTT432 Assembly guide

Oklahoma Sound
Oklahoma Sound 112 Assembly manual