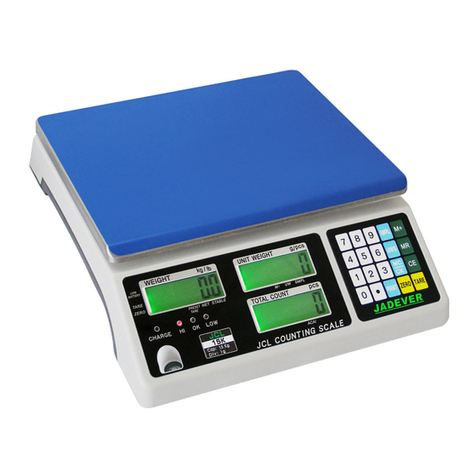
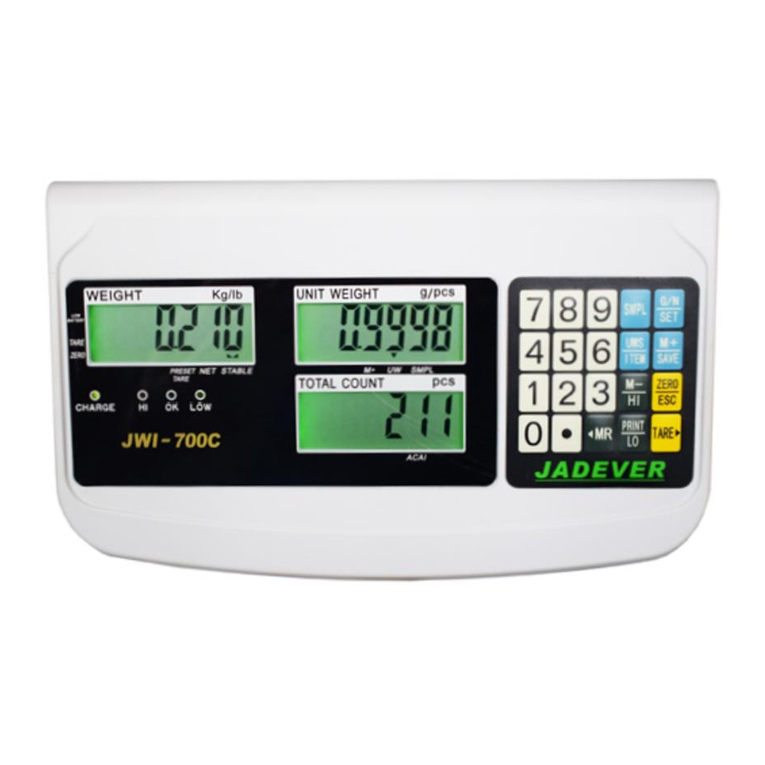
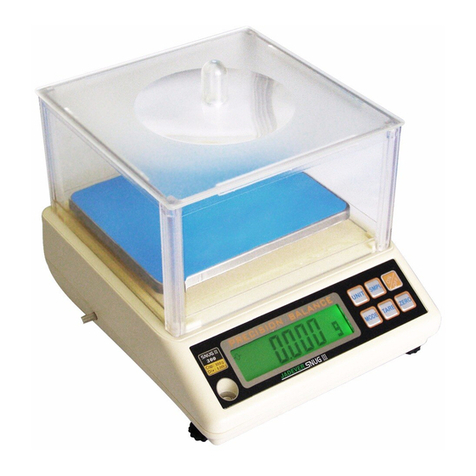
Jadever LPWN-1530 User manual

Page1 WEIGHING SCALE
TABLE OF CONTENTS
I. INTRODUCTION --------------------------------- 1
II. FEATURES --------------------------------- 1
III. ASSEMBLY --------------------------------- 2
IV. PRECAUTIONS --------------------------------- 3
V. KEYPAD --------------------------------- 3
VI. FUNCTION SETTING --------------------------------- 4
VII. OPERATION --------------------------------- 6
VIII. WEIGHING UNIT CONVERSION --------------------------------- 6
IX. FACTORY SETTING --------------------------------- 6
Appendix 1 ERROR MESSAGE --------------------------------- 7
Appendix 2 RS-232 FORMAT --------------------------------- 7
I. INTRODUCTION
Thank you for your purchase of JADEVER high precision electronic weighing scale, which enables
you to measure both quantity and weight. The scale is easy to operate, precise, stable and with fast
display reaction. It is applicable in the electronic, hardware, plastic, medicine, textile and various other
industries. It is useful for packaging, inventory and various production and quality control cases. It will
help you save your time, labor, money, and reduce material waste, lower cost, improve your work
efficiency, thus to achieve maximum return on investment.
II. FEATURES
1. The microprocessor in this scale features
(1) Zero point tracking function.
(2) Tare and pre-tare function.
2. Easy operating and water-resistant membrane keypad.
3. Easy to read LCD display.
4. Counting function is applicable, with backlight function.
5. Tare range is unlimited.
6. The case shell is made of ABS shockproof plastics; stainless steel weighing pan is used for
long-term operation.

Page2 WEIGHING SCALE
III. ASSEMBLY
A. Models LPWN-1530、LPWN-7515、LPWN-1530K
1. Remove the protection copper screw [2], and then screw out the protection copper screw [1];
2. Align the three-hole aluminum column [6] and center of the three round holes on the scale
support [5] with the corresponding hole on the “-”shaped iron piece inside hole [7]. Then fix
the three-hole aluminum column [6] and scale support [5] on the “-”shaped iron piece of the
scale by tightening the M5 Allen screw [4] using an Allen wrench;
3. Put the stainless steel weighing pan [3] on the scale support [5].
B. Model LPWN-3075
1. Remove the protection copper screw [2], and then screw out the protection copper screws [1]
& [3];
2. Screw in the round weighing pan clockwise and downwards.
C. Model LPWN-150
1. Place the round weighing pan directly onto the scale support.

Page3 WEIGHING SCALE
D. Wind Shield
Note: Always reinstall the transportation protection device before transporting the scale, lest the precision
sensor should be damaged due to bumping and falling during transportation.
IV. PRECAUTIONS
1. Full charge the battery after unpacking the scale.
Recharge the battery: When battery symbol appears on the LCD display, charge the battery with AC power cord
plug in, the indicator of charge will light up in red; when it becomes green means charge completed. (It takes
about 8 hours to full charge the battery.)
2. Install the equipment on a level and stable surface.
3. Do not install the equipment near the air conditioning or a vibrating machine.
4. Install the equipment in an environment with steady temperature (0℃~40℃), avoid rapid
temperature changes.
5. Independent AC outlet for this equipment is recommended, check the voltage before plug in.
6. Warm up the equipment for 15 minutes before use.
V. KEYPAD
1.“PRINT"
Press PRINT key, RS-232 will print data, when negative value is shown on the screen, the
printing function is prohibited.
2.“MODE"
Press MODE key for selecting weighing unit.
3.“TARE"
Press TARE key for deduction of current weight on the weighing pan. After removing the weight
on the weighing pan, press TARE key to cancel the original tare.
Note: This operation can only be performed in the stable mode.
4.“ZERO"
Press ZERO key and the screen will show zero 0.0000, press ZERO key in the tare mode, the tare
will be cancelled; if the weight on the weighing pan is within the zero adjustment range, the
scale will be reset to zero.
5. “ON/OFF”
Power switch.

Page4 WEIGHING SCALE
Cross reference list of keys in Chinese and English
中文
開關
扣重
歸零
列印
轉換
單位
ENGLISH ON/
OFF
TARE
ZERO
PRINT
MODE
VI. FUNCTION SETTING
LCD Display Function Selection Reference
CAL Model display Page 4, Item 1
↓
UON Weighing unit ON/OFF Page 5, Item 2
↓
Init Initial unit Kg/g/lb/lb-oz/Taiwan jin/HK
jin, etc. Page 5, Item 3
↓
Fil Filter 1/2/3/4 Page 5, Item 4
↓
Auto Auto power off OFF/5/10/30/60 Page 5, Item 5
↓
Ligh Backlight OFF/ON/AUT Page 5, Item 6
↓
Lit Zero point range 0/1/2/3/4/5 Page 5, Item 7
↓
Baud RS-232 baud rate 2400/4800/9600 Page 5, Item 8
↓
rS232 Printing mode Co/St/ Pr Page 5, Item 9
↓
Print External device PC /SH/EZ Page 5, Item 10
↓
Stabl Printing stability Yes /N o Page 5, Item 11
1. Power on while holding down MODE key. The scale will enter into function setting mode and CAL
appears on the LCD display. Press PRINT key, the LCD display will show the scale model e.g.
3 kg .
2. Press MODE key once again, the LCD display will show UON , which means the scale enters
into weighing unit setting mode. Press PRINT key to select unit, press TARE key to enable (ON) or
disable (OFF) the weighing unit. If the display shows ON kg , it means the unit shown will be
used; OFF kg means the unit shown will not be used. Press MODE key once again, the LCD display
will show Init ,which means the scale enters into initial weighing unit setting mode; press
TARE key to select initial unit setting.
3. If the LCD display shows Init g , it means “g” is the initial weighing unit when power on.
Available units: kg, g, lb, lb-oz, jin, HK jin, Taiwan jin.

Page5 WEIGHING SCALE
4. Press MODE key once again, the LCD display will show Fil , which means the scale enters
into filter setting mode; press down TARE , the display will show Fil 2 , press TARE key again
to switch the filter degree as 1, 2, 3 or 4. Level 4: Reaction is slower, effect on filtering is higher.
5. Press MODE key once again, the LCD display will show Auto ,which means the scale enters
into auto power off setting mode; press TARE key to select the time of auto power off. 5, 10, 30, or 60
minutes means the lasting time value when the scale is at the non-tare zero point. In such mode, the
scale will be powered off automatically after elapse of the set time.
6. Press MODE key once again, the LCD display will show Ligh , which means the scale enters
into backlight setting mode. Press TARE key to select setting, if the display shows OFF , it
means the backlight is off; ON means the backlight is on; Auto means auto backlight
is on.
7. Press MODE key once again, the LCD display will show Lit , press TARE key, d1
will appear on the display, press TARE key again to select zero tracking range. 0, 1, 2, 3, 4 or 5 can be
selected (the bigger the number is, the larger zero tracking range is).
8. Press MODE key once again, the LCD display will show BAud , which means the scale enters
into baud rate setting mode; press TARE key to select the transmission rate of 2400, 4800, or 9600.
9. Press MODE key once again, the LCD display will show RS232 ,which means the scale enters
into printing mode setting mode, press TARE to select Prt Co , Prt St , or Prt Pr (Pr
means data sent when key pressed; St means data sent automatically when stable symbol shown; Co
means data sent continuously).
10. Press MODE key once again, the LCD display will show Print , which means the scale enters
into printing mode setting mode, press TARE to select PC , SH ,or EZ .
11. Press MODE key once again, the LCD display will show StAbl , which means the scale
enters into printing stability judgement setting mode, press TARE key to select setting, YES
means the data can be printed out by pressing PRINT key only in the stable mode; No means
the stable mode will not be detected. Press MODE key to reset each function. Press ZERO key
anytime when a function setting is completed. This will make the scale return to normal weighing
mode.
VII. Operation (after normal power-on)
Counting: (simple counting function)
Press MODE key, the LCD display will show 0PCS, press TARE key, CAL will appear,
put the samples on the weighing pan, press TARE key again to select the counting standard needed
(25, 50, 100); wait until automatic sampling by the scale, and new number is shown on the display, it
is ready for counting operation.
Percentage:
Press MODE key until the LCD display shows 0 % , press TARE key, CAL will
appear; put the samples on the weighing pan, press TARE key again to select the counting standard
needed (25, 50, 100); wait until automatic sampling by the scale, and new number is shown on the
display, it is ready for percentage counting operation.
Page6 WEIGHING SCALE
VIII. WEIGHING UNIT CONVERSION
1 kg = 1000 g 1 斤= 500g
1 HK jin = 16 HK ounce 1 HK ounce = 37.799375g
1 Taiwan ounce = 37.49995g 1 Taiwan jin = 16 Taiwan ounce
1 lb = 453.59237g 1 oz = 28.3495231g
IX. FACTORY SETTING
A. LINEAR CALIBRATION
1. Power on while holding down TARE key, the display will show Line .
2. Press MODE key to enter into automatic factory calibration mode, the display will show On0 ,
put weight of 1/3 full load on the weighing pan when On1 appears, press TARE key until
On2 appears, put weight of 2/3 full load on the weighing pan, press TARE again, On3 will
appear on the display, press TARE after putting weight of full load on the weighing pan and wait
until PASS appears.
3. Take off the weight, press ZERO key to return to weighing mode.
B. SINGLE-POINT CALIBRATION
1. Power on while holding down MODE key to enter into setting mode, the display shows CAL .
2. Press TARE key to enter into single-point calibration mode, the display will show On0 , wait
until CAP appears.
3. Press MODE key to select calibration weight, the display will show in turn CAP 1 , CAP2 ,
and CAP3 ; put corresponding weights of 1/3, 2/3 or full load on the weighing pan, then press
TARE key to enter into single-point calibration mode, wait until the display shows PASS .
4. Take off the weights, press ZERO key to return to weighing mode.
C. PRECISION SETTING- (Only applicable for version 2.0 and above)
1. Power on while holding down PRINT key to enter into setting mode, the display will show
SEnC .
2. Press TARE key to select SEnC1 or SEnC2 .
3. SEnC1 means precision 15000, SenC2 means precision 6000 (7500).
4. After setting is completed, press ZERO key to return to weighing mode.
APPENDIX 1:
ERROR MESSAGE
1. Error message
Err. Msg. Problem
Err2 Initial zero point over ±10% (take 10% as the benchmark)
Err3 Over or below A/D resolution range FFFFF
Err4 EEPROM Chksum error
Err5 Overload (max. capacity +9e)
Err6 Wrong calibration weight
Battery
symbol
Low battery

Page7 WEIGHING SCALE
2. Troubleshooting
When Err. Msg. Troubleshooting
Power on Err2 Check and remove any object from weighing pan or malfunction of LOAD CELL
Power on Err3 Check if A/D or LOAD CELL malfunctions
Power on Err4 Beep alert. Switch power off and power on again, or perform calibration
Power on Battery symbol Charge the battery with power on
Operating at
normal
weighing
mode
Err5
Checking if the weighing object is over the max. capacity +9e
Calibrating Err6 Change weight
APPENDIX 2:
RS-232 OUTPUT FORMAT
Baud Rate :2400, 4800, 9600
Data Bit :8
Parity :N ( None )
Stop Bit :1
Code :ASCII
Bit Format :
LSB MSB
0 1 2 3 4 5 6 7 8
Start
Bit Parity
Stop
Bit
Data Format:
1. kg
G/
N . W . :+/- kg
C
RLF
weight
Example:
N.W. :+ 1.1375kg
T.W. :+ 0.0180kg
G. W. :+ 1.1555kg
2. g
G/
N . W . :+/- g
C
R LF
weight
Example:
N.W. :+ 1137.5g
T.W. :+ 18.0g
G. W. :+1155.5g
3. lb

Page8 WEIGHING SCALE
G/
N . W . :+/- lb
C
RLF
weight
Example:
N.W. :+2.508lb
T.W. :+ 0.040lb
G. W. :+2.548lb
4. lb-oz
G/
N . W . :+/
- - l b o z C
RL
F
weight lb Weight oz
Example:
N.W. :+2lb 8.12oz
T.W. :+ 0lb 0.64oz
G. W. :+2lb 8.76oz
5. Jin
G/
N . W . :+/
- C-Jing
C
R L
F
weight
Example:
N.W. :+2.275jin
T.W. :+ 0.037jin
G. W. :+2.312jin
6. HK jin
G/
N . W . :+/
- _ G - t l . H C
RL
F
weight
Example:
N.W. :+1-14.08G-tl.H
T.W. :+0-0.48G-tl.H
G. W. :+1-14.56G-tl.H
7. Taiwan jin
G/
N . W . :+
/_ G
-
-t l . T C
RL
F
weight
Example:
N.W. :+1-14.32G-tl.T
T.W. :+0-0.48G-tl.T
G. W. :+1-14.80G-tl.T
8. pcs
T o t a l :+/- pcs
C
RL
F
pcs

Page9 WWW.MIDLANDSCALES.COM WEIGHING SCALE
Example:
Total:+ 0 pcs
9. %
+/- %
C
RL
F
Example:
+ 0 %
G = GROSS
N = NET
T = TARE
Printer and output format (example: kg)
SH-24 EZ2-S
N.W.:+1.6025 kg
T.W.:+0.0000 kg
G.W.:+1.6025 kg
N.W.:+ 1.1375 kg
T.W.:+ 0.0180 kg
G.W.:+ 1.1555 kg
RS-232 Connector/ Signal Output
This manual suits for next models
4
Table of contents
Other Jadever Scale manuals

Jadever
Jadever JWI-700W User manual

Jadever
Jadever 1.5K User manual

Jadever
Jadever JWI-501 Series User manual

Jadever
Jadever JWE User manual

Jadever
Jadever JKH User manual

Jadever
Jadever JWE User manual

Jadever
Jadever JWA series User manual

Jadever
Jadever Jadever SKY User manual

Jadever
Jadever JC User manual

Jadever
Jadever JCAII User manual

Jadever
Jadever JCL User manual

Jadever
Jadever JWL-1.5K User manual

Jadever
Jadever JCL Series User manual

Jadever
Jadever LGCN-3075 User manual

Jadever
Jadever JCAII User manual

Jadever
Jadever JWE User manual

Jadever
Jadever JCN User manual

Jadever
Jadever NWTE User manual

Jadever
Jadever JCL User manual

Jadever
Jadever JWI 700C User manual