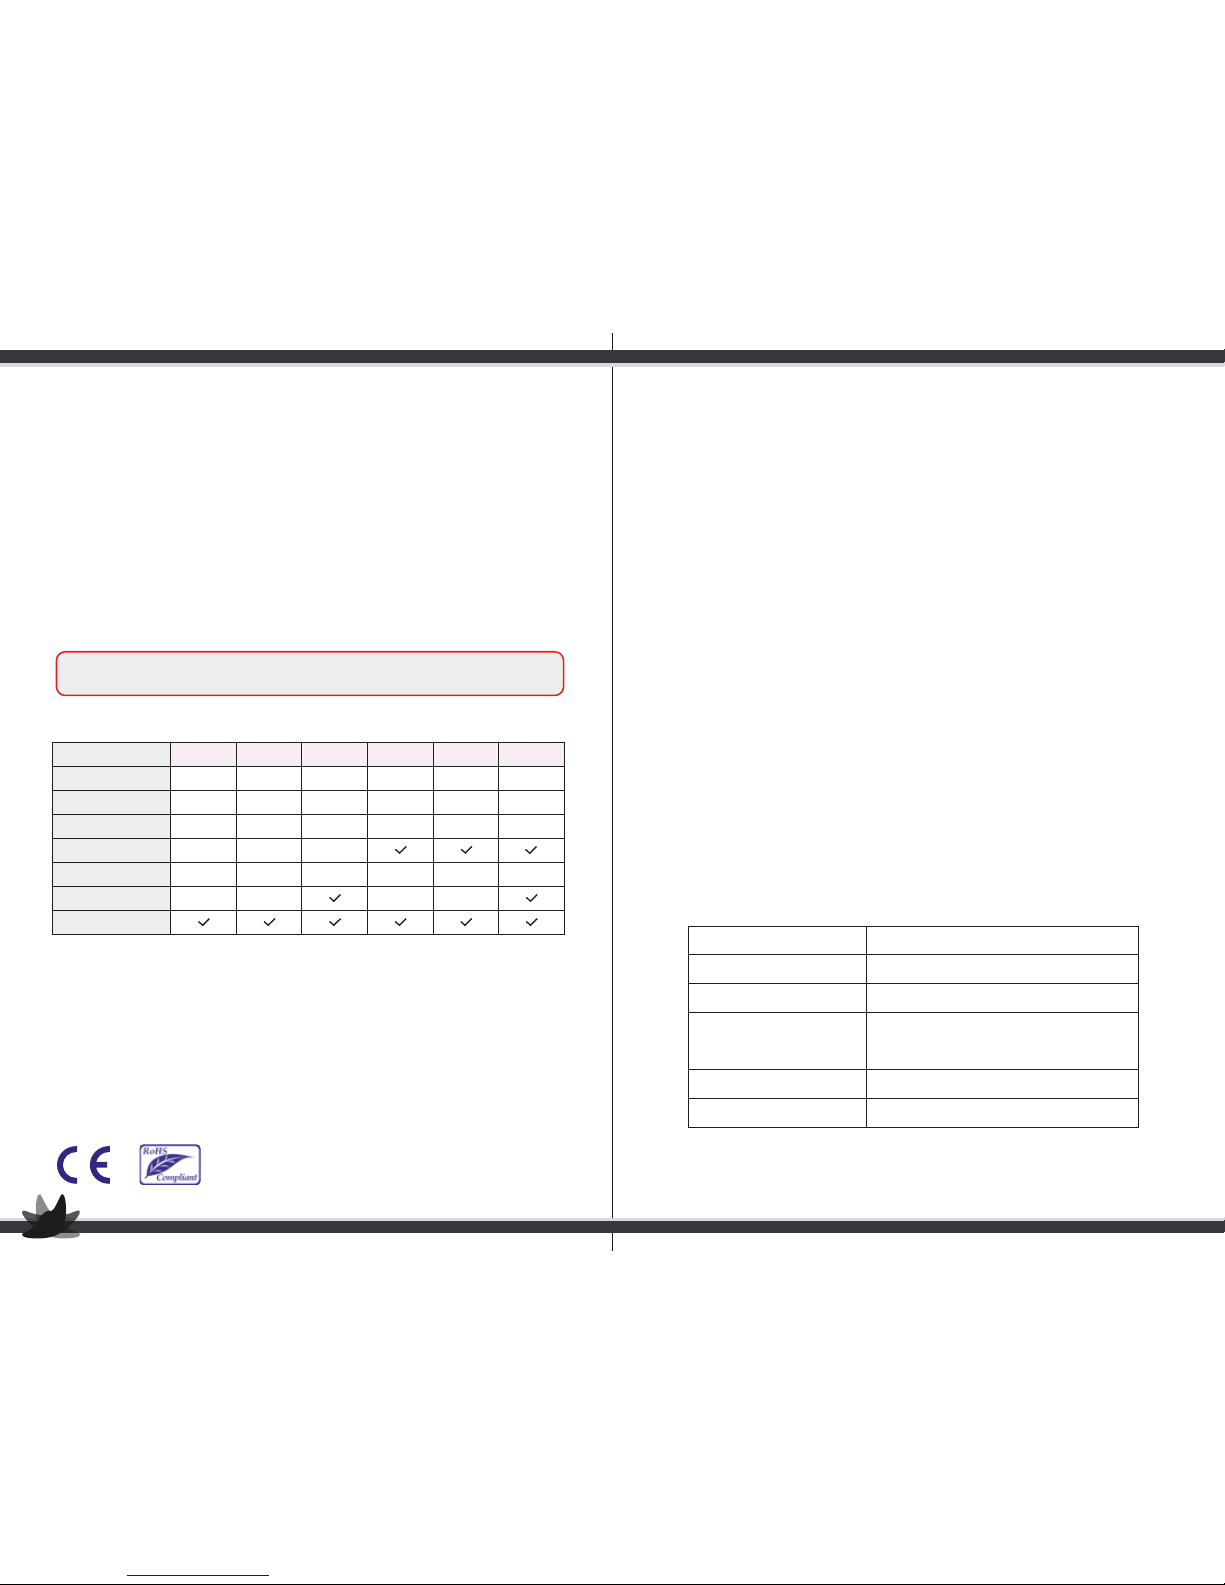
James SONIC D User manual

SONIC D
USER GUIDE

1
INTRODUCTION
UNPACKING & IMPORTANT
SAFETY INSTRUCTIONS
SUGGESTED APPLICATIONS
SONIC - D SERIES
OPERATION INSTRUCTIONS
SONIC - MX SERIES
OPERATION INSTRUCTIONS
DIFFERENT CLEANING METHODS
3
3
3-4
5
6
7-8
9
10-11
12

INTRODUCTION
Ultrasonic cleaners function by producing sound waves that are transmitted into the
tank and cleaning solution. These waves create millions of microscopic bubbles, which
collapse or ‘implode’, releasing large amounts of energy, which scrub the surface clean.
This process is called ‘Cavitation’. These tiny bubbles create incredible cleaning results
not only to the surface, but by penetrating the finer detail and recesses in small and
hard to get areas to restore them to their former glory.
UNPACKING AND IMPORTANT
Remove cleaner from its packaging and ensure it is correct for your local voltage
supply. Never operate without, or remove the safety ground (earth) from the
A.C. power cord / mains lead.
SAFETY INSTRUCTIONS
KEEP AWAY FROM CHILDREN
This unit is not intended for use by individuals including children with restricted
physical, sensory or mental capacities or those with a lack of experience and / or
knowledge, including children, unless they are supervised by an individual who is
responsible for their safety or have received training in operating the unit.
Please store the ultrasonic cleaner where it is not reachable by children.
Danger to children! Danger for death through suffocation! Keep packaging material
away from children.
TO PREVENT LIFE-THREATENING ELECTRICAL SHOCK, OBSERVE THE FOLLOWING
Danger of electrical shock! Do not use while bathing. Never immerse the unit or the
power cord in water or any other liquid. Never touch the power plug with wet hands,
especially when inserting or removing the plug. If the unit has fallen into water during
operation, do not touch the unit. Remove the power plug from the socket first.
Never operate the unit unattended.
Follow the manual to operate the unit.
Do not use components unapproved by the manufacturer.
When removing the power cord from the socket, grab the power plug not the cord.
Do not position power cord anywhere near a trip hazard.
If there is damage to the plug, cord, housing or other parts of the unit, do not use.
Do not open the unit as this will void your warranty.
Remove power plug from the socket: If malfunction occurs; Before cleaning the unit;
If the unit is not going to be used for prolonged use and aer each use.
32

DOMESTIC
Jewellery: Necklaces, rings, bracelets,
etc.
Watches: Waterproof wristwatches, watch
chains.
Toiletry Items: Electric toothbrush heads,
Electric shaver heads, Razor blades,
Combs, Toothbrushes, Dentures etc.
Office Equipment: Printer heads, fountain
pen nibs, wax or rubber stamps etc.
Metal Items: Metal cutlery (knives/forks
etc), old coins, metal badges, valves,
machine nozzles, small metal parts etc.
COMMERCIAL/INDUSTRIAL
Airbrushes/ Spray-guns
Automotive/ Aviation components
Calligraphic pens/ nibs
Computer plotter pens/ nibs
Dental & surgical instruments
Fuel injectors
Geological & metallurgical specimens
Hypodermic needles
Ink jet printer cartridges
Jewellery manufacturing
Laboratory glassware & apparatus
Lenses & other optical components
Metal / fibre filters
Metal / rubber seals
Microelectronic circuits & components
Moulding dies
Nozzles
Printed circuit board (PCBs)
Production line cleaning
Scientific & Industrial instruments
Spectacle frames & lenses
Watches & clockwork
SUGGESTED APPLICATIONS
Porous stones such as pearls etc should not be immersed.
Watches should be fully waterproof (30m or more).
Any unfirm or inlaid item may become loose.
Items that are easy to be discoloured are not recommended for
ultrasonic cleaning.
Welded or plated metal items
Glued items
Glass
Ceramics
Camera Filters
Spectacles (Check with your optician)
Blu-Ray discs
TO PREVENT FIRE HAZARDS, PLEASE OBSERVE THE FOLLOWING
Never block the vents on the unit. Keep the vents free from lint, hair and other
materials.
Do not place the unit on a so surface, such as a bed or a sofa, where the vents could
become blocked.
OTHER OBSERVATIONS
• Do not operate the product without filling the tank with water. Running dry will
damage the unit.
• Do not plug in the power cord before first adding water to the tank.
• Do not over-fill the tank.
• Do not use solution containing abrasive substances or strong corrosive chemical
solution not recommended by the manufactures or the supplier.
• Place the unit on a dry and flat surface for operation.
• When the unit is subjected to severe electromagnetic interference, it may
malfunction, stop operating or lose control functions. If this happens, unplug the
power cord then reinsert it to restart the unit.
NOT SUITABLE FOR ULTRASONIC CLEANING
54
SEACLEAN 2
DOUBLE STRENGTH CONCENTRATE
Made from a unique formula containing natural
products, mixing carefully balanced quantities of
seaweed, coconut oils and fruit extracts to create a
powerful cleaning solution.
SeaClean2 will expertly clean tarnished items and assist in the removal of carbon,
rust and dirt from most solid metals*, precious stones* and ink jet cartridges to
return them to a shiny condition.
Available in 500ml, 1L, 5L and 25L bottles.

SONIC D SERIES OPERATION INSTRUCTIONS
1) Check the specification table for the correct operating requirements
(located on the rear of the unit).
2) Before connecting power, put the unit on a stable and flat working surface.
Add water to tank, sufficient to completely immerse the items being cleaned.
Using the stainless steel basket is highly recommended.
Never operate the unit without water in the cleaning tank. Always fill the
unit above 2/3 marker line indicated on the inside of the tank. Failing to do
so, may cause damage to the unit.
3) Connect the power cable to the rear of the unit and ensure the wall supply
is switched ON. All the buttons are touch-sensitive, just lightly touch with your
finger. Touch the button on the front panel to turn on the machine.
You are now ready to set the timer and temperature.
4) Setting the Temperature- When the power is on, the LCD will display the actual
temperature of the solution within the tank. The temperature setting figure will
flash once the option is pressed to set temperature. It indicates that the
temperature setting function has been started.
Then, press button to set the required temperature.
When the set temperature is higher than the actual temperature, the built-in
heater will initiate the heating function. The working status (OFF and ON) is visible
through the LCD display window. When the heater has reached the necessary
temperature, the heating function will stop automatically. When the
set temperature is lower than the actual one, heating will not start automatically.
In this case, the fluid will enter into the constant temperature state.
The heating function is not restricted by the ultrasonic cleaning timing but can
work for a long time (however, it is necessary to make sure there is enough
water inside the tank). To deactivate the heating function, input “00” in
preset temperature, then the Heater will be turned off.
Set:
Primes unit for adjusting
cleaning time. This is then
altered using + / – keys
above.
+/– Keys:
Use for adjusting settings.
Power On/Off:
Primes unit for adjusting
cleaning time. This is then
altered using + / – buttons
above.
Start/Stop:
Starts and stops ultrasonic
cleaner.
Degas:
Intermittent operation of
ultrasonic power for rapid
removal of entrained air
from liquids.
76

5) Setting the timer– When power is on, the timing setting figure will flash once
the option button has been pressed. This indicates that a time setting is
required. To set the timer, press the button to set the required cleaning
time (Minutes).
The ultrasonic's cleaning function will instantly start once the button is
pressed. The LCD display window displays “U” which represents that the ultrasonic
is working. Cleaning will stop automatically when the cleaning time (seconds)
and (minutes) has counted down to “00” on both sides. The figure will resume
the original setting automatically. This is the “memory function”.
6) Memory Function and Pause Function (= Start/Pause)--Every time
the Green Button is touched; the memory function will be activated to keep
the “MIN” figure in the memory (but not the “SEC”). When the timer stops
automatically, the memorized “MIN” figure will be remembered. It is convenient for
frequent users who repeat with same cleaning time cycle, as there is no need to
reset again and again. The Green Button is also a PAUSE function button allowing
you to pause the unit whilst the ultrasonic timer is still running, touch again
to release the pause and continue the operation ( need to RESET desired memorized
setting figure again aer Pause function is used).
7) Use of degassing function: at the normal working state, the machine will start
degassing function once the button is pressed. Then, the LCD displays “D”.
Degassing function will stop once button is pressed again. Then, the LCD
displays “U”.
8) Red Button- This is the power switch for the machine. When you have finished
using the machine, touch to make sure that all of the displays have turned off.
Disconnect the unit from the mains supply and remove the power cable.
SONIC MX SERIES
Sweep:
Creates a wave amongst the cleaning
solution. Providing enhanced
cleaning of tubular items.
Power On/Off:
Primes unit for adjusting cleaning time. This
is then altered using + / – buttons above.
Start/Stop:
Starts and stops ultrasonic cleaner.
Degas:
Intermittent operation of ultrasonic
power for rapid removal of entrained
air from liquids.
Pulse:
Produces intense bursts of ultrasonic
power. Use to remove stubborn
contaminants or degas solution rapidly.
Power:
Adjusts the power rating of
the transducer.
Temp Dial:
Adjusts thermostat
of ultrasonic heating
element.
Timer Dial:
Sets duration of
cleaning cycle.
98

OPERATION INSTRUCTIONS
1) Check the specification table for the correct operating requirements
(located on the rear of the unit).
2) Before connecting power, put the unit on a stable and flat working surface.
Add water to tank, sufficient to completely immerse the items being cleaned.
Using the stainless steel basket is highly recommended.
Never operate the unit without water in the cleaning tank. Always fill the
unit above 2/3 marker line indicated on the inside of the tank. Failing to do
so, may cause damage to the unit.
3) Connect the power cable to the rear of the unit and ensure the wall supply is
switched on. Touch the button on the front panel to turn on the machine.
You are now ready to set the timer and temperature.
4) To freely set the required heating temperature. When the set temperature is
higher than the actual temperature, the built-in heater will initiate the heating
function immediately. The working status (OFF and ON) is visible through the LCD
display window. When the heater has reached the required temperature, the heater
will stop automatically. When the temperature is lower than the set one, heating will
also start automatically. In this case, the fluid will be maintained at the current
set temperature.
5) Setting the timer. When the power is on, rotate the timing knob to set the cleaning
duration. Adjustments will be visible on the LCD display. At this time, the ultrasonic
cleaning function will start promptly once the button is pressed.
6) Start/stop button ( ) Pressing this will start the unit, press again to
pause/stop cleaning, this is useful to stop the unit mid cycle and inspect cleaning
progress.
7) Use of degassing function: at the normal working state, once the button is
pressed, the machine will start the degassing function and the degas button indicator
lamp will be on. Once button is pressed again, degassing function will stop
and degassing button indicator lamp will be off.
8) Use of sweep function: at the normal work status, the sweep function will start and
the sweep button indicator lamp will be on once the button is pressed.
If the button is pressed again, the machine will stop the sweep function and the
sweep button indicator lamp will turn off.
9) Use of pulse function: at the normal working status, once the button is pressed,
the machine power will be increased to 120% and the pulse button indicator lamp will
be on. If the button is pressed again, the pulse function will stop, the pulse
button indicator lamp will be off and the power will resume the normal value.
10) Use of power regulating function: the power is 40% when the power is on
normally. The power range changes from 40% to 70% and 100%, which can be
chosen freely by pressing the function button. Then, the set value will be
displayed in the LCD display module.
1110

1) General Cleaning: Only use plain warm water, about 50°C.
2) Enhanced Cleaning: Add a few drops of standard washing up liquid,
liquid soap, or detergent into the water, other non-acidic based cleaning agents
can be also used.
3) Extensive Cleaning: Removing Tarnish, Carbon and Rust from non-plated metals,
it is recommended that you use a specialist cleaning solution such as SeaClean2
that has been developed to work in an ultrasonic cleaner.
USEFUL INFORMATION FOR GUARANTEE OR REPAIR PURPOSE
Model Number
Date of Purchase
Invoice/Receipt Number
contact information
Supplier Name, address and
Serial Number
Remarks
Warning: Strong acid or alkaline cleaning solution will cause corrosion,
rust and even puncture a tank or machine body. This will void your warranty.
DIFFERENT WAYS OF CLEANING
12
Model
Volume Size
Operation Frequency
Ultrasonic Power
DrainageTap
Tank Internal Dimension
Degas
3D
3
238 x 138 x 100
40
120
Adjustable Power
4D
4
302 x 152 x 100
40
120
6D
6
302 x 152 x 100
40
180
3MX
3
238 x 138 x 100
37
160
4.5MX
4.5
238 x 138 x 150
37
160
6MX
6
302 x 152 x 150
37
240
Table of contents
Other James Ultrasonic Jewelry Cleaner manuals

James
James ULTRA 9020 User manual

James
James Ultra 2000 User manual

James
James Ultra 7050 User manual

James
James Ultra 7050 User manual

James
James ULTRA 7000S User manual

James
James Ultra 8020 User manual

James
James 9050 Touch User manual

James
James Ultra 6050 User manual

James
James Ultra 8050D-H User manual

James
James ULTRA 7000 User manual
Popular Ultrasonic Jewelry Cleaner manuals by other brands

jbc
jbc CL6166 manual

ALKOTA
ALKOTA 3102 Series Safety, installation, and operation manual

Fysic
Fysic FC-18 user manual

BioZone Scientific International
BioZone Scientific International CoilCare Series Installation instructions and operating manual

Danby
Danby Pro quick start guide

Graymills
Graymills CLEAN-O-MATIC COM304 Operation and maintenance instructions