manuals.online logo
Brands
  1. Home
  2. •
  3. Brands
  4. •
  5. JC MACHINERY & TOOLS
  6. •
  7. Welding System
  8. •
  9. JC MACHINERY & TOOLS JC-4200-PM User manual

JC MACHINERY & TOOLS JC-4200-PM User manual

JC MACHINERY & TOOLS INC. Quality We Trust
Banner Hot Air Welder
JC-4200-PM
User Manual
Automatic Overlap Banner Welder Automatic Tape welder
JC MACHINERY & TOOLS INC. Quality We Trust
1
i. Applications
It can be applicable for welding PVC-P、PE、TPO、ECB、CSPE、EPDM、PVDF and other
Coated fabric covering, foil and homogeneous or coating sealing film and PE coating
fabric.
ii. Notice
1. Unplug the tools before opening it to avoid of being hurt by exposed wires or
component inside the machine with power
2. Incorrect use of it can cause fire and explosion hazard because of high
temperature, especially near combustible materials and explosive gases.
3. Don’t touch heater tube and nozzle when they are hot. They may cause burns.
Don’t point hot air flow in the direction of people or animals.
4. The voltage rating stated on the welder must correspond to line/mains voltage
(230V).
The drop cable / wire with protective earthed conductors can only be used.
5. To ensure operator safety and reliable operation of equipment, the power supply
must be installed power supply and leakage protection at the construction site.
6. It must be running at the correct use of manipulation of the operator, or they
may cause a fire or explosion caused by high temperature.
7. Don’t use welder in the water, or on a muddy construction site, to avoid flooding,
rain or moisture.
iii. Technical Parameters
Voltage
single-phase 230
V
Frequency
50/60
Hz
power
W
Temperature
Welding speed
4200
0~1112℉(0~600℃)
3.28 ~ 32.8
ft/min
Welding width
In.
Size( L*W*H)
1-9/16, 2 & 3-1/8(optional)
22 x 15 x 14-3/16 In.
Weight
48.5 lbs.
JC MACHINERY & TOOLS INC. Quality We Trust
2
iv. Description
1. The description of Automatic Overlap Banner Welder
1.
Power cord
11
Guide wheel
21
Outer shell
2.
Moving switch
12
Control handle of
guide wheel
22
Lift handle
3
ON/ OFF switch
13
Position handle of hot
air blower
23
Lift lever
4
Temperature setting
knob(+)
14
Fixed set ( left) of hot
air blower
24
Clump weight
5
Temperature setting
knob(-)
15
Fixed set ( right ) of
hot air blower
25
Overlap hot air
nozzle
6
6
LCD display screen
16
Micro switch
26
Belt wheel
7
Speed setting knob
(-)
17
Adjusting screw
27
Circular silica belt
8
Speed setting knob
(+)
18
Baffle of micro switch
28
Pressure roller fixed
screw
9
Guide wheel nut
19
Universal whee
29
Overlap Pressure
roller
10
Guide wheel shaft
sleeve
20
Guide Handle
JC MACHINERY & TOOLS INC. Quality We Trust
3
2. The description of Automatic Tape Welder
v. How to change Overlap Banner Welder to Tape Welder
1. Loosen belt wheel fix nut( 38 ), take down belt wheel set ( 39 )、circular silica
belt ( 27 );
2. Loosen pressure roller fixed screw ( 28 ), take down gasket ( 42 ) and overlap
Pressure roller ( 29 ), assemble the drive shaft coupling cover ( 44 )、tape
pressure roller ( 36 )、pressure roller stopper ( 35 ) and inner hexagon screw
( 43 ) in proper cord;
3. Loosen hot air nozzle fixed screw ( 41 ), take down overlap hot air nozzle
( 25 ), and then replace into tape hot air nozzle ( 37 ) ;
4. Loosen guide wheel nut ( 9 ), take down guide wheel shaft sleeve ( 10 ) and
guide wheel set ( 40 ), reassemble guide wheel set as the below pictures
show;
5. Assemble tape limit set ( 34 ) and tape fixed set ( 30 ).
30.
Tape fixed set
33.
Disc Nut
36.
Tape pressure roller
31.
Tape fixed cover
34.
Tape limit set
37.
Tape hot air nozzle
32.
Tape circular disc
35.
Pressure roller stopper
JC MACHINERY & TOOLS INC. Quality We Trust
4
vi. How to change Tape Welder to Overlap Banner Welder
1. Loosen screw ( 45 ), take down tape fixed set ( 30 );
2. Loosen screw ( 46 ), take down tape limit set ( 34 );
3. Loosen inner hexagon screw ( 43 ), take down pressure roller stopper ( 35 )、tape
pressure roller ( 36 ) and drive shaft coupling cover ( 44 ), then assemble overlap
Pressure roller ( 29 )、gasket ( 42 ) and pressure roller fixed screw ( 28 ) in proper
cord;
4. Loosen hot air nozzle fixed screw ( 41 ), take down tape hot air nozzle ( 37 ), and
replace into overlap hot air nozzle ( 25 );
5. Loosen guide wheel nut ( 9 ), take down guide wheel shaft sleeve ( 10 ) and guide
wheel set ( 40 ), reassemble guide wheel set as the above pictures show;
6. Assemble belt wheel set ( 39 ), tighten belt wheel fix nut( 38 ), then assemble
circular silica belt ( 27 ).
vii. Welding parameters setting
1. Welding temperature setting:
Using bottoms Temperature setting knob+ and Temperature setting
knob- on the panel to set the required temperature. You can set the
temperature according to the welding materials and the ambient
temperature. LCD display will show the set temperature and the current
actual temperature.
2. Welding speed setting:
Using bottoms Speed setting knob+ and Speed setting knob-
on the panel to set the required speed according to the welding temperature.
LCD display will show the set speed and the current actual speed.
JC MACHINERY & TOOLS INC. Quality We Trust
5
viii. Positioning the welder
1. Automatic Overlap Banner Welder
Keep both the edge of upper membrane and the side of guide wheel in the
same cord of the overlap pressure roller, shown as Figure 1.
2. Automatic Tape Banner Welder
Put the tape in the center of tape pressure roller, and the center of tape
should be put in the seam place of lower membrane. Meanwhile, keep the
side of guide wheel in the same cord of the seam place of lower
membrane, shown as Figure 2.
ix. Welding process
1. Setting the welding parameters according to the data of welding test.
2. Please wait the actual temperature value reaching the setting value.
3. Positioning the welder
4. Lift the lift lever (23) to land down the roller
5. Press the control handle of guide wheel (12 ) to land down guide wheel ( 11 )
6. Lift the position handle of hot air blower (13) to lower down the hot air nozzle,
then move hot air nozzle to left and place it. The machine would start walking
and welding automatically.
7. To observe the relative position of Guide wheel (11). You can adjust the position
by flip the guide handle (20) if it deviates from the position.
8. When the welder walks into the end of material, lift up position handle of hot air
blower (13), move the hot air nozzle to the right until it cannot move, spin up and
lock it.
Figure 1
Tape
The centre of Tape ( seam place)
Figure 2
JC MACHINERY & TOOLS INC. Quality We Trust
6
9. After finish the welding job, press the temperature setting knob- to make
the hot air blower in a cold blowing condition for 5 mins in order to cool the
nozzle. Then to power off the welder. If you want to keep the welding
temperature data, before you power off the welder, you can press down
both to cold the hot air nozzle in 5 mins. And press both when
you restart the welder.
x. Fault diagnosis and solved ways
The fault
performance
Caused reasons
Solved ways
Welder cannot walk
when hot air nozzle
at the right place
Micro switch is
not in right
place
Move the hot air nozzle to the left and
put it in place, then loosen adjusting
screw (17);
Move baffle of micro switch (18 ) , to
place micro switch ( 16 ) in the right
position
The position between
hot air nozzle and
drive roller is not
right
Adjust the fixed set ( left) of hot air
blower(14) and fixed set ( right ) of hot air
blower( by adjusting the screw under the
fixed set of hot air blower)
xi. Routine maintenance
Use steel brush to clean the hot air nozzle
Clean the air inlet at the back of the hot air blower

Other JC MACHINERY & TOOLS Welding System manuals

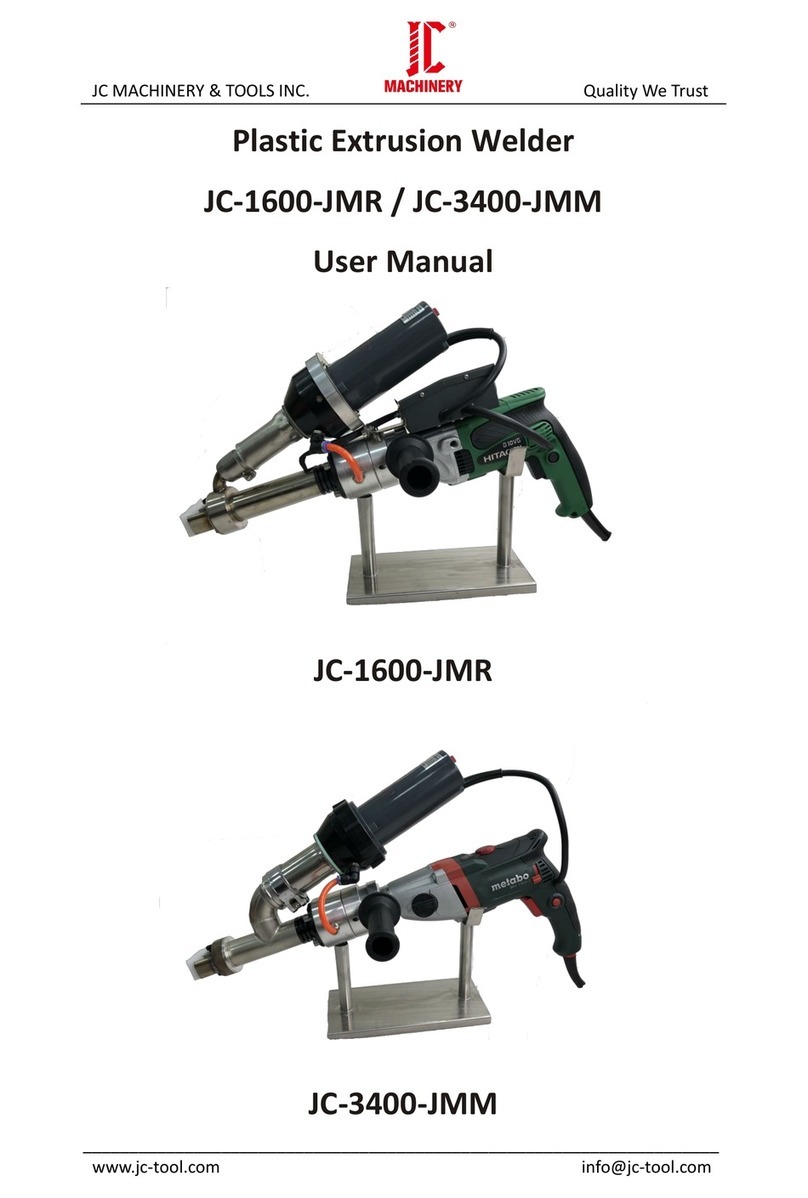
JC MACHINERY & TOOLS JC-1600-JMR User manual

JC MACHINERY & TOOLS

JC MACHINERY & TOOLS JC-1600-JMR User manual

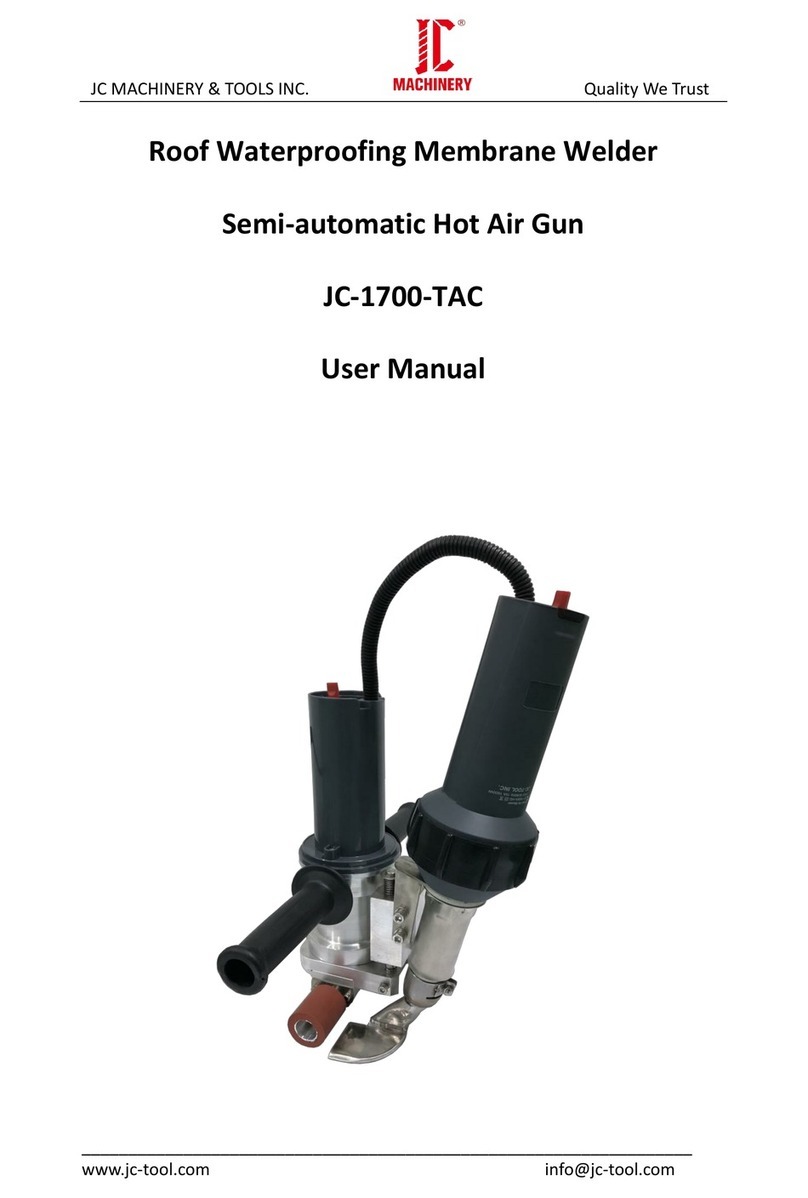
JC MACHINERY & TOOLS JC-1700-TAC User manual

JC MACHINERY & TOOLS

JC MACHINERY & TOOLS JC-1700-TAC User manual

JC MACHINERY & TOOLS JC-GM-PLUS User manual

JC MACHINERY & TOOLS

JC MACHINERY & TOOLS JC-GM-PLUS User manual

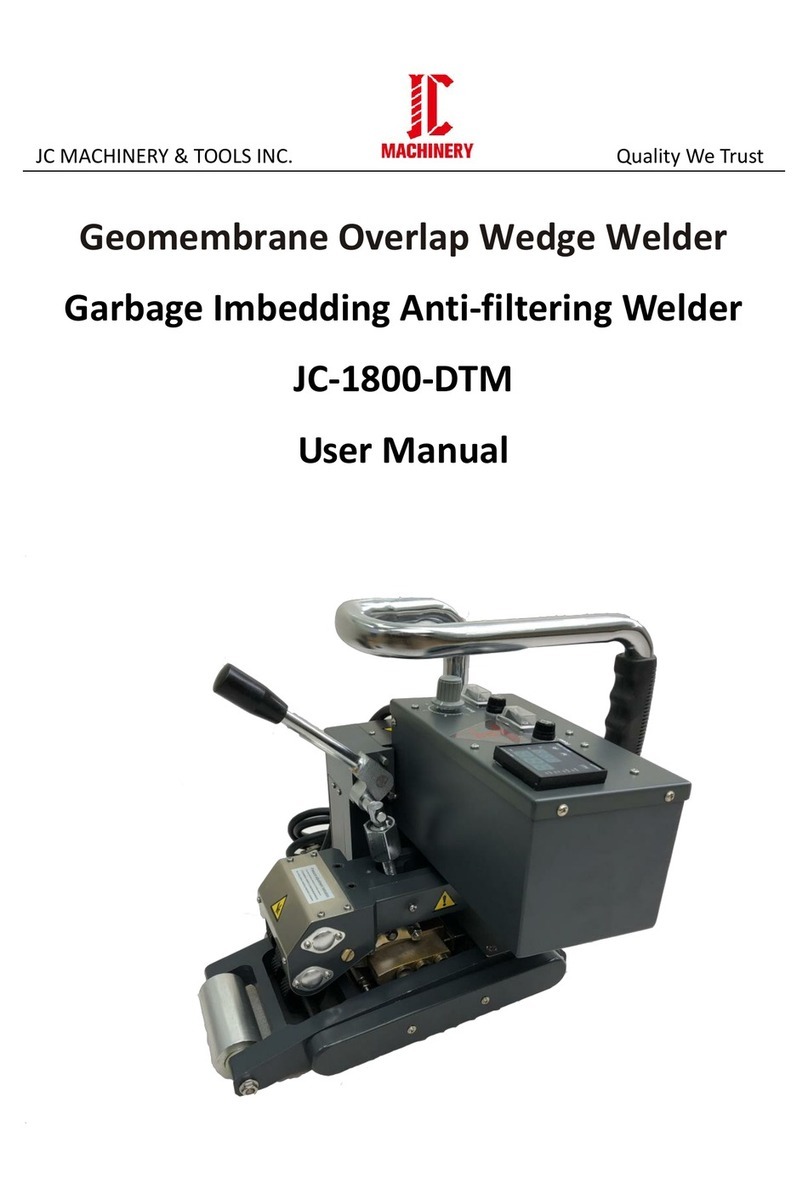
JC MACHINERY & TOOLS JC-1800-DTM User manual

JC MACHINERY & TOOLS

JC MACHINERY & TOOLS JC-1800-DTM User manual

Popular Welding System manuals by other brands

Lincoln Electric 11198 Operator's manual

Lincoln Electric

Lincoln Electric 11198 Operator's manual

Everlast PowerTig 200 DX Operator's manual

Everlast

Everlast PowerTig 200 DX Operator's manual

Stealth DIGI-MIG 200 LCD Operator's manual

Stealth

Stealth DIGI-MIG 200 LCD Operator's manual

CIGWELD TRANSarc 170i operating manual

CIGWELD

CIGWELD TRANSarc 170i operating manual

STEPCRAFT CUT 50 operating manual

STEPCRAFT

STEPCRAFT CUT 50 operating manual

HSK HSK10 DE Series manual

HSK

HSK HSK10 DE Series manual

SincoSald NOVAMIG 320 LCD instruction manual

SincoSald

SincoSald NOVAMIG 320 LCD instruction manual

Weldcote TIG STRIKER 200 AC Quick guide manual

Weldcote

Weldcote TIG STRIKER 200 AC Quick guide manual

ESAB Origo Tig 4300iw AC/DC instruction manual

ESAB

ESAB Origo Tig 4300iw AC/DC instruction manual

Hobart Welders Inver-Tig 160i owner's manual

Hobart Welders

Hobart Welders Inver-Tig 160i owner's manual

Spartus Multi Pro 200 4in1 user manual

Spartus

Spartus Multi Pro 200 4in1 user manual

Stel THOR 103 Instructions for use and maintenance

Stel

Stel THOR 103 Instructions for use and maintenance

Sweiss SKYWORKS 2550 Operator's manual

Sweiss

Sweiss SKYWORKS 2550 Operator's manual

Thermal Dynamics PAK Master 150XL Service manual

Thermal Dynamics

Thermal Dynamics PAK Master 150XL Service manual

Thermal Arc FABRICATOR 210 owner's manual

Thermal Arc

Thermal Arc FABRICATOR 210 owner's manual

Meec tools 016793 operating instructions

Meec tools

Meec tools 016793 operating instructions

MAC TOOLS MW 185 Plus owner's manual

MAC TOOLS

MAC TOOLS MW 185 Plus owner's manual

Miller hydracool 270 CE owner's manual

Miller

Miller hydracool 270 CE owner's manual

manuals.online logo
manuals.online logoBrands
  • About & Mission
  • Contact us
  • Privacy Policy
  • Terms and Conditions

Copyright 2025 Manuals.Online. All Rights Reserved.