Please read this manual carefully before using this machine and keep it properly for future
reference.
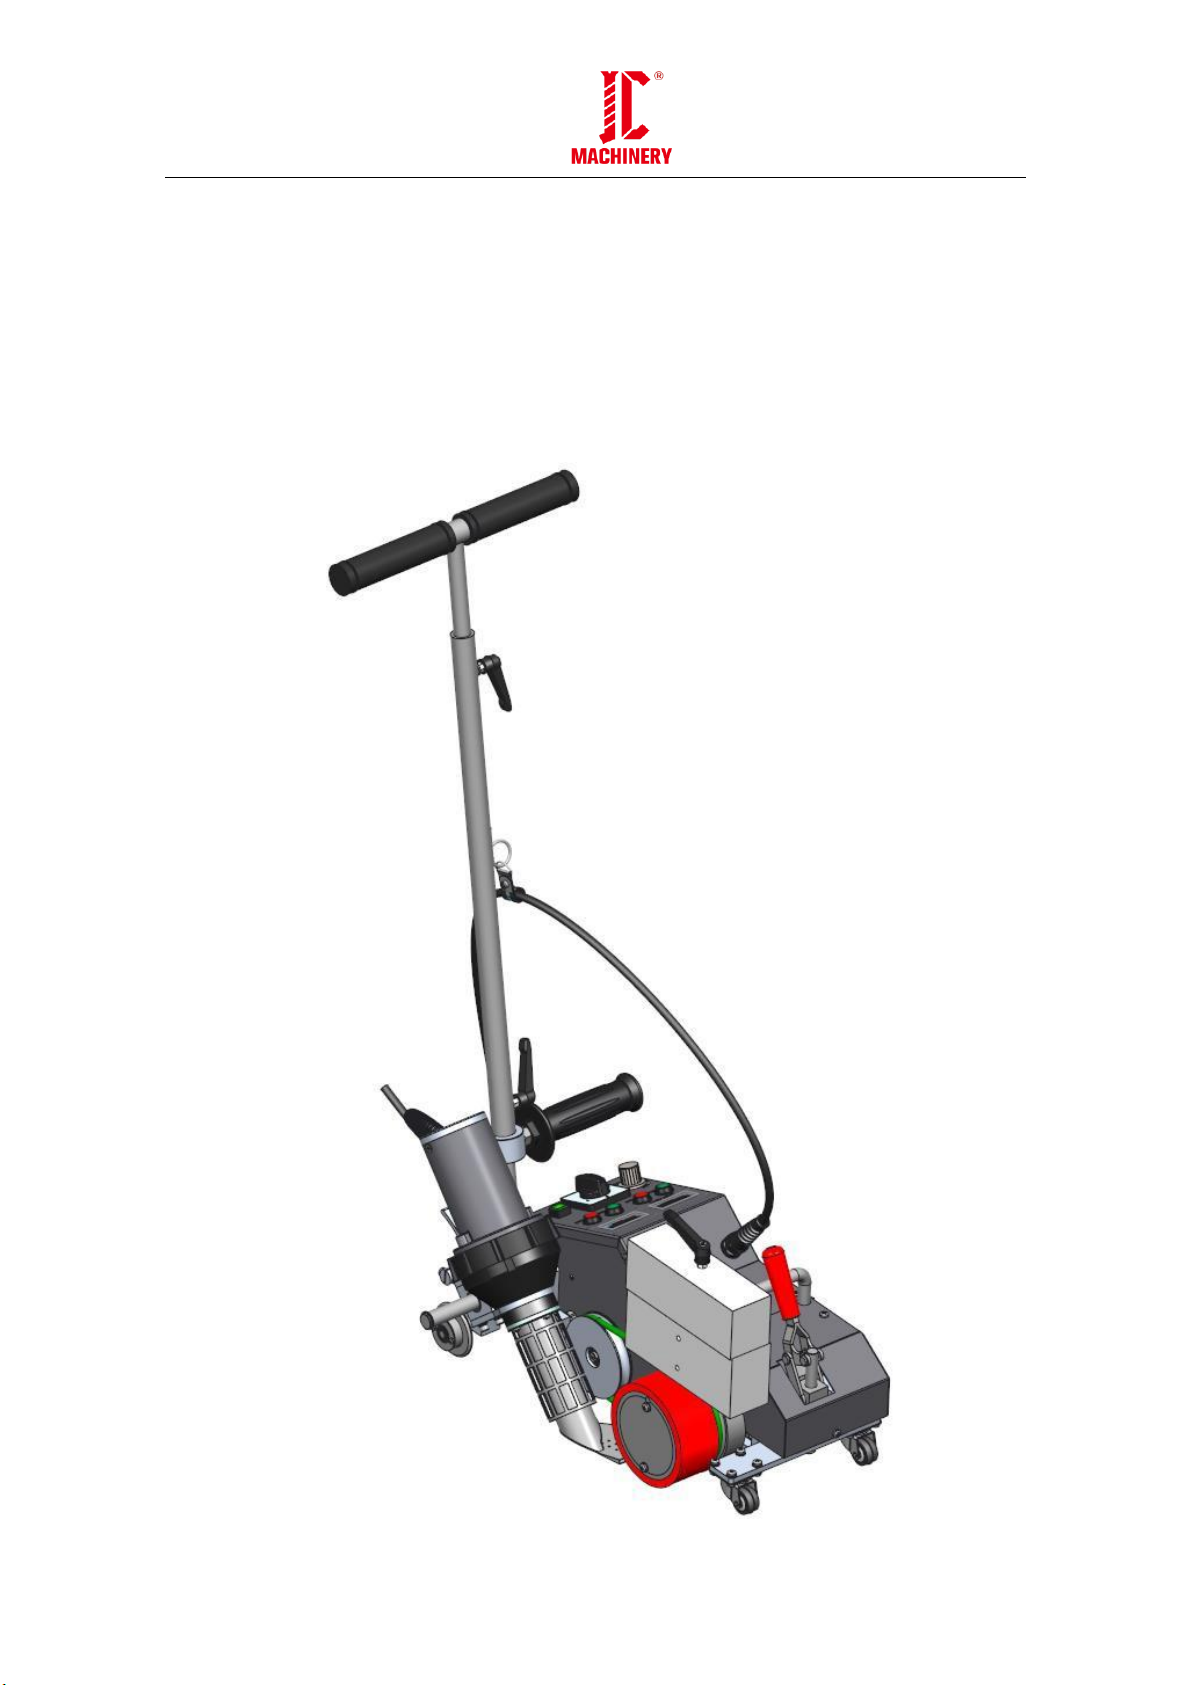
i. Applications
It can be applicable for welding PVC-P、PE、TPO、ECB、CSPE、EPDM、PVDF and other Coated fabric covering,
foil and homogeneous or coating sealing film and PE coating fabric.
ii. Notice
1. Unplug the tools before opening it to avoid of being hurt by exposed wires or component inside the
machine with power
2. Incorrect use of it can cause fire and explosion hazard because of high temperature, especially near
combustible materials and explosive gases.
3. Don’t touch heater tube and nozzle when they are hot. They may cause burns. Don’t point hot air
flow in the direction of people or animals.
4. The voltage rating stated on the welder must correspond to line/mains voltage (120V).
The drop cable / wire with protective earthed conductors can only be used.
5. To ensure operator safety and reliable operation of equipment, the power supply must be installed
power supply and leakage protection at the construction site.
6. It must be running at the correct use of manipulation of the operator, or they may cause a fire or
explosion caused by high temperature.
7. Don’t use welder in the water, or on a muddy construction site, to avoid flooding, rain or moisture.
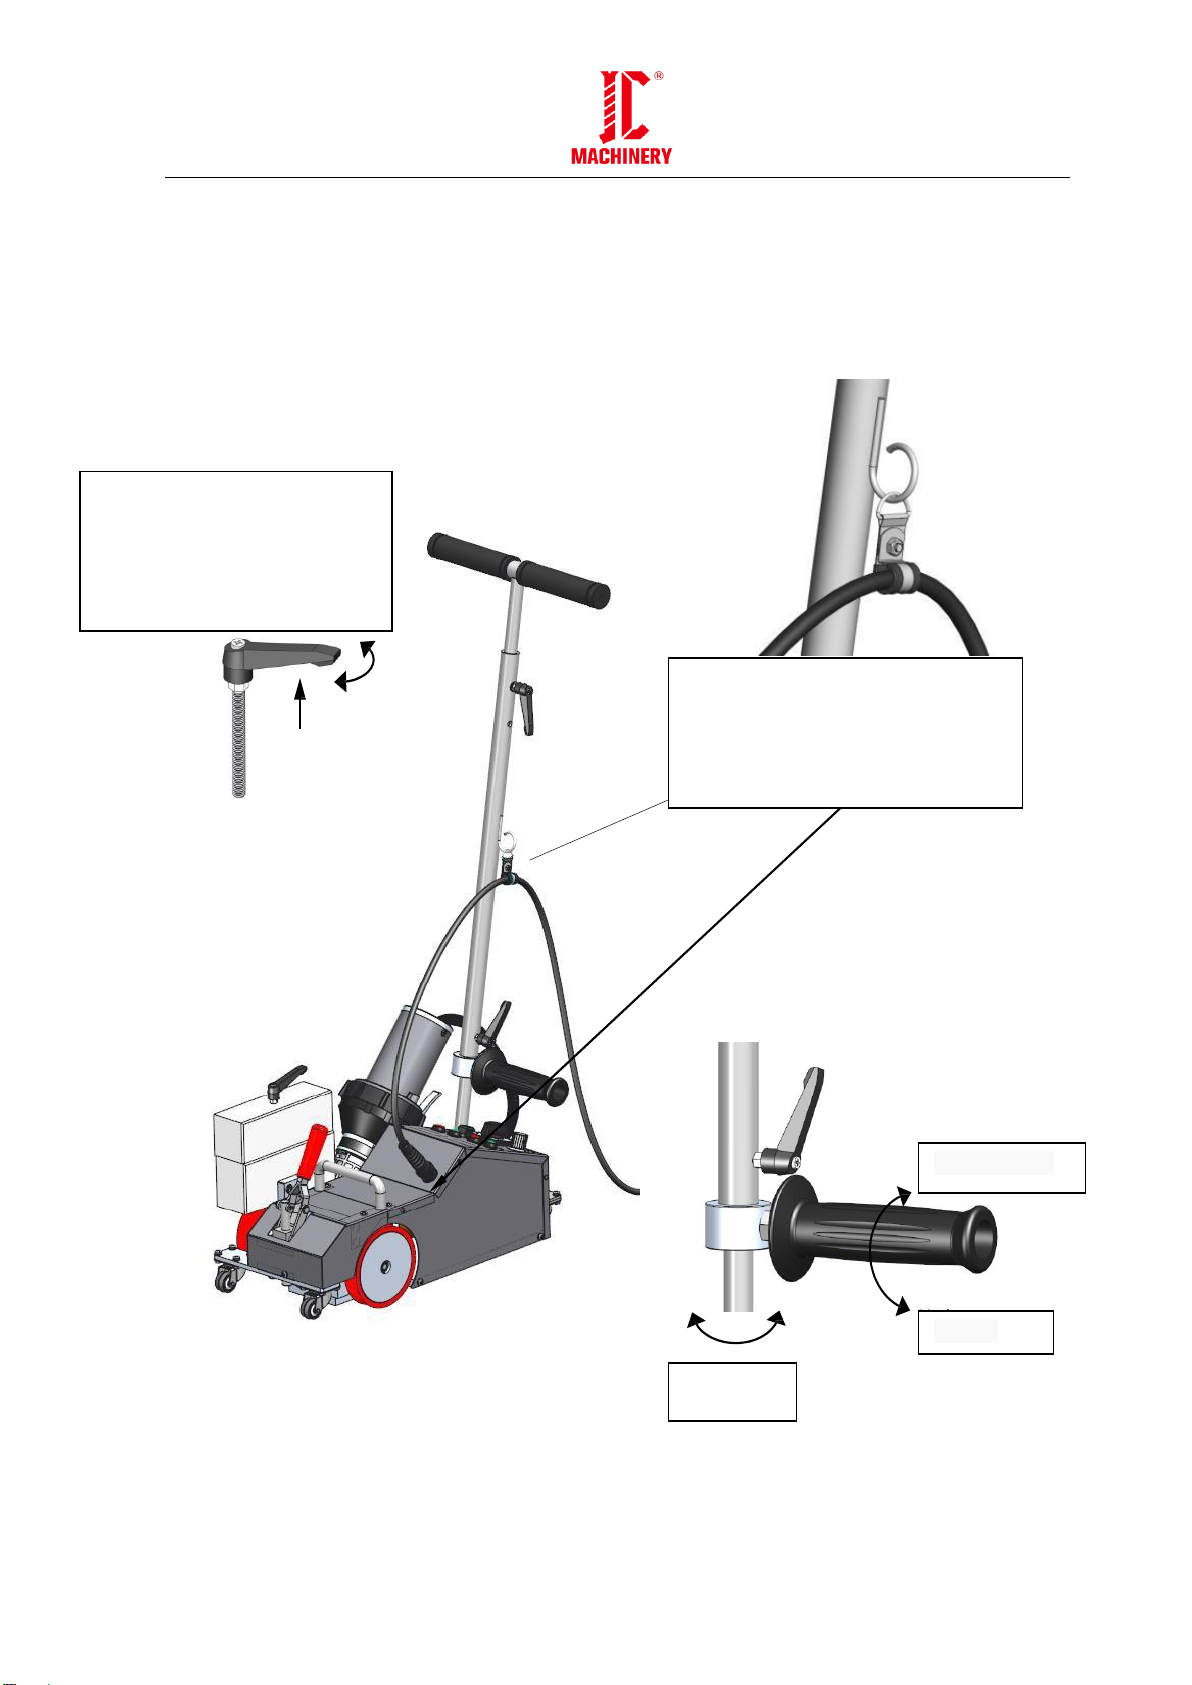
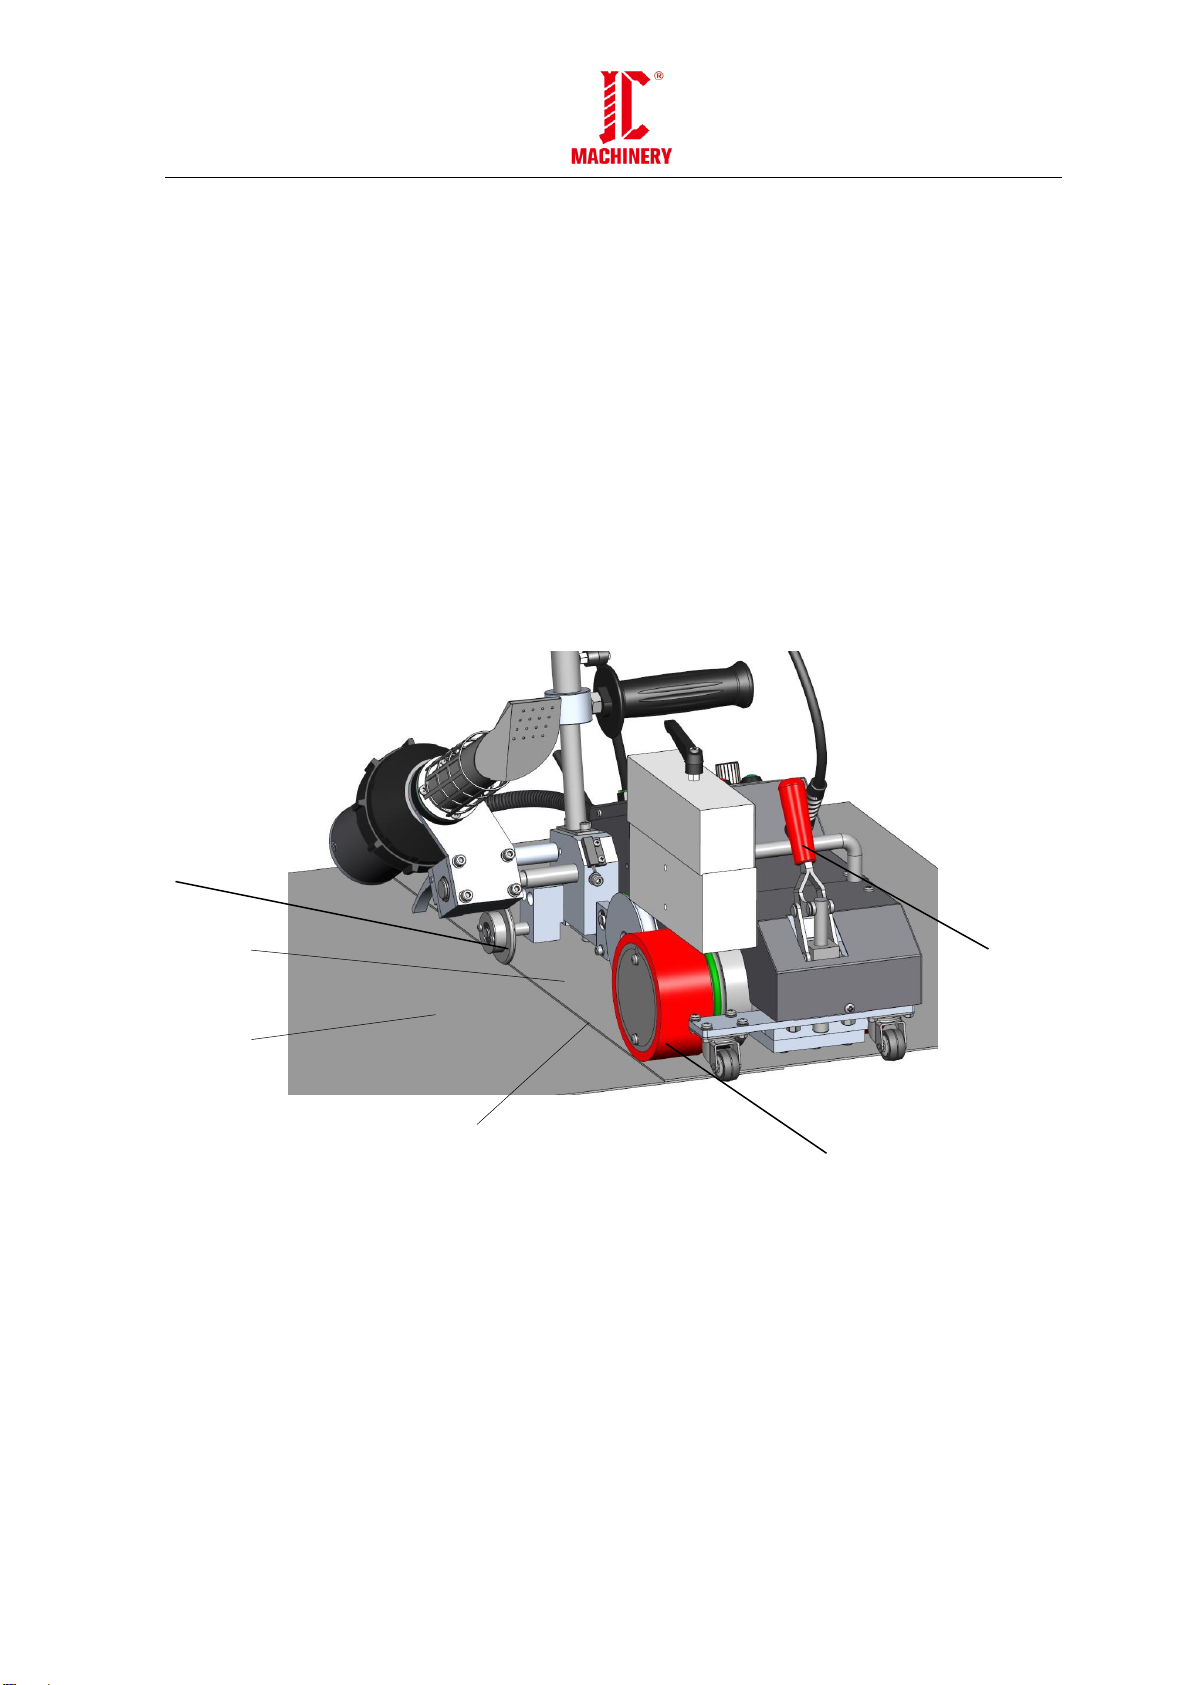
(Fixing screw)
(Fixing screw)