manuals.online logo
Brands
  1. Home
  2. •
  3. Brands
  4. •
  5. JEOL
  6. •
  7. Laboratory Equipment
  8. •
  9. JEOL JEM1400 Instruction Manual

JEOL JEM1400 Instruction Manual

EM Suite 15/11/2016 P a g e 1 | 14
JEM1400 Transmission Electron Microscope operation
Starting Session
1. Turn on all computer monitors
2. On the JEOL computer, if not logged in, select JEMUser account (password ‘JEMUser’)
and log in (you might need to use JEOL computer mouse and keyboard at the back of
JEOL monitor). After this, the computers should be controllable by AMT computer mouse
and keyboard. If not, notify EM Suite staff.
3. JEOL computer. If ‘TEM center’ is not opened, double click ‘TEM center domain’ icon on
desktop.
4. JEOL computer. Use ‘Valve/vacuum monitor’window. Check that the gun and column
vacuum is reasonable - all chambers except ‘Specimen chamber’should say ‘Evac Ready’.
5. JEOL computer. Use ‘beam controller’window. If the ‘High tension (HT)’is off, turn it on.
It should be set to 80.03 kV (if a different value is needed ask EM suite staff).
6. Aperture settings. Check it on the microscope column.
condenser aperture should be IN (adjust with lever; left is in, right is out).
objective aperture should be OUT (red dot is out, white dots –in and show relative
size of aperture). The objective aperture may be IN after you know you have a beam
and if you want the extra contrast.
7. Spot size –2. Use ‘TEM System Task Bar’ window. To change use ‘SPOT SIZE’ knob (left
console).
EM
AMT camera
computer
JEOL computer
EM Suite 15/11/2016 P a g e 2 | 14
Hints or tips
1. ‘BRIGHTNESS’ knob (left console)
- CLOCKWISE (CW) –spread beam = decrease illumination
- ANTI-CLOCKWISE (ACW) –condense beam = increase illumination
2. CRS button –any controls are in the coarse mode (16-fold change) when the nearby is
illuminated
3. right console F1 button: ‘Raise fluorescent screen’
4. right console F5 button: ‘Beam Blank’
5. Double press ‘LF2’ button (left console): exchange sample –X, Y and Z neutralize and
filament is turned off.
6. In case of beam lost. Press ‘LF3’ button (left console). Reloads current saved alignment
settings for the microscope.
7. ‘Nanospace Map’window: use it to move to specific areas on the stage and to memorize
different positions (select point, then click ‘Shoot’)
Red point = current position
Yellow square = memories
Green square = current selected position
Press Memory - position is stored. Text can be entered in the Memo column
To delete a position –select position from the list and press ‘Delete’
To move stage to position needed –left click on the map where you want to be and
press ‘Shoot’.
8. Do not change MAGNIFICATION when WOBBLER is on –microscope can glitch and
focusing become impossible. If that happened, close TEM Center and open it again
9. It is good practice to protect the chip of the camera from excess illumination using the
‘Brightness MAG link’ facility (See TEM center).
Select a magnification of 25,000x
Set the illumination using the camera
Switch on ‘Brightness MAG link’ in the Illumination System window –the
illumination will now be maintained through the magnification range, up or down.
EM Suite 15/11/2016 P a g e 3 | 14
Viewing and Imaging Specimen
1. Insert specimen (see page 5-6 of this instruction)
2. Use ‘Valve/vacuum monitor’window. Make sure the specimen chamber says ‘Evac
ready’.
3. Turn on filament. Use ‘beam controller’window. Filament is on when ‘On’and ‘Beam
Ready’buttons turn bright green.
4. Record the start time in the log book.
5. Turn the lights off in the room, remove the cover of the viewing screen.
6. Check for beam on fluorescent screen. If no beam, then see instructions ‘finding the
beam’(on separate sheet).
7. Insert objective aperture - rotate big wheel and place second big white dot opposite
black dot.
Set Magnification of 15,000x using MAG/CAML knob (right console)
Centre the beam, use the SHIFT knobs, Xand Y, on the left and right consoles. It may
help condense the beam before doing this (BRIGHTNESS knob).
Using the BRIGHTNESS knob (left console), spread CW the beam until it reaches the
edges of the fluorescent screen
Press ‘DIFF’ button (right console). Microscope will be switched over to diffraction
mode. You should see a circle with bright spot in the centre. If bright spot is not
condensed use ‘DIFF FOCUS’ button (right console) to condense the bright spot (turn
and see which direction the spot gets condensed).
Centre the spot, if it is not centred. Press ‘PLA’ button (left console) and use
DEF/STIG knobs, Xand Y.
Adjust X and Y knobs on objective aperture until bright spot become in the centre of
the circle.
Press ‘MAG2’ button (right console) to return to normal imaging mode.
Spread beam CW with BRIGHTNESS knob.
8. Set Z height. This can be done with stage binoculars + small fluorescent screen or with a
live camera image (see instruction below how to use camera).
Find your sample by using sample control console - rotate a trackball or press arrows
change the position of the sample.
Find a feature to align and focus your sample on –e.g. unevenness in the film, edge
of a resin section etc.
Choose magnification of 12,000x using MAG/CAML knob (right console)
Using the BRIGHTNESS knob (left console), establish a comfortable illumination for
imaging the sample.
Centre the beam, use the SHIFT knobs, Xand Y, on the left and right consoles. It may
help condense the beam before doing this (BRIGHTNESS knob).
EM Suite 15/11/2016 P a g e 4 | 14
Press ‘Standard Focus’button on right console to neutralize the focus
Press Wobbler button X or Y (‘IMG WOB’) on right console.
Use the ‘+Z’and ‘−Z’buttons on right console (or ‘+Z’and ‘−Z’buttons in the ‘Stage
Controller’window) to move stage z-axis and bring image into fine focus.
Adjust focus until the image wobble is minimized. You will be at or near the focus
point.
Turn off the wobbler
9. Align microscope (see page 7-9, alignment instruction). Skip if used for basic imaging.
10. Focusing:
Use FOCUS coarse and fine knobs (right console).
Use Wobbler button X or Y (‘IMG WOB’) on right console. Adjust focus until the
image wobble is minimized. You will be at or near the focus point. The image
wobbler is useful for rough focusing at magnifications up to ~50,000×.
Turn off the wobbler when focus is established and before recording an image
11. Record images (see instructions below)
12. LOW MAGNIFICATION imaging
Switch from normal magnification mode
Choose magnification of 800x using MAG/CAML knob (right console)
Press ‘LOW MAG’ button (right console).
Remove objective aperture –rotate big wheel and place red dot opposite black dot.
Switch back to normal magnification mode
Insert objective aperture in –rotate big wheel and place second big white dot
opposite black dot.
Press ‘MAG2’ button
Adjust objective aperture as described in step.7.
13. Get help if something is not right. Notify EM Suite staff if problems arise (e.g. vacuum in
column gets worse, error message shows up, microscope shuts itself down).
EM Suite 15/11/2016 P a g e 5 | 14
Insert Specimen
1. Load specimen onto specimen holder
single specimen holder
use tweezers No.1 to open clip
place specimen grid in holder
use same tweezers to clamp clip on specimen
tap holder to ensure specimen is firmly in place
2. Check if the following are nice and clean:
the two O-rings and remove fluff etc
the yellow ceramic ring has a flat face that must be free of grease, swarf and fluff.
Remove debris with lint-free tissue
3. Insert specimen holder into microscope
Carefully place holder into TEM, align guide pin with guide groove, push in gently
without turning until the holder stops
(while still pushing the holder) turn switch from ‘Air’to ‘Pump’, you must pull switch
out and push it up. You should hear the valve opening.
wait for green light to come on
after green light comes on, get a good grip on the specimen holder and rotate
clockwise a few (~10o) degrees until it stops and , then allow it to go into the
microscope a short distance (~0.5cm) until it stops (don't let the holder slam into the
next position)
Still with a good grip rotate clockwise several (~80o) degrees until holder stops and
slowly allow it to go into the microscope (MAINTAIN A TIGHT GRIP AS THE VACUUM
IS VERY POWERFUL, don't let the holder slam into position)
After insertion, tap the end of the holder
4. Select appropriate holder in opened ‘Specimen’window.
5. Confirm the HT is at 80.03 kV and is READY. Use ‘beam controller’window.
EM Suite 15/11/2016 P a g e 6 | 14
Remove Specimen
1. Turn filament off. Use ‘Beam controller’window. Click ‘Filament OFF’button
2. Neutralize the stage. Press ‘Stage Neutral’ button in ‘Stage Controller’window (stage will
move to XYZ center and title angle 0°). Check that in ‘TEM System Task Bar’ window, tab
‘Stage’.
3. Put fluorescent viewing screen down. Remove the cover of the viewing screen and check
the screen position. If needed use ‘F1’ button to low it down.
4. Remove holder
pull sample holder straight out until it stops
turn holder anti-clockwise several (~80o) degrees until it stops, if you feel resistance,
STOP and get help, something is wrong
pull holder out a short (~5mm) distance until you can turn the holder further a few
(~10o) degrees anti-clockwise until it stops
turn switch from ‘Pump’to ‘Air’, you must pull switch out and push it down
switch on Nitrogen gas –open butterfly valve on the wall.
wait for amber and green lights to turn off and hissing sound ( ~10sec).
close Nitrogen gas –close butterfly valve on the wall.
gently remove holder out of microscope. Be careful not to touch the holder beyond
rubber O-rings, as this will introduce grease and dirt into the microscope.
5. Remove grid from holder
single specimen holder
use tweezers No.1 to open clip
remove grid
EM Suite 15/11/2016 P a g e 7 | 14
Alignments
1. Use fluorescent screen and, if needed, binoculars with small fluorescent screen
2. Center condenser aperture
Set magnification 5,000x using MAG/CAML knob (right console)
Condense beam to a spot with ‘BRIGHTNESS’knob
Move beam to center of fluorescent screen with Shift (‘X’, ‘Y’) knobs
Expand beam with ‘BRIGHTNESS’knob
When centered, beam will expand symmetrically around the fluorescent screen
Accurately adjust X and Y knobs (do not move the knobs more than 1/4 turn) on
condenser aperture until expansion is symmetrical
3. Voltage center adjustment
Find your sample by using trackball or pressing arrows on sample control console.
Find a feature to align and focus your sample on –e.g. unevenness in the film, edge
of a resin section etc
Set magnification 30,000x using MAG/CAML knob (right console)
Centre the beam, use the SHIFT knobs, Xand Y, on the left and right consoles. It
may help condense the beam before doing this (BRIGHTNESS knob).
Press HT wobbler button (right console) –the beam will start consistently
condensing-spreading.
Use binoculars and small fluorescent screen. Adjust brightness (BRIGHTNESS knob)
to comfortably see the feature. The image should pulse on center.
If not, press Bright Tilt button (left console) and use DEF/STIG knobs (X and Y, on left
and right consoles) to align.
Turn off Bright Tilt and HT wobbler buttons.
Hint: do one knob at a time and minimize movement.
Note. If the image shifts significantly while focusing, check Voltage Center again.
4. Adjust gun shift
a) Set magnification 15,000x using MAG/CAML knob (right console)
b) Centre the beam, use the SHIFT knobs, Xand Y, on the left and right consoles. It
may help condense the beam before doing this (BRIGHTNESS knob).
c) Select spot-size –5 (‘SPOT SIZE’ knob, left console, to confirm and check use ‘TEM
System Task Bar’ window)
d) Condense the beam to smallest size
e) If beam position will be not in the centre of the screen, press ‘BRIGHT TILT’ button
(left console) and use the SHIFT knobs, Xand Y, to move the beam back to the
centre.
f) Cancel ‘BRIGHT TILT’ button
g) Select spot-size –1 (‘SPOT SIZE’ knob, left console, to confirm and check use ‘TEM
System Task Bar’ window)
EM Suite 15/11/2016 P a g e 8 | 14
h) Condense the beam to smallest size
i) If beam position will be not in the centre of the screen, press F4 (‘Gun Align’) button
on right console and use the SHIFT knobs, Xand Y, to move the beam back to the
centre.
j) Cancel F4 (‘Gun Align’) button
k) Repeat steps from ‘c’ to ‘h’, switching between spot sizes 5 and 1 until the beam
remains at centre of the screen.
l) Select spot-size –2 (‘SPOT SIZE’ knob, left console, to confirm and check use ‘TEM
System Task Bar’ window), make sure ‘BRIGHT TILT’ and F4 (‘Gun Align’) buttons are
cancelled, move the beam to the centre using SHIFT knobs, Xand Y.
5. Adjust gun tilt
Set magnification 15,000x using MAG/CAML knob (right console)
Centre the beam, use the SHIFT knobs, Xand Y, on the left and right consoles. It may
help condense the beam before doing this (BRIGHTNESS knob).
De-saturate the filament. Use ‘Target’ value field (‘Beam controller’ window) and
reduce filament heating until the filament image is visible (go down ~10%).
Focus using BRIGHTNESS knob.
Press F4 (‘Gun Align’) button on right console and use the DEF/STIG knobs, Xand Y,
to achieve a concentric halo around the image of the filament tip.
Cancel F4 (‘Gun Align’) button
Increase filament heating. Use ‘Target’ value field (‘Beam controller’ window) and go
up ~10%, so only a slight shadow of filament is visible.
Use SHIFT knobs, Xand Y, to move the beam to the centre
6. Adjust condenser lens astigmatism
Set magnification 15,000x using MAG/CAML knob (right console)
Centre the beam, use the SHIFT knobs, Xand Y, on the left and right consoles. It may
help condense the beam before doing this (BRIGHTNESS knob).
De-saturate the filament. Use ‘Target’ value field (‘Beam controller’ window) and
reduce filament heating until the filament image is visible (go down ~10%).
Focus using BRIGHTNESS knob.
Press ‘COND STIG’ button (left console)
Use the DEF/STIG knobs, Xand Y, to get crisp image of the filament tip.
Cancel ‘COND STIG’ button (left console)
Increase filament heating. Use ‘Target’ value field (‘Beam controller’ window) and go
up ~10%, so only a slight shadow of filament is visible.
Use SHIFT knobs, Xand Y, to move the beam to the centre
7. Adjust objective lens astigmatism
Find your sample by using trackball or pressing arrows on sample control console.
Find a feature to align and focus your sample on –e.g. unevenness in the film, edge
of a resin section etc.
EM Suite 15/11/2016 P a g e 9 | 14
Set magnification 80,000-100,000x using MAG/CAML knob (right console)
Centre the beam, use the SHIFT knobs, Xand Y, on the left and right consoles. It
may help condense the beam before doing this (BRIGHTNESS knob).
use AMT camera capture engine program
Focus the sample. Use FOCUS coarse and fine knobs (right console).
Select ‘FFT’ in AMT camera imaging modes list. New ‘FFT’ window opens – black
background with white shape in the centre.
Use FOCUS coarse. Go through focus forward and backward and try to maximise size
of the white shape, so its form become more visible
The white shape should be circular, if not need to be adjusted.
To adjust, press ‘OBJ STIG’ button (left console)
Use the DEF/STIG knobs, Xand Y, to get white shape circular form.
Press ‘BRIGHT TILT’ button to return to imaging mode.
Cancel ‘BRIGHT TILT’ button
Reduce magnification to 4,000x using MAG/CAML knob (right console).
Use BRIGHTNESS knob to reduce illumination of the beam.
EM Suite 15/11/2016 P a g e 10 | 14
Record Images with AMT Camera
1. Set Magnification of 4,000x using MAG/CAML knob (right console)
2. Centre the beam, use the SHIFT knobs, Xand Y, on the left and right consoles. It may
help condense the beam before doing this (BRIGHTNESS knob).
3. Using the BRIGHTNESS knob (left console), spread CW the beam until it reaches the
edges of the fluorescent screen
4. Replace the cover for viewing fluorescent screen in the microscope. When you have done
that you can work with the lights on in the room.
5. Press ‘F1’ button (right console), fluorescent screen will raise.
6. Open AMT camera program (AMT Capture Engine icon on AMT computer screen)
7. Press ‘Click for Live Image’in the top right corner in the program’s window. Now the
beam will be viewed by the camera.
8. Adjust brightness with ‘BRIGHTNESS’ knob (left console) until the histogram (left side in
the program’s window) move to the centre.
9. Continue working, change magnification, move on the sample and change brightness
with the EM controls mentioned above.
10. To take a picture click ‘Click for Final Image’ button (top left corner) and save it in Menu -
> File -> Save As.
11. In the opened ‘Safe image’ window click ‘Save with caption’. You can add some extra
information about the image. If applicable:
Line1 Block number and BoxName_SlotNumber
Line2 Region of interest (ROI)
12. Save your images on drive D, folder ‘Images’. Save in the following manner:
Initial folder is user name (LastName_FirstName).
The date (YEAR-MONTH in numerical format XXXX-XX) should be included in a subfolder
name. Project or sample name may also be included.
13. Saving images using ‘Case’ mode. Can be very convenient for taking many images of the
same sample, the number of each image will be saved automatically and incremented.
Create a new case or use an existing one. Go to Menu -> File -> Case Study Create Or
Resume.
Choose folder –navigate to drive D -> folder ‘Images’ -> your initial folder
(LastName_FirstName) -> YEAR-MONTH in numerical format XXXX-XX folder
Type Case name in the following format:
Block number + region of interest (ROI)
Click OK
Every time you want to take image click ‘Case’ button on the left side of the AMT
camera program and in the next opened ‘Safe image’ window click ‘Save with
caption’. You can add some extra information about the image.
Line1 Block number and BoxName_SlotNumber
Line2 Region of interest (ROI)
14. If you want to copy images to flash drive, CHECK THE FLASH DRIVE FOR VIRUSES ON
ANOTHER COMPUTER and only after that plug it into AMT computer.
EM Suite 15/11/2016 P a g e 11 | 14
15. DO NOT install any software (including drivers) on the AMT computer. If your drive will
not work without installing drivers on the AMT computer, then find another drive that
will.
16. DO NOT plug anything into JEOL computer.
EM Suite 15/11/2016 P a g e 12 | 14
Ending Session
1. Set magnification to 4000× (MAG/CAML knob (right console))
2. Spread beam (BRIGHTNESS knob (left console)) to cover approximately half of the
screen, center beam if uncentered (SHIFT knobs, Xand Y, on the left and right consoles).
3. Turn off filament. Use ‘beam controller’window. Press Filament OFF button.
4. Record the time off in the log book.
5. Remove specimen (follow instructions above)
6. Insert empty holder back into microscope (follow instructions above).
7. Close AMT camera program.
8. Turn off monitors and lights.
EM Suite 15/11/2016 P a g e 13 | 14
Switching off the EM
Ensure the beam is off
Turn off HT
Close TEM Center
Shut down computer
Press POWER OFF (Right hand door). Lights go off under the buttons.
Wait till microscope completely shut down.
Switch off at the wall.
After a ‘crash’
If the HP PC is still on, switch off
Switch off the AMT computer
Switch on the JEM 1400 as below
Switch on the JEM 1400
Press the button. EM will start.
Switch on the AMT computer and camera control
Switch on the HP computer.
Log on using the HP keyboard and JEOL MOUSE at rear of EM.
Check for communications.
TEM Center loads automatically.
Check vacuum status to ensure the correct valves are open.
Ensure the lenses are on
Wait RT1 (PiG5) ~119µA
Pirani gauge
µA 1/4/10
µA 8/7/10
µA
µA
PIG2
33
25
PIG1
29
25
PIG4
26
PIG3
33
27
PIG5
97
100
EM Suite 15/11/2016 P a g e 14 | 14
Generate an electron beam
Use the Beam controller window
HT voltage –ON (may already be on i.e. green)
Filament –ON
Bias –adjust Bias Coarse or Bias Fine to change the beam current.
Need 12 –16µA emission
For 80kV, the beam current = 44µA. Therefore the total = 56 - 59µA
kV
Beam current
40
22µA
60
33µA
80
44µA
100
55µA
120
67µA

Other JEOL Laboratory Equipment manuals

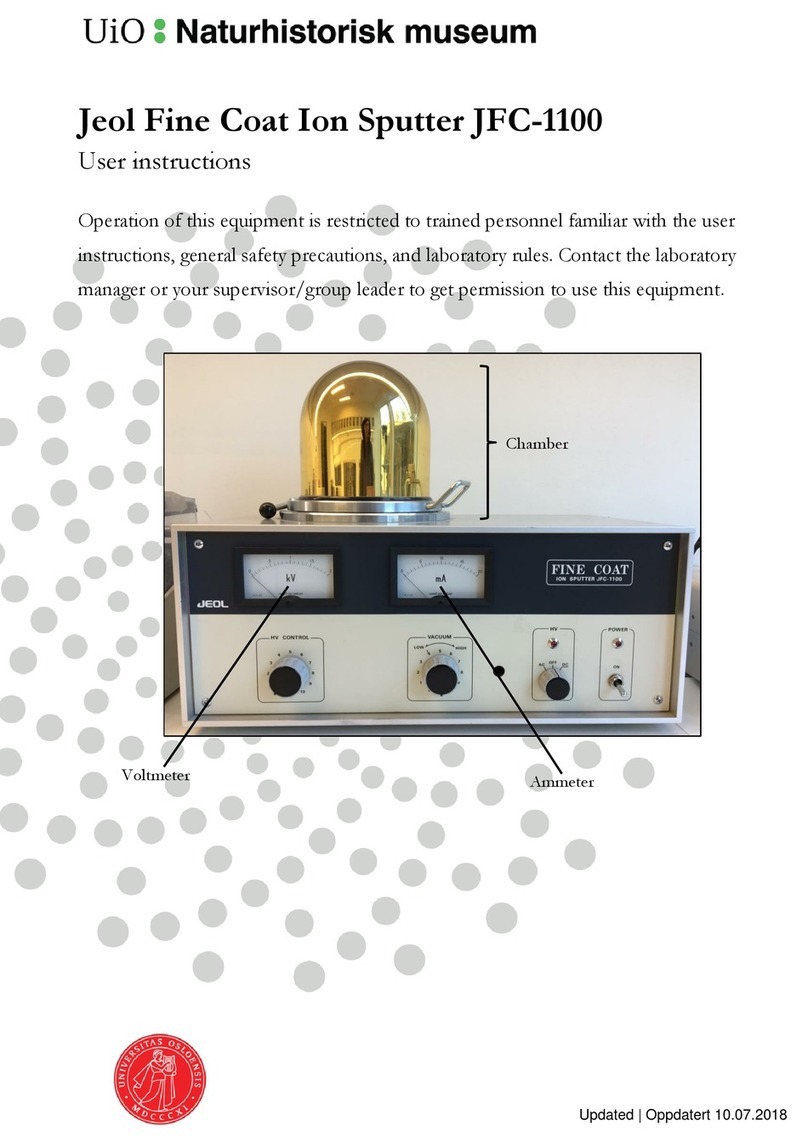
JEOL JFC-1100 User manual

JEOL

JEOL JFC-1100 User manual

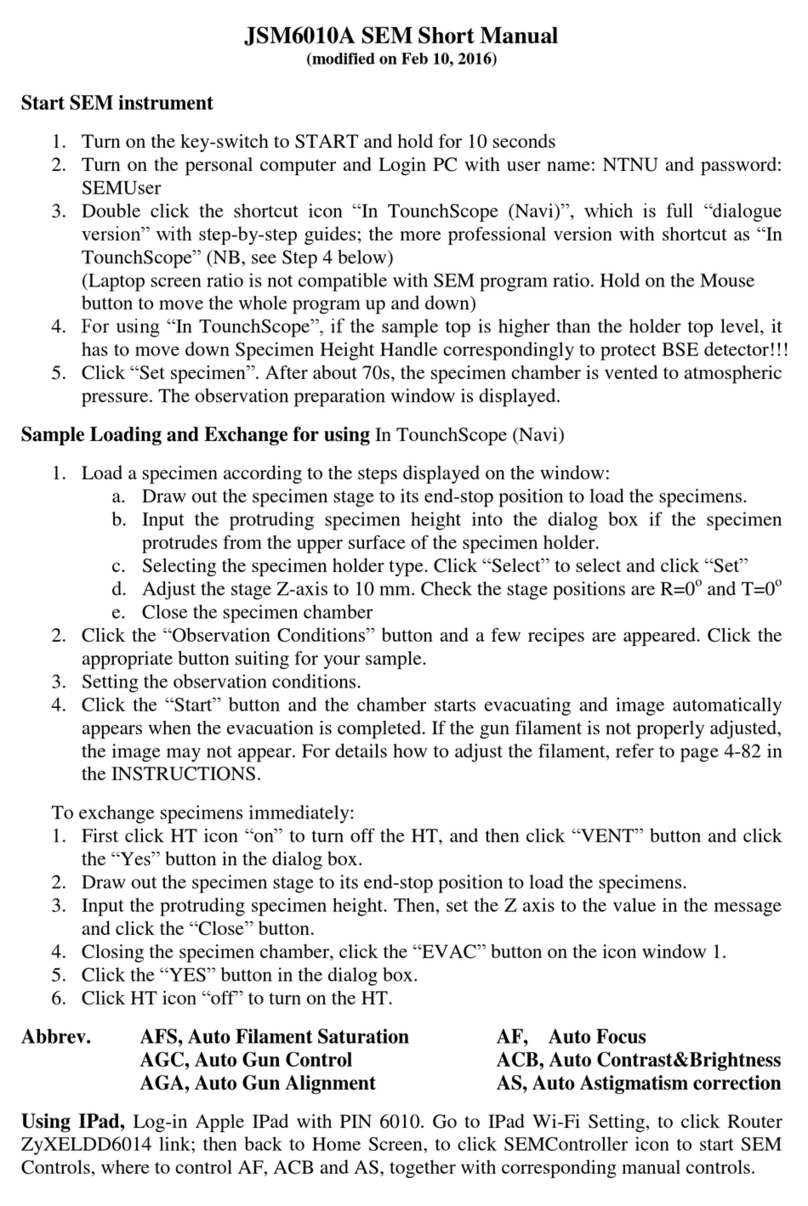
JEOL JSM6010A How to use

JEOL

JEOL JSM6010A How to use

JEOL JNM-ECA Series User manual

JEOL

JEOL JNM-ECA Series User manual

Popular Laboratory Equipment manuals by other brands

UGO BASILE 37000-006 Assembly instruction

UGO BASILE

UGO BASILE 37000-006 Assembly instruction

Labnet Orbit S2030-LS-B-230 user manual

Labnet

Labnet Orbit S2030-LS-B-230 user manual

CLP Beta-Pette B8.200 manual

CLP

CLP Beta-Pette B8.200 manual

IKA EUROSTAR digital operating instructions

IKA

IKA EUROSTAR digital operating instructions

V&P Scientific SpinVessel VP 418SV2-2-50CB-CC operating instructions

V&P Scientific

V&P Scientific SpinVessel VP 418SV2-2-50CB-CC operating instructions

Buchi N-500 NIRFlex Operation manual

Buchi

Buchi N-500 NIRFlex Operation manual

Hettich Rotolavit II operating instructions

Hettich

Hettich Rotolavit II operating instructions

NVIS 20 instruction manual

NVIS

NVIS 20 instruction manual

Oxford Instruments Austin Scientific 320 quick start guide

Oxford Instruments

Oxford Instruments Austin Scientific 320 quick start guide

Tommee Tippee ZTD10XB-8016 Instructions for use

Tommee Tippee

Tommee Tippee ZTD10XB-8016 Instructions for use

Ametek USB Lab B.O.S.S. Operation manual

Ametek

Ametek USB Lab B.O.S.S. Operation manual

Henry Schein PowerSpin 112-6907 Operation manual

Henry Schein

Henry Schein PowerSpin 112-6907 Operation manual

VWR International Compact Star CS4 instruction manual

VWR International

VWR International Compact Star CS4 instruction manual

Waters ACQUITY UPC2 System guide

Waters

Waters ACQUITY UPC2 System guide

DUTSCHER MagnetaPure 32 Operation manual

DUTSCHER

DUTSCHER MagnetaPure 32 Operation manual

Leica BIOSYSTEMS ASP300S Instructions for use

Leica BIOSYSTEMS

Leica BIOSYSTEMS ASP300S Instructions for use

Sartorius Cubis Series operating instructions

Sartorius

Sartorius Cubis Series operating instructions

formlabs BioMed Elastic 50A Resin Instructions for use

formlabs

formlabs BioMed Elastic 50A Resin Instructions for use

manuals.online logo
manuals.online logoBrands
  • About & Mission
  • Contact us
  • Privacy Policy
  • Terms and Conditions

Copyright 2025 Manuals.Online. All Rights Reserved.