5
JONIXmate
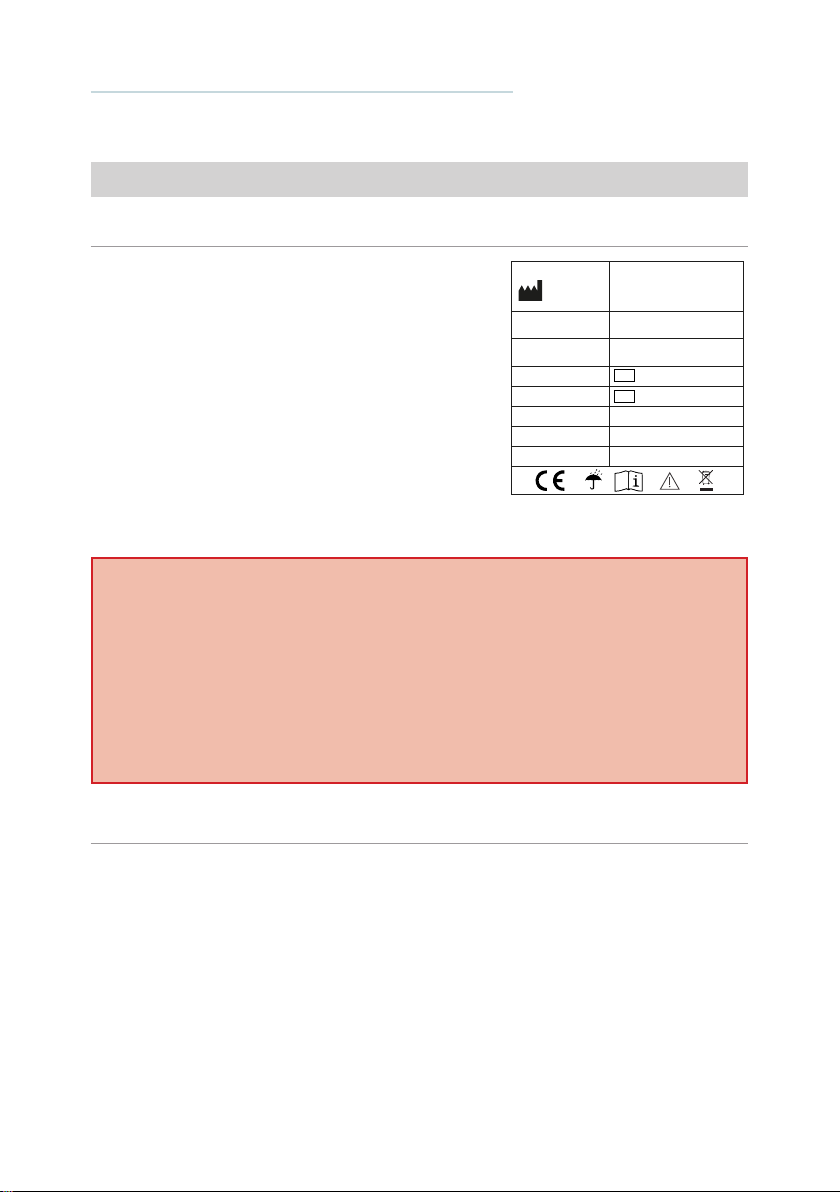
Fabbricante / Manufacturer
REF
SN
Nome del prodotto /
Product name
Descrizione del prodotto /
Product description
Dispositivo per la sanificazione attiva e
purificazione dell’aria
70MATEWHITE
230V / ~1 / 50Hz
800
3,46
xxxxxxxxxxxx
Codice prodotto /
Model
Numero di serie /
Serial number
Caratteristiche elettriche
Alimentazione / Power Supply
Potenza nominale Assorbita /
Power Consumption (W)
Corrente massima / Full load
ampere (A)
JONIX mate
JONIX S.p.A. S.B.
Viale Spagna, 31/33
35020 Tribano (PD)
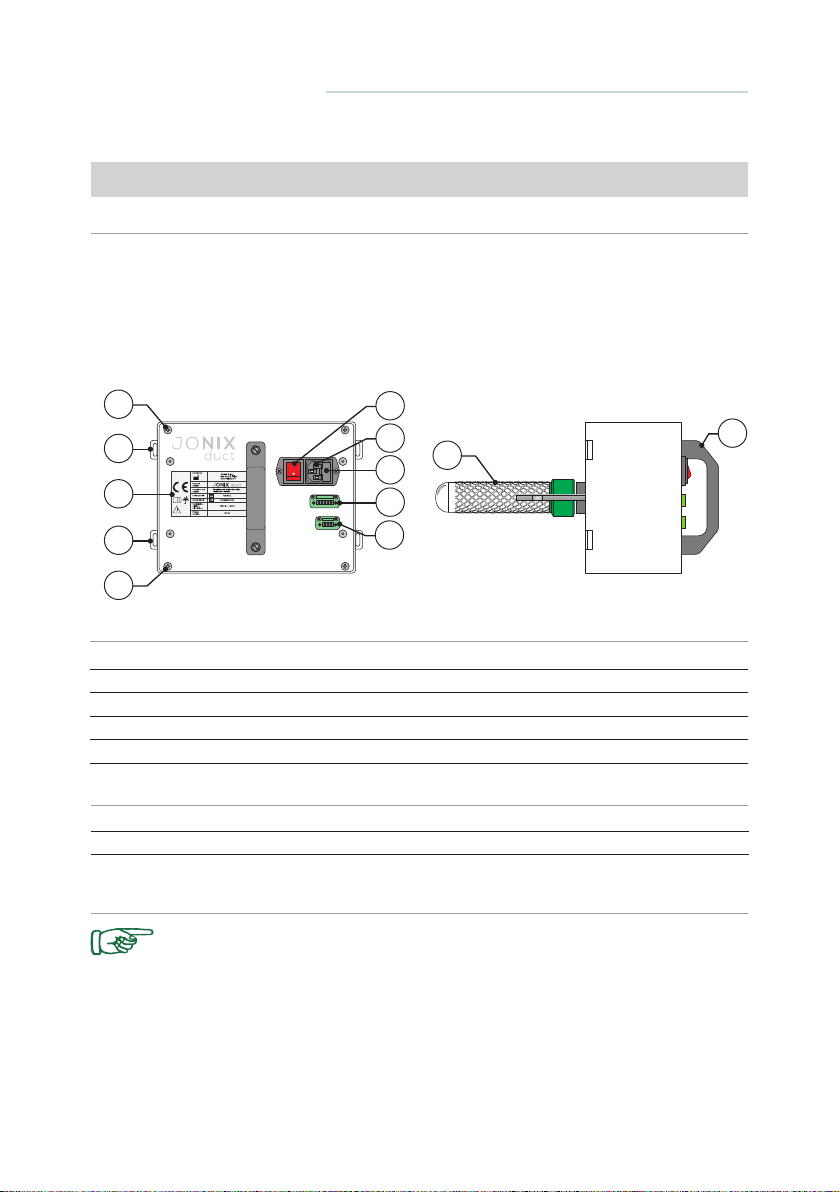
The equipment described in this manual is provided with
a plate (applied inside the panelling that closes access
to the electrical panel and to the ionising modules)
containing the equipment and Manufacturer data:
1.1 SERIAL NUMBER PLATE
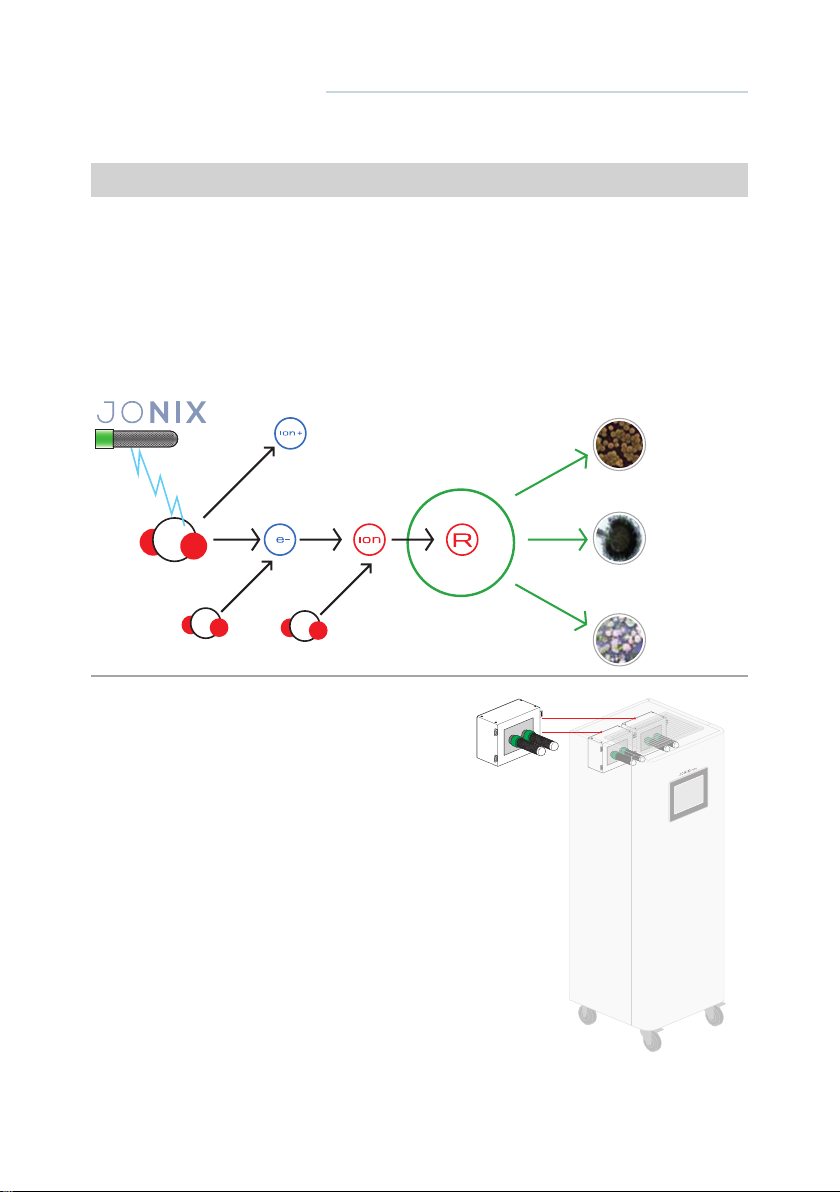
The sanitation and filtering module JONIX mate is in
compliance with Directives 2006/42/CE, 2011/65/UE,
2014/30/UE, 2014/35/UE and subsequent amendments.
1 - GENERAL INFORMATION
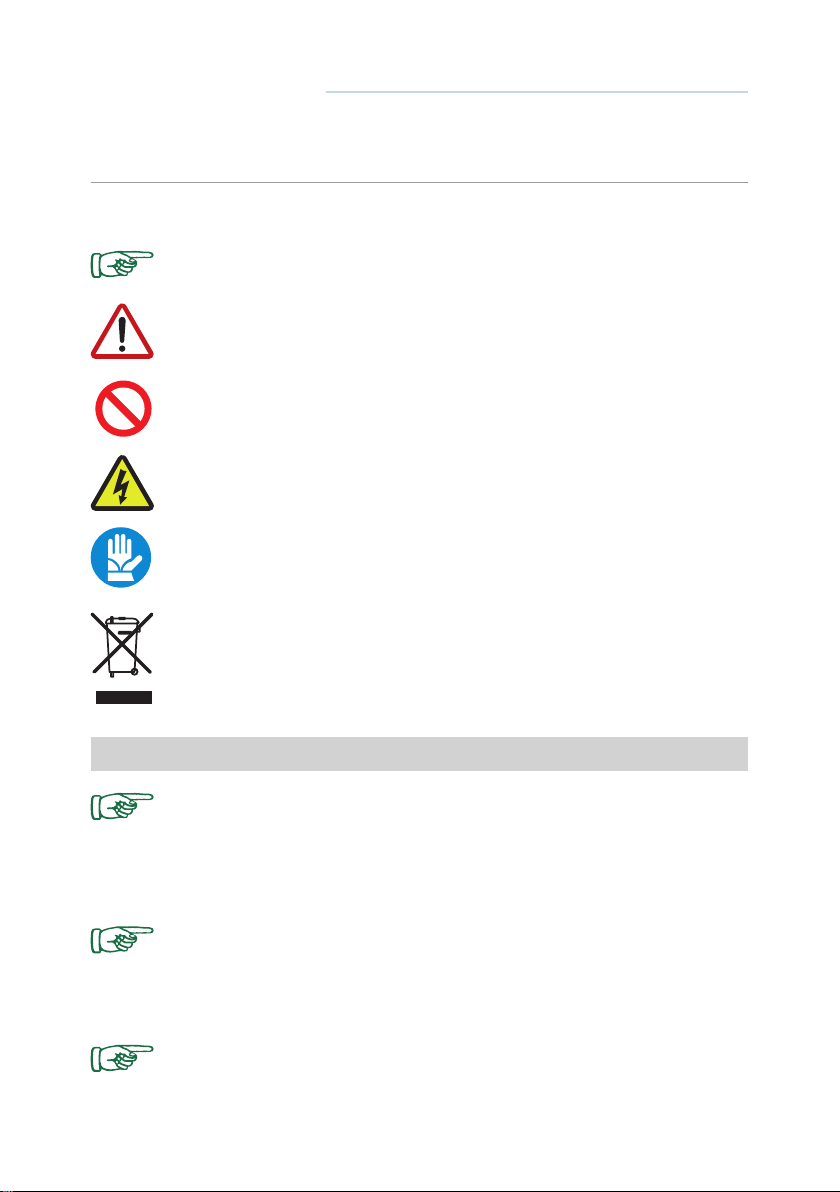
IMPORTANT WARNING
The JONIX mate device is designed and made to sanitise the air in
residential environments that are incompatible with toxic and flammable
gases. It is therefore strictly forbidden to use the device in environments
where the air is mixed with and/or altered by other gaseous compounds
and/or solid particles. Using the device for purposes other than those
intended and that do not comply with those described in this manual, will
immediately relieve the manufacturer and its distributors from any direct
and/or indirect liability.
Failure to comply with the instructions contained in this Use and maintenance manual relieves the
Manufacturer from any liability. For any information not included or that cannot be deduced from
the Manual, consult the Manufacturer directly.
JONIX S.p.A. Società Benefit
Viale Spagna 31/33
35020 Tribano - PD - Italy
http://www.jonixair.com
In particular, if equipment maintenance is carried out in a way that is not in compliance with the
instructions supplied, or in a way to jeopardise integrity or modify features, JONIX S.p.A. is
relieved from any liability inherent to safety of persons and faulty operation of the equipments.
1.2 LIABILITY