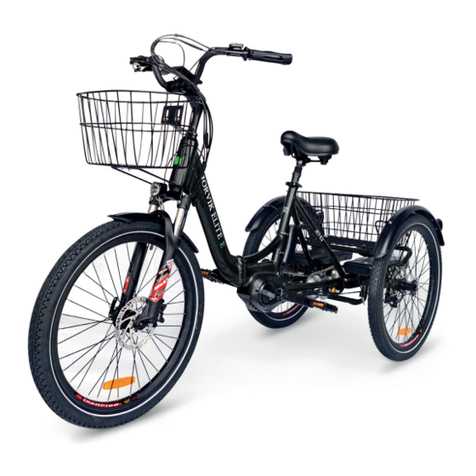
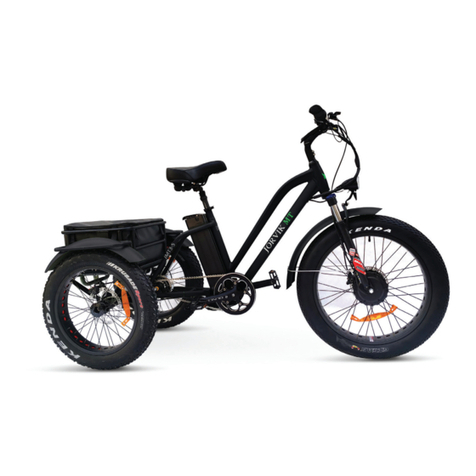
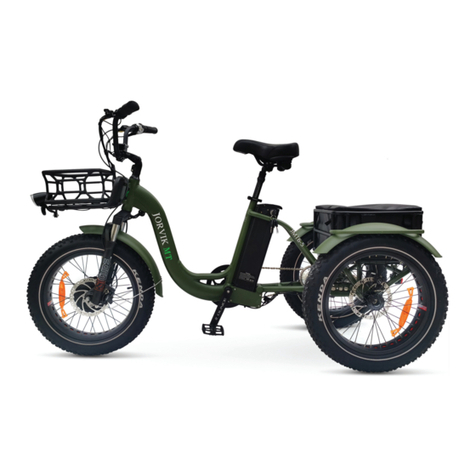
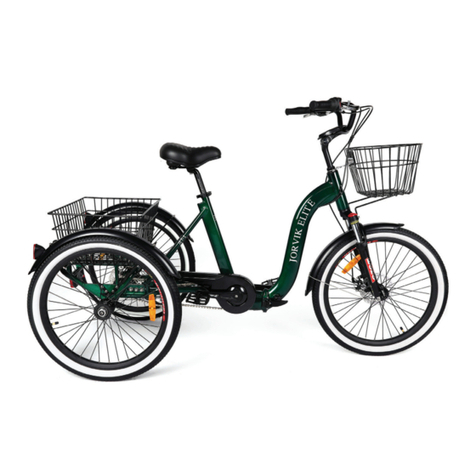
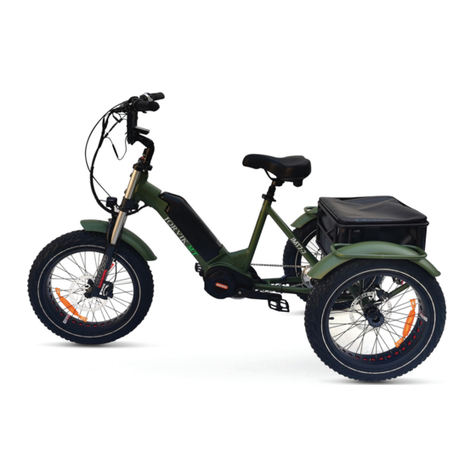
Jorvik JMT10 User manual

Jorvik JMT10 Low Step Through Mountain Trike


3
Jorvik JMT10 Low Step Through Mountain Trike
User Manual
Thank you for purchasing a Jorvik Electric Tricycle JMT Range.
We believe this is the future of transport, not only is it an eco-friendly way of transportation with
its electric motor that will whisk you along effortlessly and efciently, the rider will also reap the
benets of a healthy body and a healthy mind.
The JMT range is built with a go anywhere mentality with the stability of 3 fat mountain trike tyres,
don’t shy away from the unbeaten track, actively seek it!
THE ADVENTURE STARTS HERE...
PLEASE NOTE:
This manual is not intended to be a detailed service, repair or maintenance manual. Please seek
assistance from a qualied technician for service, repairs or maintenance.
Please scan the above QR code and subscribe to our youtube channel for useful hints and tips videos.

4
Product
Jorvik JMT10 Low Step Through Mountain Trike

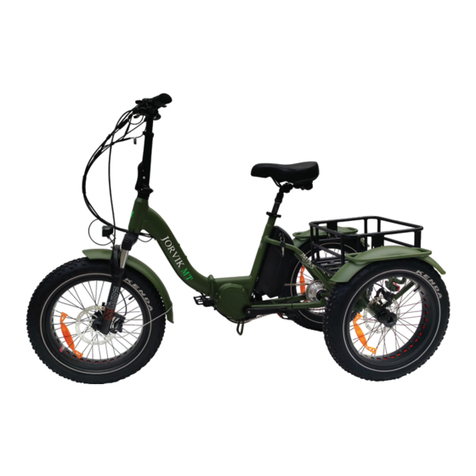
Jorvik JMT10 Low Step Through Mountain Trike
5
Index
User manual 3
Product 4
Index 5
How to assemble this tricycle 6
Safety 19
Additional safety 21
One-year parts warranty 22

6
Jorvik JMT10 Low Step Through Mountain Trike
How To Assemble This Tricycle
Assembly Instructions
Your trike has been pre-assembled. It requires
only a few simple steps to get it ready for your
rst ride.
1. Remove the outside carton after cutting the
nylon bands and taking off the lid. Carefully
remove your trike from the box and gently
rest it in place.
2. Remove all of the inside cardboard
protection and bubble wrap.
3. Locate and set aside the kit box containing
the pedals, this user’s manual, and tool kit.
4. Install the front wheel by lining up the disc
brake and place the fork of the trike onto
the front wheel.

Jorvik JMT10 Low Step Through Mountain Trike
7
How To Assemble This Tricycle
Assembly Instructions
5. Insert the quick release skewer & turn the skewer adjusting nut clockwise to tighten it. Keep turning the adjusting nut
until you see or feel the nut contact the face of the dropout.

Jorvik JMT10 Low Step Through Mountain Trike
8
How To Assemble This Tricycle
Assembly Instructions
6. Next, try closing the lever. Your goal is to tighten the
adjusting nut enough so that the lever can be fully closed
and closing it requires signicant force. You want it to be
hard to close, you want to see a lever mark on your hand.
If the lever is not hard to close, hold the lever and further
tighten the adjusting nut, try again. If not possible to close
or its very, very hard to close, hold the lever and slightly
loosen the adjusting nut, try again. Towards the end of the
adjustment process, quite small changes, like ½ turn, of
the adjusting nut are necessary. Your goal is to tighten the
adjusting nut enough so that the lever can be closed but
requires signicant force to close. You want it to be hard to
close, you want to see a mark on your hand.
7. Also, be sure the movement of the lever isn’t restricted by
contact with the fork.
8. All wheels may need to be trued using a spoke key.
Jorvik JMT10 Low Step Through Mountain Trike
9
How To Assemble This Tricycle
Fit Handlebar To Headtube
Open the stem lever by pressing down the release catch on the left-hand side and lifting the lever.
Loosen the adjuster bolt using a 5mm Allen Key to drop the handlebars and expose the centre stem bolt.
Adjust to desired height.
Tighten the bolt of the stem centre by using a 6mm Allen key. (Make sure centre of handlebar stem is aligned to the wheel).
Re-tighten the adjuster bolt using a 5mm Allen Key.

Jorvik JMT10 Low Step Through Mountain Trike
10
How To Assemble This Tricycle
Front Fender Assembly
Please attach the new easy t front fender using the bolt already located at the rear of the forks or in the hardware box,
as shown in the images. (There is now no need for the fender support bars.)

Jorvik JMT10 Low Step Through Mountain Trike
11
How To Assemble This Tricycle
Rear Fender Assembly

Jorvik JMT10 Low Step Through Mountain Trike
12
How To Assemble This Tricycle
Rear Light

Jorvik JMT10 Low Step Through Mountain Trike
13
How To Assemble This Tricycle
The Seat
Make sure that the seat is tight enough so that you can’t
twist it out of alignment. Pull the seat clamp handle away
from the seat post and slide the seat up to down to adjust
it. Move the clamp handle inward toward the seat post so
it is held tight by the clamp.
This should require a fair amount of force to ensure the
seat post is held tight.
Turning the bolt clockwise will increase the clamping force
and counter clockwise will decrease the clamping force.
Make sure the seat is not set with the vertical maximum
height marks above the clamp.

Jorvik JMT10 Low Step Through Mountain Trike
14
How To Assemble This Tricycle
Assembly Instructions
Use a 15mm spanner to attach and tighten the pedals
remember to grease the pedal thread rst.
Please Note: The pedals are marked “L” for Left and
“R” for right. The left pedal is attached by turning it
counterclockwise and the right pedals are tightened by
turning them clockwise. Make sure the pedals are tightly
attached to the crank arms to prevent slipping.

Jorvik JMT10 Low Step Through Mountain Trike
15
How To Assemble This Tricycle
Disc Brakes
Your Jorvik trike is equipped with disc brakes for maximum reliability. Applying hand pressure to the brake levers will
engage the brake pads against the brake rotor, creating friction and slowing down the wheel. The more hand pressure
applied to the brake lever, the faster the trike will come to a stop.
The rear brake should always be applied before and while the front brake is applied. Applying only the front brake to slow
or stop at high speeds may result in the rider being ejected from the saddle and continuing forward over the handlebars.
It is best to apply even pressure to both brake levers when slowing or stopping.
Tricycles equipped with disc brakes will occasionally make a slight scraping noise when the wheels are turning without
the brakes being applied. This is normal.
WARNING:
Disc brake rotors become hot during use. Do not touch or come in contact with the disc rotor shortly after use.
Wet weather will require a longer distance to stop. Brake earlier and avoid sudden stops when riding in wet conditions.

Jorvik JMT10 Low Step Through Mountain Trike
16
How To Assemble This Tricycle
Assembly Instructions
Make sure that the brake lever does not contact the
handlebar when full hand pressure is applied. The contact
point should feel rm and solid. If the lever travels all the
way to the handlebar or feels spongy, they may require
service by a qualied bicycle technician.
If the brakes are still not operating correctly, they may
require further adjustment by an experienced bicycle
mechanic.
New Brakes Bed-in Procedure
New brakes will require a “bed-in” procedure prior to
your rst ride, which will ensure the most consistent and
powerful braking feel.
1. Find a safe riding area that will allow for moderate
speed. Remain seated during the entire procedure for
optimal results.
2. Accelerate the trike to a moderate speed, then rmly
squeeze the brake levers until you are at walking
speed. Repeat this process about twenty times.
3. Accelerate the trike to a faster speed, then rmly
squeeze the brake levers until you are at walking
speed. Repeat this process about ten times.
IMPORTANT NOTE:
Do not lock up the wheels at any point during the bed-in
procedure.

Jorvik JMT10 Low Step Through Mountain Trike
17
How To Assemble This Tricycle
Front Suspension Travel And Sag Guide
Sag is a measurement of the amount of suspension
fork travel with the rider stationery in their normal riding
position. The Sag depends on the position and weight
of the rider and should be between 15% and 30% of the
fork’s max travel depending on the intended use and
preferences.

Jorvik JMT10 Low Step Through Mountain Trike
18
How To Assemble This Tricycle
Gears
Your Jorvik JMT model trike is equipped with 3 speed nexus hub gear driven system. The rst gear is for easier and uphill
pedalling, and the last gear is for maximum speed on level or downhill terrain. Change gears only while pedalling. When
the grip shift nexus gear selector shows ‘1’ you are in the rst gear, or the lowest gear. When it displays ‘3’ you are in the
highest gear. Adjustments require the ne tuning and should only be made by a qualied technician.
Avoid changing gears very rapidly from rst gear to the last gear or vice versa.

Jorvik JMT10 Low Step Through Mountain Trike
19
Safety
Helmet
Always wear an approved helmet while riding your Jorvik
Tricycle and follow the helmet manufacturer’s instructions
for t, use and care of your helmet. It is your responsibility
to familiarise yourself with the laws of where your ride
your Jorvik trike and to comply with all applicable laws.
Mechanical Safety Check
Check the condition of your Jorvik trike before every ride.
Make sure no nuts, bolts or accessories are loose, with
particular attention to the front axle and handlebar stem.
Make sure that the tyres are correctly inated with the
recommended air pressure that is located on the side wall
of very tyre. Check the brakes for proper operations.
You must take your trike in to be serviced and checked
by a qualied bike/trike mechanic after 100 miles (160
kilometres) of riding. This is a standard good practice for
any new trike as cables will stretch and components will
“break in”. The service must include spoke tensioning for
both front and rear wheels.

Jorvik JMT10 Low Step Through Mountain Trike
20
Apply to all Jorvik Tricycles Models
Your First Ride
When you fasten on your helmet and go for your rst ride,
be sure to pick an area away from cars, other cyclists,
obstacles or other hazards in order to become familiar
with the controls, features and performance of your new
Jorvik trike.
Your rst ride may seem unstable if you have never ridden
a tricycle before. You may even feel the tricycle is pulling
you to one side, or you are going to fall off. This is quite
normal and can take a little practice to overcome.
Additional Passengers
This Jorvik JMT model is designed for one rider only.
DO NOT carry any additional passengers on the front
or rear of the bike.
Weight Capacity
Jorvik Tricycles are designed with a maximum weight
capacity of 130kg. Exceeding the maximum weight
capacity can result in damage of the trike which can lead
to serious injury.
Safety
Table of contents
Other Jorvik Bicycle manuals

Jorvik
Jorvik Odin User manual

Jorvik
Jorvik Odin User manual

Jorvik
Jorvik Jet-E1 User manual

Jorvik
Jorvik Jet-E1 User manual

Jorvik
Jorvik JMT7 User manual

Jorvik
Jorvik JMT3 User manual

Jorvik
Jorvik JMT9 User manual

Jorvik
Jorvik JMT6 User manual

Jorvik
Jorvik Elite JET-E2 User manual

Jorvik
Jorvik JET-1 Elite User manual