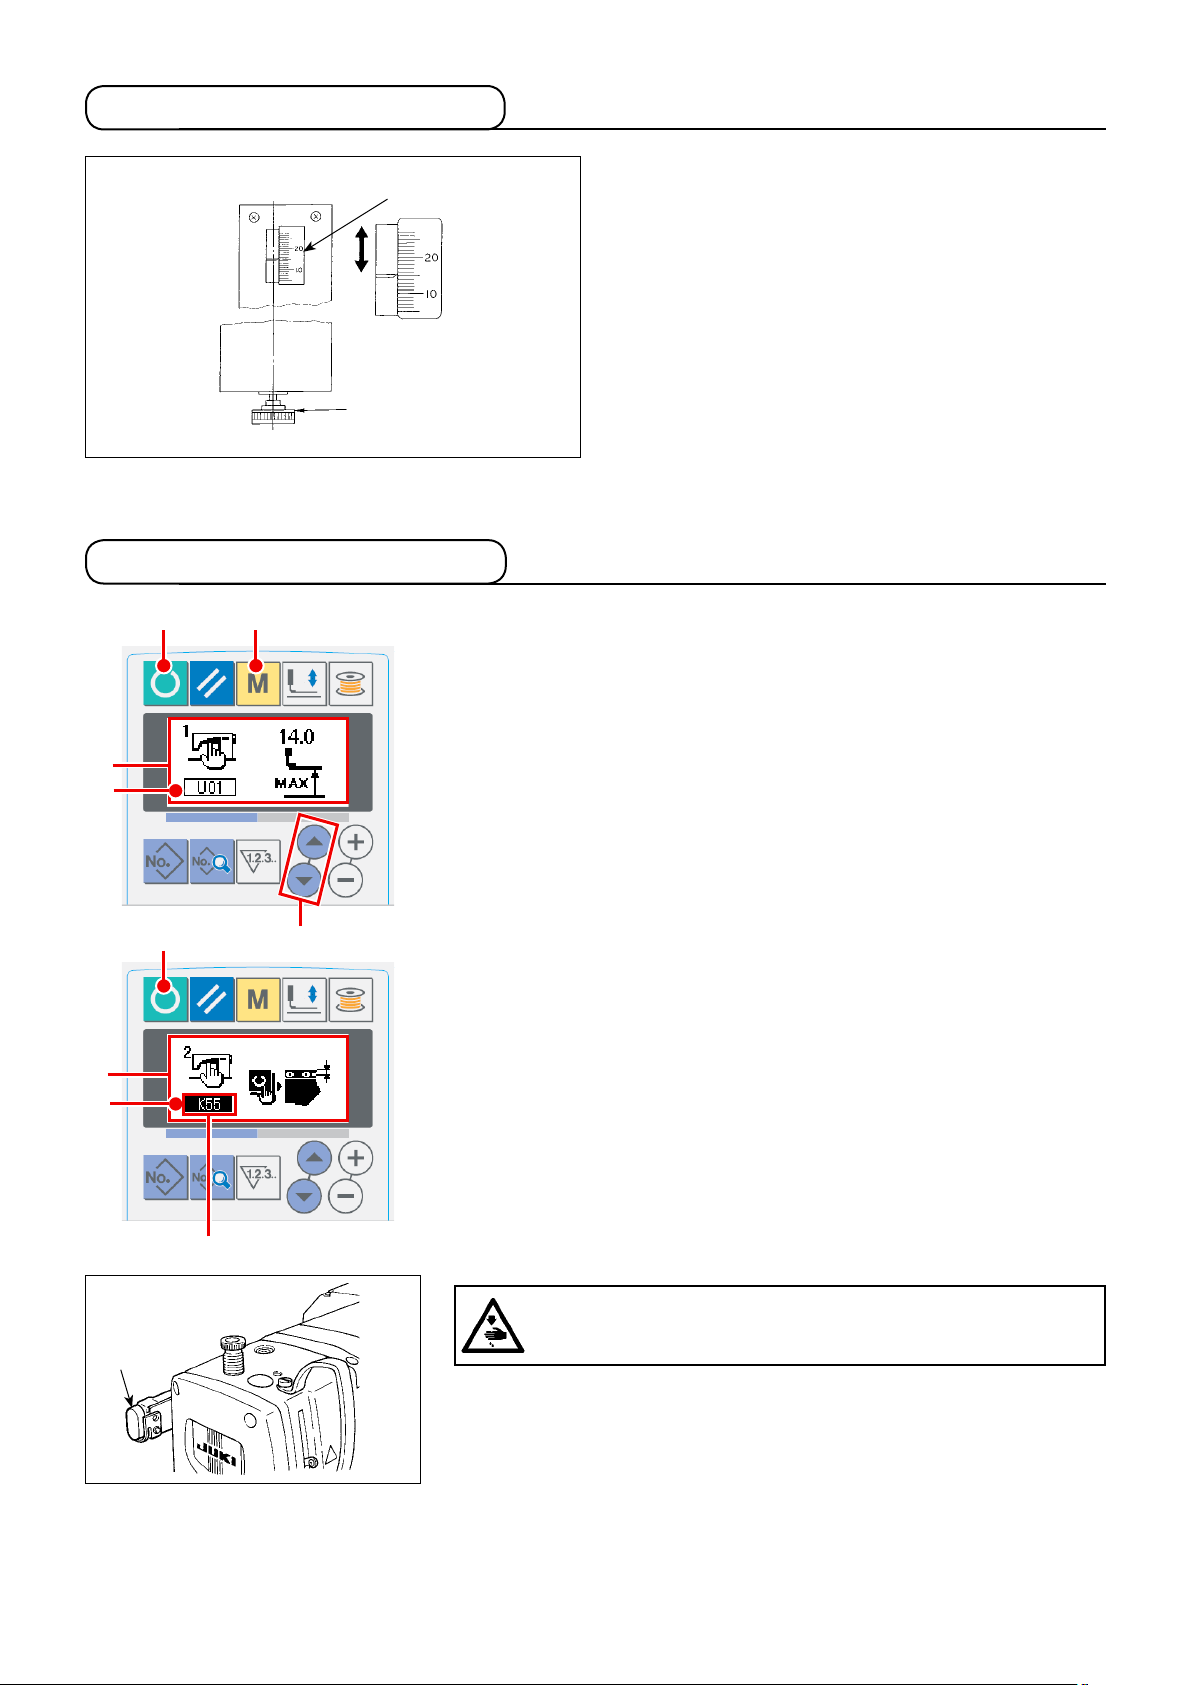
1-4. Preparation for the device
Turn the power ON.
1Set the mode to input mode.
When the back-light of LCD display 1shows the input mode in blue
color, it is possible to change the memory switch data. When the back-
light shows the sewing mode in green color, press READY key 2to
change over to the input mode.
2Call memory switch data edit screen.
Press MODE key 3 , and memory switch data (level 1) edit screen A
is displayed.
Further hold pressing the key for 3 seconds, and memory switch data
(level 2) edit screen Bis displayed.
3Select memory switch data to change.
Press ITEM SELECT key 4to select K55 (C).
4Activate the adjuster adjustment mode.
Press READY key 2 to activate the adjustment mode.
Press STOP switch 5 on the machine head, and the preset board trav-
els forward and the cloth plate moves up.
Set up the adjustment gauge in place and adjust the adjuster.
After the completion of adjustment of the adjuster, remove the adjust-
ment gauge. Press the switch on the machine head to return the cloth
plate and the preset board to the home position.
Press the power switch to exit the adjuster adjustment mode.
2
A
B
1
5
1
3
C
1-3. Preparation for the device
2
1
Check to be sure that the seam allowance is set to 21
mm. If not, adjust the seam allowance to 21 mm.
Insert preset adjusting knob 1which is supplied in the
tool box into the hole, and turn the knob to set the seam
allowance to the value indicated by scale (21mm) marker
2. After the adjustment, return knob 1to the tool box to
prevent it from being lost.
24
Caution :
Do not turn the power OFF when the preset board is
traveling forward under the adjuster adjustment mode.