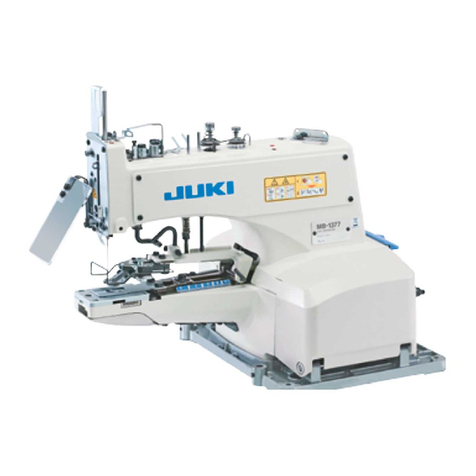
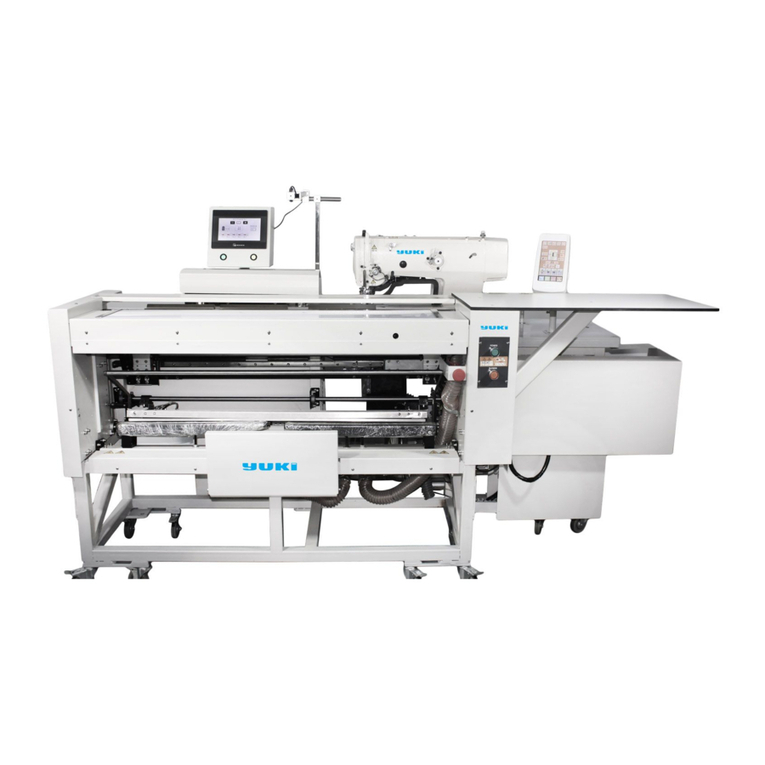
JUKI APW-896/IP-420 User manual

ENGLISH
APW-896/IP-420
INSTRUCTION MANUAL
* "CompactFlash(TM)" is the registered trademark of SanDisk Corporation, U.S.A.

i
CONTENTS
!. CAUTIONS BEFORE OPERATION ...............................................................................1
@. CONFIGURATION OF THE MACHINE..........................................................................2
#. SPECIFICATIONS ..........................................................................................................3
1. MECHANICAL SPECIFICATIONS ......................................................................................................... 3
2. ELECTRICAL SPECIFICATIONS........................................................................................................... 3
$. INSTALLATION ..............................................................................................................4
1. REMOVING PACKING MATERIALS...................................................................................................... 4
2. SECURING THE MACHINE.................................................................................................................... 4
3. CONNECTING THE FOOT PEDAL........................................................................................................ 5
4. CONNECTING THE AIR COUPLER ..................................................................................................... 5
5. CONNECTING THE POWER PLUG ...................................................................................................... 6
6. ASSEMBLING THE THREAD STAND AND ATTACHING ITTO THE MACHINE .................................. 7
7. INSTALLING SP-46 (CLAMP BAR STACKER) (OPTIONAL PART NO. : 40058952) .......................... 7
8. INSTALLING SP-47 (ROLLER STACKER) (OPTIONAL PART NO. : 40058953)................................. 8
9. REMOVING THE HEAD FIXING PLATE ................................................................................................ 9
10. INSTALLING THE SUB-TABLE ........................................................................................................... 9
11. INSTALLING OPERATION PANEL IP-420........................................................................................... 9
12. LUBRICATING THE OIL TANK .......................................................................................................... 10
13.
INSTALLING SA-120 (INTERLINING SUPPLYING DEVICE) (OPTIONAL PART NO. : 40045772)
.... 11
14. ADJUSTMENT OF SA-120 (INTERLINING SUPPLYING DEVICE)
(OPTIONAL PART NO. : 40045772) .................................................................................................... 12
%. PREPARATION OF THE SEWING MACHINE.............................................................13
1. HOW TO OPERATE THE SEWING MACHINE HEAD......................................................................... 13
(1) How to attach the needles .............................................................................................................. 13
(2) Thread used.................................................................................................................................... 13
(3) How to pass the needle thread ....................................................................................................... 14
2. HOW TO REMOVE THE SEWING TABLE........................................................................................... 15
(1) When replacing the bobbin thread.................................................................................................. 15
(2) Cautions to be taken when the sewing tables are removed ........................................................... 16
3. HOW TO WIND THE BOBBINS ........................................................................................................... 17
4. HOW TO THREAD THE BOBBIN CASE ............................................................................................. 18
5. HOW TO INSTALL THE BOBBIN CASE.............................................................................................. 18
6. HOW TO ADJUST THE THREAD TENSION ....................................................................................... 19
7. SETTING THE MATERIAL TO BE SEWN............................................................................................ 20
(1) Setting a garment body .................................................................................................................. 20
8. ADJUSTING THE MATERIAL GUIDE.................................................................................................. 20
^. HOW TO USE THE OPERATION PANEL....................................................................21
1. PREFACE ............................................................................................................................................. 21
2. BASIC OPERATION OF THE OPERATION PANEL (IP-420) ............................................................. 24
(1) Conguration of IP-420 .................................................................................................................. 24
(2) Buttons used in common ................................................................................................................ 25
(3) Basic operation ............................................................................................................................... 25
3. EXPLANATION OF THE BASIC SCREEN........................................................................................... 28
(1) Input screen (Independent sewing mode)....................................................................................... 28
(2) Sewing screen (Independent sewing mode) .................................................................................. 29

ii
(3) Input screen (Alternate sewing mode) ............................................................................................ 30
(4) Sewing screen (Alternate sewing mode) ........................................................................................ 31
(5) Input screen (Cycle sewing mode).................................................................................................. 32
(6) Sewing screen (Cycle sewing mode) ............................................................................................. 33
4. USING THE COUNTER ........................................................................................................................ 34
(1) Setting procedure of the counter..................................................................................................... 34
(2) Releasing procedure of count-up.................................................................................................... 37
(3) Counter value changing procedure during sewing ......................................................................... 37
5. USING THE BOBBIN THREAD AMOUNT ADJUSTMENT COUNTER............................................... 38
(1) Setting procedure of the bobbin thread remaining amount adjustment counter ............................. 38
(2) Releasing procedure of the bobbin thread remaining amount detection count-up ......................... 40
6. CHANGING THE SEWING MODE ....................................................................................................... 41
7. USING THE SEWING PATTERN.......................................................................................................... 42
(1) Performing the selection of pattern................................................................................................. 42
(2) Performing the new creation of pattern........................................................................................... 43
(3) Copying the pattern......................................................................................................................... 44
(4) Erasing the pattern.......................................................................................................................... 46
(5) Naming the pattern ......................................................................................................................... 47
(6) Editing procedure of the cycle sewing data .................................................................................... 48
8. CHANGING THE SEWING DATA......................................................................................................... 50
(1) Changing procedure of the sewing data ......................................................................................... 50
(2) Sewing data list............................................................................................................................... 51
(3) Copying function of the upper and lower alternate sewing data ..................................................... 62
9. CHANGING THE MEMORY SWITCH DATA ........................................................................................ 64
(1) Changing procedure of the memory switch data ............................................................................ 64
(2) Memory switch data list................................................................................................................... 65
10. PERFORMING OPTIONAL SETTING................................................................................................ 73
(1) Changing procedure of the optional setting .................................................................................... 73
(2) Optional setting list.......................................................................................................................... 74
11. CHANGING THE DEVICE SETTING.................................................................................................. 75
(1) Changing procedure of the device setting ...................................................................................... 75
(2) Device setting list............................................................................................................................ 76
12. CUSTOMIZING THE PEDAL OPERATION........................................................................................ 77
(1) Method to select and use the customized data............................................................................... 77
(2) Customizing the pedal operation data ............................................................................................ 78
13. CUSTOMIZING THE DATA INPUT SCREEN..................................................................................... 80
(1) Customizing procedure................................................................................................................... 80
14. PERFORMING THE CUSTOMIZING SETTING OF THE SEWING SCREEN ................................... 82
(1) Customizing procedure................................................................................................................... 82
15. USING THE INFORMATION............................................................................................................... 84
(1) Observing the maintenance inspection information........................................................................ 85
(2) Releasing procedure of the warning ............................................................................................... 86
(3) Observing the production control information ................................................................................. 87
(4) Performing setting of the production control information ................................................................ 89
(5) Observing the operation measurement information........................................................................ 91
16. USING THE COMMUNICATION FUNCTION ..................................................................................... 93
(1) Handling possible data ................................................................................................................... 93
(2) Performing communication by using the media.............................................................................. 93
(3) Performing communication by using USB ...................................................................................... 93
(4) Take-in of the data .......................................................................................................................... 94
(5) Take-in of plural data together ........................................................................................................ 95
iii
17. PERFORMING FORMATTING OF THE MEDIA................................................................................. 97
&. MAINTENANCE ...........................................................................................................98
1. INSPECTION ........................................................................................................................................ 98
(1) Maintenance and inspection of the pneumatic device .................................................................... 98
(2) Maintenance and inspection related to the sewing machine .......................................................... 98
(3) With regard to the waste oil of the hook oil..................................................................................... 99
(4) With regard to the cleaning of the hook shaft base ........................................................................ 99
2. MARKING LIGHT................................................................................................................................ 100
(1) Marking light for sewing reference setting .................................................................................... 100
(2) Adjusting the marking light irradiation position.............................................................................. 100
3. REPLENISHING GREASE TO THE DESIGNATED PLACE.............................................................. 101
(1) Grease-up procedure.................................................................................................................... 102
4. CONSUMABLE REPLACEMENT COMPONENTS............................................................................ 104
5. TILTING THE MACHINE..................................................................................................................... 105
6. STANDARD OF REPLACING TIME OF THE GAS SPRING ............................................................. 106
7. REPLACING PROCEDURE BETWEEN DOUBLE-WELT AND SINGLE-WELT............................... 107
(1) Replacing procedure between double-welt and single-welt.......................................................... 107
(2) Fine adjustment of the position of garment body clamp ............................................................... 107
(3) Replacing the binder..................................................................................................................... 108
8. CORNER KNIFE ................................................................................................................................. 109
(1) Corner knife unit............................................................................................................................ 109
(2) Adjusting the corner knife...............................................................................................................110
(3) Corner knife adjustment function screen .......................................................................................111
(4) Corner knife actuating position setting procedure..........................................................................113
(5) Feature of the corner knife actuating position setting ....................................................................114
(6) Deection amount setting ..............................................................................................................116
9. CENTER KNIFE.................................................................................................................................. 117
(1) Center knife actuating position setting procedure..........................................................................117
(2) Feature of the center knife actuating position setting ....................................................................118
10. ADJUSTING THE POSITION OF THE SENSOR FOR DETECTING FLAPS.................................. 120
11. CAUSES AND CORRECTIVE MEASURES AGAINST TROUBLES WITH THE BOBBIN THREAD
REMAINING AMOUNT DETECTING DEVICE ................................................................................... 121
12. HOW TO ADJUST THE FOOT PEDAL ............................................................................................ 122
13. ERROR CODE LIST ......................................................................................................................... 124
14. INPUT NUMBER TABLE .................................................................................................................. 136

− 1 −
ENGLISH
!. CAUTIONS BEFORE OPERATION
Following items have to be checked every working day before the operation of the machine
and before the start of work hours.
1. Ascertain that the sewing machine is lled with the predetermined amount of oil.
2. Never operate the machine unless the lubricating part in the hook has been lled up with oil.
3. Ascertain that the pressure gauge indicates the designated air pressure of 0.5 MPa.
*
(This is necessary particularly when the compressor is stopped for a lunch break or the like.)
If the compressed air pressure is equal to or less than the designated value, troubles such
as interference between the parts can occur. It is therefore necessary to carefully check the
compressed air pressure.
4. Check whether the needle thread/bobbin thread need to be replenished.
5. To perform sewing immediately after turning ON the power switch, perform trial stitching
rst, then proceed with sewing of actual products after the test sewing.
6. In order to prevent the optical ber sensor of the bobbin thread remaining amount detecting
device from showing a detecting failure, be sure to clean thread waste around the hook
using an air gun once or more times a day.
7. In order to protect the ap sensor from showing a detecting failure, be sure to clean dust on
the reecting tapes of the folding plate and the left ap base using an air gun once or more
times a day.
Table of contents
Other JUKI Sewing Machine manuals

JUKI
JUKI LZH-1290 User manual

JUKI
JUKI MCS-1500 User manual

JUKI
JUKI LZ-2290A-SR/IP-100D/SC-916 User manual

JUKI
JUKI DDL-9000 User manual

JUKI
JUKI LH-4128 User manual

JUKI
JUKI LBH-772NV-1 User manual

JUKI
JUKI HZL-UX8 User manual

JUKI
JUKI LK-1941 Quick start guide

JUKI
JUKI HZL-355ZW-A User manual

JUKI
JUKI DDL-8700 User manual

JUKI
JUKI SC-20 Quick start guide

JUKI
JUKI MF-7200D User manual

JUKI
JUKI LK-1900S Series User manual

JUKI
JUKI LU-1510 User manual

JUKI
JUKI LZ-271 User manual

JUKI
JUKI MF-7800D Series Quick start guide

JUKI
JUKI LBH-1790 Series User manual

JUKI
JUKI DP-2100 User manual

JUKI
JUKI HZL-G Series User manual

JUKI
JUKI DDL-8700-7 Quick start guide