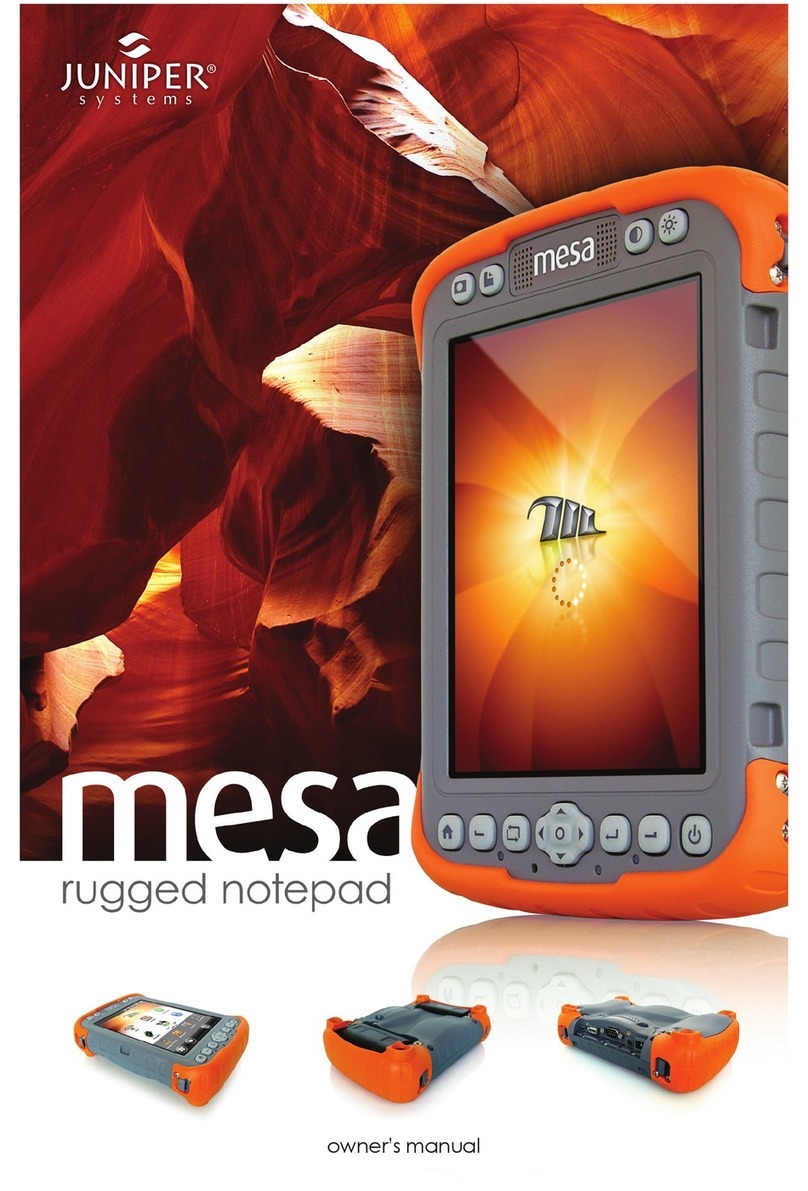
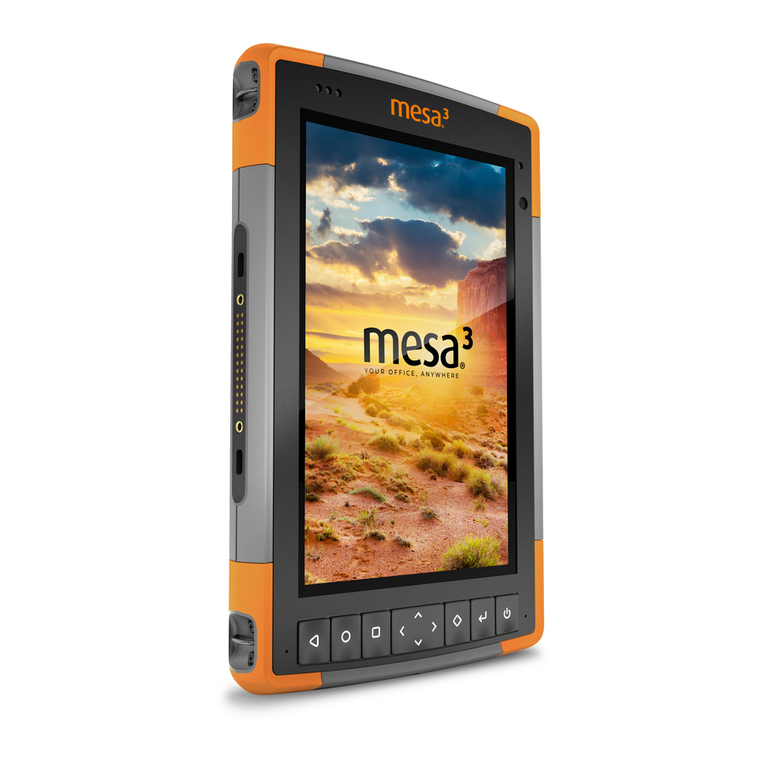
Juniper Mesa Pro User manual

mesa pro
USER’S MANUAL

2Mesa Pro Rugged Tablet User’s Manual
Mesa Pro User’s Manual
Copyright © August 2022 Juniper Systems, Inc. All rights reserved.
Information is subject to change without notice.
Part Number 31082-00
Trademarks
Juniper Systems® is a registered trademark of Juniper Systems,
Inc. Mesa Pro™ is a recognized trademark of Juniper Systems, Inc.
Windows, Windows 11, and the Windows logo are trademarks
or registered trademarks of Microsoft Corporation in the United
States and/or other countries.
The Bluetooth® word mark is owned by the Bluetooth SIG, Inc.
Any use of such marks by Juniper Systems, Inc. is under license.
Disclaimer
The names of other companies and products mentioned herein
may be the trademarks of their respective owners.
Cautions
WARNING! This symbol indicates that failure to follow
directions could result in serious injury.
CAUTION: This symbol indicates that failure to follow
directions could result in damage to equipment or loss of
information.
!
!

3
Contents
1. Getting Started 7
1.1 Overview................................................................7
1.2 The Anatomy of the Mesa Pro.........................................7
1.2.1 Front and Back Features ........................................7
1.2.2 Connector Ports ................................................8
1.3 Perform Initial Tasks...................................................9
1.3.1 Review Documentation.........................................9
1.3.2 Charge and Install the Battery Packs ..........................9
1.3.3 Perform Set Up .................................................11
1.3.4 Attach the Hand Strap .........................................11
1.3.5 Attach the Stylus Tether ......................................12
2. Standard Features 15
2.1 Display.................................................................15
2.2 Camera ...............................................................15
2.2.1 Photo and Video Library.......................................15
2.3 Device Settings App .................................................15
2.3.1 About Screen ..................................................16
2.3.2 Keypad Screen ................................................16
2.3.3 Touchscreen Profiles ..........................................19
2.4 LED Activity Indicators ...............................................19
2.5 Light Sensor ......................................................... 20
2.6 I/O Connector Ports................................................. 20
2.6.1 I/O Port Cover ................................................. 20
2.7 Micro SD and Nano SIM Cards .......................................21
2.8 Audio Features .......................................................22
2.9 USB-C.................................................................23
2.10 Sensors ..............................................................23
2.10.1 Compass, Accelerometer, and Gyroscope ...................23
2.10.2 Compass Calibration .........................................23
2.11 Bluetooth® Wireless Communication ..............................23
2.11.1 Pair a Bluetooth Device ...................................... 24
2.12 Wi-Fi Wireless Networking......................................... 24
2.12.1 Connect to a Wi-Fi Network ................................. 24
2.13 Power Management ................................................25
2.13.1 Charge the Battery Packs ....................................25

4Mesa Pro Rugged Tablet User’s Manual
2.13.2 Battery Status and Management............................25
2.13.3 Battery Life....................................................26
2.13.4 Power Off the Mesa Pro......................................27
2.14 Settings in BIOS .....................................................27
2.15 View Task Manager ................................................. 28
2.16 Mesa Pro is Locked Up ............................................. 28
3. Optional Features and Accessories 31
3.1 RS-232 Port............................................................31
3.2 4G LTE Data Modem & GNSS ........................................32
3.2.1 Set up a Data Account with a Wireless Provider .............32
3.2.2 Install the SIM Card............................................33
3.2.3 GPS/GNSS ....................................................34
3.2.4 GPS/GNSS Accuracy .........................................34
3.3 Barcode Imager ......................................................35
3.3.1 Barcode Connector™ Utility. . . . . . . . . . . . . . . . . . . . . . . . . . . . . . . . . . .35
3.3.2 Read a Tag .....................................................36
3.3.3 Troubleshoot the Barcode Imager .......................... 38
3.4 Battery Charger ......................................................39
3.4.1 How to Use the Battery Charger ..............................39
3.4.2 Battery Charger LED Indicator ...............................39
3.5 Office Stand .........................................................40
4. Storage, Maintenance, and Recycling 43
4.1 Store the Mesa Pro and Battery Pack............................... 43
4.1.1 Store the Mesa Pro for More than Two Weeks ............... 43
4.2 Protect the Touchscreen ........................................... 43
4.3 Clean the Mesa Pro .................................................43
4.4 Recycle the Mesa Pro and Batteries ...............................44
5. Warranty and Repair Information 47
5.1 Limited Product Warranty .......................................... 47
5.1.1 Two Year Warranty ............................................ 47
5.1.2 Ninety Day Warranty ......................................... 47
5.1.3 Warranty Exclusions .......................................... 47
5.1.4 Remedy .......................................................48
5.1.5 Limitation of Liability .........................................48
5.1.6 Governing Law ................................................ 49
5.1.7 Warranty Repairs. . . . . . . . . . . . . . . . . . . . . . . . . . . . . . . . . . . . . . . . . . . . . . 49
5
5.2 Complete Care Service Plans .......................................50
5.3 Repairs, Upgrades, and Evaluations................................50
5.4 System Information for your Mesa Pro..............................51
6. Warnings, Regulatory Information, Licensing 53
6.1 Product Warnings ....................................................53
6.1.1 Battery Warnings. . . . . . . . . . . . . . . . . . . . . . . . . . . . . . . . . . . . . . . . . . . . . . .53
6.1.2 Wall Charger Warnings.......................................54
6.2 Certifications and Standards .......................................54
6.2.1 United States..................................................54
6.2.2 Canada ........................................................55
6.2.3 Radio Frequency Safety.......................................56
6.2.4 CE Marking (European Union)................................56
6.2.5 UKCA Marking.................................................56
6.2.6 Restricted Materials Conformity..............................57
6.3 Licensing Information ...............................................57
7. Mesa Pro Specifications 61

1
Getting Started
1. Getting Started
1.1 Overview
The Mesa Pro Rugged Tablet™ from Juniper Systems has
the Windows 11 IoT Enterprise or Windows 11 Pro operating
system. Standard features include a 10-inch display, capacitive
touchscreen, hot-swapable battery, keypad, Bluetooth, Wi-Fi, and
front and rear cameras. Standard accessories include lithium-
ion battery packs, an AC wall charger, hand strap, and a fine tip
capacitive stylus and tether. Optional features include a 4G LTE
data modem with a GNSS receiver, barcode imager, and RS-232
port.
1.2 The Anatomy of the Mesa Pro
1.2.1 Front and Back Features
8
1 2 34
5
6
7

1 Getting Started 7
1. Getting Started
1.1 Overview
The Mesa Pro Rugged Tablet™ from Juniper Systems has
the Windows 11 IoT Enterprise or Windows 11 Pro operating
system. Standard features include a 10-inch display, capacitive
touchscreen, hot-swapable battery, keypad, Bluetooth, Wi-Fi, and
front and rear cameras. Standard accessories include lithium-
ion battery packs, an AC wall charger, hand strap, and a fine tip
capacitive stylus and tether. Optional features include a 4G LTE
data modem with a GNSS receiver, barcode imager, and RS-232
port.
1.2 The Anatomy of the Mesa Pro
1.2.1 Front and Back Features
8
1 2 34
5
6
7
Front:
1. Camera status LED
2. Front-facing camera
3. LED indicator lights
4. Microphone
5. Light sensor
6. Keypad
7. Display/touchscreen
8. Speaker

8Mesa Pro Rugged Tablet User’s Manual
1.2.2 Connector Ports
1 2 3 4 5 6
Back:
1. I/O Port Cover
2. RS-232 (optional)
3. Threaded mounting holes (x4)
4. Label
5. Battery Door Latch
6. Battery Door
7. Stylus tether attachment point
34 5 6 7 9 10
11 12 13
1
2
8
8. Security lock slot
9. Stylus
10. Hand strap tether loop (x4)
11. Flash
12. Rear Camera
13. Barcode Imager (optional)
1. RS-232 (optional)
2. 19 V DC input port
3. USB-C
4. USB 3.1, Gen 2
5. USB 3.1, Gen 2
6. 3.5 mm audio jack

1 Getting Started 9
1.3 Perform Initial Tasks
When you receive your Mesa Pro, perform the tasks outlined in
this section before first use.
1.3.1 Review Documentation
This user’s manual and other documents like release notes are
available on our website: https://junipersys.com/support/mesa-
pro/documentation. View, download, and print documents as
desired, either on the Mesa Pro or another computer with an
internet connection.
1.3.2 Charge and Install the Battery Packs
The Mesa Pro comes with one or two rechargeable and
removable Li-ion battery packs (depending on the configuration).
CAUTION: The Mesa Pro must have at least one battery
installed to operate.
To install and charge the battery packs:
1. The battery compartment is accessed from the back of
the tablet. Push the battery door latch in, slide it left to the
unlocked position, and remove the door.
CAUTION: The Mesa Pro is not sealed against water and dust
when the battery door is not installed.
2. If you are using an SD card for additional memory or a SIM
card with the 4G LTE data modem (optional), you can install
them now before you install the battery packs or at another
time. If you do this, make sure you replace the card holder
before battery installation. See 2.7 Micro SD and Nano SIM
Cards on page 21 for details.
!
!

10 Mesa Pro Rugged Tablet User’s Manual
3. Insert the battery packs.
a. Hold the battery so the black tab on the back edge of the
battery and connector is facing the door latch.
b. Place the front edge in first, gently pushing it underneath
the two battery catches.
c. Rotate the back of the battery down until it sits flat inside
the battery compartment.
CAUTION: Do not insert the battery pack straight down.
Damage to the unit could occur.
4. Replace the door and press down on it while sliding the latch
into the lock position.
5. Attach the appropriate plug for your country into the AC wall
charger and plug it into a wall socket. Plug the other end into
the DC power jack on the Mesa Pro.
Note: Use the AC wall charger that came with the Mesa Pro or
another approved charger from Juniper Systems. If you use a
USB-C charger ensure it can deliver 20 V with a minimum of 60
Watts.
6. Charge the battery packs at room temperature (68°F or 20°C)
until fully charged.
While the battery packs are charging, the red LED blinks. When
batteries are fully charged and external power is applied, the red
LED is solid.
The battery packs can also be charged in the battery charger. This
is an optional accessory that allows you to charge extra batteries
outside of the Mesa Pro.
!

1 Getting Started 11
Each battery has five LED charge indicators. Press the white
rectangle button on the battery to see the LEDs light up
according to the charge percentage.
■ Five lights: 100% charged
■ Four lights: 80% charged
■ Three lights: 60% charged
■ Two lights: 40% charged
■ One light: 20% charged
■ Flashing lights: discharged
1.3.3 Perform Set Up
The first time the tablet is powered on, Windows setup options
are shown. Here you can set up the Mesa Pro for work or school,
or with a personal account.
Follow the prompts to set up your unit as desired. For additional
help setting up your Mesa Pro, see https://junipersys.com/
support/article/14923.
1.3.4 Attach the Hand Strap
A hand strap is included with the Mesa Pro. This allows you to
hold the Mesa Pro securely and ergonomically by resting most of
the weight of the tablet on your forearm.

12 Mesa Pro Rugged Tablet User’s Manual
To attach the hand strap, fasten it to three corners as shown in
the pictures below.
1.3.5 Attach the Stylus Tether
A fine tip capacitive stylus and tether are included with the Mesa
Pro. To attach the stylus tether:
1. Remove the stylus by pressing on one end of the stylus until it
releases.
2. Attach one end of the stylus tether to the stylus.
3. Push the free tether loop through the tether attachment
point located on the bottom right side of the Mesa Pro.
4. Insert the stylus with the attached tether through this loop
and tighten the loop.
5. Place the stylus into the stylus storage slot located on the
back side of the Mesa Pro by lining up the notched end of the
stylus with the stylus catch on the Mesa Pro.

1 Getting Started 13

2
Standard Features

2 Standard Features 15
2. Standard Features
This chapter discusses the standard features included with every
model of the Mesa Pro Rugged Tablet™ with Windows 11.
2.1 Display
The Mesa Pro has a bright color display and capacitive
touchscreen with a diagonal viewing area of 10.1 inches (256.54
mm).
To adjust the display settings, including the text size, brightness,
and orientation, go to Settings > System and select Display.
A shortcut to adjust the display brightness can be accessed in the
Action Center by tapping the Wi-Fi, volume, or battery icon on the
desktop.
2.2 Camera
The Mesa Pro has a 13 MP rear facing auto-focus camera and 2
MP front facing camera.
You can capture both still images and videos using the camera
application. Other options include a timer, brightness settings,
and a rear camera flash.
2.2.1 Photo and Video Library
Photos and videos are automatically stored in the Pictures folder.
2.3 Device Settings App
The Mesa Pro has a built-in app called Device Settings. In this app
you can see detailed information about your device, including
the serial number, model number, and OS version. The Device
Settings app also includes options to adjust settings for the
touchscreen profiles, programmable keys, and GNSS. If you do
not have a cell module, the GNSS feature will not be shown in the
app. If your device has the optional RS-232, you will see this option
in the Device Settings app as well. For more information about
these optional features, see 3. Optional Features and Accessories
on page 31

16 Mesa Pro Rugged Tablet User’s Manual
2.3.1 About Screen
The About screen in Device Settings can tell you the serial
number, model number, OS version, product name, BIOS version,
embedded controller version, motherboard version, processor
type, SSD model, SSD capacity, cell type, barcode type, expansion
ID, and battery status of your unit. You can also find the regulatory
information for the Mesa Pro here.
2.3.2 Keypad Screen
The Keypad screen in Device Settings allows you to customize the
keypad backlight brightness, program 8 of the keypad buttons, or
restore keypad defaults.
On the Keypad screen, select All Users Settings to make
keypad changes for any user logged into the device. Select Per
User Settings to customize keypad changes for your individual
account. If Per User Settings are used, they take precedence over
the All User Settings.

2 Standard Features 17
Select Restore Defaults to restore the Keypad settings for All
Users or Per User.
Keypad Backlight Brightness
To adjust the keypad backlight brightness, go to the Keypad
User(s) Settings. The first keypad option is the Keypad Backlight
Brightness. Use the drop-down menu to the right to select a
brightness of 0%, 25%, 50%, 75%, or 100%. Dimming the keypad
backlight extends battery life when the Mesa Pro is in use.

18 Mesa Pro Rugged Tablet User’s Manual
Programmable Keys
The Mesa pro has a power/suspend key, Windows key, and
eight programmable keys (P1–P8). The default function of each
programmable key is indicated on the key.
To assign other functions to the programmable keys, go to the
Keypad User(s) Settings. The programmable keys and their
current assignments are shown. Select your preferred function for
each key from the drop-down menus.
P1, Volume up
P2, Volume down
P3, Enter (return)
P4, Up arrow
P5, Down arrow.
P6, Left arrow
P7, Right arrow
P8, On-screen keyboard
Windows start screen
Power/suspend

2 Standard Features 19
2.3.3 Touchscreen Profiles
To adjust the touchscreen profile, go to Device Settings and
select Touchscreen. Select the touch profile you want the screen
optimized for: Finger/Stylus (default), Finger, Fine Hard-Tip Stylus,
Glove, Wet/Finger, or Wet/Stylus. As the new profile loads, a
progress bar is shown. You can try different profiles to see which
one works best.
Using the Mesa Pro in Wet Conditions
When using the Mesa Pro in wet conditions, you must use your
finger or the fine-tipped stylus that is included with the device
on the capacitive touchscreen, depending on the touchscreen
profile you have selected. When either of the Wet touchscreen
profiles are in use, the Mesa Pro must be held at a minimum 30
degree angle. While third party styli may work with the Mesa Pro
touchscreen, performance may vary.
CAUTION: Do not use the Windows 11 screen calibration tool. If
used, it may degrade the touchscreen performance.
2.4 LED Activity Indicators
LED activity indicators are located on the front of the Mesa Pro in
the upper-left corner.
Red LED, solid:
■ When the Mesa Pro is put to sleep or powered off by
pressing the power key , the red LED is solid until the unit
has successfully completed the process, and then the red
LED turns off. If powering off the device, do not remove the
batteries while the light is solid.
!

20 Mesa Pro Rugged Tablet User’s Manual
■ The AC wall charger is plugged in and the batteries are full
(not charging).
Red LED, blinking:
■ The AC wall charger is plugged in and the batteries are in the
process of charging.
White light:
■ Front facing camera is in use.
Green LED, solid:
■ Does not have an assigned function, but it can be
programmed as desired.
Blue LED, solid or blinking:
■ Does not have an assigned function, but it can be
programmed as desired.
Note: These LEDs can be programmed by a developer. Sample
code is available upon request.
2.5 Light Sensor
All units have an ambient light sensor located on the front of the
Mesa Pro in the upper-right corner. The light sensor allows the
backlight on the display to adjust automatically when the lighting
changes.
To enable this process, go to the Start menu and select Settings
> System > Display >Brightness. Check “Change brightness
automatically when lighting changes.”
2.6 I/O Connector Ports
The Mesa Pro has a 19 V DC power input jack, two USB 3.1 Gen 2,
one USB-C, and a 3.5 mm audio jack.
2.6.1 I/O Port Cover
The I/O Port Cover is removable and replaceable. If you need a
new rubber cover, contact your sales representative.
1. Unscrew the rubber I/O cover from the back of the Mesa Pro
with a Torx T6 screwdriver.
Other manuals for Mesa Pro
1
Table of contents
Other Juniper Tablet manuals

Juniper
Juniper mesa 4 User manual

Juniper
Juniper Cedar CT8 User manual

Juniper
Juniper mesa 2 User manual

Juniper
Juniper mesa 2 User manual

Juniper
Juniper Mesa User manual

Juniper
Juniper Mesa Pro User manual

Juniper
Juniper Mesa Rugged Notepad User manual

Juniper
Juniper mesa 4 User manual

Juniper
Juniper Mesa User manual

Juniper
Juniper mesa 2 Installation and user guide
Popular Tablet manuals by other brands

Motorola
Motorola MC3000R - Win CE 5.0 Core 312 MHz Integration guide

muffin
muffin Kinder 7 instruction manual

Samsung
Samsung Galaxy View SM-T670 user manual

Empire Electronix
Empire Electronix M1008 user manual

Insignia
Insignia Flex NS-14T004 Important information

Archos
Archos 70 Oxygen How to reinitialize