ENGLISH 9
Data Size: B6L (182 mm x 128 mm)
Book Size: B6L (182 mm x 128 mm)
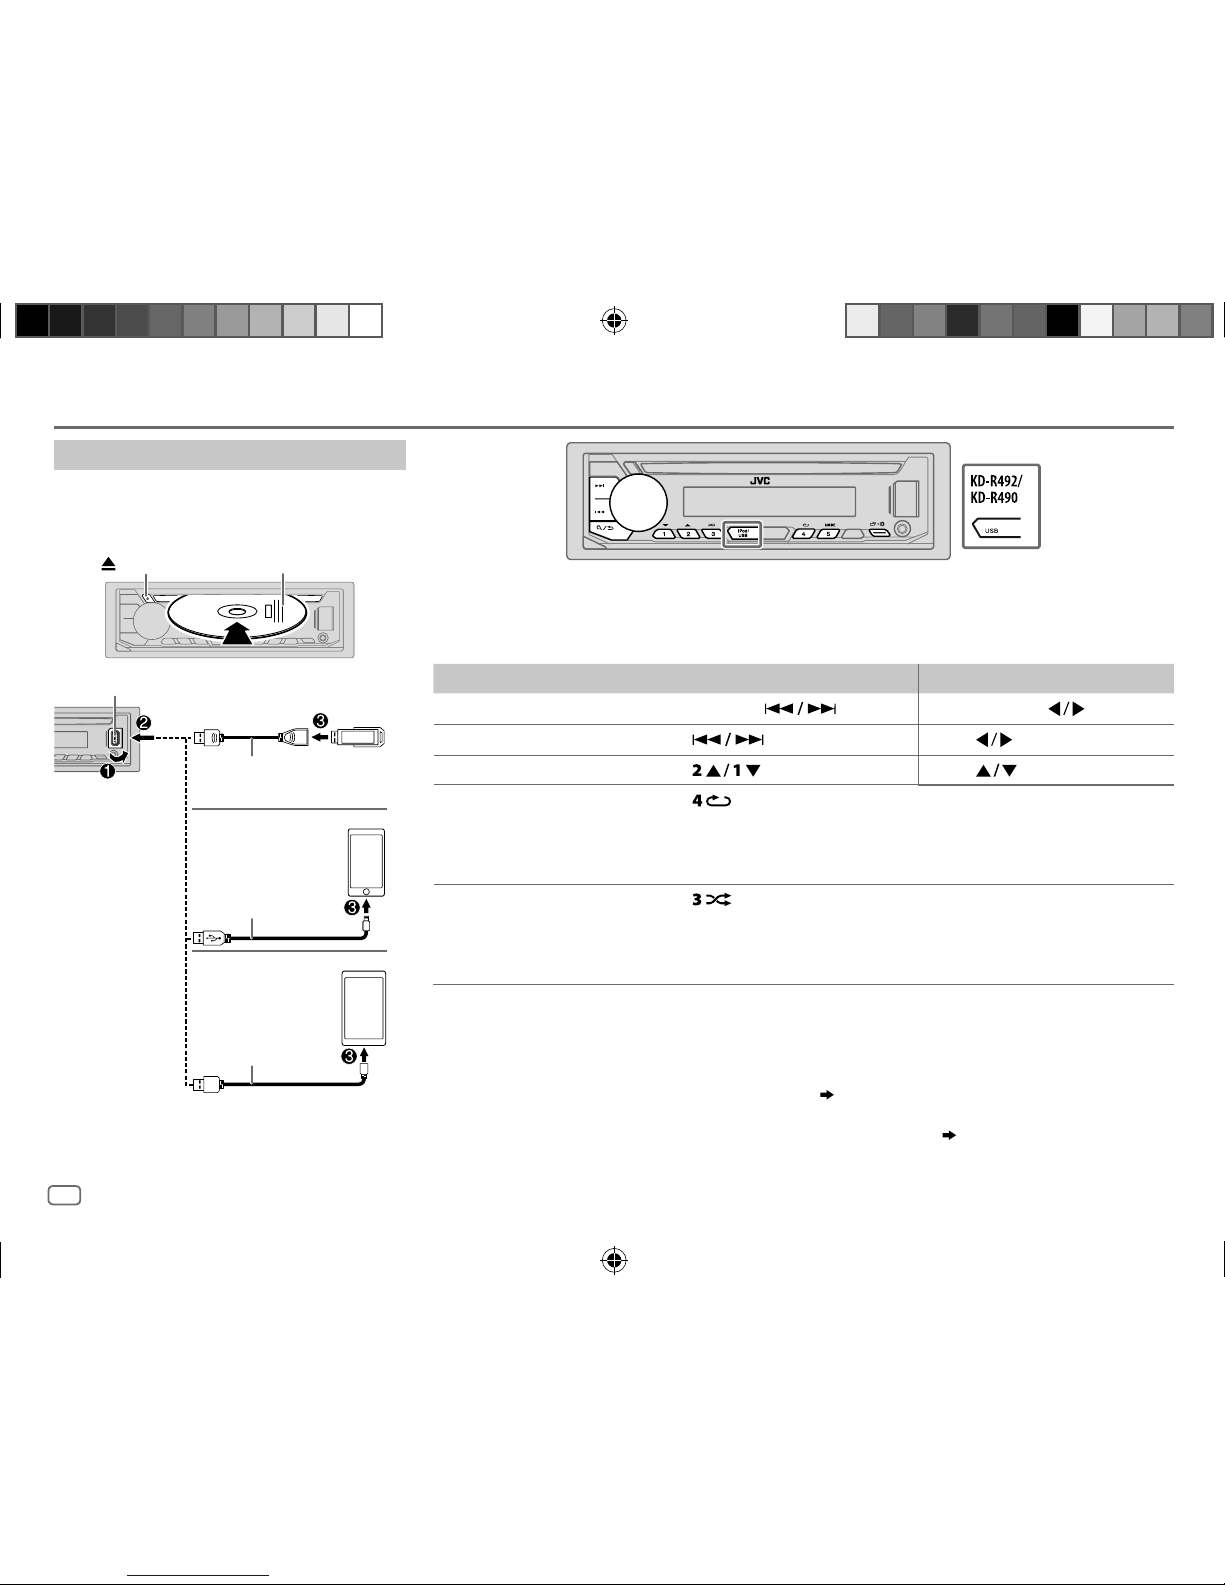
Select control mode
While in iPod source, press repeatedly.
HEAD MODE
IPHONE MODE
: Control iPod from this unit.
: Control iPod using the iPod itself. However, you can still
play/pause or file skip from this unit.
While in ANDROID source, press repeatedly.
AUTO MODE
AUDIO MODE
: Control Android device from this unit via JVC MUSIC PLAY
application installed in the Android device.
: Control Android device using the Android device itself via
other media player applications installed in the Android
device. However, you can still play/pause or file skip from
this unit.
Select music drive
While in USB source, press repeatedly.
Stored songs in the following drive will be played back.
• Selected internal or external memory of a smartphone (Mass Storage
Class).
• Selected drive of a multiple drives device.
Select a file from a folder/list
For iPod/ANDROID, applicable only when
[HEAD MODE]
/
[AUTO MODE]
is
selected.
1 Press .
2 Turn the volume knob to select a folder/list, then press the knob.
3 Turn the volume knob to select a file, then press the knob.
Quick search
(applicable only for CD, USB, and ANDROID source)
If you have many files, you can search through them quickly.
Turn the volume knob quickly to browse through the list quickly.
Alphabet search
(applicable only for iPod and ANDROID source)
You can search for a file according to the first character.
For iPod source
Press or turn the volume knob quickly to select the
desired character (A to Z, 0to9, OTHERS).
• Select “OTHERS” if the first character is other than AtoZ, 0to9.
For ANDROID source
1 Press to enter character search.
2 Turn the volume knob to select the desired character.
^A^ : Upper case letters (A to Z)
_A_ : Lower case letters (a to z)
-0- : Numbers (0 to 9)
-OTHERS- : Character other than AtoZ, 0to9
3 Press the volume knob to start searching.
• To return to the previous setting item, press .
• To cancel, press and hold .
CD/USB/iPod/ANDROID
JS_JVC_KD_R690S_K_EN_3.indd 9JS_JVC_KD_R690S_K_EN_3.indd 9 7/4/2017 11:01:11 AM7/4/2017 11:01:11 AM