manuals.online logo
Brands
  1. Home
  2. •
  3. Brands
  4. •
  5. JVC
  6. •
  7. Car Stereo System
  8. •
  9. JVC KD-R516 Guide

JVC KD-R516 Guide

Other manuals for KD-R516

1

This manual suits for next models

1

Other JVC Car Stereo System manuals

JVC KD-SX950 User manual

JVC

JVC KD-SX950 User manual

JVC KD-SH909R User manual

JVC

JVC KD-SH909R User manual

JVC KD-G446 Guide

JVC

JVC KD-G446 Guide

JVC KD SH1000 - Radio / CD User manual

JVC

JVC KD SH1000 - Radio / CD User manual

JVC KW-XG707 User manual

JVC

JVC KW-XG707 User manual

JVC KD-R407 Guide

JVC

JVC KD-R407 Guide

JVC KD-G507 User manual

JVC

JVC KD-G507 User manual

JVC CD Receiver KD-G632 User manual

JVC

JVC CD Receiver KD-G632 User manual

JVC KD-G524 Guide

JVC

JVC KD-G524 Guide

JVC KD-T915BTS User manual

JVC

JVC KD-T915BTS User manual

JVC CD Receiver KW-S601 User manual

JVC

JVC CD Receiver KW-S601 User manual

JVC KD-X252 User manual

JVC

JVC KD-X252 User manual

JVC KD-G440 User manual

JVC

JVC KD-G440 User manual

JVC CS-VP528 User manual

JVC

JVC CS-VP528 User manual

JVC KW-AVX710 - DVD Player With LCD Monitor Guide

JVC

JVC KW-AVX710 - DVD Player With LCD Monitor Guide

JVC KD-G332 User manual

JVC

JVC KD-G332 User manual

JVC KD-APD89J User manual

JVC

JVC KD-APD89J User manual

JVC KD-X38MBS User manual

JVC

JVC KD-X38MBS User manual

JVC KD SH1000 - Radio / CD Guide

JVC

JVC KD SH1000 - Radio / CD Guide

JVC KS-F545 Guide

JVC

JVC KS-F545 Guide

JVC CS-VP628 User manual

JVC

JVC CS-VP628 User manual

JVC KD-S19 User manual

JVC

JVC KD-S19 User manual

JVC KD-R504 Guide

JVC

JVC KD-R504 Guide

JVC KD-DV5507 Guide

JVC

JVC KD-DV5507 Guide

Popular Car Stereo System manuals by other brands

Sony CDXM60UI - Marine CD Receiver MP3/WMA/AAC... Features

Sony

Sony CDXM60UI - Marine CD Receiver MP3/WMA/AAC... Features

Philips CED780/98 quick start guide

Philips

Philips CED780/98 quick start guide

Becker Online Pro 7800 installation guide

Becker

Becker Online Pro 7800 installation guide

Clarion PU-9836A Service manual

Clarion

Clarion PU-9836A Service manual

Sony RM-X7BT reference guide

Sony

Sony RM-X7BT reference guide

Mitsubishi Electric AR0M manual

Mitsubishi Electric

Mitsubishi Electric AR0M manual

Insignia NS-HD5113 user guide

Insignia

Insignia NS-HD5113 user guide

Clarion BTD3341 user manual

Clarion

Clarion BTD3341 user manual

USA SPECS PA11-VW6 owner's manual

USA SPECS

USA SPECS PA11-VW6 owner's manual

Sony MEX-N4380BT operating instructions

Sony

Sony MEX-N4380BT operating instructions

Kenwood KCD-BT6544U/UY Service manual

Kenwood

Kenwood KCD-BT6544U/UY Service manual

Philips CSQ405/98 user manual

Philips

Philips CSQ405/98 user manual

Alpine TDM-7544 Specifications

Alpine

Alpine TDM-7544 Specifications

JL Audio Stealthbox SB-CAN-G2MVX3D/10TW3 installation guide

JL Audio

JL Audio Stealthbox SB-CAN-G2MVX3D/10TW3 installation guide

Denso TEN FT0108A user manual

Denso TEN

Denso TEN FT0108A user manual

Pyle PLD57MU owner's manual

Pyle

Pyle PLD57MU owner's manual

Harman Chrysler Radio Navigation System RB4 user manual

Harman

Harman Chrysler Radio Navigation System RB4 user manual

Sony MEX-BT5750U operating instructions

Sony

Sony MEX-BT5750U operating instructions

manuals.online logo
manuals.online logoBrands
  • About & Mission
  • Contact us
  • Privacy Policy
  • Terms and Conditions

Copyright 2025 Manuals.Online. All Rights Reserved.

1
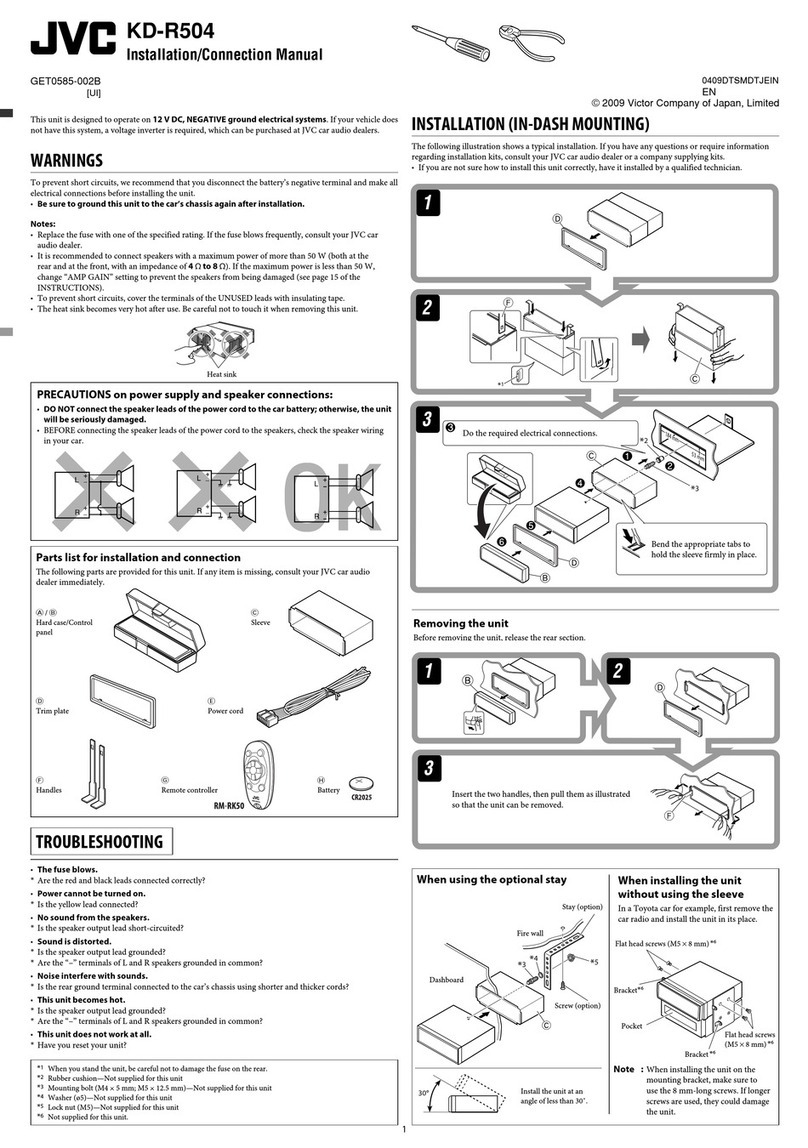
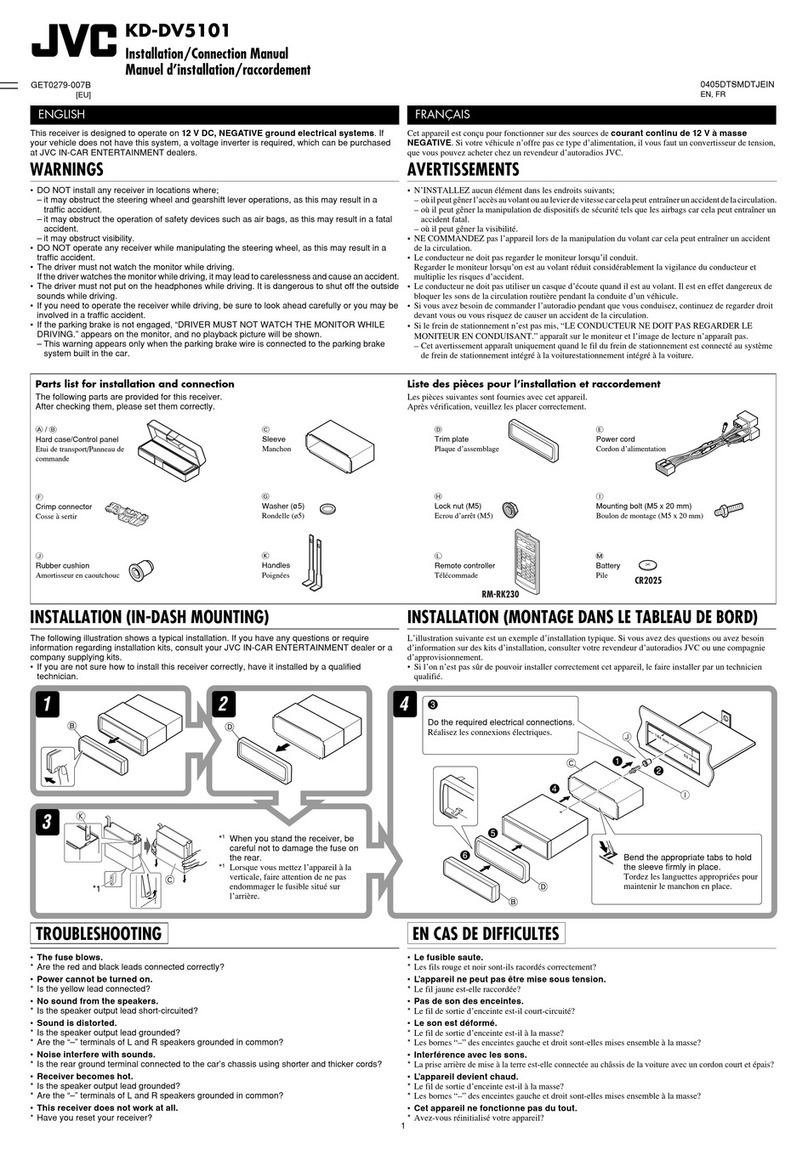
KD-R516/KD-R515
Installation/Connection Manual
Manual Pemasangan/Penyambungan
ENGLISH / INDONESIA
1209DTSMDTJEIN
EN, IN
© 2009 Victor Company of Japan, Limited
GET0634-009A
[UN]
Bracket / Breket *2
Pocket / Kantong
Flat head screws (M5 × 8 mm) / Sekrup kepala rata (M5 × 8 mm) *2
INSTALLATION / PEMASANGAN
When installing the unit without using the sleeve / Ketika memasang unit tanpa
menggunakan selongsong
In-dash mounting / Bingkai-dalam dash
• To prevent short circuits:
–Disconnect the battery’s negative terminal and make all electrical connections before installing the unit.
–Cover the terminals of the UNUSED leads with insulating tape.
• Be sure to ground this unit to the car’s chassis again after installation.
• Replace the fuse with one of the specified rating.
• Connect speakers with a maximum power of more than 50 W (impedance of 4 Ω to 8 Ω). Otherwise,
change the <AMP GAIN> setting. (See page 15 of the INSTRUCTIONS.)
• The heat sink becomes very hot after use. Be careful not to touch it when removing this unit.
• Untuk mencegah hubungan pendek:
–Lepaskan terminal negatif baterai dan lakukan penyambungan semua koneksi kelistrikan sebelum memasang
unit.
–Tutupi terminal lead yang TIDAK DIGUNAKAN dengan selotip.
• Pastikan untuk mentanahkan unit ini ke casis mobil kembali setelah pemasangan.
• Ganti sekering dengan sekering yang memenuhi pentarafan yang ditetapkan.
• Sambungkan speaker dengan daya maksimal yang lebih dari 50 W (impedansi 4 Ω hingga 8 Ω). Atau jika tidak,
ubah pengaturan <AMP GAIN>. (Lihat halaman 15 dari BUKU PETUNJUK.)
• Pendingin menjadi sangat panas setelah digunakan. Hati-hati untuk tidak menyentuhnya ketika memindahkan
unit ini.
12 V DC, NEGATIVE ground / 12 V DC, tanahan NEGATIF
To the car system / Ke sistem mobilYou need the installation kits which corresponds to your car. / Anda memerlukan
perlengkapan pemasangan yang sesuai dengan mobil Anda.
Check the battery system in your car /
Periksa sistem aki mobil Anda
WARNINGS / PERINGATAN
Removing the unit / Memindahkan unit
Release the rear section first... / Lepaskan bagian belakang terlebih dulu...
The following illustration shows a typical installation. If you have any questions or require information
regarding installation kits, consult your JVC car audio dealer or a company supplying kits.
Heat sink / Pendingin
Ilustrasi berikut menunjukkan sebuah tipe pemasangan. Jika anda mempunyai suatu pertanyaan atau informasi
yang diperlukan mengenai alat-alat pemasangan, konsultasikan pada penyalur audio mobil JVC atau sebuah
perusahaan yang mensuplai alat-alat.
Do the required electrical connections.
Lakukan penyambungan-penyambungan
listrik yang diperlukan.
Bend the appropriate tabs to hold the sleeve firmly
in place.
Bengkokkan pengait-pengait yang tepat untuk
menahan selongsong secara kuat pada tempatnya.
Install the unit at an angle of
less than 30˚.
Pasang penerima pada suatu
sudut kurang dari 30˚.
*1
*1When you stand the unit, be careful not to damage the fuse on the rear.
*2Not supplied for this unit.
*1Ketika anda memberdirikan unit, hati-hati untuk tidak merusak sekring di belakang.
*2Tidak disediakan untuk unit ini.
Part list / Daftar bagian
AHard case / Kotak keras (×1)
BControl panel / Panel kontrol
(×1)
CSleeve / Selongsong (×1)
DTrim plate / Plat rapi (×1)
EPower cord / Kabel power (×1)
FHandles / Pegangan-pegangan
(×2)
Install_KD-R516_009A_3.indd 1Install_KD-R516_009A_3.indd 1 11/21/09 5:14:06 PM11/21/09 5:14:06 PM
2
• The fuse blows.
]
Are the red and black leads connected correctly?
• Power cannot be turned on.
]
Is the yellow lead connected?
• No sound from the speakers.
]
Is the speaker output lead short-circuited?
• “PROTECT” appears on the display and no operation can be done.
]
Is the speaker output lead
short-circuited or touches the chassis of the car/head unit? ; Have you reset your unit?
• Sound is distorted.
]
Is the speaker output lead grounded? ; Are the “–” terminals of L and R speakers
grounded in common?
• Noise interfere with sounds.
]
Is the rear ground terminal connected to the car’s chassis using shorter
and thicker cords?
• This unit becomes hot.
]
Is the speaker output lead grounded? ; Are the “–” terminals of L and R
speakers grounded in common?
• This unit does not work at all.
]
Have you reset your unit?
• Sekring meledak.
]
Apakah ujung-ujung merah dan hitam tersambung dengan benar?
• Power tidak dapat dihidupkan.
]
Apakah ujung kuning sudah tersambung?
• Tidak ada suara dari speaker.
]
Apakah ujung keluaran speaker terhubung pendek?
• “PROTECT” muncul di layar dan tidak dapat dilakukan pengoperasian apa pun.
]
Apakah kabel
output speaker mengalami hubungan pendek atau menyentuh casis mobil/unit kepala? ; Apakah anda sudah
reset (memasang kembali) alat penerima anda?
• Suara terdistorsi.
]
Apakah ujung keluaran speaker sudah ditanahkan? ; Apakah terminal-terminal “–” dari
speaker-speaker L dan R sudah ditanahkan secara umum?
• Berisik yang mengganggu suara-suara.
]
Apakah terminal tanahan belakang tersambung ke casis mobil
menggunakan kabel-kabel terpendek dan tertebal?
• Alat penerima ini menjadi panas.
]
Apakah ujung keluaran speaker sudah ditanahkan? ; Apakah terminal-
terminal “–” dari speaker-speaker L dan R sudah ditanahkan secara umum?
• Alat penerima ini tidak bekerja secara keseluruhan.
]
Apakah anda sudah reset (memasang kembali)
alat penerima anda?
TROUBLESHOOTING / PEMECAHAN MASALAH
Black / Hitam
Fuse block /
Blok sekring
Ignition switch / Saklar
kontak
Blue (white stripe) /
Biru (garis putih)
Red / Merah
Yellow / Kuning* 3
To the metallic body or chassis of the car / Ke
besi bodi atau casis dari mobil tersebut
To an accessory terminal / Ke terminal
aksesori
To a live terminal (constant 12 V) / Ke
terminal live (konstan 12 V)
To the automatic antenna if any (250 mA max.) / Ke antena otomatis jika
ada (maksimum 250 mA)
White / Putih
White (black stripe) / Putih (garis hitam)
Gray / Abu-abu
Gray (black stripe) / Abu-abu (garis hitam)
Green / Hijau
Green (black stripe) / Hijau (garis hitam)
Purple / Ungu
Purple (black stripe) / Ungu (garis hitam)
Signal cord / Kabel sinyal* 1
Y-connector / Konektor
Y* 1
Remote lead / Ujung jauh To the blue (white stripe) lead of
the unit / Ke lead biru (garis putih)
pada unit
Rear speakers or subwoofer (Make the <L/O MODE> setting accordingly,
see page 15 of the INSTRUCTIONS.) / Speaker atau subwoofer belakang
(Kemudian buatlah pengaturan <L/O MODE>, lihat halaman 15 dari BUKU
PETUNJUK.)
Rear ground terminal / Terminal tanah belakang
15 A fuse / Sekring 15 A
Antenna input / Input Antena
*1Not supplied for this unit.
*2Firmly attach the ground wire to the metallic body or to the chassis of the car—to the place uncoated
with paint.
*3Before checking the operation of this unit prior to installation, this lead must be connected; otherwise,
the power cannot be turned on.
*1Tidak disediakan untuk unit ini.
*2Pasangkan dengan kuat kabel tanah ke bodi besi atau ke casis dari mobil—pada tempat yang tidak dilapisi
cat.
*3Sebelum pengecekan pengoperasian dari unit ini sebelum pemasangan, ujung ini harus sudah dihubungkan,
selain itu power tidak dapat dihidupkan.
Front speaker (left) / Speaker
depan (kiri)
Front speaker (right) / Speaker
depan (kanan)
Rear speaker (left) / Speaker
belakang (kiri)
Rear speaker (right) / Speaker
belakang (kanan)
ELECTRICAL CONNECTIONS / SAMBUNGAN-SAMBUNGAN LISTRIK
Reset the unit. / Setel ulang unit.
JVC Amplifier /
Penguat JVC
Connecting the external amplifier or subwoofer / Penyambungan penguat eksternal atau subwoofer
To the remote lead of other equipment (200 mA max.) / Ke ujung jauh
dari peralatan lain (maksimum 200 mA)
Blue
/
Biru
PRECAUTIONS on power supply and speaker connections
• DO NOT connect the speaker leads of the power cord to the car battery; otherwise, the unit will be
seriously damaged.
• BEFORE connecting the speaker leads of the power cord to the speakers, check the speaker wiring in
your car.
TINDAKAN-TINDAKAN PENCEGAHAN pada suplai power dan
sambungan-sambungan speaker
• JANGAN sambungkan ujung-ujung speaker dari kabel power ke baterai mobil; sebaliknya, unit tersebut akan
secara serius rusak.
• SEBELUM menyambung ujung-ujung speaker dari kabel power ke speaker-speaker, cek perkabelan speaker
dalam mobil anda.
IMPORTANT: A custom wiring harness (separately purchased) which is suitable for your car is
recommended for connection between the unit and your car.
• Consult your JVC car audio dealer or a company supplying kits for details.
PENTING: Penahan pengkabelan khusus (dibeli terpisah) yang sesuai untuk mobil Anda direkomendasikan untuk
sambungan antara unit dan mobil Anda.
• Tanyakan kepada dealer audio mobil JVC atau perusahaan yang memasok perlengkapan untuk mengetahui
keterangan yang lebih terinci.
Steering wheel remote input / Input remote roda kemudi
Install_KD-R516_009A_3.indd 2Install_KD-R516_009A_3.indd 2 11/21/09 5:14:08 PM11/21/09 5:14:08 PM