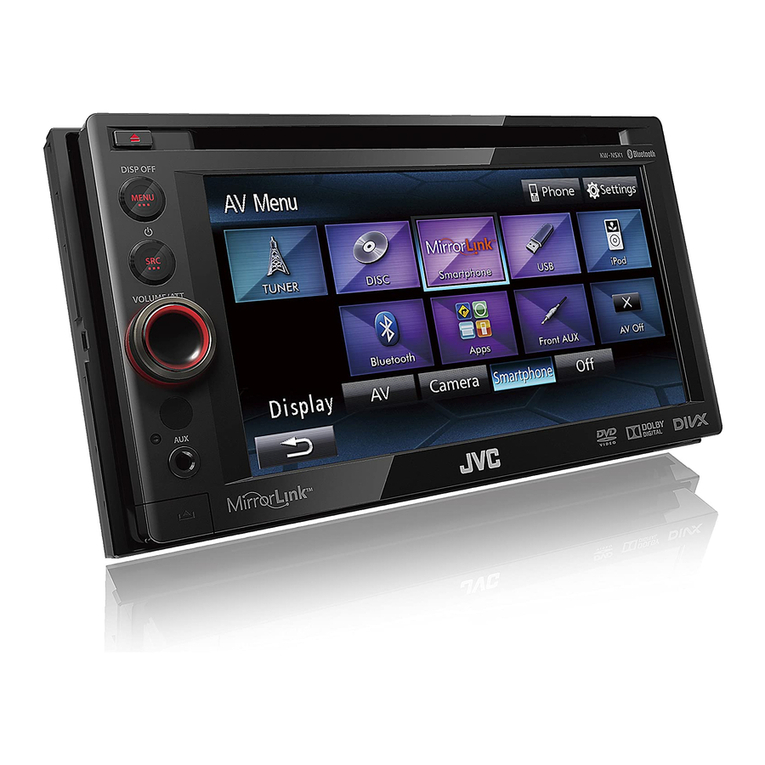
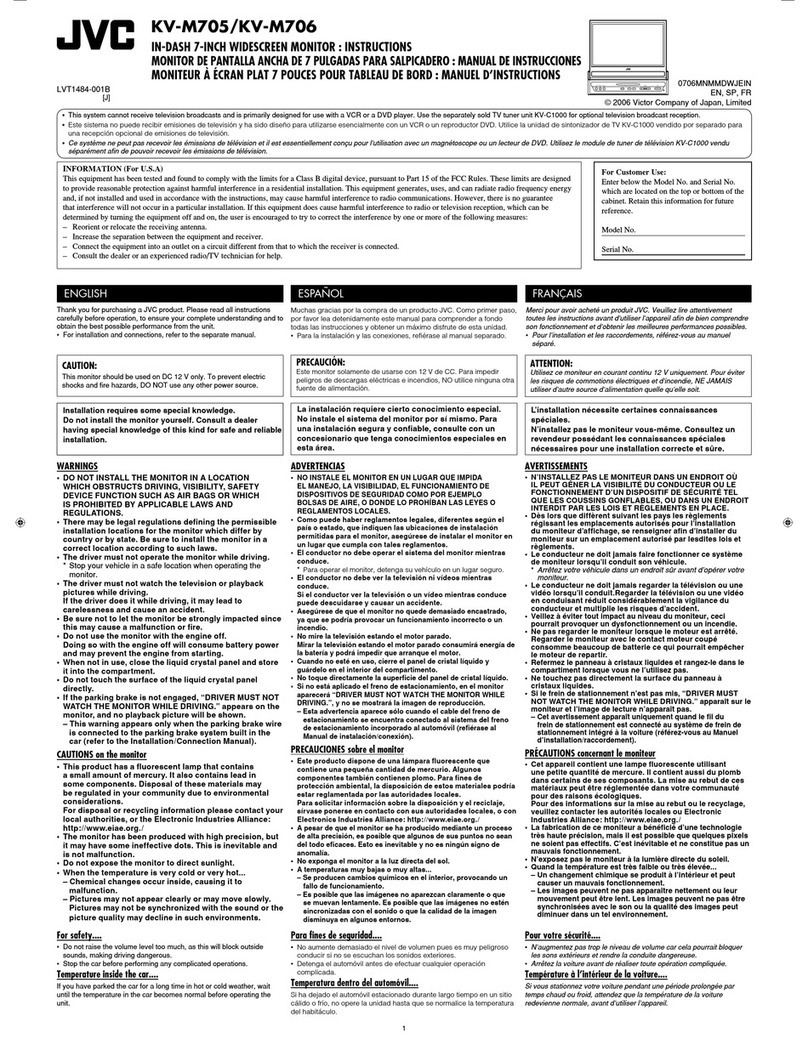
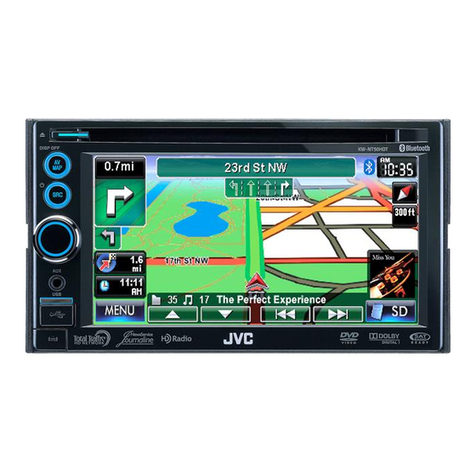
JVC Car LCD Monitor KV-M70 User manual

KV-M70 (EN)
TQBX0243[E]
ENGLISH
DEUTSCHFRANÇAIS
NEDERLANDS
KV-M70
Display unit
Bildschirmgerät
Unité d’affichange
Display-eenheid
Controller unit
Steuergerät
Unité de commande
Bedieningseenheid
Wireless remote controller
Drahtlose Fernbedienung
Télécommande sans fil
Draadloze afstandsbediening
For installation and connections, refer to the
separate manual.
Für Installation und Anschlüsse siehe
getrennte Anleitung.
Pour l’installation et les raccordements, se
référer au manuel séparé.
Zie de afzonderlijke aanwijzingen voor het
installeren en verbinden.
TQBX0243
[E]
For customer Use:
Enter below the serial No. which is
located on the rear of cabinet. Retain
this information for future reference.
Model No. KV-M70
Serial No.
This system cannot receive television broadcasts and is primarily
designed for use with a VCR.
Dieses System ist hauptsächlich für den Einsatz mit einem
Videokassettenrekorder bestimmt und nicht für den Fernsehempfang.
Ce système ne peut recevoir les emissions de télévision, et il est
essentiellement conçu pour l’utilisation avec un magnétoscope.
Dit systeem is niet geschikt voor ontvangst van tv-uitzendingen. Dit
systeem is voornamelijk ontworpen voor gebruik met een videorecorder.
*
*
*
*
INSTRUCTIONS
BEDIENUNGSANLEITUNG
MANUEL D’INSTRUCTIONS
GEBRUIKSAANWIJZING
KV-M70
MOBILE COLOR MONITOR SYSTEM
MOBILES FARBMONITORSYSTEM
SYSTÈME DE MONITEUR MOBILE EN COULEUR
DRAAGBAAR KLEURENMONITORSYSTEEM

2
KV-M70 (EN)
TQBX0243[E]
Warnings
• BE SURE TO INSTALL THE MONITOR ON TOP
OF THE DASHBOARD TO PREVENT THE
MONITOR FROM OBSTRUCTING VISIBILITY.
• IF THE MONITOR HAS BEEN INSTALLED FOR
THE REAR SEAT PASSENGERS, THEY MUST BE
CAREFUL TO PREVENT BEING INJURED BY
HITTING THEIR HEAD ON THE MONITOR IN
CASE OF AN ACCIDENT.
• DO NOT INSTALL THE MONITOR SYSTEM IN A
LOCATION WHICH OBSTRUCTS THE OPERA-
TION OF AN AIR BAG.
• THE DRIVER MUST NOT OPERATE THE COLOR
MONITOR SYSTEM WHILE DRIVING.
OPERATING THE COLOR MONITOR SYSTEM
WHILE DRIVING MAY LEAD TO CARELESSNESS
AND CAUSE AN ACCIDENT.
* STOP YOUR VEHICLE IN A SAFE LOCATION WHEN
OPERATING THE TV TUNER SYSTEM.
• THE DRIVER MUST NOT WATCH VIDEOS WHILE
DRIVING.
IF THE DRIVER WATCHES A VIDEO WHILE
DRIVING, IT MAY LEAD TO CARELESSNESS
AND CAUSE AN ACCIDENT.
• KEEP THE MONITOR SYSTEM AT AN APPROPRI-
ATE SOUND LEVEL WHILE DRIVING.
DRIVING WITH THE SOUND AT A LEVEL THAT
PREVENTS YOU FROM HEARING SOUNDS
OUTSIDE OF AND AROUND THE VEHICLE MAY
CAUSE AN ACCIDENT.
• ASK A TRAINED TECHNICIAN TO INSTALL THE
MONITOR SYSTEM.
INSTALLATION AND WIRING REQUIRE TRAINING
AND EXPERIENCE.
* TO BE SAFE, ASK THE SALES OUTLET WHERE
YOU PURCHASED THE MONITOR SYSTEM TO
PERFORM THE INSTALLATION.
• DO NOT LET THE MONITOR SYSTEM FALL OR
BE STRONGLY IMPACTED.
BE SURE TO NOT LET THE MONITOR SYSTEM FALL
OR BE STRONGLY IMPACTED SINCE THIS MAY
CAUSE A MALFUNCTION OR FIRE.
• DO NOT WATCH THE MONITOR WITH THE
ENGINE OFF.
WATCHING THE MONITOR WITH THE ENGINE OFF
WILL CONSUME BATTERY POWER AND MAY
PREVENT THE ENGINE FROM STARTING.
CAUTIONS
WARNING:
TO PREVENT FIRE OR SHOCK
HAZARD, DO NOT EXPOSE THIS
UNIT TO RAIN OR MOISTURE.
CAUTION:
This monitor system should be used with DC 12V only.
To prevent electric shocks and fire hazards, DO NOT use
any other power source.
CAUTION
RISK OF ELECTRIC SHOCK
DO NOT OPEN
CAUTION: TO REDUCE THE RISK OF ELECTRIC SHOCK.
DO NOT REMOVE COVER (OR BACK)
NO USER SERVICEABLE PARTS INSIDE.
REFER SERVICING TO QUALIFIED SERVICE PERSONNEL.
The lightning flash with arrowhead symbol,
within an equilateral triangle is intended to
alert the user to the presence of uninsulated
"dangerous voltage" within the product's
enclosure that may be of sufficient
magnitude to constitute a risk of electric
shock to persons.
The exclamation point within an equilateral
triangle is intended to alert the user to the
presence of important operating and
maintenance (servicing) instructions in the
literature accompanying the appliance.
Safety points (Be sure to follow these points)

3
KV-M70 (EN)
TQBX0243[E]
ENGLISH
DEUTSCHFRANÇAIS
NEDERLANDS
• Do not leave the liquid crystal panel surface
facing upwards on top of the dashboard.
(storage temperature range: –20 °C to +80 °C )
Cautions for the liquid crystal panel
• Do not strongly impact the liquid crystal panel.
• There are red spots, blue spots and green
spots on the panel surface. This is a charac-
teristic of liquid crystal panels and is not a
problem.
The liquid crystal panel is built with very high
precision technology and has at least 99.99%
effective image pixels. Be aware that on
0.01% of the panel there may be missing
pixels or constantly light pixels.
• When the temperature is very cold or very hot,
the image may not appear clearly or may
move slowly.
Also, movement of the image may seem to be
out of sync or the image quality may decline in
such environments. Note that this is not a
malfunction or problem.
(usage temperature range: 0 °C to +40 °C)
40 °C or hotter
0 °C or colder
During the summer,
temperatures can
reach as high as
100 °C.
+80°C
–20
–20°C to +80°C
Spots
When the liquid crystal panel reaches high
temperatures or low temperatures, chemical
changes occur within the liquid crystal panel
which may cause malfunctions.

4
KV-M70 (EN)
TQBX0243[E]
Thank you for purchasing a JVC product. Please read all instructions carefully before operation,
to ensure your complete understanding and to obtain the best possible performance from the
unit.
Table of Contents
Introduction to the Roles of the System Components ................5
How to Use the Monitor System
Controlling the Volume of the Built-in Speaker .........................10
Selecting the ASPECT (Display Size).......................................11
Adjusting Brightness .................................................................13
Selecting the Monitor System (PAL/NTSC) ..............................17
Adjusting the Image ..................................................................19
Connecting to External Devices................................................21
Connecting the Remote-control Data Conversion Cord ...........22
How to Best Use the Monitor System
Troubleshooting ........................................................................23
Maintenance .............................................................................24
Specifications............................................................................25

5
KV-M70 (EN)
TQBX0243[E]
ENGLISH
DEUTSCHFRANÇAIS
NEDERLANDS
Introduction to the Roles of the System
Components
Controller unit
POWER
DISPLAY UNIT VIDEO VIDEO REMOTE
VIDEO
L-AUDIO-R
L-AUDIO-R
AV INPUT 1
AV INPUT 2 L-AUDIO-R
AV
OUTPUT
Terminal for connecting a
2nd monitor or car stereo
audio output
Terminal for connecting the power cord
Terminal for connecting to the KV-M70 display unit
Terminal for connecting a mobile video
machine, video camera or other device
Terminal for connecting the remote-control
data conversion cord
Terminal for connecting a
mobile video machine,
video camera or other device
By connecting this terminal to the REMOTE CONTROL
SENSOR INPUT terminal of the JVC Mobile Video
Cassette Recorder KV-V10, the KV-V10 can be
remotely operated via the remote-control light receiving
section of the KV-M70. (Be sure to use the KV-V10
remote controller.)
22
The numbers in the circles ( )
indicate the page on which an
explanation is provided in this manual.

6
KV-M70 (EN)
TQBX0243[E]
Introduction to the Roles of the System Components (continued)
KV-M70 display unit
MENUMODE ASPECT/
Used to display, select and determine the
various adjustments (screen, menu).
Used to display, select and determine the ASPECT (display size).
Used to turn the power
source ON and OFF
Normally:
Used to control the volume level of
built-in speaker.
When setting various menus:
Menu selection
When setting various adjustment modes:
Adjustment and switching
Used to display the
configuration screen for
changing the input source.
KV-M70
MOBILE COLOR MONITOR SYSTEM
Dimmer sensor
This sensor automatically adjusts the screen brightness.
(When Auto Mode is set for the Dimmer Setting, the
screen brightness is automatically adjusted to one of 12
levels to suit the surrounding brightness.)
Remote sensor
STAND BY (R), ON (G)
When the power is off ... red
When the power is on ... green
Speaker
(on the back side)
Screw holes are provided for attaching the monitor
stand (on the bottom side).
(1/4 inch unify screw, maximum length of 4.5 mm)
Terminal for connecting
the cable from the
controller unit (on the
right side)
13, 14

7
KV-M70 (EN)
TQBX0243[E]
ENGLISH
DEUTSCHFRANÇAIS
NEDERLANDS
NORMAL
FULL ZOOM JUST
When pressed for 2 seconds or longer: The menus for image can be displayed.
When setting the menus: The Menu selection and adjustment can be decided.
BLACK LEVEL
CONTRAST
COLOR
TINT
END
UP / DOWN SELECT
MENU
19, 20
MENU button
When pressed for less than 2 seconds: The adjustment screen display can be selected.
MODE button
When pressed: The input source can be changed.
VIDEO 1
VIDEO 2
NORMAL
FULL
ASPECT button
When pressed: The display size can be set.
AUTOMATIC DIMMER
DIMMER MODE
PAL / NTSC MODE
END
UP / DOWN SELECT
MENU
13 to 18

8
KV-M70 (EN)
TQBX0243[E]
Introduction to the Roles of the System Components (continued)
Wireless remote controller
VIDEO 1
VIDEO 2
NORMAL
FULL
10
13 to 16
11, 12
Used to turn the power
source ON and OFF
Used to display,
select and determine
the ASPECT
(display size)
Used to change the
input source.
Used to adjust volume
level of the built-in
speaker.
When AUTOMATIC is selected
in the DIMMER MODE:
Used to set to the best visibility
brightness level for night time.
When MANUAL is selected
in the DIMMER MODE:
Used to adjust the screen
brightness.
NORMAL
FULL
ZOOM
JUST

9
KV-M70 (EN)
TQBX0243[E]
ENGLISH
DEUTSCHFRANÇAIS
NEDERLANDS
Before using the wireless remote controller
• A battery is already installed in the wireless remote con-
troller. Remove the insulation film before using.
How to replace the battery
When it becomes necessary to bring the wireless remote controller close to the remote sensor
forittowork,thebattery is running low. At this point, the battery should be replaced. (Batterylife
is about 1 year with normal use.)
Remove the battery case.
Push in the direction indicated by the arrow with your right
hand thumbnail.
Remove the battery case.
Replace the battery.
Put the battery in the case with the side facing upwards.
Return the battery case.
Re-insert the battery case pushing until you hear a clicking
sound.
a
b
(back side)
Lithium coin
battery
(product number:
CR2025)
(back side)
WARNING:
• Store the batteries in a place which children cannot reach.
* If a child somehow ingests the battery, immediately consult a doctor.
• Do not recharge, short, disassemble or heat the batteries or put
them in a flame.
Doing any of these things may cause the batteries to give off heat, crack or
start a fire.
• Do not mix the batteries with other metals.
Doing this may cause the batteries to give off heat, crack or start a fire.
• When throwing away or saving the batteries, wrap in tape and
insulate.
If this is not done, it may cause the batteries to give off heat, crack or start
a fire.
• Do not poke the batteries with a metal pin set or similar device.
Doing this may cause the batteries to give off heat, crack or start a fire.

10
KV-M70 (EN)
TQBX0243[E]
Controlling the Volume of the Built-in Speaker
Press the UP ([ ] or [ ]) or DOWN ([ ] or [ ]) button
to show the Speaker Volume display.
Adjusting the speaker volume level.
To increase the volume level, press the UP button.
To decrease the volume level, press the DOWN button.
Note:
• If no operations are performed for a period of 3 seconds after pressing the UP or DOWN button:
The Speaker Volume display configuration screen automatically disappears.
• To control the external sound output level, adjust the volume control of the connected external audio
equipment.
MENUMODE ASPECT/
or
or
SPEAKER VOLU
M
E
30
SPEAKER VOLU
M
E
30

11
KV-M70 (EN)
TQBX0243[E]
ENGLISH
DEUTSCHFRANÇAIS
NEDERLANDS
Selecting the ASPECT (Display Size)
Withthismonitor, you can enjoy audio and visuals by changing the display size accordingtotheinputsource
image. (See the following page for the display size type.)
Press the MODE button, and then select the input source
type of the image that you want to watch.
Press the ASPECT button.
Each time this button is pressed, the display size changes
with the aspect name in the sequence shown on the left.
The aspect name corresponding to the display size is dis-
played in the upper left of the screen for 3 seconds.
Note:
• Make this selection for each input mode.
MENUMODE ASPECT/
or
ASPECT
or
NORMAL
FULL
ZOOM
JUST
MODE
VIDEO 1
VIDEO 2
NORMAL
FULL

12
KV-M70 (EN)
TQBX0243[E]
Display Size Type
The conventional TV image has a 4:3 ratio of horizontal to
vertical. This image is displayed in the original size. In this
case, a blank area remains on the right and left sides of the
display.
The conventional TV image is horizontally enlarged as is.
The TV image is framed with respect to the top and bottom
portions according to the horizontal size of the display, and
then is enlarged.
The video of a movie in theater-size aspect can be displayed
without the black bar at the top and bottom of the screen.
Note:
• The top and bottom bars may remain depending on the source
video.
• The resolution may be slightly decreased in this mode in compari-
son to other modes.
The conventional image is fully enlarged horizontally so that
the image will not seem unnatural.
JUST
ZOOM
FULL
NORMAL

13
KV-M70 (EN)
TQBX0243[E]
ENGLISH
DEUTSCHFRANÇAIS
NEDERLANDS
Adjusting Brightness
For the automatic mode
(The monitor system is set to the AUTOMATIC Mode at the time of shipment from the factory.)
Automatically adjusts the screen brightness to suit the brightness of the surrounding environment.
MENUMODE ASPECT/
Press the MENU button for less than 2 seconds.
Note:
• When END is selected, the system returns to the initial screen.
Select DIMMER MODE.
Press the MENU button.
Select AUTOMATIC.
Note:
• When AUTOMATIC is selected in advance:
With the wireless remote controller, it is possible to set this
level directly using the BRIGHT button.
MENU
MENU
AUTOMATIC DIMMER
DIMMER MODE
PAL / NTSC MODE
END
UP / DOWN SELECT
MENU
AUTOMATIC DIMMER
DIMMER MODE
PAL / NTSC MODE
END
UP / DOWN SELECT
MENU
[DIMMER MODE]
AUTOMATIC
MANUAL
SELECT SET
MENU
[DIMMER MODE]
AUTOMATIC
MANUAL
SELECT SET
MENU

14
KV-M70 (EN)
TQBX0243[E]
MENU
MENU
AUTOMATIC DIMMER
DIMMER MODE
PAL / NTSC MODE
END
UP / DOWN SELECT
MENU
AUTOMATIC DIMMER
DIMMER MODE
PAL / NTSC MODE
END
UP / DOWN SELECT
MENU
AUTOMATIC DIMMER
–30
AUTOMATIC DIMMER
–30
or
MENUMODE ASPECT/
Press the MENU button.
Select AUTOMATIC DIMMER.
Press the MENU button and show the automatic dimmer
(darkness level) display.
Use the UP or DOWN button to adjust brightness to the
best visibility at night.
Note:
• When the adjustment is made to the best visibility at night, the
system automatically adjusts the level between the maximum
brightness and the brightness for the best visibility at night (mini-
mum brightness).
(It is recommended that the setting be put between –40 and –60).
• When 0 is set, the value is fixed to the maximum level and the
brightness does not change.
• If no operation is selected for 10 seconds while the menu or one of
the adjustment items is displayed, the display automatically re-
turns to the initial screen.

15
KV-M70 (EN)
TQBX0243[E]
ENGLISH
DEUTSCHFRANÇAIS
NEDERLANDS
Adjusting Brightness
For the manual mode
The screen brightness can be adjusted manually.
Press the MENU button for less than 2 seconds.
Note:
• When END is selected, the system returns to the initial screen.
Select DIMMER MODE.
Press the MENU button.
Select MANUAL.
Note:
• When MANUAL is selected in advance:
Withthewirelessremotecontroller,itispossibletosetthislevel
directly using the BRIGHT button.
MENU
MENU
AUTOMATIC DIMMER
DIMMER MODE
PAL / NTSC MODE
END
UP / DOWN SELECT
MENU
AUTOMATIC DIMMER
DIMMER MODE
PAL / NTSC MODE
END
UP / DOWN SELECT
MENU
[DIMMER MODE]
AUTOMATIC
MANUAL
SELECT SET
MENU
[DIMMER MODE]
AUTOMATIC
MANUAL
SELECT SET
MENU
MENUMODE ASPECT/

16
KV-M70 (EN)
TQBX0243[E]
MENU
MENU
BRIGHTNESS
DIMMER MODE
PAL / NTSC MODE
END
UP / DOWN SELECT
MENU
BRIGHTNESS
DIMMER MODE
PAL / NTSC MODE
END
UP / DOWN SELECT
MENU
BRIGHTNESS
–30
BRIGHTNESS
–30
or
MENUMODE ASPECT/
Press the MENU button.
Select BRIGHTNESS.
Press the MENU button and show the brightness display.
Use the UP or DOWN button to adjust brightness to your
preferred level.
Note:
• If no operation is selected for 10 seconds while the menu or one of
the adjustment items is displayed, the display automatically re-
turns to the initial screen.

17
KV-M70 (EN)
TQBX0243[E]
ENGLISH
DEUTSCHFRANÇAIS
NEDERLANDS
MODE
Press the MODE button, and the select the input source of
the image that you want to view.
Press the MENU button for less than 2 seconds.
Note:
• When END is selected, the system returns to the initial screen.
Select PAL/NTSC MODE and Press MENU button.
Selecting the Monitor System (PAL/NTSC)
(The monitor system is set to the PAL mode at the time of shipment from the factory.)
Set the Monitor System to view the input source of a different imaging system.
MENU
MENUMODE ASPECT/
AUTOMATIC DIMMER
DIMMER MODE
PAL / NTSC MODE
END
UP / DOWN SELECT
MENU
AUTOMATIC DIMMER
DIMMER MODE
PAL / NTSC MODE
END
UP / DOWN SELECT
MENU
VIDEO 1
VIDEO 2
NORMAL
FULL
MENU
→

18
KV-M70 (EN)
TQBX0243[E]
MENU
MENU
MENUMODE ASPECT/
[PAL / NTSC MODE]
PAL
NTSC
SELECT SET
MENU
AUTOMATIC DIMMER
DIMMER MODE
PAL / NTSC MODE
END
UP / DOWN SELECT
MENU
AUTOMATIC DIMMER
DIMMER MODE
PAL / NTSC MODE
END
UP / DOWN SELECT
MENU
→
Select the monitor system of the input source.
• If an image in the PAL system is input: Select PAL.
* The PAL 50Hz and 60Hz input signals are automatically dis-
criminated and processed.
• If an image in the NTSC system is input: Select NTSC.
* To use an NTSC format video cassette player, set the monitor
system to “NTSC”.
Press the MENU button.
Select END and press MENU button.
Note:
• Make this selection for each input mode.
• If the monitor system has been incorrectly selected:
The image may move upward/downward or some colors may
be missing from the image.
• If no operation is selected for 10 seconds after the PAL/NTSC se-
lection screen is displayed or the menu screen is displayed follow-
ing the selection, the display automatically returns to the initial
screen. (In this case, the Monitor System is not changed from the
state before the selection.)
• Some image adjustment items may not be available when PAL is
selected. (See pages 19 and 20.)

19
KV-M70 (EN)
TQBX0243[E]
ENGLISH
DEUTSCHFRANÇAIS
NEDERLANDS
Press the MENU button for 2 seconds or longer.
Note:
• When END is selected, the system returns to the initial screen.
• If no operations are performed for a period of 30 seconds after
pressing the MENU button:
The Menu configuration screen automatically disappears.
Select BLACK LEVEL.
Press the MENU button.
Adjust the Black level.
Note:
• After 10 seconds passes:
The Black Level adjustment screen automatically disappears.
Adjusting the Image
Example: Adjusting the black level
MENUMODE ASPECT/
MENU
MENU
BLACK LEVEL
CONTRAST
COLOR
TINT
END
UP / DOWN SELECT
MENU
BLACK LEVEL
-15
BLACK LEVEL
CONTRAST
COLOR
TINT
END
UP / DOWN SELECT
MENU
BLACK LEVEL
-15

20
KV-M70 (EN)
TQBX0243[E]
Adjustment points (Image features can be adjusted from the various setting screens)
BLACK LEVEL
-15
BLACK LEVEL
+15
BLACK LEVEL
Makes the black portions of the
screen easier to see (Night
scenes, black hair, etc.)
CONTRAST
-15
CONTRAST
+15
CONTRAST
Normally set in the middle.
Move to the right for more contrast.
COLOR
-15
COLOR
+15
Colors are less vivid. Colors are more vivid.
COLOR
Setting to slightly
thicker colors
TINT
-15
TINT
+15
TINT
(NTSC mode only)
Setting for attractive
skin color Skin color has a greenish
tint.
Adjust the Black Level when there is an inversion of the black and white on the
screen or the screen appears too white due to an imbalance in the relationship
between the installation position of the monitor and eye level.
Skin color has a reddish-
purplish tint.
When the Black Level is
on the negative [–] side. When the Black Level is
on the positive [+] side.
Other manuals for Car LCD Monitor KV-M70
2
Table of contents
Languages:
Other JVC Car Video System manuals

JVC
JVC KW-M788BH User manual

JVC
JVC KV-MR9010 User manual

JVC
JVC EXAD KW-AVX810 Guide

JVC
JVC KD-AV7010 - DVD Player With LCD Monitor Guide

JVC
JVC KV-M700J User manual

JVC
JVC EXAD KW-AVX900 Guide

JVC
JVC EXAD KW-AVX820 Guide

JVC
JVC KW-V230BT User manual

JVC
JVC KW-M150BT User manual

JVC
JVC KD-AV7010 - DVD Player With LCD Monitor User manual