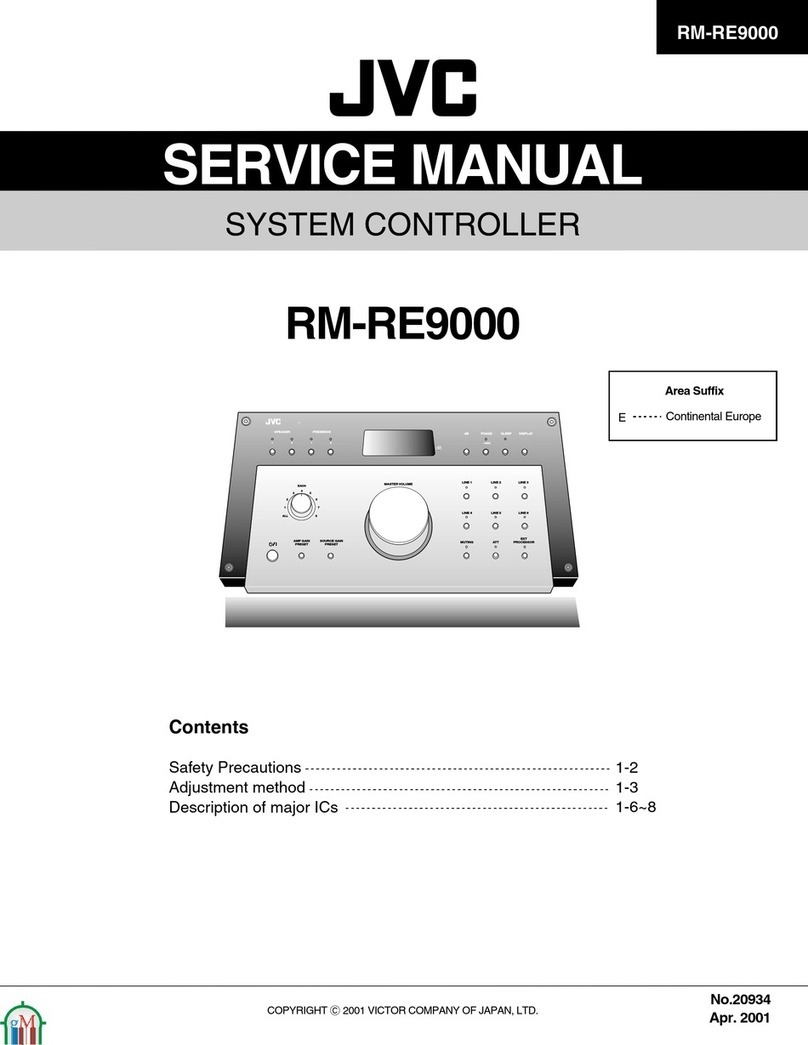
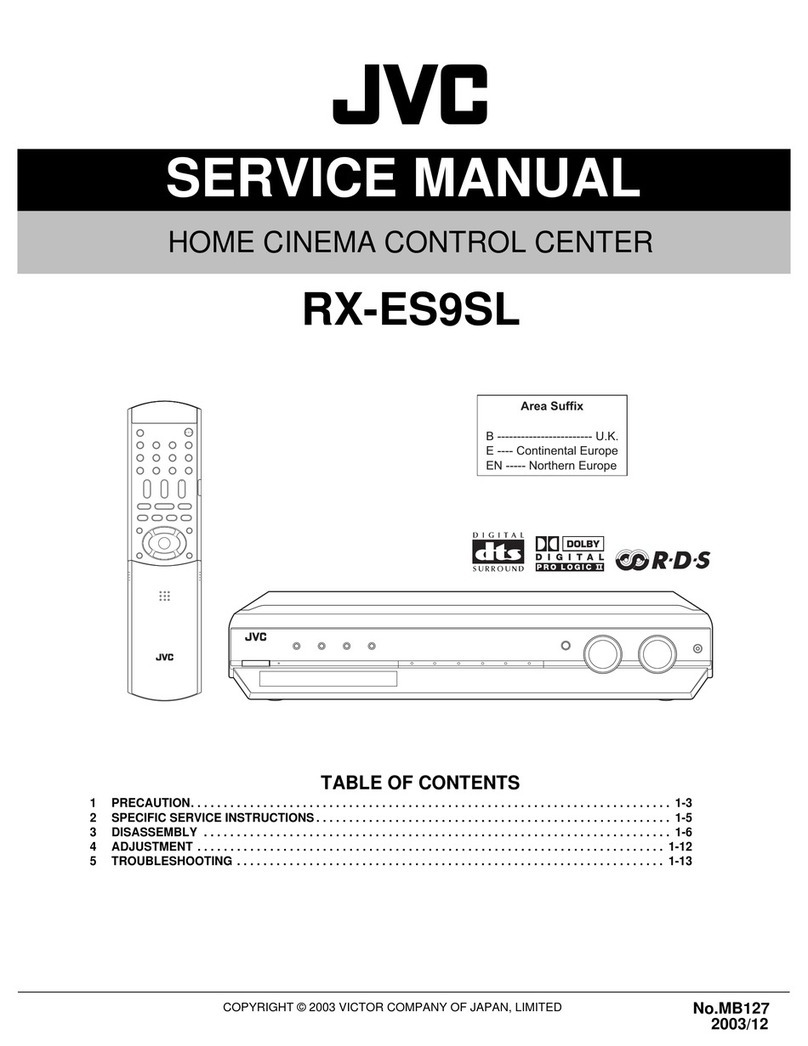
JVC RM-LP5G User manual

JVC Compact Joystick
PTZ Controller
RM-LP5G
User Manual V1.0

- 1 -
Parameters & Specs
Communication & Control Interface
Camera Control and Operation
Control Signal Format
Power Supply and Consumption
Physical & Others
Description of
Controls
Interface and Connection Diagram
Upgrade Interface
RS422/RS485 Interface
RS232 Interface
LAN Interface
DC Power Supply Interface
System Menu Operation Instructions
System Menu Function
System Menu
System Settings
Comm Settings
Ethernet Settings
Password Settings
System Menu Guide
Products Dimensions
Content
2
2
2
2
2
2
3
9
9
9
10
10
11
1 2
1 2
1 2
1 2
1 3
1 3
1 4
15
16

- 2 -
Communication & Control Interface
RS422/RS485 Interface Phoenix Contact 4 pin 3.81mm Terminal
RS232C Interface DB9 Male Interface
LAN Interface RJ45 Female Interface
Power Supply JEITA type4 Female Interface
Upgrade Online Micro USB Female Interface
Camera Control or Operation
Camera Support
5
Communication Protocol VISCA, PELCO P/D, UDP
Number of LED Displays 4 Units Color LED Display Screen
Number of Camera Channels5
Innitely variable knobs 4
Joystick 2-Axis
Zoom Mode Tele-Wide Bridge Keys
Buttons 17 Silicon Button
Presets Short keys 5 Presets or Max 10 Presets per Each Channel
Focus Mode Auto/ Manual/ OPT
Pan/Tilt Rotation Speed 7-Level Adjustment
Zoom In/Out Speed 7-Level Adjustment
AE Mode The mode can be switched arbitrarily, and the value can
be adjusted
WB Mode
Camera Menu One-keys for call
Control Signal Format
Baud Rate 2400bps, 4800bps, 9600bps, 19200bps, 38400bps
Date Bits 8 Bit
Stop Bit 1 Bit
Parity bit NONE
Internet Protocol UDP / VISCA OVER IP
Power Supply and Consumption
Rated Voltage DC 12V
Rated Current 0.3A max
Max Power Consumption 3.6W
Physical & Others
Password Privacy Protection YES
Kingston's Lock Hole YES
Works Temperature 0℃ ~ 40℃(32 ℉ ~ 104 ℉)
Storage Temperature -20℃ ~ +60℃(-4 ℉ ~ 140 ℉)
Working Environment Indoor
Dimensions ( L× W × H ) 244 × 164 × 48mm
G.W 1.1 kg
Accessories Phoenix Contact 4 pin 3.81mm Terminal /
Power Adapter / User Manual
Parameters & Specs

- 3 -
Rotation Knob to adjust the Camera Exposure Parameter or Red Gain Value, Turn
Right to valued Increase, Turn Left to Decrease.
Rotation Knob to adjust the Camera Exposure Parameter or Blue Gain Value, Turn
Right to Increase, Turn Left Rotation to Decrease.
Rotation Knob to adjust the Camera Exposure Parameter, Turn Right to Increase,
Turn Left to Decrease.
LED Display, Real-time display of items and parameter values of " knob ① ".
LED Display, Real-time display of items and parameter values of " knob ② ".
LED Display, Real-time display of items and parameter values of " knob ③ ".
·Zoom Bridge Key
It is used to control the camera to Zoom In/Out, for example, press the TELE end
of the bridge key, the camera will Zoom in the TELE direction object, When you
Press with more Large Pressure, then the Zoom Speed changed more Faster.
·Focus
When the [AUTO]Button is illuminated, the focus mode is set to automatic;
When the [AUTO] Button is off, the Focus Mode is set to Manual. Users can
Press this button to switch modes.
Description of Button & Knob Function
①
②
③
④
⑤
⑥
⑦
⑬ ⑨
⑫
⑪
⑧
⑭
⑩
⑮
①
②
③
④ ⑤
⑥
⑦

- 4 -
Description of Button & Knob Functions
[OPT key] is used to trigger single focus of the camera. At the same time, the
camera enters the one-shot auto focus mode.
⑨ PTZ Speed Adjustment Knob
This knob is used to adjust the speed of Camera Pan, Tilt and Zoom.
The Current Speed will be displayed on the Led Display. The Value is lower
when the pan/tilt rotation speed or zoom speed of the camera Slower.
⑩ 2-Axis Joystick
The joystick supports camera Up/Down, Left and Right movements.
When the camera or keyboard menu is opened, the joystick is used to
control the menu cursor Up/Down,Left/Right and modify parameters.
⑪ Channel Button Zone
[ CAM1 ] to [ CAM5 ] are shortcut keys for camera channels. When you
select any camera channel, the back-light of the corresponding camera
channel will be illuminated in green, and all the parameters and settings of
the keyboard will be changed to the current Channel.
Note: The communication parameters (address ID, protocol, baud rate, IP address,
port number, etc.) of each channel can be set individually. Mixed use of multiple
protocols through different channel is supported.
⑫ Presets Function Zone
●[ Number Keys ]
SETTING PRESETS :
Long Press and hold the number key for 2 seconds (such as [Number key
1], when the screen displays "Set Preset 1”preset 1 has been saved)
CALL PRESETS :
Short press the preset number to recall Presets, (for example, [Number key
1], when you press the [Number key 1]the screen displays "Show Preset 1",
this means that preset 1 has been recalled).
●[RESET]
It is used to clear presets.
>When the System Menu selection is in 5 presets Mode
Press[RESET]+[Number keys]to clear the presets setting.
Clear the preset: After pressing the [RESET ] Button, the green backlight starts to flash,

- 5 -
and then press the preset number to be cleared.
>When the menu selection is in 10 presets Mode. the [RESET] Button is changed
to a presets expansion compound key, which is used to set and call 6-10 preset
positions.
[RESET]+]CAM1-5]TO Setting or Call 6-10 Presets.
Set Presets 6-10
Press the [RESET] key, at the same time of the number keys [1-5] and [CAM1-CAM5] will
light up in green at the same time, and the camera channel keys [CAM1-CAM5] will be
changed to number keys 6-10 Presets, the user can Set 6-10 Presets
Long press[CAM1], when "Set Preset 6" is displayed on the screen, means that No. 6
Preset has been saved;
Call Presets 6-10
Press the [RESET] key, at the same time of the number keys [1-5] and [CAM1-CAM5]will
light up in green at the same time, the camera channel key [CAM1-CAM5] will be
changed to the number keys 6-10 Presets, the user can call 6-10 Presets
Press【CAM1】, when "Show Preset 6" is displayed on the screen, means that the No. 6
Presets is being called;
*Note: When 10 Presets Mode is selected, All Presets cannot be cleared through the
[RESET] Button and Only can be replaced by New Presets.
⑬ FOCUS Knob
This Knobs is for adjusting the camera's focal length. When using this
function, the keyboard’s Focus mode will be changed to Manual.
⑭ Function Key Zone
●[Menu Key]
This key is to Turn ON/OFF Camera Menu, Long Pressing for 3 seconds will
turn on the Keyboard system Menu.
●[AE MODE Key]
This key is used to change the automatic exposure mode of the camera.
Each time it is pressed, the camera changes to a different exposure mode.
The specific functions are shown in Table 1:

- 6 -
●[ WB MODE Key ]
This Key is used to changed the White Balance of the camera. Each Time is
pressed, the camera will be changed to dierent WB Mode.Under in dierence of
WB mode, the corresponding functions of Knob 1, Knob 2 are dierent.
The specic functions of the knobs are shown in Table 2:
●[ Fn Keys ]
This key is reserved for adding custom functions.
The factory default state is: short press this key to send the command to enter the
Sub-menu of the camera, long press this key for 3 seconds to return to Home Position
of Camera.
⑮ LED DISPLAY
Used to display the current status information & Settings of the keyboard in real time
(including IP address, Port number, serial port address, communication protocol,
Baud Rate and other information) and keyboard menu. The brightness of the display
can be set through the keyboard menu.
When the selected camera brand does not match the camera used, the parameter
values displayed on the screen corresponding to the knob ① /Knob ② / knob ③
may not match the actual parameters of the camera.
White Balance Mode Knob 1 Knob 2
Auto NOT USED NOT USED
Manual Red Gain Blue Gain
Table 2
Exposure Mode Knob 1 Knob 2 Knob 3
Auto NOT USED NOT USED Exposure Compensation
Manual Shutter Iris Gain
Shutter Priority Shutter NOT USED Exposure Compensation
Iris Priority Iris NOT USED Exposure Compensation
Brightness Priority Iris Gain Exposure Compensation
Table 1

- 7 -
Description of Button & Knob Function
Execution Command
CAM_WB
Auto 8x 01 04 35 00 FF Normal Auto
Indoor 8x 01 04 35 01 FF Indoor mode
Outdoor 8x 01 04 35 02 FF Out door mode
One Push WB 8x 01 04 35 03 FF One Push WB mode
ATW 8x 01 04 35 04 FF Auto Tracing White Balance
Manual 8x 01 04 35 05 FF Manual Control Mode
One Push Trigger1 8x 01 04 10 05 FF One Push WB Trigger
CAM_RGain
Reset 8x 01 04 03 00 FF
Manual Control of R GainUp 8x 01 04 03 02 FF
Down 8x 01 04 03 03 FF
Direct 8x 01 04 43 00 00 0p 0q FF pq: R Gain
CAM_BGain
Reset 8x 01 04 04 00 FF
Manual Control of B GainUp 8x 01 04 04 02 FF
Down 8x 01 04 04 03 FF
Direct 8x 01 04 44 00 00 0p 0q FF pq: B Gain
CAM_AE
Full Auto 8x 01 04 39 00 FF Automatic Exposure mode
Manual 8x 01 04 39 03 FF Manual Control mode
Shutter Priority 8x 01 04 39 0A FF Shutter priority Exposure mode
Iris Priority 8x 01 04 39 0B FF Iris priority Exposure mode
Bright 8x 01 04 39 0D FF Brightness Mode(Manual control)
CAM_Shutter
Reset 8x 01 04 0A 00 FF
Shutter SettingUp 8x 01 04 0A 02 FF
Down 8x 01 04 0A 03 FF
Direct 8x 01 04 4A 00 00 0p 0q FF pq: Shutter Position
CAM_Iris
Reset 8x 01 04 0B 00 FF
Iris SettingUp 8x 01 04 0B 02 FF
Down 8x 01 04 0B 03 FF
Direct 8x 01 04 4B 00 00 0p 0q FF pq: Iris Position
CAM_Gain
Reset 8x 01 04 0C 00 FF
Gain SettingUp 8x 01 04 0C 02 FF
Down 8x 01 04 0C 03 FF
Direct 8x 01 04 4C 00 00 0p 0q FF pq: Gain Position
AE Gain Limit 8x 01 04 2C 0p FF p: Gain Position (4 to F)
CAM_Bright
Up 8x 01 04 0D 02 FF —
Down 8x 01 04 0D 03 FF
Direct 8x 01 04 4D 00 00 0p 0q FF pq: Brightness Position
CAM_ExpComp
On 8x 01 04 3E 02 FF Exposure Compensation ON/OFF
O 8x 01 04 3E 03 FF
Reset 8x 01 04 0E 00 FF
Exposure Comp SettingUp 8x 01 04 0E 02 FF
Down 8x 01 04 0E 03 FF
Direct 8x 01 04 4E 00 00 0p 0q FF pq: ExpComp Position

- 8 -
Inquiry Command
CAM_WBModeInq 8x 09 04 35 FF
y0 50 00 FF Auto
y0 50 01 FF In Door
y0 50 02 FF Out Door
y0 50 03 FF One Push WB
y0 50 04 FF ATW
y0 50 05 FF Manual
CAM_RGainInq 8x 09 04 43 FF y0 50 00 00 0p 0q FF pq: R Gain
CAM_BGainInq 8x 09 04 44 FF y0 50 00 00 0p 0q FF pq: B Gain
CAM_AEModeInq 8x 09 04 39 FF
y0 50 00 FF Full Auto
y0 50 03 FF Manual
y0 50 0A FF Shutter Priority
y0 50 0B FF Iris Priority
y0 50 0D FF Bright
CAM_ShutterPosInq 8x 09 04 4A FF y0 50 00 00 0p 0q FF pq: Shutter Position
CAM_IrisPosInq 8x 09 04 4B FF y0 50 00 00 0p 0q FF pq: Iris Position
CAM_GainPosInq 8x 09 04 4C FF y0 50 00 00 0p 0q FF pq: Gain Position
CAM_BrightPosInq 8x 09 04 4D FF y0 50 00 00 0p 0q FF pq: Bright Position
CAM_ExpCompModeInq 8x 09 04 3E FF y0 50 02 FF On
y0 50 03 FF O
CAM_ExpCompPosInq 8x 09 04 4E FF y0 50 00 00 0p 0q FF pq: ExpComp Position
Shutter
Speed
/59.94/29.97
mode
50/25
mode
15 1/10000 1/10000
14 1/6000 1/6000
13 1/4000 1/3500
12 1/3000 1/2500
11 1/2000 1/1750
10 1/1500 1/1250
0F 1/1000 1/1000
0E 1/725 1/600
0D 1/500 1/425
0C 1/350 1/300
0B 1/250 1/215
0A 1/180 1/150
09 1/125 1/120
08 1/100 1/100
07 1/90 1/75
06 1/60 1/50
05 1/30 1/25
04 1/15 1/12
03 1/8 1/6
02 1/4 1/3
01 1/2 1/2
00 1/1 1/1
Gain
0F +43dB
0E +39dB
0D +36dB
0C +33dB
0B +30dB
0A +27dB
9 +24dB
8 +21dB
7 +18dB
6 +15dB
5 +12dB
4 +9dB
3 +6dB
2 +3dB
1 0dB
Display Compensation
values
Exposure
Comp
0E 7 +10.5dB
0D 6 +9dB
0C 5 +7.5dB
0B 4 +6dB
0A 3 +4.5dB
9 2 +3dB
8 1 +1.5dB
7 0 0dB
6 –1 –1.5dB
5 –2 –3dB
4 –3 –4.5dB
3 –4 –6dB
2 –5 –7.5dB
1 –6 –9dB
0 –7 –10.5dB
Iris
11 F1.6
10 F2
0F F2.4
0E F2.8
0D F3.4
0C F4
0B F4.8
0A F5.6
9 F6.8
8 F8
7 F9.6
6 F11
5 F14
0 CLOSE
Bright
IRIS GAIN
1F F1.6 +43dB
1E F1.6 +39dB
1D F1.6 +36dB
1C F1.6 +33dB
1B F1.6 +30dB
1A F1.6 +27dB
19 F1.6 +24dB
18 F1.6 +21dB
17 F1.6 +18dB
16 F1.6 +15dB
15 F1.6 +12dB
14 F1.6 +9dB
13 F1.6 +6dB
12 F1.6 +3dB
11 F1.6 0dB
10 F2 0dB
0F F2.4 0dB
0E F2.8 0dB
0D F3.4 0dB
0C F4 0dB
0B F4.8 0dB
0A F5.6 0dB
9 F6.8 0dB
8 F8 0dB
7 F9.6 0dB
6 F11 0dB
5 F14 0dB
0CLOSE 0
Description of Button & Knob Function

- 9 -
Interface Function and Connection Diagram
① Upgrade Interface
This interface is to upgrade keyboard firmware by laptop. Using
Micro USB Cable direct connection with a PC and upgrade tools
software.
② RS422/RS485 Interface
This Interface is used to connect with Cameras by RS422 or
RS485, detailed connection diagram as follows:
① ② ③ ④ ⑤

- 10 -
③ RS232 Interface
Interface Function and Connection Diagram
This Interface is using to connect with Cameras through RS232,
detailed connection diagram as follows :
④ LAN Interface
The LAN Interface is for connection with a Network switch. Network
PTZ Camera, detailed connection diagram as follows:
●Connect with Single Unit Network PTZ Camera:

- 11 -
This interface is the Power supply interface. Only use the
original Power adapter.
⑤ DC Power Supply Interface
●Connect with multiple cameras by LAN interface detailed connection diagram as
follows: (When connecting multiple cameras, you need to set the IP of each camera
separately with a computer).
Interface Function and Connection Diagram
S w i t c h i
( 1 0 B A S E - T / 1 0 0 B A S E - T X ,
c o m m e r c i a l l y a v a i l a b l e )
P C f o r s e t t i n g

- 12 -
1.Long Press [ MENU ] for 3 seconds to turn on the Keyboard system Menu;
2.The joystick swings up and down: control the system menu cursor to move up and
down / change the parameters of the current menu item;
3.The Joystick swings Right: enter the current menu item / save and exit the current menu item;
4.The Joystick swings Left: Exit current Menu item/ Abort and Exit current Menu item;
5.Press [ MENU ]to exit the System Menu;
6.Press the number keys[0]~[9]: input numerical value. For example: IP Address
or Port number setting.
1.Long Press [ MENU ] for 3 seconds to turn on
Keyboard system Menu.
2.The jo
ystick swings up and down to control the
menu cursor to move up and down.
SYSTEM SETTING
Move the joystick up and down to highlight [ System Setting ], then move right to enter
System Setting menu.
●[ Language ]
Move the joystick up/down to [Language], then
Move right to enter setting. Move the joystick up/
down to change the current Parameters setting. Move
the joystick right to save the current parameters
and exit the language setting state. The following
menus operate the same.
●[ LED Display Brigtness ]
Change the brightness of the LED display: Low, Normal, High.
●[ Automatic Standby ]
Set the keyboard to automatically enter standby mode without any operation
within a limited time.
Select-able: Off, 1 minute, 2 minutes, 5 minutes, 10 minutes, 20 minutes, 30 minutes,
60 minutes.
●[ Itself IP ]
To set the Keyboard IP Address / Port Number, default IP is 192.168.000.088 default
Port 52381.
●[ Preset Mode]
Move the cursor to [PRESET MODE], then move right to enter Presets Mode.
Select 5 Presets or 10 Presets Mode;
System Menu Operation & Explanation
1. System Setting
2. COMM Setting
3. Ethernet Setting
4. Password Setting
System Menu Operation Instructions
1. Language : English
2. LED Display Brigtness: Normal
3. Automatically Standby: O
4. Itself IP: 192.168.000.088
5. Itself Port: 52381
6.Preset Mode:5Preset/10Preset
7. Factory default Setting
8. About Keyboard

- 13 -
●[ Factory default Setting ]
To restore to Factory default settings.
●[ About Keyboard ]
To review the relevant information of the keyboard, including: keyboard model,
Firmware version, factory S/N and other information.
COMM SETTING
To move the cursor to[ Comm Setting ], then
Movement right to enter Comm Setting:
●[ Channel ]
The available channels CAM1~5 corresponds to the buttons [CAM1]~[CAM5].
●[ Address ]
To set the serial communication address of the corresponding channel.
If the current communication protocol is VISCA, the communication address can
be selected from 1~7. If the current communication protocol is PELCO-D/P,
The communication address can be selected from 1~255.
●[ Baud Rate ]
To set the serial communication Baud Rate of the corresponding channel.
Available in: 2400, 4800, 9600, 19200, 38400bps.
●[ Protocol ]
To set the Serial communication Protocol of the corresponding channel
( Including Serial Communication Protocol and Internet Communication Protocol).
Available in: VISCA, PELCO P/D, UDP.
●[ Camera Brand ]
Due to the differences in the AE/WB parameter values corresponding to
different brands of cameras, the actual function of the knob may vary.
Before using, please set the camera brand of the corresponding channel, you
can choose: JVC, PUAS, SONY, VHD, Minrray, Bolin...
ETHERNET SETTING
Move the cursor to [ Ethernet Setting ], then
move right to enter Ethernet Settings:
●[ Channel ]
The available channels CAM1~5 correspond to the buttons [CAM1]~[CAM5].
●[ Port ]
To set the UDP Port of the corresponding channel.
1. Channel: CAM1
2. Cam IP: 192.168.000.010
3. Port: 52381
System Menu Operation Instructions
1. Channel: CAM1
2. Address: 1
3. Baud Rate: 9600
4. Protocol: VISCA
5. Camera Brand: SONY

- 14 -
PASSWORD SETTING
Move the cursor to [ Password Setting ],
then move right to enter Password :
●[ Using Password ]
When the password function is Enabled, a password is required to enter the
menu. The default password is: 8888
●[ Modify Password ]
The user can change the password. If the password is not changed, the password
is the default password.
1. Using Password: Enabled
2. Modify Password
System Menu Operation Instructions

- 15 -
System Menu Operation Instructions
SYSTEM
MENU
SYSTEM
SETTING
1. Language: Chinese, English
2. LED Display Brightness: Low, Normal, High
3. Automatic Standby: Off, 1 minute, 2 minutes, 5
minutes, 10 minutes, 20 minutes, 30 minutes, 60
minutes
4. Itself IP: 192.168.000.088
5. Itself Port : 52381
6. Preset Mode:5 Preset /10 Preset
7. Factory Default Setting
8. About Keyboard: keyboard model, Firmware version,
factory S/N and other information
1. Channel: CAM1~CAM5
2. Cam IP : 192.168.
3.
1.
Port: 52381 000.010~14
Channel: CAM1~CAM5
2. Address: 1~7(VISCA); 1~255(PELCO-D/P)
3. Baud Rate: 2400, 4800, 9600, 19200, 38400bps
4. Protocol: VISCA、PELCO P/D、UDP
5. Camera Brand: JVC,PUAS, SONY, VHD, Minrray, Bolin
1. Password Enable: Disabled, Enabled
2. Modify Password
COMM
SETTING
ETHERNET
SETTING
PASSWORD
SETTING
SYSTEM MENU GUIDE

- 16 -
(Units of measure: mm)
Products Dimensions
Table of contents
Other JVC Controllers manuals