1
USE SETTING
TROUBLE?
PREPARE
IMPORTANT
Please refer to the separate manual
when watching digital channels.
Before reading the separate manual
Read this manual’s “Warning” section
(P. 2), and understand how to use the
TV safely. After that follow the
instructions in the “Getting started”
section (P. 8 - 17) to connect the aerial
and other external devices to the TV,
and configure the settings for the TV.
A separate manual “WATCHING
DIGITAL CHANNELS” is provided.
USE TROUBLE?
SETTING
WATCHING DIGITAL CHANNELS
Before reading this manual
Read the separate user manual (INSTRUCTIONS), “Warning”
(P. 2), and understand howto use th e TV safely. After that follow the
instructions in “Getting started” (P. 8) to connect the aerial and other
external devices to the TV, and configure the settings for the TV.
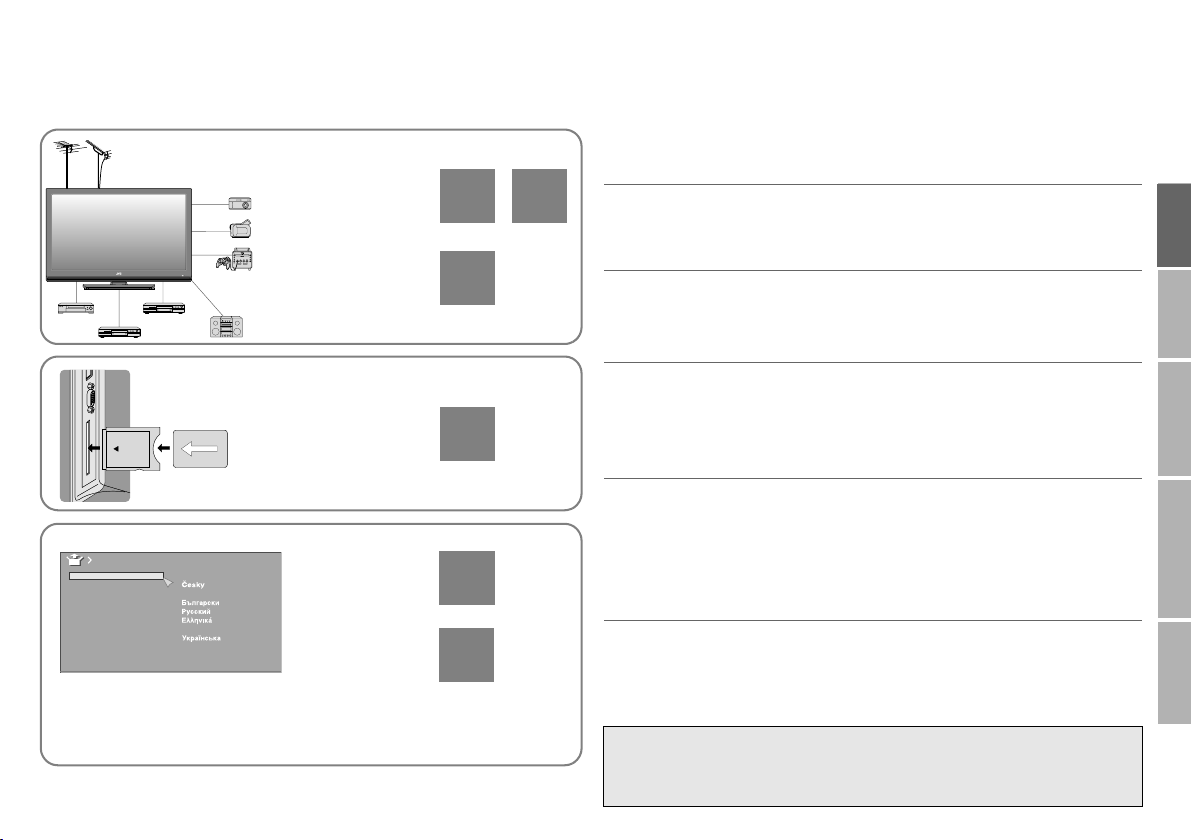
Digital terrestrial broadcasting (DVB-T)
gDigital channels
Analogue terrestrial broadcasting (VHF / UHF) and
analogue cable TV
gAnalogue channels
This TV can receive digital terrestrial broadcasting (DVB-T)
in the United Kingdom. Digital terrestrial broadcasting
(DVB-T) reception in other countries is not guaranteed.
The on-screen displays (including DTV menus) are in
English. No other languages are available.
Contents
This manual only provides information on
watching digital channels. Other information is
explained in the “INSTRUCTIONS”. Please read
both this manual and the “INSTRUCTIONS”
manual.
Note
Watching digital channels........................................... ..... ........2
Display the programme information ....................................................4
View subtitles ...................................................................................... 4
Select audio language ........................................................................5
View teletext information..................................................................... 5
Using EPG (Electronic Programme Guide) ...............................6
Customising your TV ............................................................. ..8
Edit PR (Edit PR List).......................................................................... 9
Timer................................................................................................. 10
Configuration..................................................................................... 12
Setup................................................................................................. 13
Installation......................................................................................... 14
Troubleshooting................................................................. .. .16
Technical information ......................... ...................................17
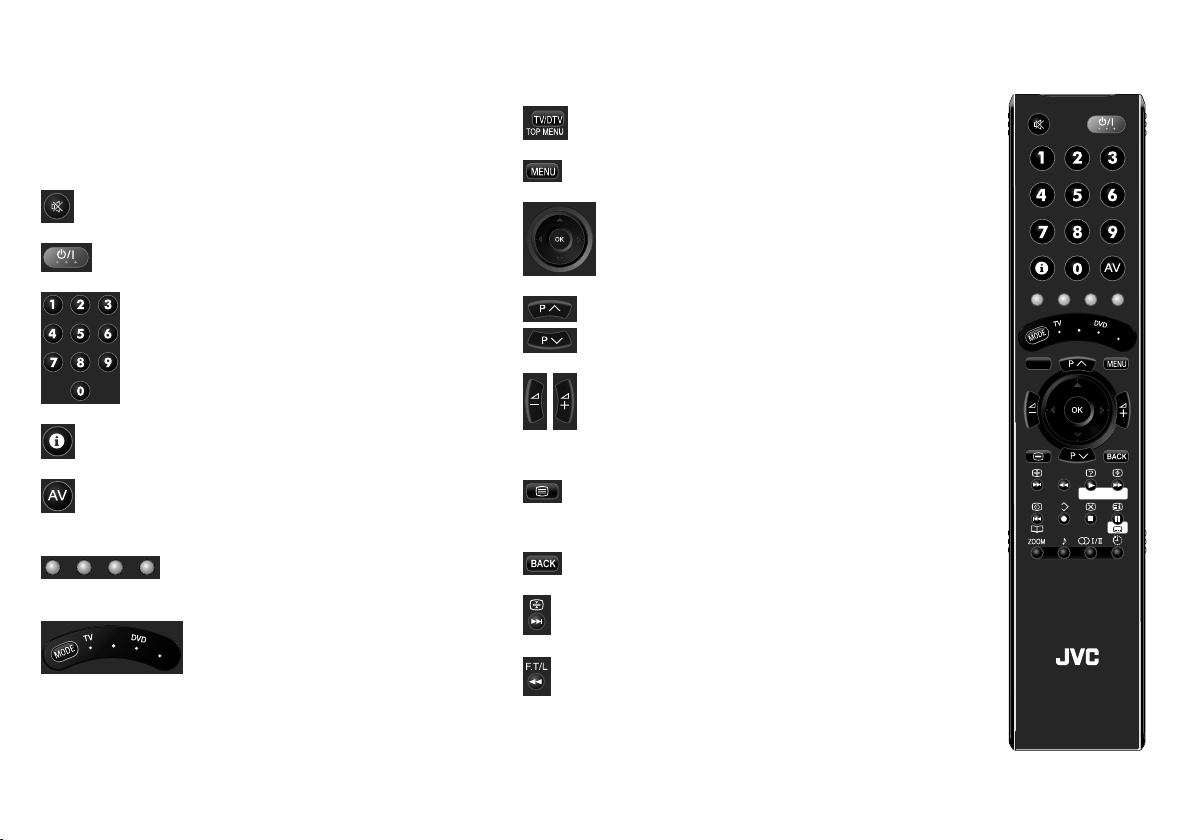
LCD
STB
AUDIO
F.T/L
TV/RADIO
GUIDE
TV/DTV
TOPMENU
GUIDE
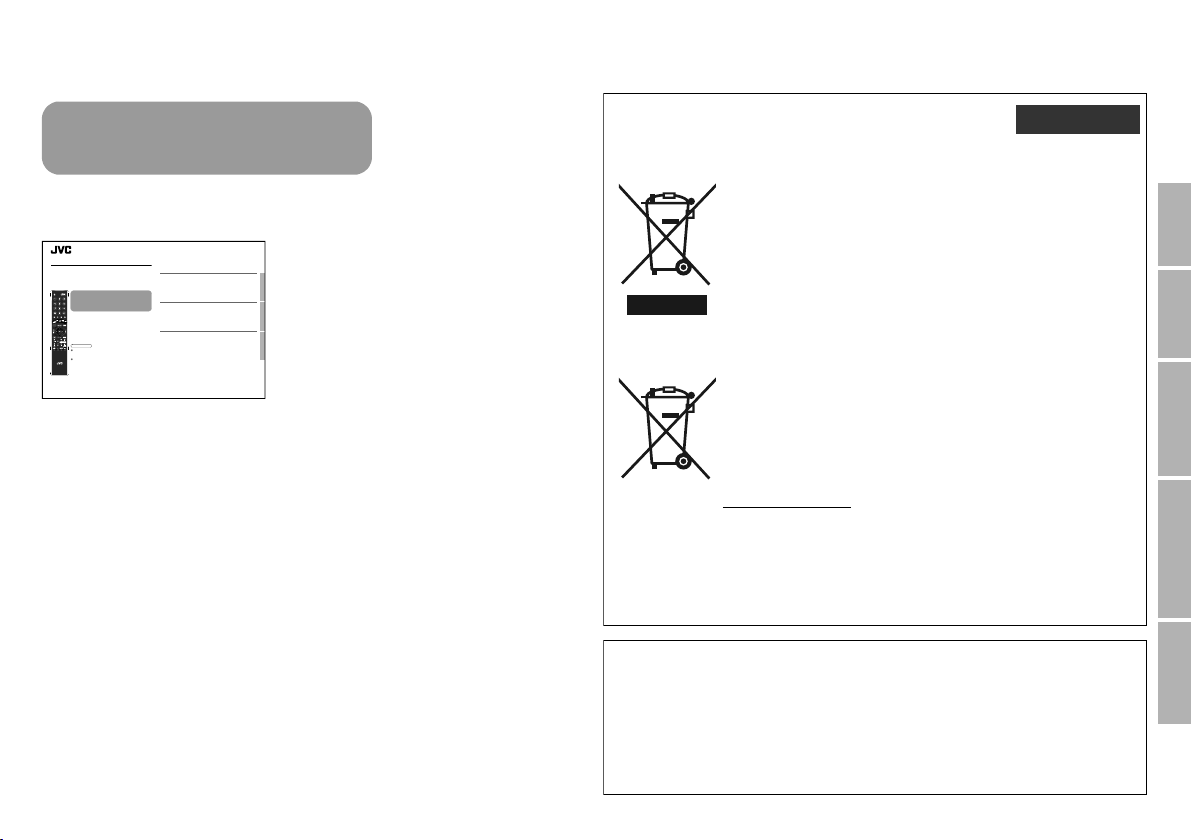
Information for Users on Disposal of Old
Equipment and Batteries
Notice:
Products
Battery
The sign Pb below
the symbol for
batteries indicates
that this battery
contains lead.
[European Union]
These symbols indicate that the electrical and electronic equipment
and the battery with this symbol should not be disposed of as
general household waste at its end-of-life. Instead, the products
should be handed over to the applicable collection points for the
recycling of electrical and electronic equipment as well as batteries
for proper treatment, recovery and recycling in accordance with your
national legislation and the Directive 2002/96/EC and 2006/66/EC.
By disposing of these products correctly, you will help to conserve
natural resources and will help to prevent potential negative effects
on the environment and human health which could otherwise be
caused by inappropriate waste handling of these products.
For more information about collection points and recycling of these
products, please contact your local municipal office, your household
waste disposal service or the shop where you purchased the product.
Penalties may be applicable for incorrect disposal of this waste, in
accordance with national legislation.
[Business users]
If you wish to dispose of this product, please visit our web page
www.jvc-europe.com to obtain information about the take-back of
the product.
[Other Countries outside the European Union]
These symbols are only valid in the European Union.
If you wish to dispose of these items, please do so in accordance
with applicable national legislation or other rules in your country for
the treatment of old electrical and electronic equipment and batteries.
ENGLISH
Dear Customer,
This apparatus is in conformance with the valid European directives and standards
regarding electromagnetic compatibility and electrical safety.
European representative of Victor Company of Japan, Limited is:
JVC Technical Services Europe GmbH
Postfach 10 05 04
61145 Friedberg
Germany
LT-42DR9BJ_003A.book Page 1 Thursday, September 11, 2008 3:03 PM