JVC LT-50EC3502 User manual

LT-50EC3502

This device contains licence-exempt transmitter(s)/receiver(s) that comply with Innovation,
Science and Economic Development Canada’s licence-exempt RSS(s).
(1) This device may not cause interference; and
(2) This device must accept any interference, including interference that may cause
undesired operation of the device.

manufacturer is strongly recommended to confirm compliance with ISED requirements for the
transmitter when the module is installed in the host.
Must have on the host device a label showing Contains IC ID: 12290A-WT84R2600(WiFi/BT module)

2
24.

Chapter 1: Introduction
Chapter 2: Connections and Setup
Chapter 3: General Operation
Chapter 4: Advanced Functions
Chapter 5: Other Information
14
15
Wall Mount .................................................................................................................................................
Specifications .............................................................................................................................................
Network ......................................................................................................................................................
Child Code ..................................................................................................................................................

Precautions
Product
Cleaning
Power and Plug
Power Cord and Signal Cable
Use Environment
Hanging the TV Set on the Wall
Warning: This operation requires two people.
Chapter 1
Note:
Illustrations within this publication are provided for
reference only.
Introduction

5
Buttons on the TV
Important:
the remote control is not to be used for a long time. Batteries left in equipment may cause damage through
deterioration and corrosive leakage, invalidating the guarantee.
To protect the environment use local recycling facilities for battery disposal. Dispose of used batteries
according to the instructions.
CAUTION: Risk of explosion if batteries are replaced by an incorrect type. Replace only with the same or
equivalent type recommended by the equipment manufacturer.
If the batteries in your remote control are run down, you can use the buttons on your TV set. They have the
following functions:
For models with below buttons on the set:
TV mode In menus
TV mode In menus
PRO.+ CH.+or or
CH.-
or
PRO. ▲ ▲
▲
PRO.- or PRO. ▼ ▼
▼
VOL.+, + or VOL.
VOL.-,
PRO.+ CH.+
or
CH.-
or
PRO.-
VOL.+
VOL.-
PRO.+ CH.+
or
CH.-
or
PRO.-
VOL.+
VOL.-
- or VOL.
MENU
,,
or
MENU or
Menu Menu
Menu (Short press)
Source (Press
about 3 seconds)
(Press about 5
seconds)
Menu (Short press)
Source (Press
about 3 seconds)
(Press about 5
seconds)
OK or
or
Source
Source
OK
Switching the TV on and off
1. When the power cord is connected, the TV will be turned on directly or be in standby mode. If the TV is in
standby mode, press the or POWER/ button on the set or the button on the remote control to turn it
on.
2. To put the TV into standby mode, press the or POWER/ button on the set or the button on the remote
control. The TV set remains powered up, but with low energy consumption.
For some models turns the TV on or standby. The TV is on, press it to display the Source Select. Long press it,
the NAV menu will display on the screen. Without the remote, the NAV menu is a shortcut to Return, Setting,
Home, Source and Power. In menu mode, short press to confirm a selection (acts like the OK button on the
remote), long press to return to the previous menu.
3. To switch off the TV, unplug the mains plug from the mains outlet.
▲
▲
▲
PRO.+ CH.+oror
or
or
or
or
CH.-
or
PRO. ▲
PRO.- or PRO. ▼
VOL.+, + or VOL.
VOL.-, - or VOL.
▲
▲
▲
▲
▲
In menus(for some models)
▲
▼
Source (Short press)
NAV Menu (3 seconds
or more)
▲
▲


Introduction
7
Remote Control Functions
Most of your television's functions are available via the menus that appear on the
screen. The remote control supplied with your set can be used to navigate through
the menus and to configure all the general settings.
(MUTE) Mute sound
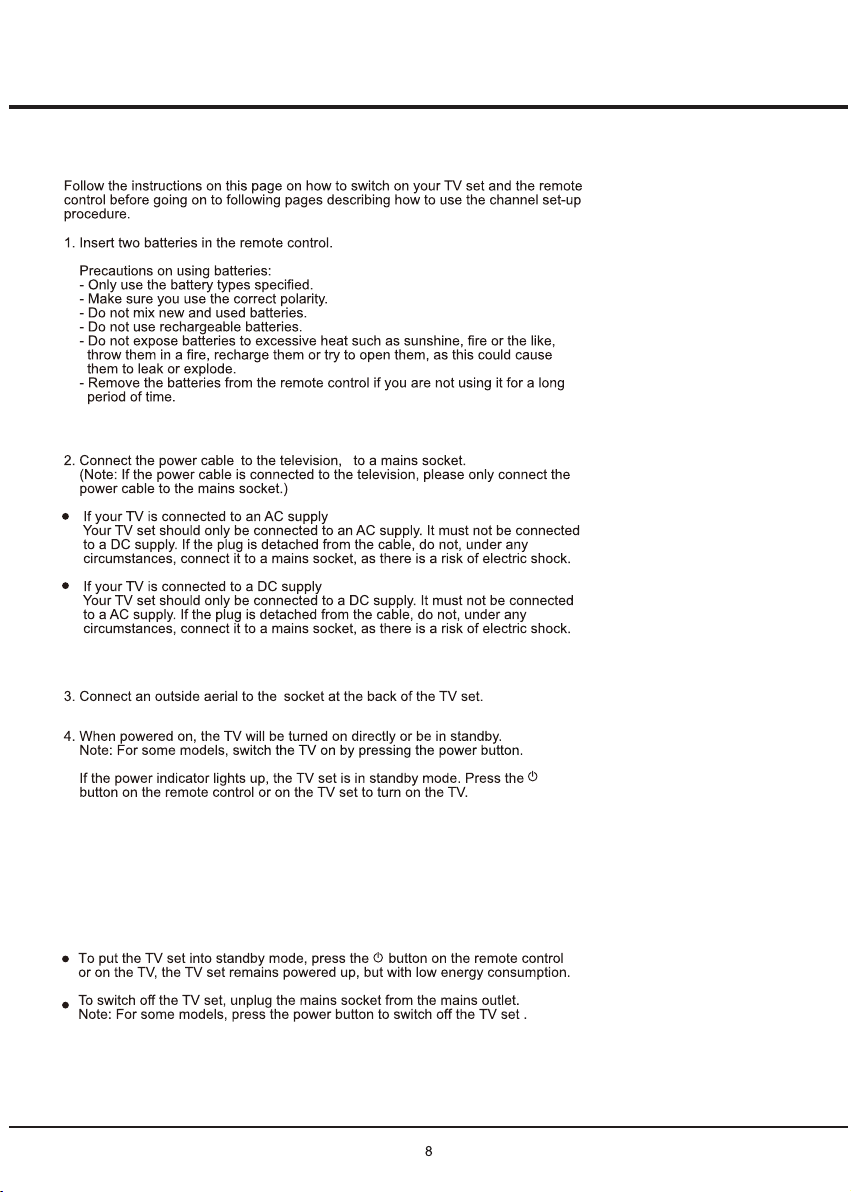
(POWER)Turn on/standby TV
Display channel list
Volume up and down
Enters the option menu
confirm selectionOK
(BACK)Back to the previous menu
EXIT
TV Change input source to TV
0-9 (numeric buttons) Enters channel numbers
LIST
+/-
Scans up or down through the current channel list
(HOME)Display home screen
up, down, left and right Move cursor .Highlights different
items in the menu system and adjusts the menu controls
Exit from menu
(INPUT)Change input source
USB
FAV
CC
SLEEP
+/-
CH
Zoom Select the desired screen format
INFO
GUIDE
MTS
Colored buttons (Red/Green/Yellow/Blue) Performs the corresponding function
indicated at the bottom of the screen
Fast rewind
Fast forward
(Previous) Goes to the previous chapter
(Stop) Stops viewing
(Next) Goes to the next chapter
(Play) Starts viewing
(Pause) pauses viewing
Goes to the Netflix homepage
Goes to the YouTube homepage
Open smart key page
Note:
Remote control explanation is same for both versions WT-0L96 and WT-0L95
only YouTube button is different.
Displays the status information
Display favrite list
Set the TV to turn off after a given amount of time
Accesses the USB mode
Brings up the closed caption menu
Open the Electronic Program Guide under DTV source
Toggles through the MTS (multichannel television sound) settings
(dot) Enters a digital channel with a sub-channel, enters the main channel;
then, press the dot (•), the sub-channel, and then the OK button
•
Display menu
EXIT
INFO GUIDE MTS
LIST
TV
USB FAV CC
SLEEP
ZOOM


Connections and Setup
Network Connection
Note: Instructions below are just the usual ways to connect your TV to the wired or wireless network. The connection
method may be different depending on your actual network If you have any questions about your home
network, please refer to your ISP.
Connecting to a wired network
1.
2.
3. Network
Connecting to a wireless network
1.
2. Network
Modem Internet
TV Set
Router
Ethernet
Port on the
back panel
or
Wireless Router
Modem
TV Set
Built-in wireless
connection

10
Chapter 3
Menu Function
Please note the menus in the user manual may vary slightly
from the actual screen.
In each menu, you can:
• Press the up, down, left and right buttons to select an item
or to adjust the value.
• Press the OK button to enter the submenu.
• Press the BACK button to return to previous menu or exit
the menu.
You can press the menubutton enter tochoose the Settings Menu.
Picture
Sound
Color Enhancement
Enter to choose color enhancement level of the picture.
Color Temperature
Adjusts the color temperature of the picture.
Dynamic Contrast
Adjusts the difference between the light and dark areas
of the picture.
Noise Reduction
Adjusts the picture noise.
Eco Setting
Configures engergy saving options.
Sound preset
Selects a preset audio option optimized for different
sounding conditions.
Advanced
- Audio Out
TV Speakers
HDMI Sound System
TV Speakers Off
- SPDIF Type
This option is used to control the type of audio stream
sent to the Digital Audio Output (SPDIF) socket.
- SPDIF Delay
This option is used to synchronize the sound
with the picture.
- Audio Delay
- Auto Volume Control
Selects On to reduce the annoying blasts in volume
during commercial breaks and also amplifies softer
sounds in program material. Eliminates the need to
constantly adjust the volume.
- Digital Out Levelling
Channel Installation
Antenna Installation/Cable installation
- Search For Channels
Allows you to scan for all available analog and digital
channels.
- Digital: Manual Installation
- Analogue: Manual Installation
Bluetooth
Bluetooth ON/OFF
Search Bluetooth Device
System
- Language
Chooses the on-screen display language.
- CC Option
- Input Source
User can select the device name of the
input source here, easy to identify the source.
- Clock
Enter to adjust
Clock
.
- Auto Standby
Enter to select standby time when there is no
operation.
- Screen Saver
- Location
Selects the location mode depending on your
viewing environment.
- Instant Power
Enter to select On or Off.
Internet Connection
S
elects On to adjust the options below.
Network
Wireless
Using the internal wireless and your home
wireless network.
Wired
Using the wired network.
More Settings
Enter to choose more settings.

11
Lock System
Enter to select On or Off.
Change Code
Enter to change code.
Clear Code
Enter to clear code.
Audio Guide
Enter to select On or Off.
Speech Rate
Enter to adjust Speech Rate.
Speech Volume
Enter to adjust Speech Volume.
Shortcut
Enter to select On or Off.
Video Description
Enter to select On or Off.
Connectivity
T-Link
T-Link Remote Control
USB Keyboard Setting
Help
Go in and learn about certain functional operations.
About TV
Product Information
Update Software
- Network Updates
Enables you to download and install the latest software
version from the Internet. Make sure to set up a wired
or wireless network connection first.
- USB Local Updates
Enables you to install the latest version of the software
from your USB ports.
Legal & Compliance
Restore To Default
- Reinstall TV
Reset all settings and replaced installed channels.
- Restore Factory Settings
Reset the settings for Picture and Sound, the channel list
reminds unchanged.
Child Code
ACCESSIBILITY

Attention and Frequently
Asked Questions
Note: For coding files, there are many kinds non-
standard coding method, so this system can not be
guaranteed to support the file formats using any coding
method.
Frequently Asked Questions:
.
Chapter 4

Troubleshooting
No picture, no sound
No color
Remote control does not work
No picture, normal sound
Normal picture, no sound
Unorderly ripples on the picture
Snowy dots and interference
Chapter 5
Ignition
Ghost
Radio frequency interference
If the TV is crashed
Base Installation
Note: Illustrations below are provided for reference only
and may differ from actual product appearance.

Chapter 5
14
A wall mount kit (purchased separately) would allow you to mount your JVC TV on the wall.
For detailed information on installing the wall mount, refer to the instructions provided by the wall
mount manufacturer. It is strongly recommended to contact a technician for professional assistance
for wall mount installation. JVC is not responsible for any damage to the product or injury to yourself
or others resulting from the wall-mounting.
Dimensions for Mounting Hole Pattern
- This JVC TV is compatible with a 300 mm x 300 mm mounting hole pattern.
- 4 pcs of type M5 screws are required for installing the wall mount bracket to your JVC TV. Do not use
screws that are longer than 30mm. Screws that are too long may cause damage to the inside of the TV set.
- Do not fasten the screws too tight for this may damage the TV or cause the TV to fall, resulting in personal
injury. JVC is not liable for these kinds of incidents.
- Do not mount your JVC TV at more that a 15 degree tilt.
- Always use two people to mount the TV to a wall.
- Don not install your Wall Mount Kit while your TV is turned on. It may result in personal injury due
to electric shock.

50 inches
125W
LT-50EC3502 Specifications
3840 x 2160
1
15
ATSC Digital system and NTSC
Analog NTSC-M system
AV
Digital Audio Out
(Optical)
Analog Audio Out
Cable: 1-135
2
AC 120 V, 60 Hz
8 W x 2

TCL
TCL


Table of contents
Languages:
Other JVC LED TV manuals

JVC
JVC AV-H437115A User manual

JVC
JVC LT-32C340 User manual

JVC
JVC Emerald Series User manual

JVC
JVC BlackCrystal JLE32BC3001 User manual

JVC
JVC LT-32C795 User manual

JVC
JVC LT-43C795 User manual

JVC
JVC DIAMOND DM65USR User manual

JVC
JVC LT-43C890B User manual

JVC
JVC LT-32FA110 User manual

JVC
JVC LT-32C350 User manual