manuals.online logo
Brands
  1. Home
  2. •
  3. Brands
  4. •
  5. Kaboodle
  6. •
  7. Indoor Furnishing
  8. •
  9. Kaboodle W-70105 User manual

Kaboodle W-70105 User manual

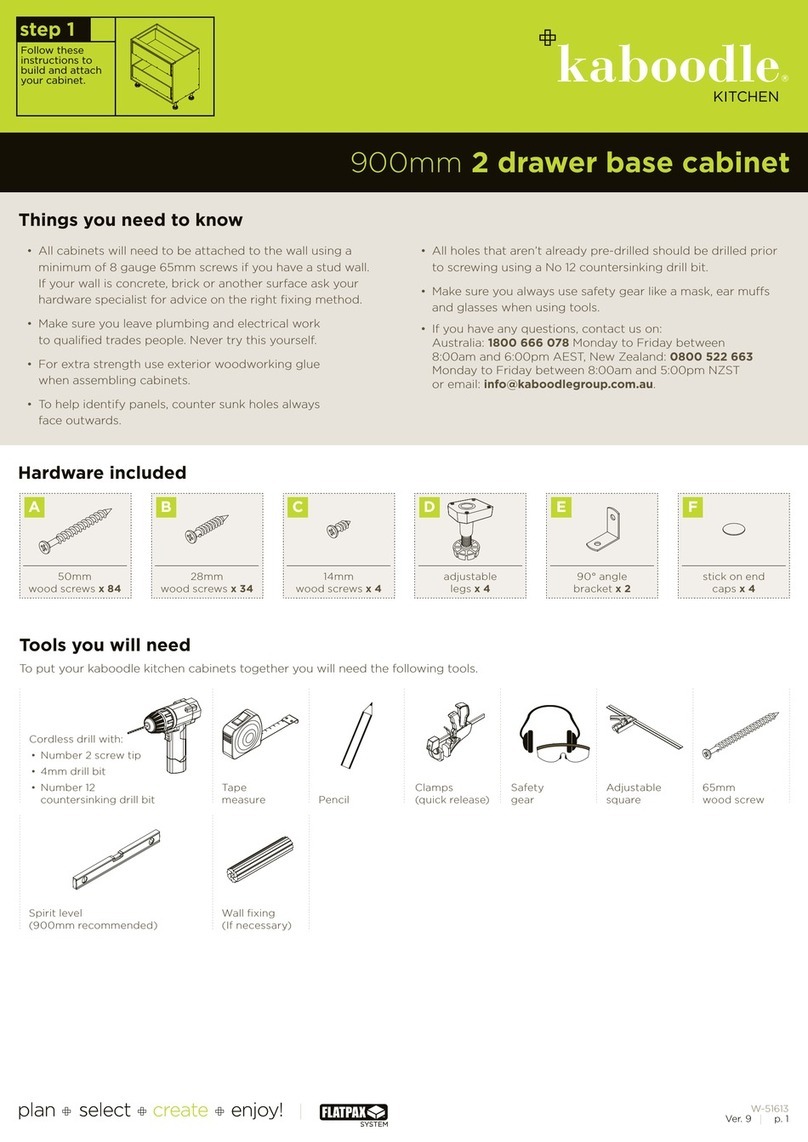
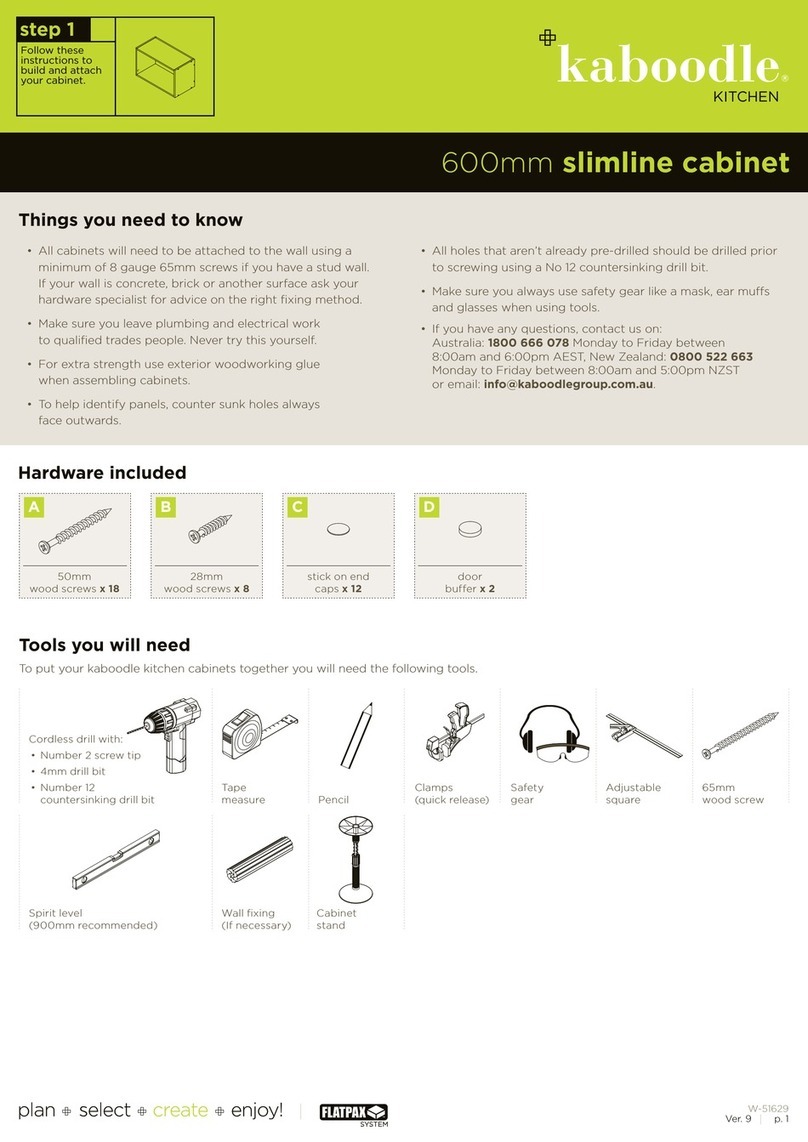
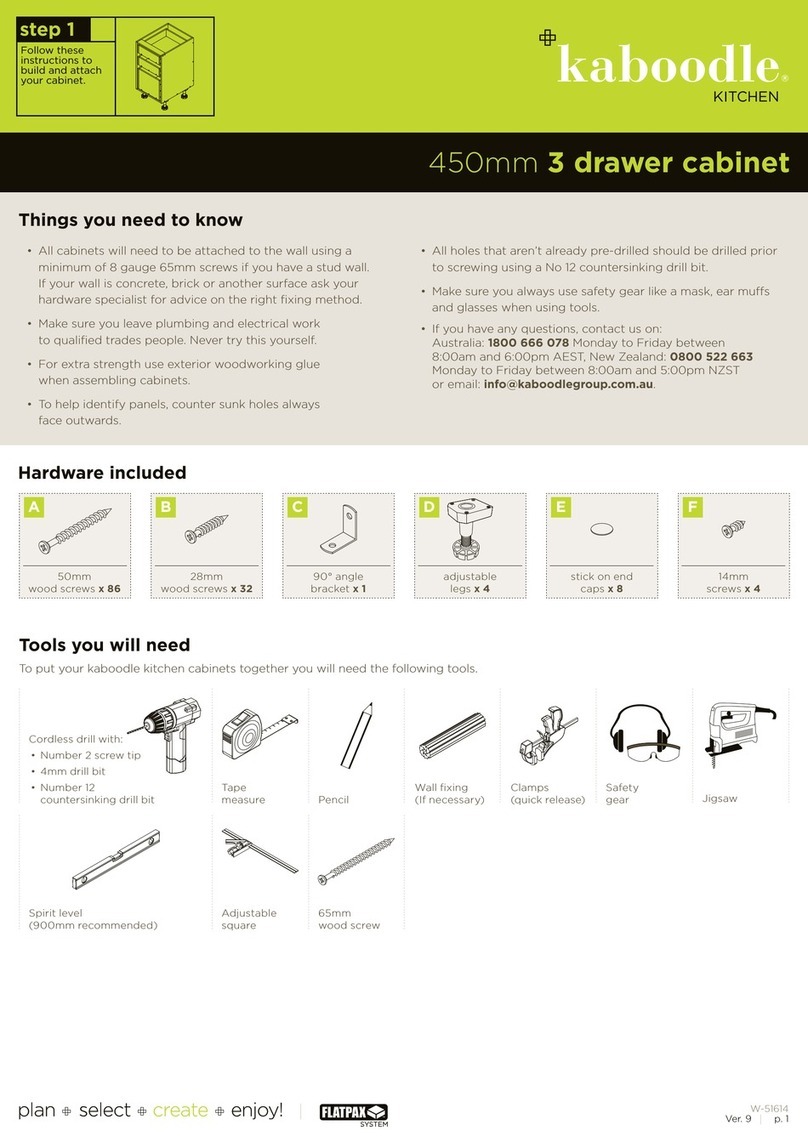
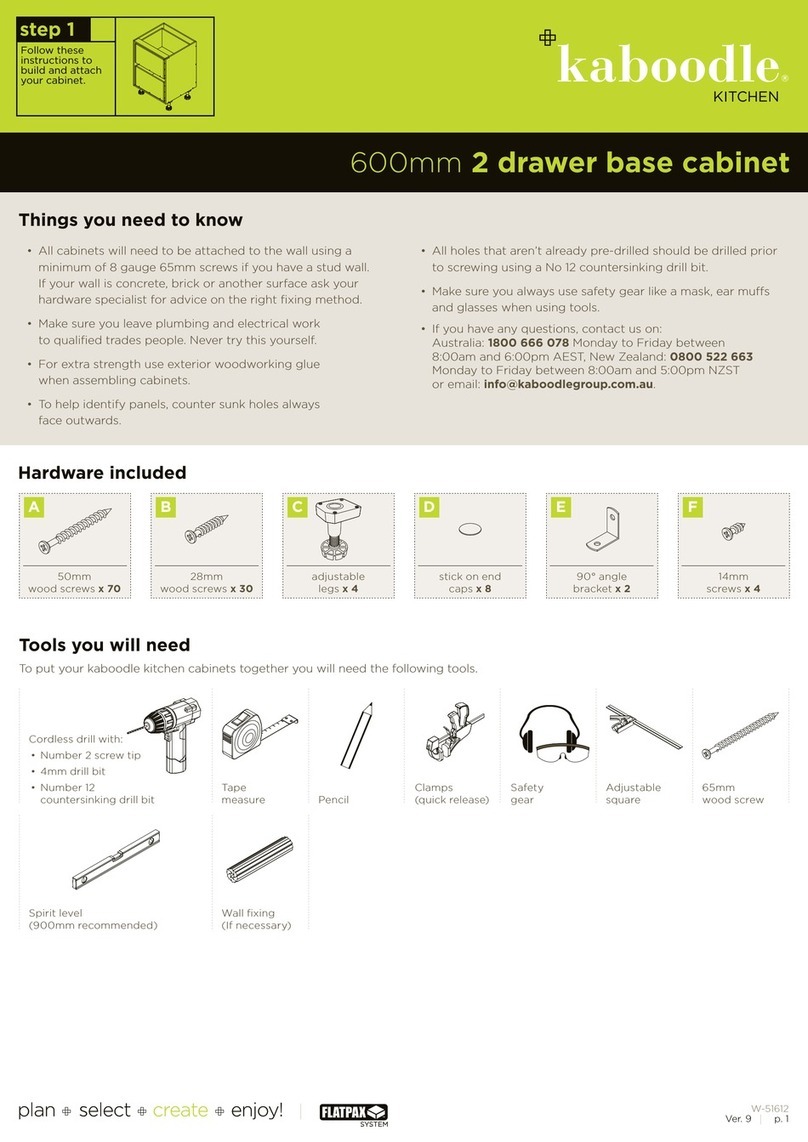
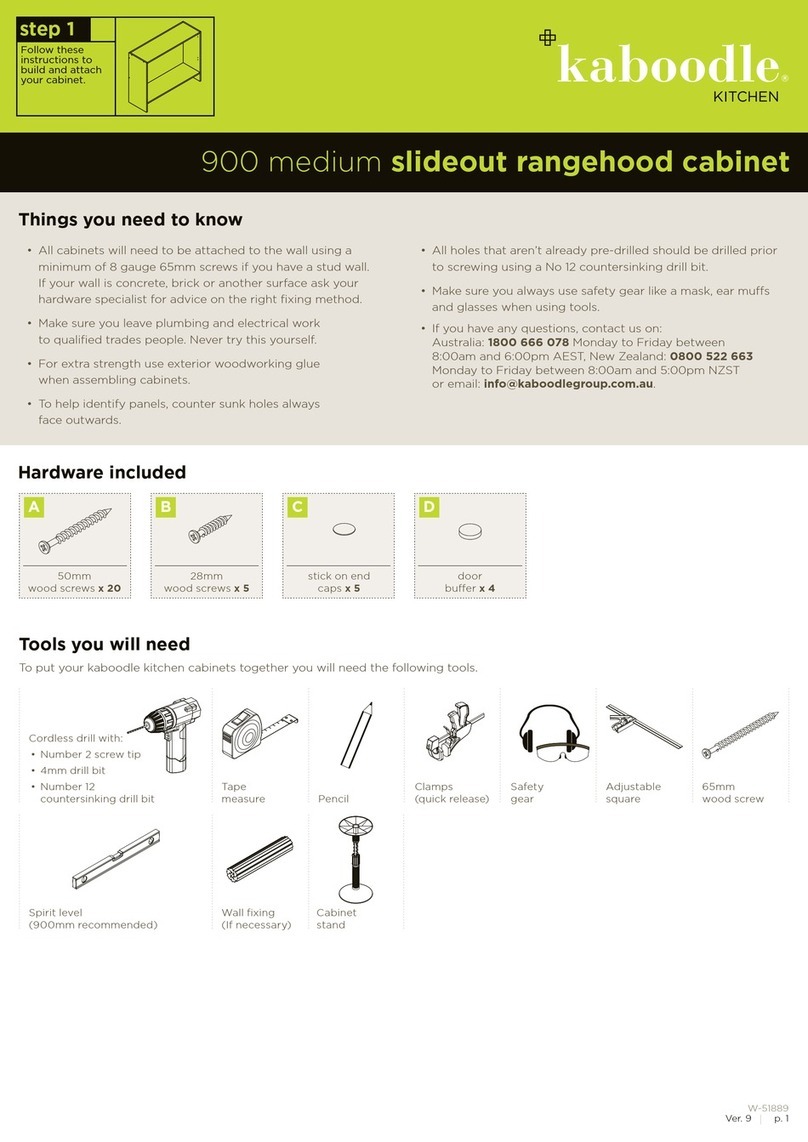
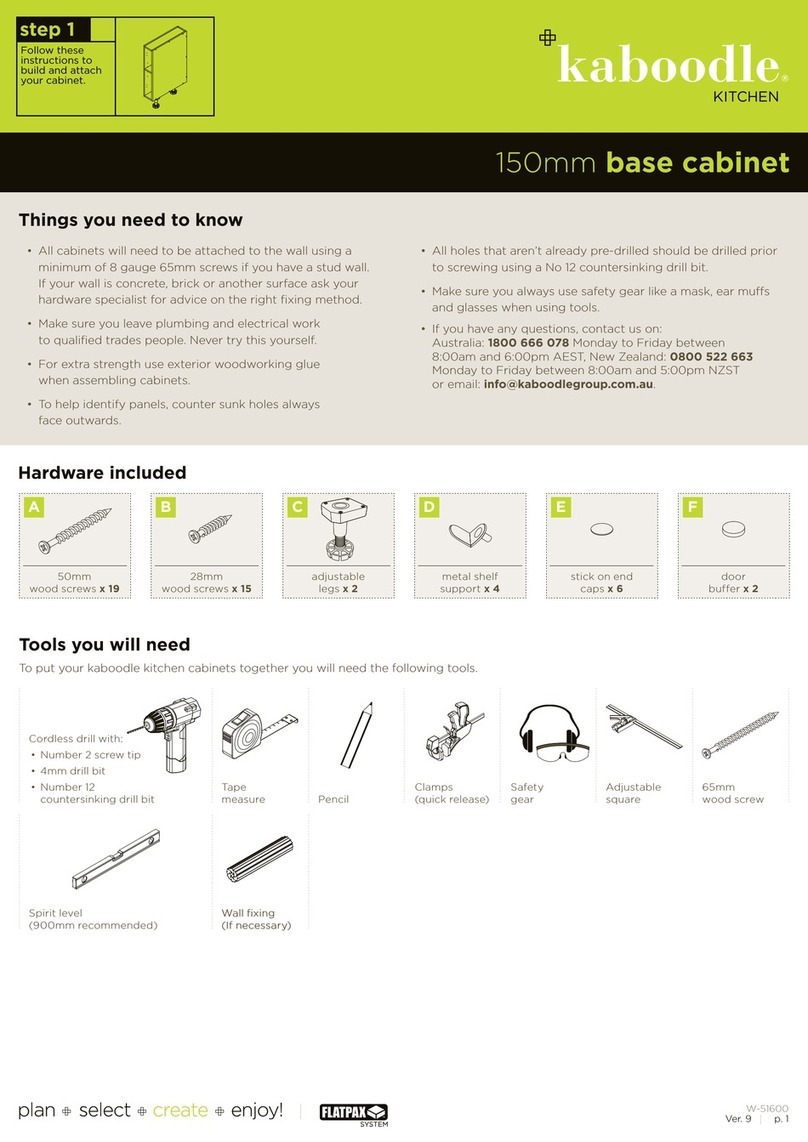
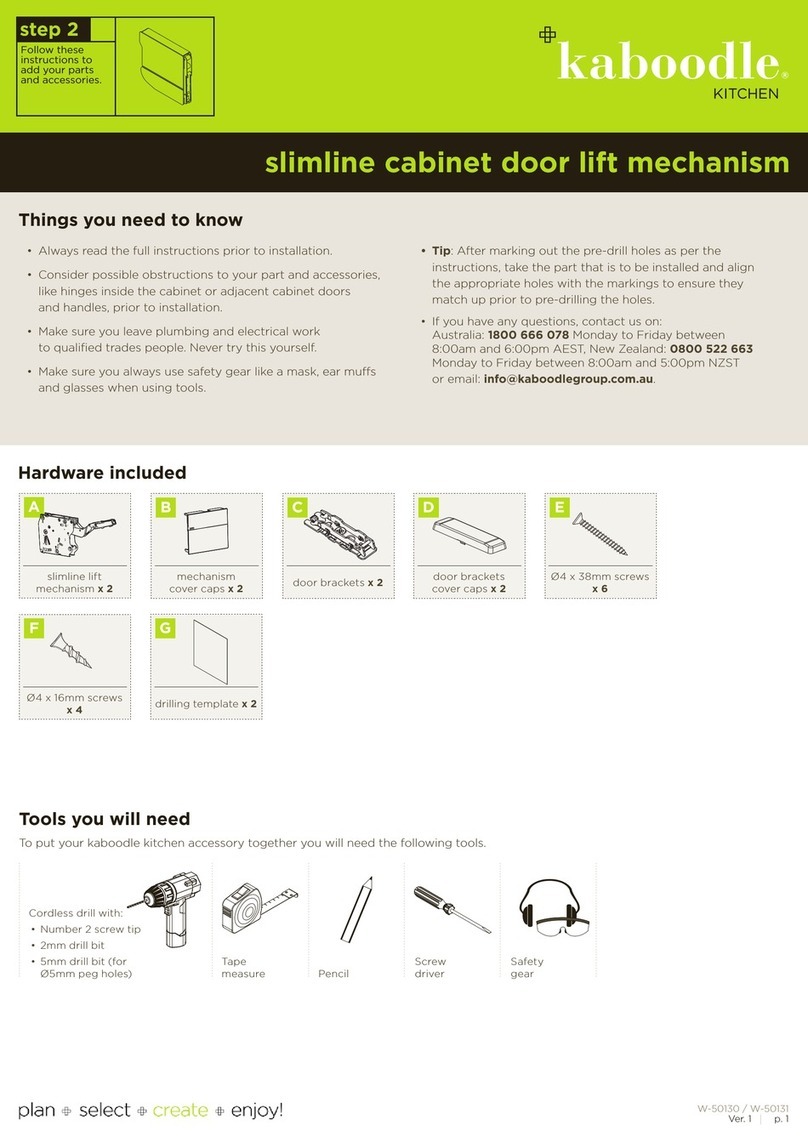
Hardware included
28mm
wood screws x 25
B
door
buffer x 4
FE
stick on end
caps x 9
90° angle
bracket x 8
DC
adjustable
legs x 5
50mm
wood screws x 41
A
65mm
wood screw
Tools you will need
To put your kaboodle kitchen cabinets together you will need the following tools.
Pencil
Cordless drill with:
• Number 2 screw tip
• 4mm drill bit
• Number 12
countersinking drill bit
Tape
measure
Wall fixing
(If necessary)
Adjustable
square
Clamps
(quick release)
Safety
gear
Spirit level
(900mm recommended)
step 1
Follow these
instructions to
build and attach
your cabinet.
Things you need to know
p. 1Ver. 9
W-70105
• All cabinets will need to be attached to the wall using a
minimum of 8 gauge 65mm screws if you have a stud wall.
If your wall is concrete, brick or another surface ask your
hardware specialist for advice on the right fixing method.
• Make sure you leave plumbing and electrical work
to qualified trades people. Never try this yourself.
For extra strength use exterior woodworking glue
when assembling cabinets.
• To help identify panels, counter sunk holes always
face outwards.
• All holes that aren’t already pre-drilled should be drilled prior
to screwing using a No 12 countersinking drill bit.
• Make sure you always use safety gear like a mask, ear muffs
and glasses when using tools.
• If you have any questions, contact us on:
Australia: 1800 666 078 Monday to Friday between
8:00am and 6:00pm AEST, New Zealand: 0800 522 663
Monday to Friday between 8:00am and 5:00pm NZST
or email: info@kaboodlegroup.com.au.
900mm x 800mm corner base cabinet
hardware key
A AA CB
AA A
Pre-drilled
holes
C
B
145mm
C
top panel
kaboodle.co.nz
step 1
p. 2Ver. 9
W-70105
50mm
wood screws
3.2.
joining cabinets
7.
6.4.
adjustable
legs
28mm
wood screws
900mm x 800mm corner base cabinet
back panel
back panel
adjustable shelf
side panel
side panel
side panel
side panel
back panel
back panel
top panel
bottom panel
bottom panel
adjustable
panel
Set height of the adjustable legs to 145mm.
Place the shelf inside the cabinet before
attaching the other side panel. Once the
side panel is installed you will not be able
to fit your shelf in the cabinet.
5
top panel
top panel
top panel
A
Note: This cabinet has predrilled holes for
the adjustable legs on both the top and
bottom panel. When attaching the legs first
decide the orientation of your cabinet.
step 1
step 2
step 3
step 4
stud
plaster board
B
Then follow the
instructions to fit
your doors and
panels.
Finish off your
Kaboodle Kitchen
by installing your
benchtop.
Next grab your
parts and
accessories
instructions.
Your Kaboodle
cabinet is now
complete.
1.
step 1
hardware key
p. 3Ver. 9
W-70105
Caring for your kaboodle cabinets
Looking after your cabinets is really easy and with the right care and maintenance they
will last you for many years. Just follow these simple steps and if you need any more
information you can contact us: Australia: 1800 666 078 Monday to Friday between 8:00am
and 6:00pm AEST. New Zealand: 0800 522 663 Monday to Friday between 8:00am and
5:00pm NZST or email: info@kaboodlegroup.com.au.
Clean your cabinets with an all purpose, non-abrasive cleaner with a damp sponge or cloth
and make sure you never use saturated cloth, harsh chemicals or thinner based cleaners
as these will damage the surface of the melamine. Likewise, never use products that will
scratch the surface like steel wool or wire brushes and avoid sharp objects that will scratch,
cut or gouge the melamine surface. If this happens the internal board will be exposed and
may swell. Kaboodle cabinets are water resistant but not water proof so any spills should be
attended to immediately.
Handy hint: if the melamine surface of your cabinet is damaged you can try and cover it
with a furniture repair crayon but just remember that this won’t seal the board back to its
original finish.
We offer a dedicated customer service line
for advice or any questions you may have
on kaboodle products.
Call customer service on:
Australia: 1800 666 078 Monday to Friday
between 8.00am and 6.00pm AEST
New Zealand: 0800 522 663 Monday to Friday
between 8.00am and 5.00pm NZST or email:
info@kaboodlegroup.com.au
2.
1.
joining cabinets & fixing cabinets to wall
Check that all cabinets are level.
Clamp cabinets and pre-drill screw holes. Clamp cabinets and pre-drill screw holes.
28mm
wood screws
B
When you need to add an end
panel check out the end panel
instructions for installation tips.
Caution: Please ensure all cabinets
are screwed into your timber stud wall
using a minimum of 65mm timber
screws. If attaching to concrete, brick,
steel or any other substrates seek
advice from your hardware specialist.
3.
Installing adjustable shelf
Cabinet complete R
D
shelf
support
D
900mm x 800mm corner base cabinet
Note: the side panels will overhang
from the back to allow for uneven walls.

Other Kaboodle Indoor Furnishing manuals

Kaboodle W-51604 User manual

Kaboodle

Kaboodle W-51604 User manual

Kaboodle 200mm wall cabinet User manual

Kaboodle

Kaboodle 200mm wall cabinet User manual

Kaboodle W-51612 User manual

Kaboodle

Kaboodle W-51612 User manual

Kaboodle W-50541 User manual

Kaboodle

Kaboodle W-50541 User manual

Kaboodle 900mm Slimline Cabinet W-51631 User manual

Kaboodle

Kaboodle 900mm Slimline Cabinet W-51631 User manual

Kaboodle 600mm slimline cabinet User manual

Kaboodle

Kaboodle 600mm slimline cabinet User manual

Kaboodle 300mm wall cabinet User manual

Kaboodle

Kaboodle 300mm wall cabinet User manual

Kaboodle W-51617 User manual

Kaboodle

Kaboodle W-51617 User manual

Kaboodle W-51614 User manual

Kaboodle

Kaboodle W-51614 User manual

Kaboodle 2x27L side mount pullout bin User manual

Kaboodle

Kaboodle 2x27L side mount pullout bin User manual

Kaboodle W-70102 User manual

Kaboodle

Kaboodle W-70102 User manual

Kaboodle W-50130 User manual

Kaboodle

Kaboodle W-50130 User manual

Kaboodle 2x11L Side Mount Pullout Bin User manual

Kaboodle

Kaboodle 2x11L Side Mount Pullout Bin User manual

Kaboodle W-51603 User manual

Kaboodle

Kaboodle W-51603 User manual

Kaboodle 750mm overhead cabinet User manual

Kaboodle

Kaboodle 750mm overhead cabinet User manual

Kaboodle 150mm wall cabinet User manual
Kaboodle

Kaboodle 150mm wall cabinet User manual

Kaboodle w-50552 User manual

Kaboodle

Kaboodle w-50552 User manual

Kaboodle 600mm corner wall cabinet User manual

Kaboodle

Kaboodle 600mm corner wall cabinet User manual

Kaboodle W-51613 User manual

Kaboodle

Kaboodle W-51613 User manual
Kaboodle W-51643 User manual

Kaboodle

Kaboodle W-51643 User manual

Kaboodle W-51605 User manual

Kaboodle

Kaboodle W-51605 User manual

Kaboodle W-51602 User manual

Kaboodle

Kaboodle W-51602 User manual

Kaboodle 450mm wall cabinet User manual

Kaboodle

Kaboodle 450mm wall cabinet User manual

Kaboodle W-50531 User manual

Kaboodle

Kaboodle W-50531 User manual
Popular Indoor Furnishing manuals by other brands

Osmond Ergonomics FLO instructions

Osmond Ergonomics

Osmond Ergonomics FLO instructions

hygena 314/5041 Assembly instructions

hygena

hygena 314/5041 Assembly instructions

HOMCOM 713-080V91 Assembly instruction

HOMCOM

HOMCOM 713-080V91 Assembly instruction

modway EEI-5037 Assembly instructions

modway

modway EEI-5037 Assembly instructions

RiverRidge Ellsworth 06-031 Assembly instructions

RiverRidge

RiverRidge Ellsworth 06-031 Assembly instructions

RATTAN WF197131 Assembly instruction

RATTAN

RATTAN WF197131 Assembly instruction

Rauch M2660 Assembly instructions

Rauch

Rauch M2660 Assembly instructions

Blooma Riccia 3663602723189 manual

Blooma

Blooma Riccia 3663602723189 manual

Mocka Marlow Four Drawer Assembly instructions

Mocka

Mocka Marlow Four Drawer Assembly instructions

Kozyard London KD Assembly manual

Kozyard

Kozyard London KD Assembly manual

BDI BRADEN 8828 Assembly instructions

BDI

BDI BRADEN 8828 Assembly instructions

Space 2387C operating instructions

Space

Space 2387C operating instructions

Mayline e*LAN 24" WORKSTATIONS Assembly instructions

Mayline

Mayline e*LAN 24" WORKSTATIONS Assembly instructions

Leisure made PEARSON 163596V Assembly instructions

Leisure made

Leisure made PEARSON 163596V Assembly instructions

STAND STEADY CHRKNPNBL quick start guide

STAND STEADY

STAND STEADY CHRKNPNBL quick start guide

Health Care Logistics 1431 instructions

Health Care Logistics

Health Care Logistics 1431 instructions

IKEA PATRULL KLÄMMA manual

IKEA

IKEA PATRULL KLÄMMA manual

IKEA KÅSEBERGA manual

IKEA

IKEA KÅSEBERGA manual

manuals.online logo
manuals.online logoBrands
  • About & Mission
  • Contact us
  • Privacy Policy
  • Terms and Conditions

Copyright 2025 Manuals.Online. All Rights Reserved.