To shows the setting temperature.
Setting the Temperature Control
Set the desired cooling temperature by pressing the buttons adjacent to the “UP/DOWN” program. Each
depression of the buttons will scroll through the available temperature settings in increments of 1 degree.
The temperature selected will flash in the LED display for approximately 5 seconds, then revert back to
display the temperature of the internal chiller
Note: During periods of high humidity, some condensation may appear on outside surfaces of cooling
appliances. This condensation will disappear when humidity levels drop. For prevention it is advisable to install
the appliance with sufficient ventilation in a dry and/or an air-conditioned room. Please ensure that doors are
closing and sealing properly.
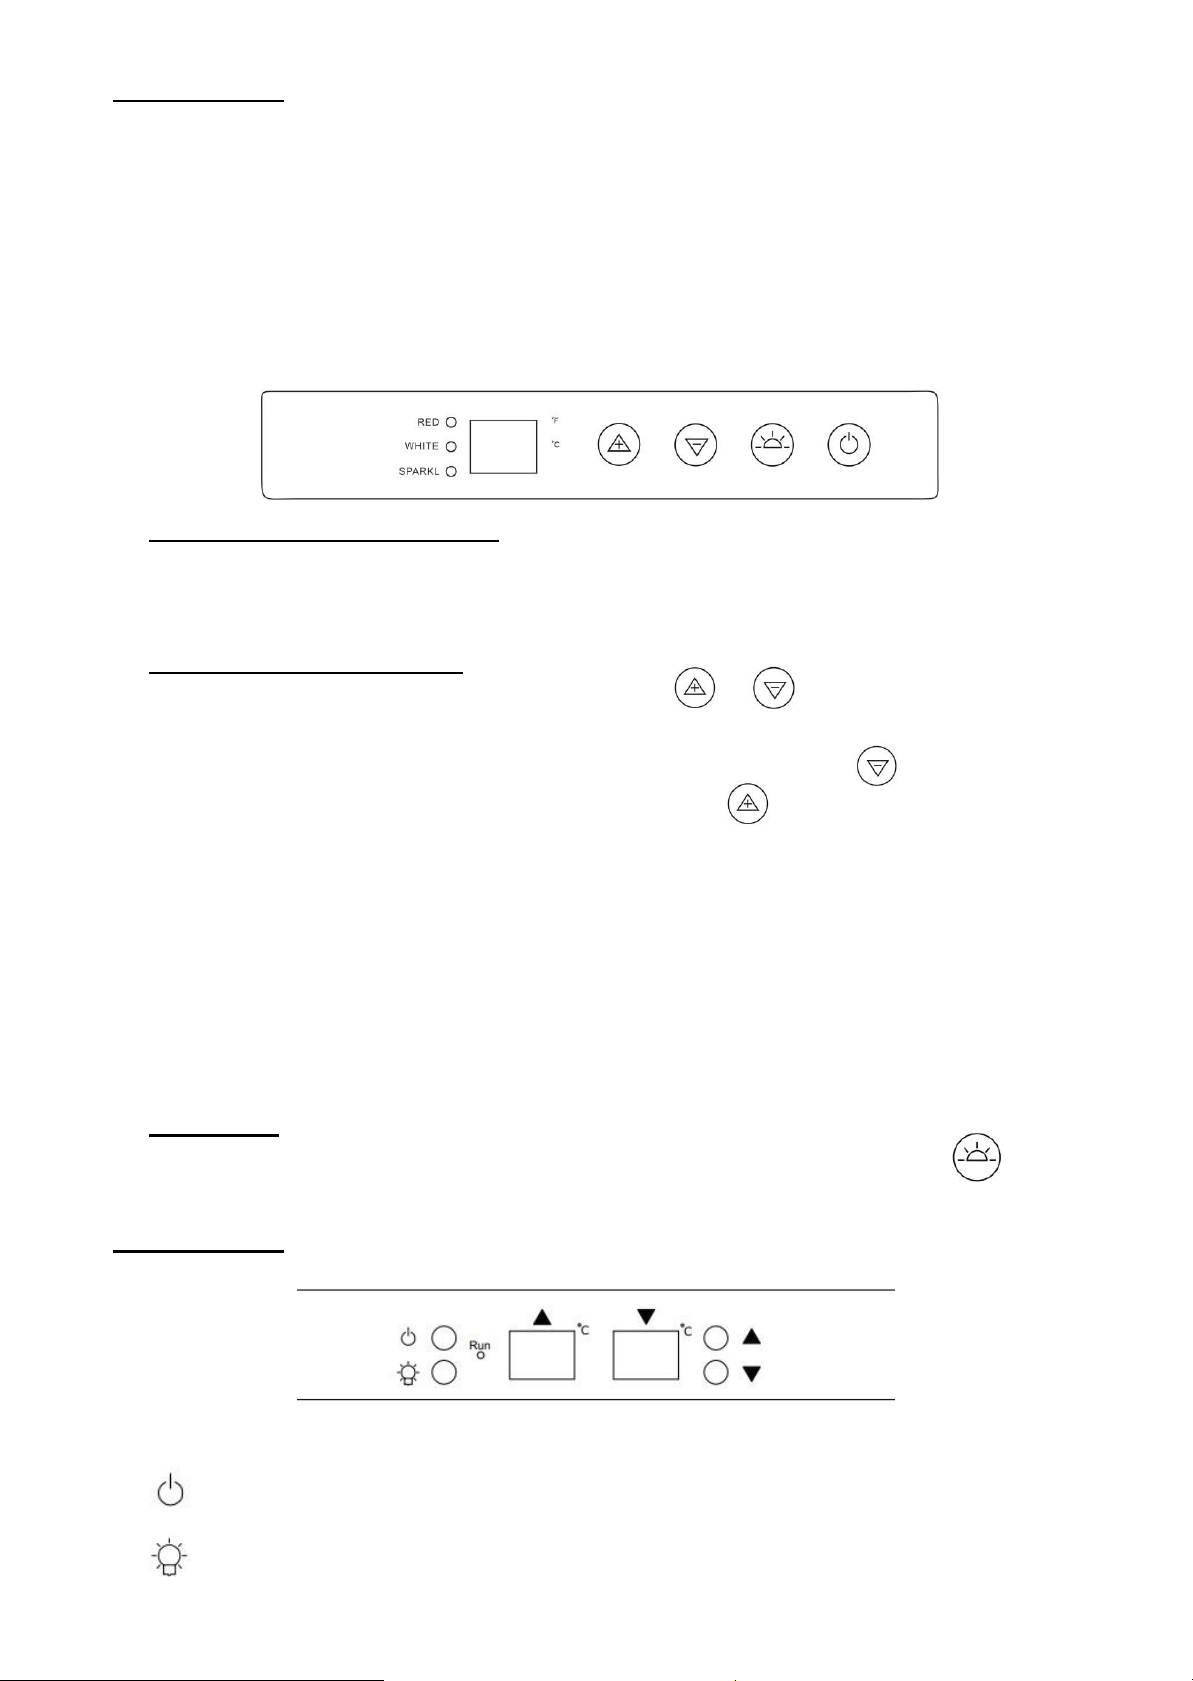
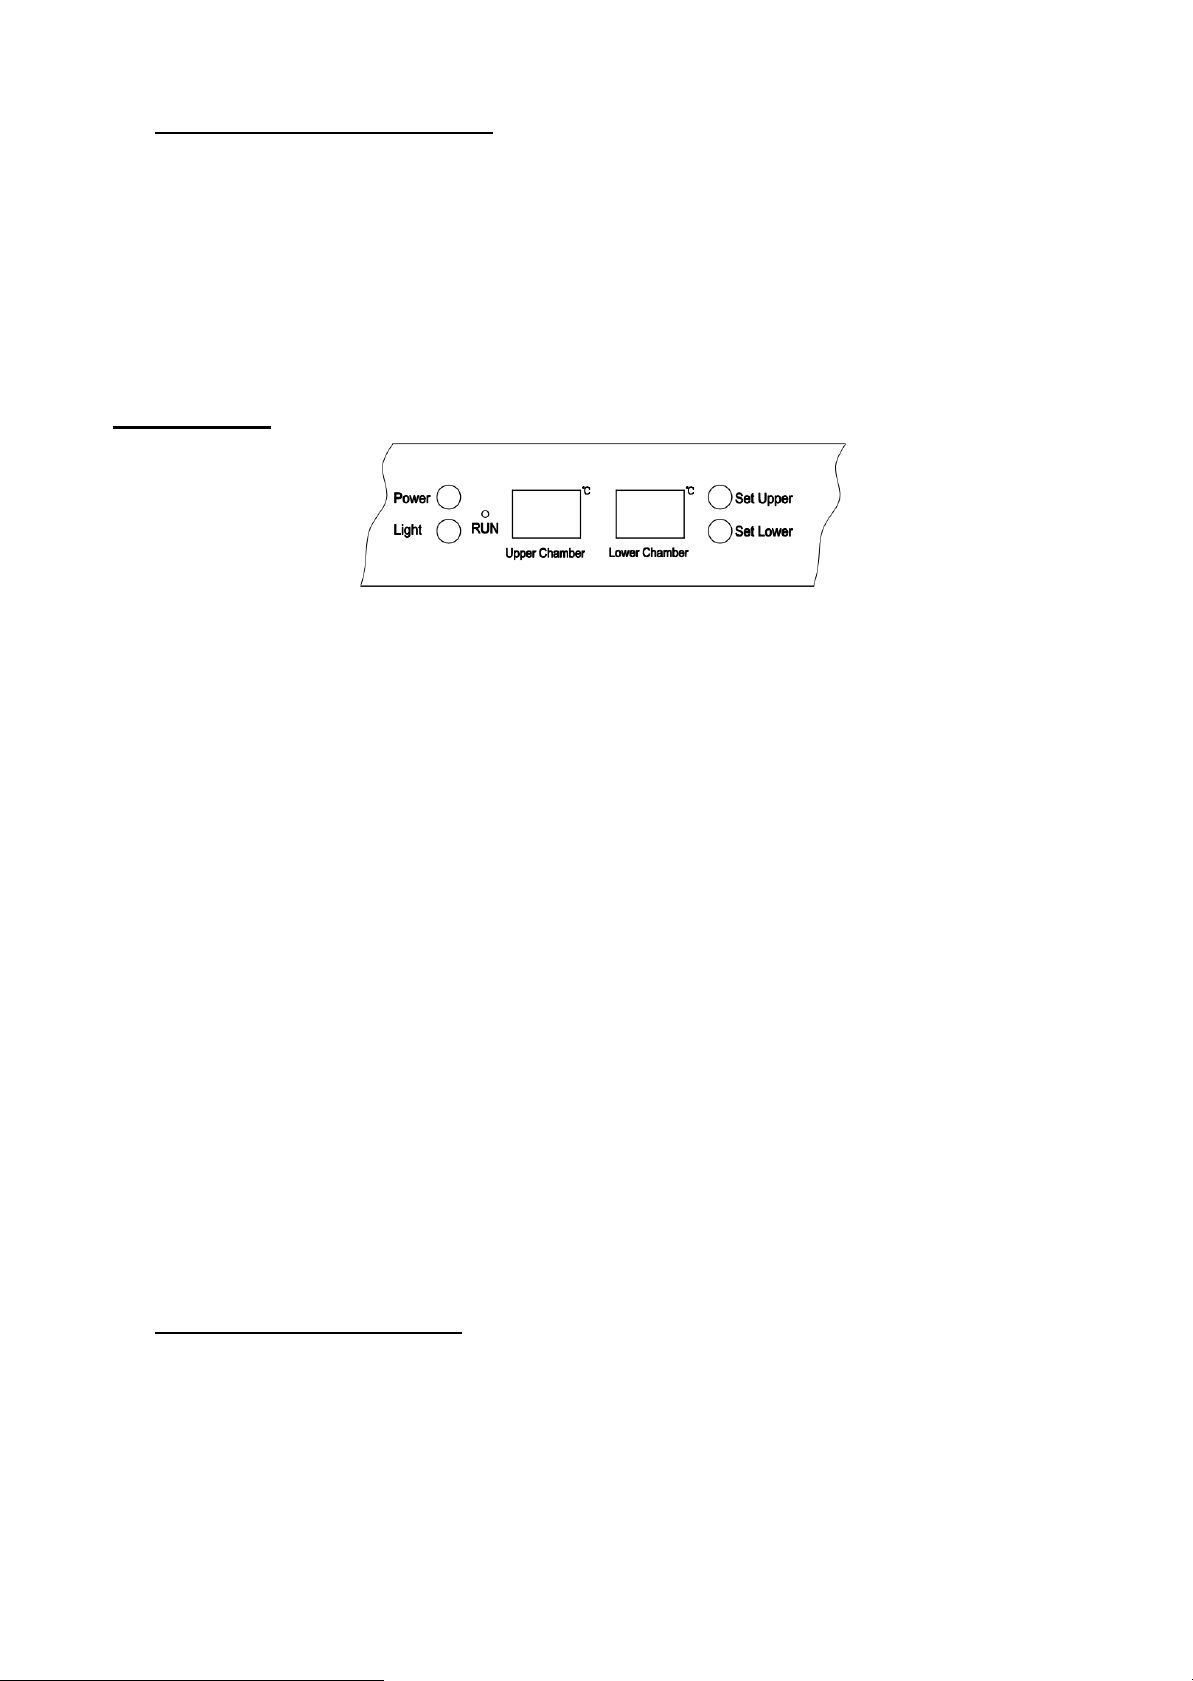
For KA165T
RUN
Indicator light illuminates to signify the cooling mode is currently in operation.
Light
To control the inner light turn on/off.
In order to reduce energy consumption, this wine chiller will automatically switch off the LED lights after 10
minutes. If you want the LED light to remain on continuously, this is possible. Please press and hold the
"LIGHT" button for 5 seconds, the display will show "LP". After 4 seconds, the display will revert back to
normal and the light will remain on until manually switched off.
If you want to revert back and conserve energy (recommended), please press and hold the "LIGHT" button
for 5 second, the display will show "LF". After 4 seconds, the display will revert back to normal, and the light
will automatically switch off after 10 minutes
Power
To control this appliance turn on/off.
“Set Upper” Button
To set the temperature of the upper chamber.
“Set Lower” Button
To set the temperature of the lower chamber.
“Up chamber”
To shows the temperature of the up chamber.
“Lower chamber”
To shows the temperature of the lower chamber.
Setting the Temperature Control
Each cooling compartment of the wine chiller (upper & lower) is independently controlled. To set the
temperature:
Connect the power cord to a properly grounded outlet.
Set the desired cooling temperature by pressing the buttons adjacent to the “set upper/set lower” program.
Each depression of the buttons will scroll through the available temperature settings (for each
compartment) in increments of 1 degree. The temperature selected will flash in the LED display for
approximately 5 seconds, then revert back to display the temperature of the internal chiller
Upper compartment: The temperature setting can be adjusted from 5℃to 18℃.
Lower compartment: The temperature setting can be adjusted from 5℃to 18℃.