Kaden KSI Series User manual

Installation
Manual
MULTI-AIR CONDITIONER

Safety precautions 4
KSI Split Air Conditioner 7
1. KSI accessories 8
2. KSI installation summary –indoor unit 9
3. KSI unit parts 11
4. KSI indoor unit installation 12
Installation instructions – indoor unit 12
Prior to installation 12
5. KSI wiring 17
Electrical wiring work 18
Take note of fuse specifications 19
Drain hose must be on bottom 20
Do not intertwine signal cable with other wires 20
Do not wrap ends of piping 20
6. KSI electrical checks 21
Wi-Fi operation setup 21
7. KSI test run 22
Before test run 22
Test run instructions 22
8. KSI error codes 23
KMD Multi Ducted Air Conditioner 25
1. KMD accessories 26
2. KMD installation summary 27
3. KMD unit parts 28
4. KMD indoor unit installation 29
Installation instructions – indoor unit 29
5. KMD wiring 36
Indoor unit wiring 38
6. KMD test run 39
Before test run 39
Test run instructions 39
7. KMD error codes 40
KMC Multi Cassette Air Conditioner 41
1. KMC accessories 42
2. KMC installation summary 43
3. KMC unit parts 44
4. KMC indoor unit installation 45
Installation instructions – indoor unit 45
Note for new home installation 48
Note on purchasing drain pipes 48
Note on drainpipe installation 49
Table of contents

Kaden Installation Manual | 3
5. KMC wiring 50
Indoor unit wiring 52
6. KMC panel installation 53
7. KMC test run 54
Before test run 54
Test run instructions 54
8. KMC error codes 55
KM Multi Outdoor Unit 57
1. KM accessories 58
2. KM
installation summary 59
3. KM specications 60
4. KM unit installation 61
Installation instructions – outdoor unit 61
Special considerations for extreme weather 61
Notes on drilling hole in wall 63
When selecting a KS09 indoor unit 63
5. KM refrigerant piping connection 64
Note on pipe length 64
Connection instructions – refrigerant piping 66
Note on minimum bend radius 68
6. KM wiring 69
Note on isolator 69
Circuit breaker recommendations 70
Outdoor unit wiring 71
Harmonic declaration 71
Wiring figure 72
7. KM leak testing and evacuation 78
Leak, pressure test and evacuation 78
Preparations and precautions 79
Before performing evacuation 79
Opening outdoor unit valves 79
Note on adding refrigerant 80
Safety and leakage check 81
8. KM test run 82
Before test run 82
Test run instructions 82
9. KM automatic wiring/piping connection 83
Automatic wiring/piping connection function 83
How to activate this function 83
Important note
Read this manual carefully before installing
or operating your new air conditioning unit.
Make sure to save this manual for future reference.

4| Kaden Installation Manual
Safety precautions
Read safety precautions before operation and installation
Incorrect installation due to ignoring instructions can cause serious damage or injury.
The seriousness of potential damage or injuries is classified as either a WARNING or CAUTION.
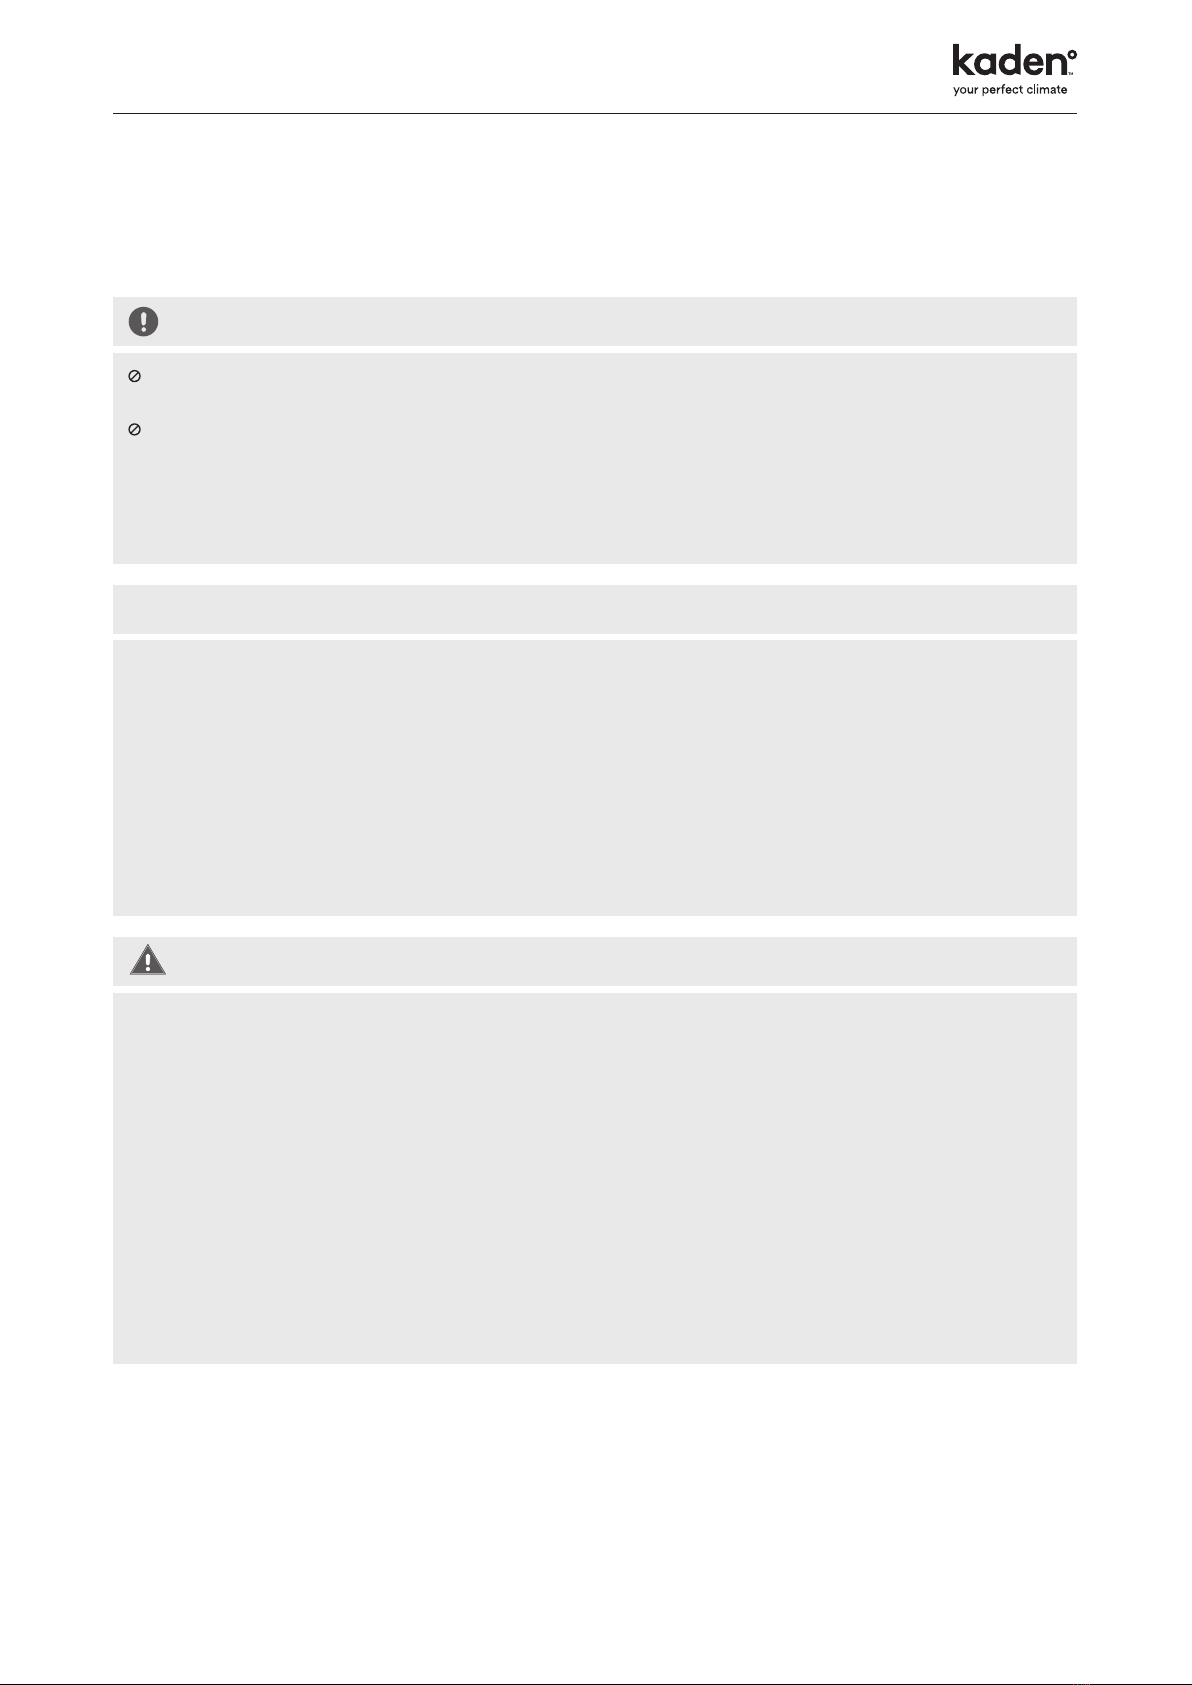
WARNING
Do not share the electrical outlet with other appliances.
Improper or insufficient power supply can cause fire or
electrical shock.
When connecting refrigerant piping, do not let
substances or gases other than the specified refrigerant
enter the unit. The presence of other gases or
substances will lower the unit’s capacity, and can cause
abnormally high pressure in the refrigeration cycle.
This can cause explosion and injury.
Do not allow children to play with the air conditioner.
Children must be supervised around the unit at all times.
1. Installation must be performed by a licensed installer.
Incorrect installation can cause water leakage, electrical
shock, or fire.
2. Installation must be performed according to the
installation instructions. Improper installation can cause
water leakage, electrical shock, or fire.
3. Contact an authorised service technician for repair or
maintenance of this unit.
4. Only use the included accessories, parts, and specified
parts for installation. Using non-standard parts can cause
water leakage, electrical shock, fire, and can cause the
unit to fail.
5. Install the unit in a firm location that can support the unit’s
weight. If the chosen location cannot support the unit’s
weight, or the installation is not done properly, the unit
may drop and cause serious injury and damage.
6. Only fully qualified licensed personnel should install
service or carry out maintenance to this air conditioning
unit. All electrical work is to follow local and national
wiring standards and the Installation Manual.
7. You must use an independent circuit and single outlet to
supply power. Do not connect other appliances to the
same outlet. Insufficient electrical capacity or defects in
electrical work can cause electrical shock or fire.
8. For all electrical work, use the specified cables. Connect
cables tightly, and clamp them securely to prevent
external forces from damaging the terminal. Improper
electrical connections can overheat and cause fire, and
may also cause shock.
9. All wiring must be properly arranged to ensure that
the control board cover can close properly. If the
control board cover is not closed properly, it can lead
to corrosion and cause the connection points on the
terminal to heat up, catch fire, or cause electrical shock.
10. In certain functional environments, such as kitchens,
server rooms, etc., the use of specially designed air-
conditioning units is highly recommended.
11. This appliance can be used by children aged from 8
years and above and persons with reduced physical,
sensory or mental capabilities or lack of experience
and knowledge if they have been given supervision or
instruction concerning use of the appliance in a safe way
and understand the hazards involved. Children must not
play with the appliance. Cleaning and user maintenance
must not be made by children without supervision.
This symbol is a CAUTION, and indicates that ignoring instructions may cause moderate injury to your person,
or damage to your unit or other property.
This symbol indicates that you must never perform the action indicated.
This symbol is a WARNING, and indicates that ignoring instructions may cause death or serious injury.

Kaden Installation Manual | 5
CAUTION
Do not install the unit in a location that may be exposed to combustible gas leaks. If combustible gas accumulates around
the unit, it may cause fire.
Do not operate your air conditioner in a wet room such as a bathroom or laundry room. Too much exposure to water can
cause electrical components to short circuit.
1. The product must be properly grounded at the time of installation, or electrical shock may occur.
2. Install drainage piping according to the instructions in this manual. Improper drainage may cause water damage to your
home and property.
Note about uorinated gases
1. This air-conditioning unit contains fluorinated gases. For specific information on the type of gas and the amount, please
refer to the relevant label on the unit itself.
2. Installation, decommissioning, service, maintenance and repair of this unit must be performed by a licensed technician.
3. Product decommissioning and recycling must be performed by a licensed technician.
4. If the system has a leak-detection system installed, it must be checked for leaks at least every 12 months.
5. When the unit is checked for leaks, proper record-keeping of all checks is strongly recommended.
6. Only ARC (Australian Refrigeration Council) licence holders can install and commission this air conditioner. This air
conditioner must be installed to meet the requirements of the current version of AS/NZS 5149. It is illegal to vent some
types of refrigerant to the atmosphere.
REFRIGERANT
This appliance uses R32 (difluoromethane) refrigerant, which is a flammable gas class 2.2 according to AS/NZS 5149 and must
be handled by a refrigeration mechanic with appropriate Australian refrigerant handling licence.
• WARNING risk of fire/flammable material. If the refrigerant is leaked, together with an external ignition source, there is
possibility of ignition.
• Read all the OPERATING INSTRUCTIONS carefully before operation.
• Service personnel are required to carefully read the OPERATING INSTRUCTIONS and INSTALLATION MANUAL
before operation.
• Further information is available in the OPERATING INSTRUCTIONS, INSTALLATION MANUAL and the like.
Certain levels of refrigerant require minimum room sizes. Please ensure that these minimum room sizes are adhered to for
standard installations (up to 10m pipe length). If larger refrigerant charges than standard are used then please consult AS/NZS
60335.2.40 to determine the safe minimum floor area for the installation.
Make sure that the area has been made safe by having suitable ventilation and is free from ignition sources before charging or
recovering the charge of R32.

6| Kaden Installation Manual
WARNINGS FOR PRODUCT INSTALLATION
• Installation must be performed by an authorised technician. Defective installation can cause water leakage, electrical shock,
or fire.
• Installation must be performed according to the installation instructions. Improper installation can cause water leakage,
electrical shock, or fire.
• Contact an authorised service technician for repair or maintenance of this unit. This appliance shall be installed in
accordance with national wiring regulations.
• Only use the included accessories, parts, and specified parts for installation. Using non-standard parts can cause water
leakage, electrical shock, fire, and can cause the unit to fail.
• Install the unit in a firm location that can support the unit’s weight. If the chosen location cannot support the unit’s weight,
or the installation is not done properly, the unit may drop and cause serious injury and damage.
• Install drainage piping according to the instructions in this manual. Improper drainage may cause water damage to your
home and property.
• For units that have an auxiliary electric heater, do not install the unit within 1 metre (3 feet) of any combustible materials.
•Do not install the unit in a location that may be exposed to combustible gas leaks. If combustible gas accumulates around
the unit, it may cause fire.
•Do not turn on the power until all work has been completed.
• When moving or relocating the air conditioner, consult authorised service technicians for disconnection and re-installation
of the unit.
• How to install the appliance to its support, please read the information for details in “indoor unit installation” and “outdoor
unit installation” sections.
NOTE ABOUT FLUORINATED GASES
1. This air-conditioning unit contains fluorinated gases. For specific information on the type of gas and the amount,
please refer to the relevant label on the unit itself.
2. Installation, decommissioning, service, maintenance and repair of this unit must be performed by a licensed technician.
3. Product decommissioning and recycling must be performed by a licensed technician.
4. If the system has a leak-detection system installed, it must be checked for leaks at least every 12 months.
5. When the unit is checked for leaks, proper record-keeping of all checks is strongly recommended.
6. Only ARC (Australian Refrigeration Council) license holders can install and commission this air conditioner. This air
conditioner must be installed to meet the requirements of the current version of AS/NZS 5149. It is illegal to vent some
types of refrigerant to the atmosphere.

Kaden Installation Manual | 7
KSI Split Air
Conditioner
R32 WALL MOUNTED AIR CONDITIONER
KSI06 | KSI09 |KSI12 | KSI18 | KSI24 | KSI28
Important note
This appliance must be installed in accordance with:
Manufacturer’s Installation Instructions
Current AS/NZS 3000, AS/NZS 5149
Local Regulations and Municipal Building Codes including
local OH&S requirements
This appliance must be installed, maintained, and removed
only by an Authorised Person.
For continued safety of this appliance, it must be installed
and maintained in accordance with the manufacturer’s
Instructions.
REFRIGERANT
R32

8| Kaden Installation Manual
1. KSI accessories
The air conditioning system comes with the following accessories. Use all of the installation parts and accessories to install the air
conditioner. Improper installation may result in water leakage, electrical shock and fire, or cause the equipment to fail.
Name of Accessories Qty (pc) Shape
Mounting plate 1
Clip anchor 5
Mounting plate fixing screw ST3.9 x 25 5
Remote controller 1
Fixing screw for remote controller holder
ST2.9 x 10 2
Remote controller holder 1
Dry battery AAA.LR03 2
Drain seal 1
Drain joint 1
Owner’s and Controller Manual 1
Installation Manual 1

Kaden Installation Manual | 9
1 2
Select installation location Determine wall hole position
3 4
Attach mounting plate Drill wall hole
100mm
120mm 120mm
1800mm
2. KSI installation summary –
indoor unit

LNS
STEP 8
10 | Kaden Installation Manual
Connect piping Connect wiring Prepare drain hose
Wrap piping and cable
Mount indoor unit
5 6 7
8
9

Kaden Installation Manual | 11
CAUTION
• Use a stud finder to locate studs to prevent unnecessary
damage to the wall.
• A minimum pipe run of 3000mm is required to
minimise vibration and excessive noise.
• A, B, and C directions should be free from intrusion
or obstruction.
• This illustration is for explanation purposes only.
The actual style of indoor and outdoor unit may
be slightly different.
• Copper refrigerant lines must be insulated
independently.
Wall-mounted air conditioner
Indoor unit
1 Panel frame
2 Rear air intake grille
3 Front panel
4 Air purifying filter and
air filter (behind)
5 Horizontal louvre
6 LCD display window
7 Vertical louvre
8 Manual control button (behind)
9 Remote controller holder
9
One-twin
One-three
One-four
One-five
12
7
8
5
3
4
6
3. KSI unit parts

12 | Kaden Installation Manual
4. KSI indoor unit installation
Installation instructions –
indoor unit
Prior to installation
Before installing the indoor unit, refer to the label on the
product box to make sure that the model number of the
indoor unit matches the model number of the outdoor unit.
Step 1: Select installation location
Before installing the indoor unit, you must choose an
appropriate location. The following are standards that will help
you choose an appropriate location for the unit.
Proper installation locations meet the
following standards:
✓Good air circulation
✓Convenient drainage
✓Noise from the unit will not disturb other people
✓Firm and solid — the location will not vibrate
✓Strong enough to support the weight of the unit
✓A location at least one meter from all other electrical
devices (e.g. TV, radio, computer)
DO NOT install unit in the following locations:
✕Near an obstacle that will block air inlets and outlets.
✕Near any obstacle that might block air circulation
✕Near the doorway
✕In a location subject to direct sunlight
Note about wall hole
While choosing a location, be aware that you should
leave ample room for a wall hole (see drill wall hole for
connective piping step) for the signal and power cable
and refrigerant piping that connect the indoor and outdoor
units. The default position for all piping is the right side of
the indoor unit (while facing the unit).
However, the unit can accommodate piping to both the left
and right.

Kaden Installation Manual | 13
Step 2: Attach mounting plate to wall
The mounting plate is the device on which you will mount the
indoor unit.
• Remove the screw that attaches the mounting plate to the
back of the indoor unit.
• Secure the mounting plate to the wall with the screws
provided. Make sure that mounting plate is flat against
the wall.
Note for concrete or brick walls
If the wall is made of brick, concrete, or similar material,
drill 5mm diameter holes in the wall and insert the sleeve
anchors provided. Then secure the mounting plate to the
wall by tightening the screws directly into the clip anchors.
Step 3: Drill wall hole for connective piping
You must drill a hole in the wall for refrigerant piping, the
drainage pipe, and the signal cable that will connect the indoor
and outdoor units.
1. Determine the location of the wall hole based on the
position of the mounting plate. Refer to mounting plate
dimensions on the next page to help you determine the
optimal position. The wall hole should have a 65mm
diameter at least, and at a slightly lower angle to
facilitate drainage.
2. Using a 65mm or 90mm (depending on models) core drill,
drill a hole in the wall. Make sure that the hole is drilled at a
slight downward angle, so that the outdoor end of the hole
is lower than the indoor end by about 5mm to 7mm. This
will ensure proper water drainage.
3. Place the protective wall cuff in the hole. This protects the
edges of the hole and will help seal it when you finish the
installation process.
CAUTION
When drilling the wall hole, make sure to avoid wires,
plumbing, and other sensitive components.
Refer to the following diagram to ensure proper distance
from walls and ceiling:
100mm or more
120mm
or more
1800mm
or more
120mm
or more
Screw

✓ ✕ ✕
14 | Kaden Installation Manual
Mounting plate dimensions
Different models have different mounting plates. In order to
ensure that you have ample room to mount the indoor unit,
the diagrams to the right show different types of mounting
plates along with the following dimensions:
• Width of mounting plate
• Height of mounting plate
• Width of indoor unit relative to plate
• Height of indoor unit relative to plate
• Recommended position of wall hole
(both to the left and right of mounting plate)
• Relative distances between screw holes
Model Width of indoor unit
relative to plate
Model A – KSI06/09/12 453.2mm
Model E – KSI18/24/28 645±1mm
Correct orientation of mounting plate
Wall
Indoor Outdoor
5-7mm

Kaden Installation Manual | 15
Model A – KSI06 / KSI09 / KSI12
Model E – KSI18 / KSI24 / KSI28
71.6mm
377.8mm
338.2mm
346.8mm
453.2mm
406.4mm
25.7mm
531±0.5mm
65mm
645±1mm
65mm 65mm 65mm 65mm 65mm
429.5±0.5mm
54mm
285±0.5mm
304±0.5mm

✓✕
✕✕
16 | Kaden Installation Manual
Step 4: Prepare refrigerant piping
The refrigerant piping is inside an insulating sleeve attached
to the back of the unit. You must prepare the piping before
passing it through the hole in the wall.
1. Based on the position of the wall hole relative to the
mounting plate, choose the side from which the piping will
exit the unit.
2. If the wall hole is behind the unit, keep the knock-out panel
in place. If the wall hole is to the side of the indoor unit,
remove the plastic knock-out panel from that side of the
unit. This will create a slot through which your piping can
exit the unit. Use needle nose pliers if the plastic panel is
too difficult to remove by hand.
3. Connect drain hose step. If there is no embedded
piping, connect the indoor unit’s refrigerant piping to the
connective piping that will join the indoor and outdoor units.
Refer to the Refrigerant piping connection section of this
manual for detailed instructions.
NOTE ON PIPING ANGLE: Refrigerant piping can exit the
indoor unit from four different angles: left-hand side, right-
hand side, left rear, right rear.
CAUTION
Be extremely careful not to dent or damage the piping
while bending them away from the unit. Any dents in the
piping will affect the unit’s performance.
Step 5: Connect drain hose
By default, the drain hose is attached to the left-hand side
of unit (when you’re facing the back of the unit). However, it
can also be attached to the right-hand side. To ensure proper
drainage, attach the drain hose on the same side that your
refrigerant piping exits the unit. Attach drain hose extension
(purchased separately) to the end of drain hose.
• Wrap the connection point firmly with teflon tape to ensure
a good seal and to prevent leaks.
• For the portion of the drain hose that will remain indoors,
wrap it with foam pipe insulation to prevent condensation.
• Remove the air filter and pour a small amount of water into
the drain pan to make sure that water flows from the
unit smoothly.
NOTE ON DRAIN HOSE
PLACEMENT
Make sure to arrange the drain hose according to the
following figures.
Plug the unused drain hole
To prevent unwanted leaks you must
plug the unused drain hole with the
rubber plug provided.
CORRECT
Make sure there are no kinks
or dent in drain hose to ensure
proper drainage.
NOT CORRECT
Kinks in the drain hose
will create water traps.
NOT CORRECT
Kinks in the drain hose will
create water traps.
NOT CORRECT
Do not place the end of the drain
hose in water or in containers
that collect water. This will
prevent proper drainage.
Knock-out panel

Kaden Installation Manual | 17
BEFORE PERFORMING ANY ELECTRICAL WORK,
READ THESE REQUIREMENTS
1. All wiring must comply with local and national electrical codes, and must be installed by a licensed electrician.
2. All electrical connections must be made according to the electrical connection diagram located on the panels of the indoor
and outdoor units.
3. If there is a serious safety issue with the power supply, stop work immediately. Explain your reasoning to the client,
and refuse to install the unit until the safety issue is properly resolved.
4. Power voltage should be within 90-100% of rated voltage. Insufficient power supply can cause malfunction, electrical
shock, or fire.
5. If connecting power to fixed wiring, install a surge protector and main power switch with a capacity of
1.5 times the maximum current of the unit.
6. If connecting power to fixed wiring, a switch or circuit breaker that disconnects all poles and has a contact separation of at
least 3mm must be incorporated in the fixed wiring. The qualified technician must use an approved circuit breaker
or switch.
7. Only connect the unit to an individual branch circuit outlet. Do not connect another appliance to that outlet.
8. Make sure to properly ground the air conditioner.
9. Every wire must be firmly connected. Loose wiring can cause the terminal to overheat, resulting in product malfunction
and possible fire.
10. Do not let wires touch or rest against refrigerant tubing, the compressor, or any moving parts within the unit.
WARNING
Before performing any electrical or wiring work, turn off the
main power to the system.
Choose the right cable size
The size of the power supply cable, signal cable, fuse,
and switch needed is determined by the maximum current
of the unit. The maximum current is indicated on the
nameplate located on the side panel of the unit. Refer to
this name plate to choose the right cable, fuse, or switch.
Electrical requirement
The indoor unit is powered by the outdoor unit. Do not power
indoor unit from separate power source.
Cable Conductor
size (mm²)
Type Remarks
Interconnect
power cable
1.5 Type
60245
IEC 57
3 cable + Earth
(Ground)
1 Ø 230 V
Cable length: Limit voltage drop to less than 2%. Increase
cable gauge if voltage drop is 2% or more.
If the interconnect cable exceeds 30000mm in length 2.5mm
thick cable should be used.
The cable specifications are based on the assumption that a
metal or plastic conduit is used with no more than three cables
contained in a conduit and a voltage drop of 2%.
WARNING
Standard for electrical wiring and equipment differs in each
country or region. Before you start electrical work, confirm
related regulations, codes or standards.
5. KSI wiring

18 | Kaden Installation Manual
Electrical wiring work
• Before installation, make sure that the power source
complies with the air-conditioner's power specification
• Carry out electrical wiring work according to
following guidelines
Preparing cable
1. Selecting cable. Select the connecting cable in
accordance with the specifications mentioned below.
4-core* 1.5mm² conformed with 60245 IEC57. *1 Earth
wire is included (yellow/green).
2. Arrange each wire length as shown below. Make sure that
each wire is stripped 10mm from the end.
3. Attach round crimp-type terminal to each wire as shown
below. Select the size of round crimp-type terminal after
considering the specifications of terminal block and
wire diameter.
Connecting cable
30mm or more
Earth wire
40mm or more
Wire end
10mm
10mm
Round crimp type
terminal
Sleeve

Kaden Installation Manual | 19
Take note of fuse specications
The air conditioner’s circuit board (PCB) is designed with a
fuse to provide overcurrent protection. The specifications
of the fuse are printed on the circuit board, such as:
T3.15A/250VAC, T5A/250VAC, etc.
1. Open front panel of the indoor unit.
2. Using a screwdriver, open the wire box cover on the right
side of the unit. This will reveal the terminal block.
NOTE:
• For the units with conduit tube to connect the cable,
remove the big plastic knock-out panel to create a slot
through which the conduit tube can be installed.
• For the units with five-core cable, remove the middle
small plastic knock-out panel to create a slot through
which the cable can exit.
• Use needle nose pliers if the plastic panel is too difficult
to remove by hand.
3. Unscrew the cable clamp below the terminal block and
place it to the side.
4. Facing the back of the unit, remove the plastic panel on the
bottom left-hand side.
5. Feed the signal wire through this slot, from the back of the
unit to the front.
6. Facing the front of the unit, connect the wire according
to the indoor unit’s wiring diagram, connect the u-lug and
firmly screw each wire to its corresponding terminal.
WARNING
DO NOT MIX UP LIVE AND NULL WIRES
This is dangerous, and can cause the air conditioning unit
to malfunction.
7. Unscrew the cable clamp below the terminal block and
place it to the side.
8. Facing the back of the unit, remove the plastic panel on the
bottom left-hand side.
9. Feed the signal wire through this slot, from the back of the
unit to the front.
10. Facing the front of the unit, match the wire colours with the
labels on the terminal block, connect the u-lug and firmly
screw each wire to its corresponding terminal.
11. After checking to make sure every connection is secure,
use the cable clamp to fasten the signal cable to the unit.
Screw the cable clamp down tightly.
12. Replace the wire cover on the front of the unit, and the
plastic panel on the back.
NOTE ABOUT WIRING
The wiring connection process may differ slightly
between units.
Cable clamp
Knock-out panel
Front view
Back view (for some units only)
Screw
Wire cover
Terminal block

20 | Kaden Installation Manual
Step 6: Wrap piping and cables
Before passing the piping, drain hose, and the signal cable
through the wall hole, you must bundle them together to save
space, protect them, and insulate them.
1. Bundle the drain hose, refrigerant pipes, and signal cable.
Drain hose must be on bottom
Make sure that the drain hose is at the bottom of the
bundle. Putting the drain hose at the top of the bundle can
cause the drain pan to overflow, which can lead to fire or
water damage.
Do not intertwine signal cable with
other wires
While bundling these items together, do not intertwine or
cross the signal cable with any other wiring.
2. Using adhesive vinyl tape, attach the drain hose to the
underside of the refrigerant pipes.
3. Using insulation tape, wrap the signal wire, refrigerant
pipes, and drain hose tightly together.
Do not wrap ends of piping
When wrapping the bundle, keep the ends of the piping
unwrapped. You need to access them to test for leaks
during of the installation process (refer to Electrical checks
and leak checks section of this manual).
Step 7: Mount indoor unit
If you installed new connective piping to the outdoor unit,
do the following:
1. If you have already passed the refrigerant piping through
the hole in the wall, proceed to Step 4.
2. Otherwise, double-check that the ends of the refrigerant
pipes are sealed to prevent dirt or foreign materials from
entering the pipes.
3. Slowly pass the wrapped bundle of refrigerant pipes, drain
hose, and signal wire through the hole in the wall.
4. Hook the top of the indoor unit on the upper hook of the
mounting plate.
5. Check that unit is hooked firmly on mounting by applying
slight pressure to the left and right-hand sides of the unit.
The unit should not jiggle or shift.
6. Using even pressure, push down on the bottom half of
the unit. Keep pushing down until the unit snaps onto the
hooks along the bottom of the mounting plate.
7. Again, check that the unit is firmly mounted by applying
slight pressure to the left and the right-hand sides of
the unit.
If refrigerant piping is already roughed into
the wall
New refrigerant piping must be used as older piping may
not meet the safe working pressure requirements of R32.
Residual mineral oil in existing pipe work is not compatible
with R32 and POE oil.
1. Hook the top of the indoor unit on the upper hook of the
mounting plate.
2. Use a bracket or wedge to prop up the unit, giving you
enough room to connect the refrigerant piping, signal cable,
and drain hose.
3. Connect drain hose and refrigerant piping (refer to
refrigerant piping connection section of this manual
for instructions).
4. Keep pipe connection point exposed to perform the leak
test (refer to Electrical checks and leak checks section
of this manual).
5. After the leak test, wrap the connection point with
insulation tape.
6. Remove the bracket or wedge that is propping up the unit.
7. Using even pressure, push down on the bottom half of
the unit. Keep pushing down until the unit snaps onto the
hooks along the bottom of the mounting plate.
Space behind unit
Insulation tape
Refrigerant
piping
Drain hoseSignal wire
Indoor unit
Other manuals for KSI Series
2
This manual suits for next models
19
Table of contents
Other Kaden Air Conditioner manuals
Popular Air Conditioner manuals by other brands

Technibel
Technibel KPAFP125R5IA Series instruction manual

GE
GE AGM24DH Owner's manual and installation instructions

INVENTOR
INVENTOR OMI-09 owner's manual

Daikin
Daikin Super Multi NX 3MKS50E3V1B Service manual

Vogue
Vogue 373008 Installation instructions & user guide

Whynter
Whynter MSFS-024H23016-01NE instruction manual