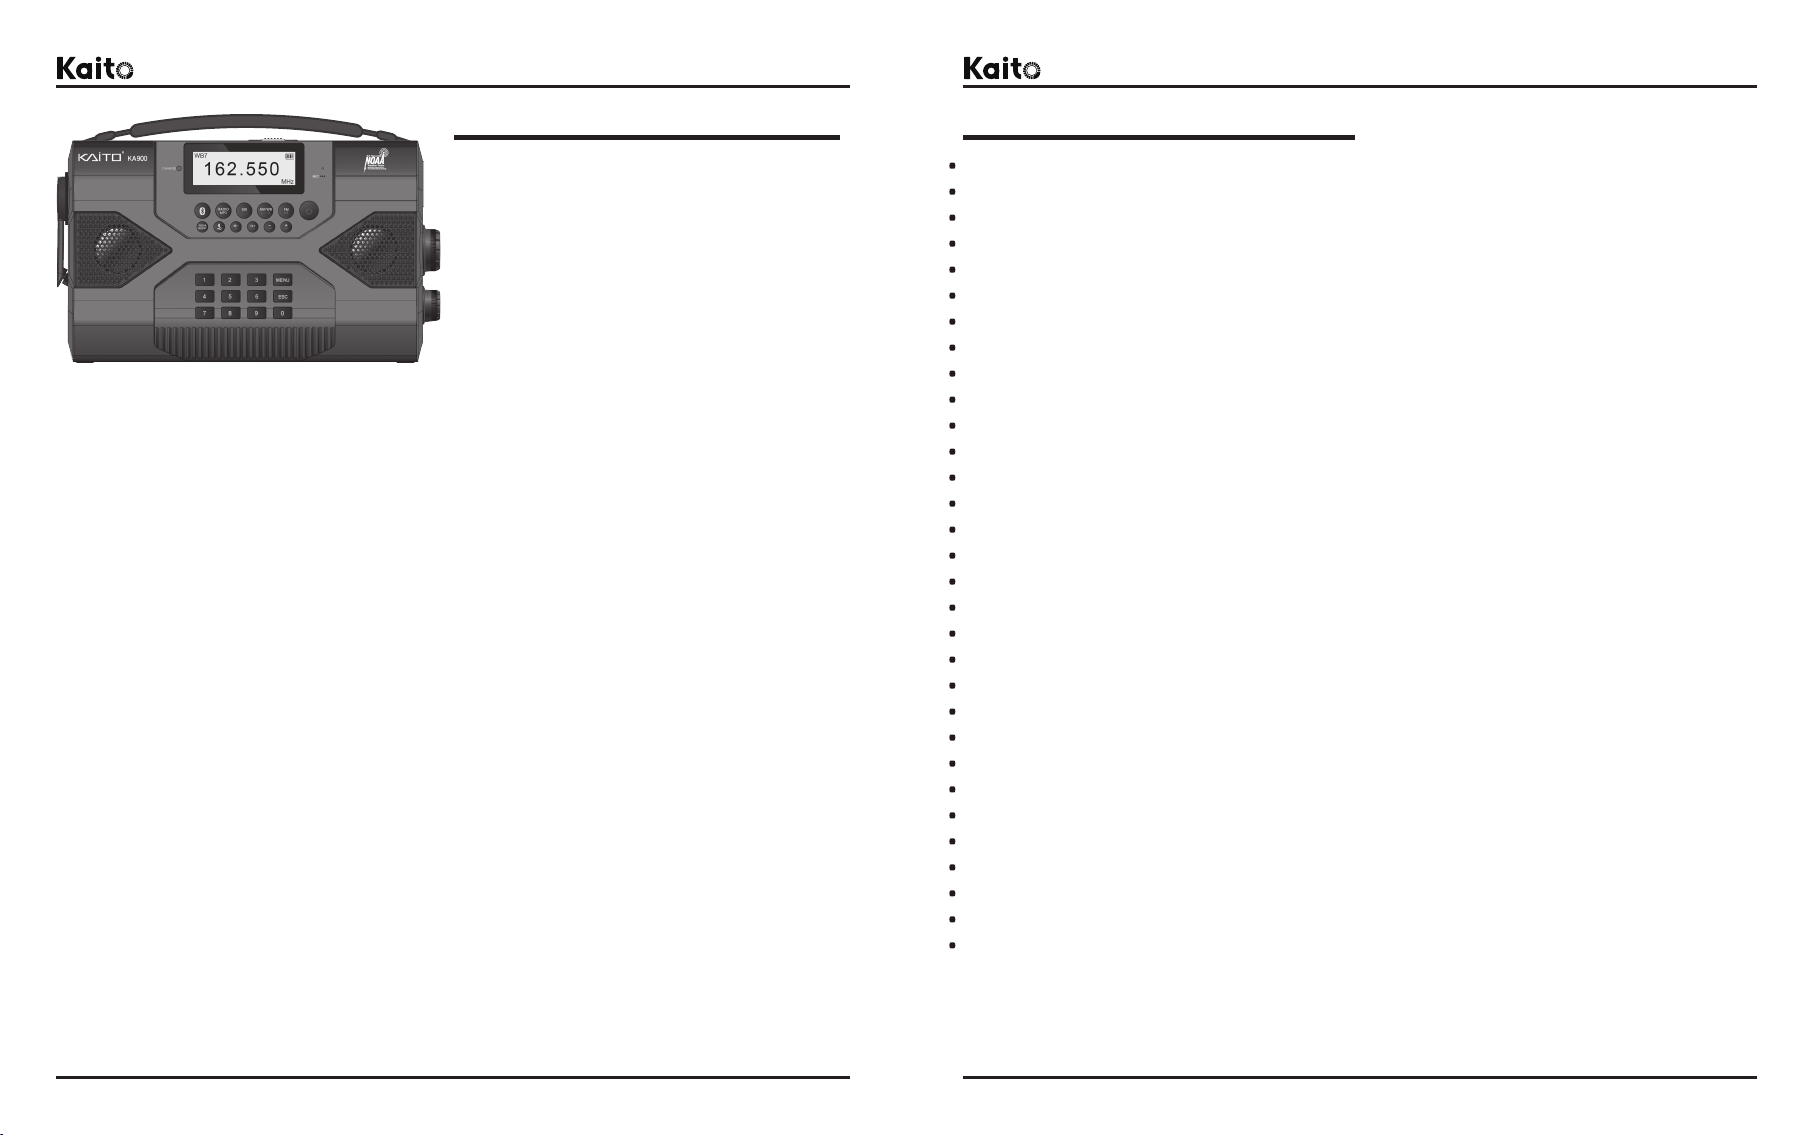
KA900 Voyager MAX Emergency Radio
®
User’s Manual KA900 Voyager MAX Emergency Radio
®
User’s Manual
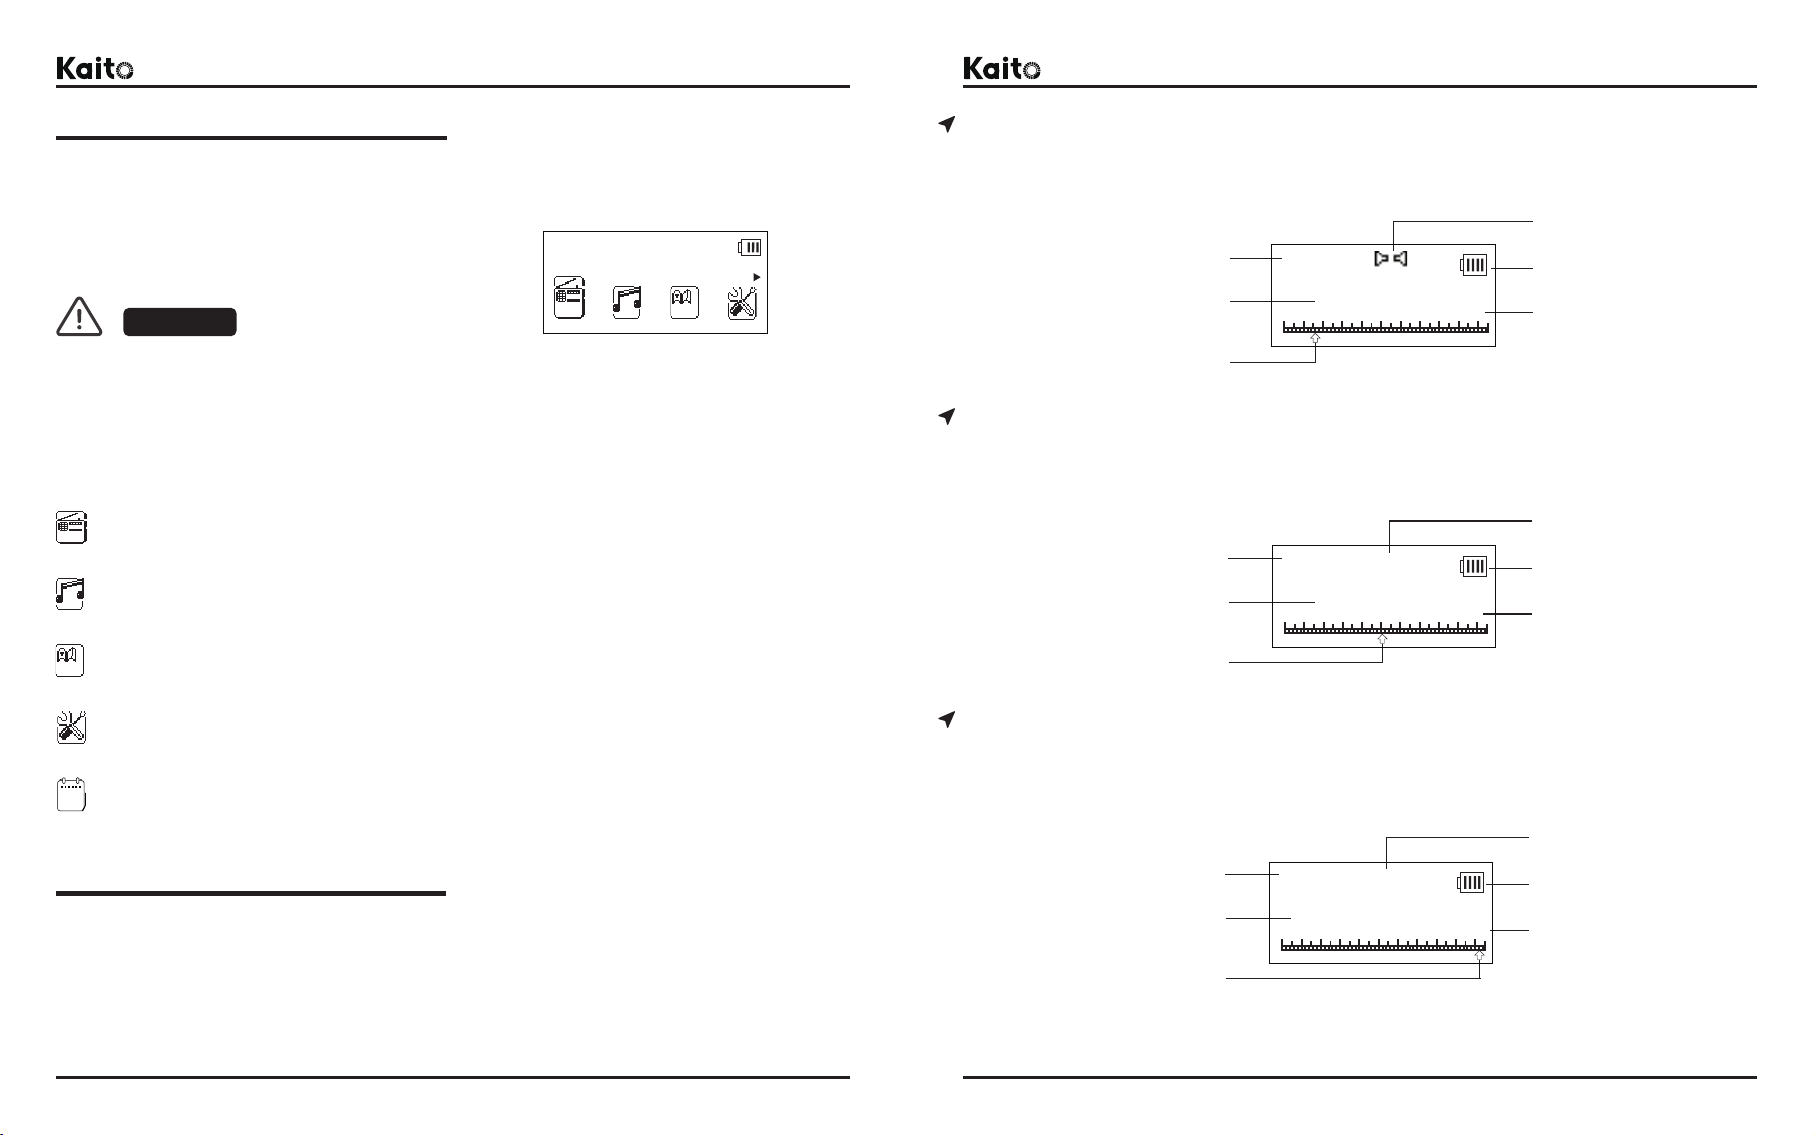
Introduction Product Features
This KA900 Voyager MAX Emergency Radio
is a multi-functions music machine. It features
stereo radio, Bluetooth speaker, MP3 player with
Micro-SD card, recorder and scheduled time
recorder, flashlight, reading lamp, cranking
dynamo, solar panel, NOAA weather alert, alarm
clock, sleep timer, e-book, equalizer, hand strap
and more.
It is an AM, FM, Shortwave and NOAA Weather band radio. Also provide local NOAA weather
alert emergency function to help users respond to emergency situations. This true emergency
gadget that best for outdoors or situation you need a power and information, perfect for black
out, earthquake , hurricane, and any situations that you need power and information.
It has multi-way powered include the crank dynamo, solar energy, rechargeable lithium battery,
Micro-USB port, DC-in jack etc., to ensure this radio gets enough power to help users respond
to possible emergency situations.
This radio built-in bright a LED flashlight and an adjustable tilt angle of the 5-LED reading lamp
and large solar panel, make full use of solar energy or user's environment for optimal lighting.
It is built-in two high-quality speakers, to provide good quality stereo radio listening, when
working in the MP3 player or Bluetooth playback, it also supports excellent two-channel audio
output. Not only that, it has the sound equalizer, variety of loop mode selection, lyrics display,
multi-language display, support for up to 32G memory capacity, manage up to 9999 music tracks
and more functions.
It is built-in a microphone and the recorder function, support internal radio and external voice
recording, immediate recording, time scheduled recording or more.
It can be thourgh the built-in USB output port for charging the cellphones and other devices
with USB connections, to help uses respond to emergencies.
It has E-book function, using a built-in text browser can read the .txt document stored on the
Micro-SD card, such as emergency calls and guides, etc., you can used them in the radio, to get
more help in the emergency situations.
Whatever, this KA900 Voyager MAX Emergency Radio is designed for both everyday use
as well as emergency preparedness applications.
AM|FM|Shortwave|NOAA Weather Band Radio
Stereo Dual Speakers
Bluetooth Connection with Cellphone or Other Devices
MP3 Player with Micro-SD Card and Equalizer
NOAA Local Weather Alert
Time Scheduled Recorder for Radio Programs
Built-in Microphone for Voice Recording
Bright 5-LED Adjustable Tilt Angle Reading Lamp
Bright LED Flashlight
Adjustable Tilt Angle Solar Panel
Dynamo Crank for Emergency Charging
Multi-Way Powered Mode
Built-in 18650 Rechargeable Lithium Battery
5 Tuning Modes: ATS, Auto, Manual, Keypad Entry or Memory
Numeric Keypad To Enter the Tuning Frequency or Music Tracks
Backlit LCD Display with Adujstable Time
Variety of Audio Loop Playback Modes
Mute Function
Key Lock Function to Preserve Settings
Alarm Clock
Calendar
Sleep Timer
Battery Strength and Charging Indicator
Text Browser
Lyrics Display Function
Micro-USB Power Input Port for the Radio
USB Power Output Port for Cellphone or Other Devices
Power Input or Output Switch
Line-in Audio Input Jack
Earphone Jack for Private Listening
Multi-language Menu Setup
1 2