Kallista P73063 User manual

INSTALLATION INSTRUCTIONS
Wooden Vanity & Pre-Cut Marble Top
1158696_2_A
1 of 6
Questions? Problems? For additional assistance, please contact KALLISTA’s Customer
Service Department at 1-888-4KALLISTA (1-888-452-5547) or FAX 1-888-272-3094.
P73063, P73066,
P73067

INSTALLATION INSTRUCTIONS
Wooden Vanity & Pre-Cut Marble Top
1158696_2_A
2 of 6
Questions? Problems? For additional assistance, please contact KALLISTA’s Customer
Service Department at 1-888-4KALLISTA (1-888-452-5547) or FAX 1-888-272-3094.
THANK YOU FOR CHOOSING KALLISTA
We appreciate your commitment to KALLISTA quality products. Please take a moment to review this manual
before you install your KALLISTA product. If you encounter any installation or performance problems, please do
not hesitate to contact us at the phone number listed at the bottom of the page.
BEFORE YOU BEGIN
These instructions are for installing the wooden vanity cabinet (P73066 or P73067) and pre-cut marble
vanity top (P73063).
Observe all local plumbing and building codes.
Prior to installation, unpack the new vanity and marble top and inspect them for damage. Return the vanity
and marble top to their protective cartons until you are ready to install them.
Refer to the vanity specication sheet for P-trap and supply location recommendations. Verify your supply
valves and P-trap will not interfere with the shelf and drawer. Install the water supply and drain lines. The
water supply nipples must extend 3″ (7.6 cm) beyond the nished wall material.
These instructions are for installing the wooden vanity cabinet to wood frame construction. For other
installations, supply suitable bracing and fastening devices of sufcient size and strength.
Provide 2x6 backing material in the nished wall. The height from the top of the 2x6 backing material to the
oor must be 36-1/4″ (92.1 cm).
This installation is recommended to be done with a minimum of two people.
All dimensions given assume that the oor and walls are square, plumb, and level. Make appropriate
adjustments for other conditions.
Remove any moldings that may inhibit the vanity from being ush against the nished wall.
Make sure the path of the door will not be obstructed as it swings open.
KALLISTA reserves the right to make revisions in the design of products without notice, as specied in the
Price Book.
TOOLS AND MATERIALS
Pencil
Tape
Measure Level Drill
Hex
Wrench
Clear 100% Silicone
Sealant or Caulk
File
Hammer
Safety Glasses
Plus
● Conventional woodworking
tools and materials, as
appropriate
● Hole Saw
● Wood Screws
● Screwdriver

INSTALLATION INSTRUCTIONS
Wooden Vanity & Pre-Cut Marble Top
1158696_2_A
3 of 6
Questions? Problems? For additional assistance, please contact KALLISTA’s Customer
Service Department at 1-888-4KALLISTA (1-888-452-5547) or FAX 1-888-272-3094.
1. WALL PREPARATION
36-1/4”
(92.1 cm)
2x6 Backing Material
Measure and mark 36-1/4″ (92.1 cm) up from the oor. This will
be the height from the top of the 2x6 backing material to the
oor.
Secure the 2x6 backing material to the studs with framing nails.
Install the water supply and drain lines. The water supply
nipples must extend at least 3″ (7.6 cm) beyond the nished
wall material.
Complete the nished wall. Make sure that the nished wall is
straight and plumb, and that the oor is at and perpendicular
to the nished wall.
IMPORTANT! Do not install any moldings that may inhibit the vanity
from being plumb against the nished wall.
2. TEST FIT THE VANITY AND MARBLE
Mark supply and drain locations.
Wooden Vanity Cabinet
Levelers
Position the wooden vanity cabinet against the
nished wall.
Verify the wooden vanity cabinet is level front
to back and side to side. If necessary, adjust
the levelers on the bottom of the wooden
vanity cabinet.
Mark the supply and drain locations on the
inside of the wooden vanity cabinet back wall.
Move the wooden vanity cabinet away from
the wall.
Cut the marked supply and drain locations
from inside of the wooden vanity cabinet using
a hole saw.
Position the wooden vanity cabinet against the
wall, aligning the supply and drain locations
with the cut holes on the wooden vanity
cabinet back wall.

INSTALLATION INSTRUCTIONS
Wooden Vanity & Pre-Cut Marble Top
1158696_2_A
4 of 6
Questions? Problems? For additional assistance, please contact KALLISTA’s Customer
Service Department at 1-888-4KALLISTA (1-888-452-5547) or FAX 1-888-272-3094.
3. MARBLE TOP HOLE FABRICATION (OPTIONAL)
Three faucet holes have been partially drilled from the underside of the console top.
On the top, show surface, of the console top, locate the center of the required faucet holes. Using a
compass or circle template, draw a circle for the required holes.
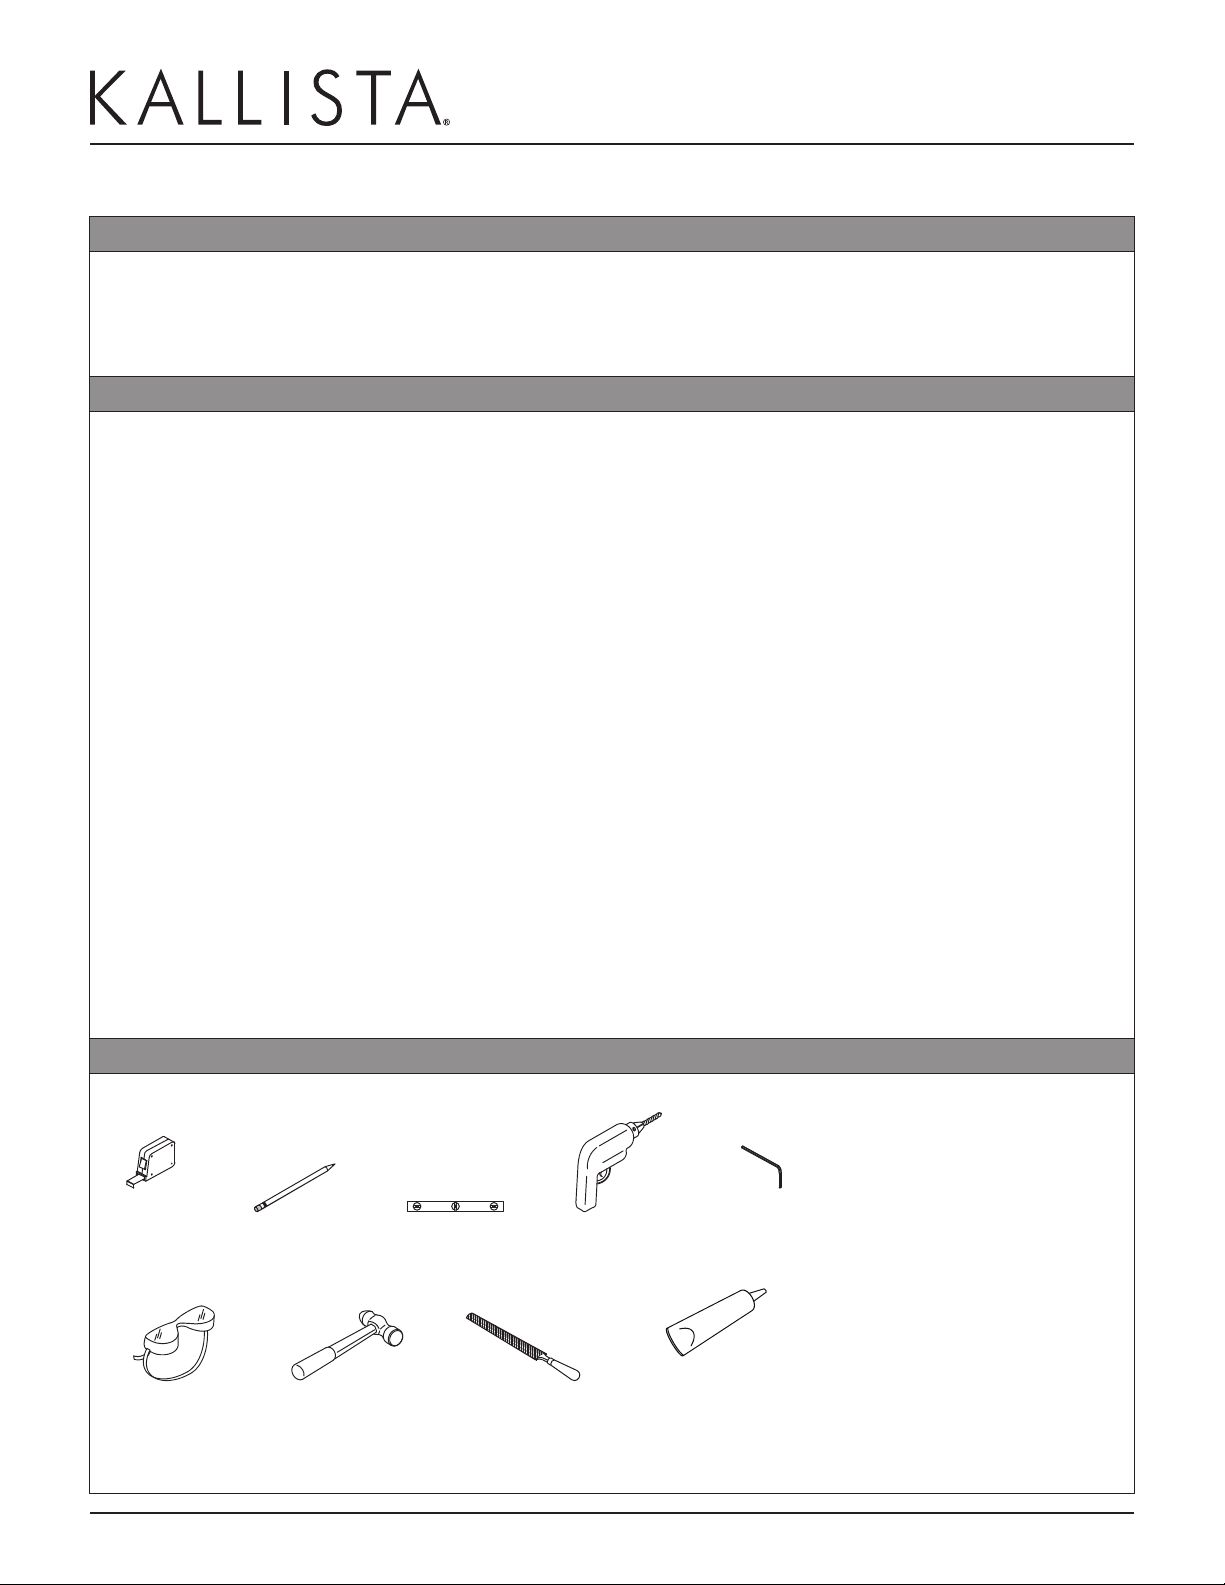
Using a small hammer, create the faucet hole(s) by gently tapping the console top within the circles until the
marble breaks away.
NOTE: DO NOT strike the console top with too much force. DO NOT strike from the bottom side of the console
top. This will damage the top surface of the console top.
Using a le or sanding cylinder, complete the removal of marble material to create a clean round hole.
4. INSTALL THE MARBLE TOP
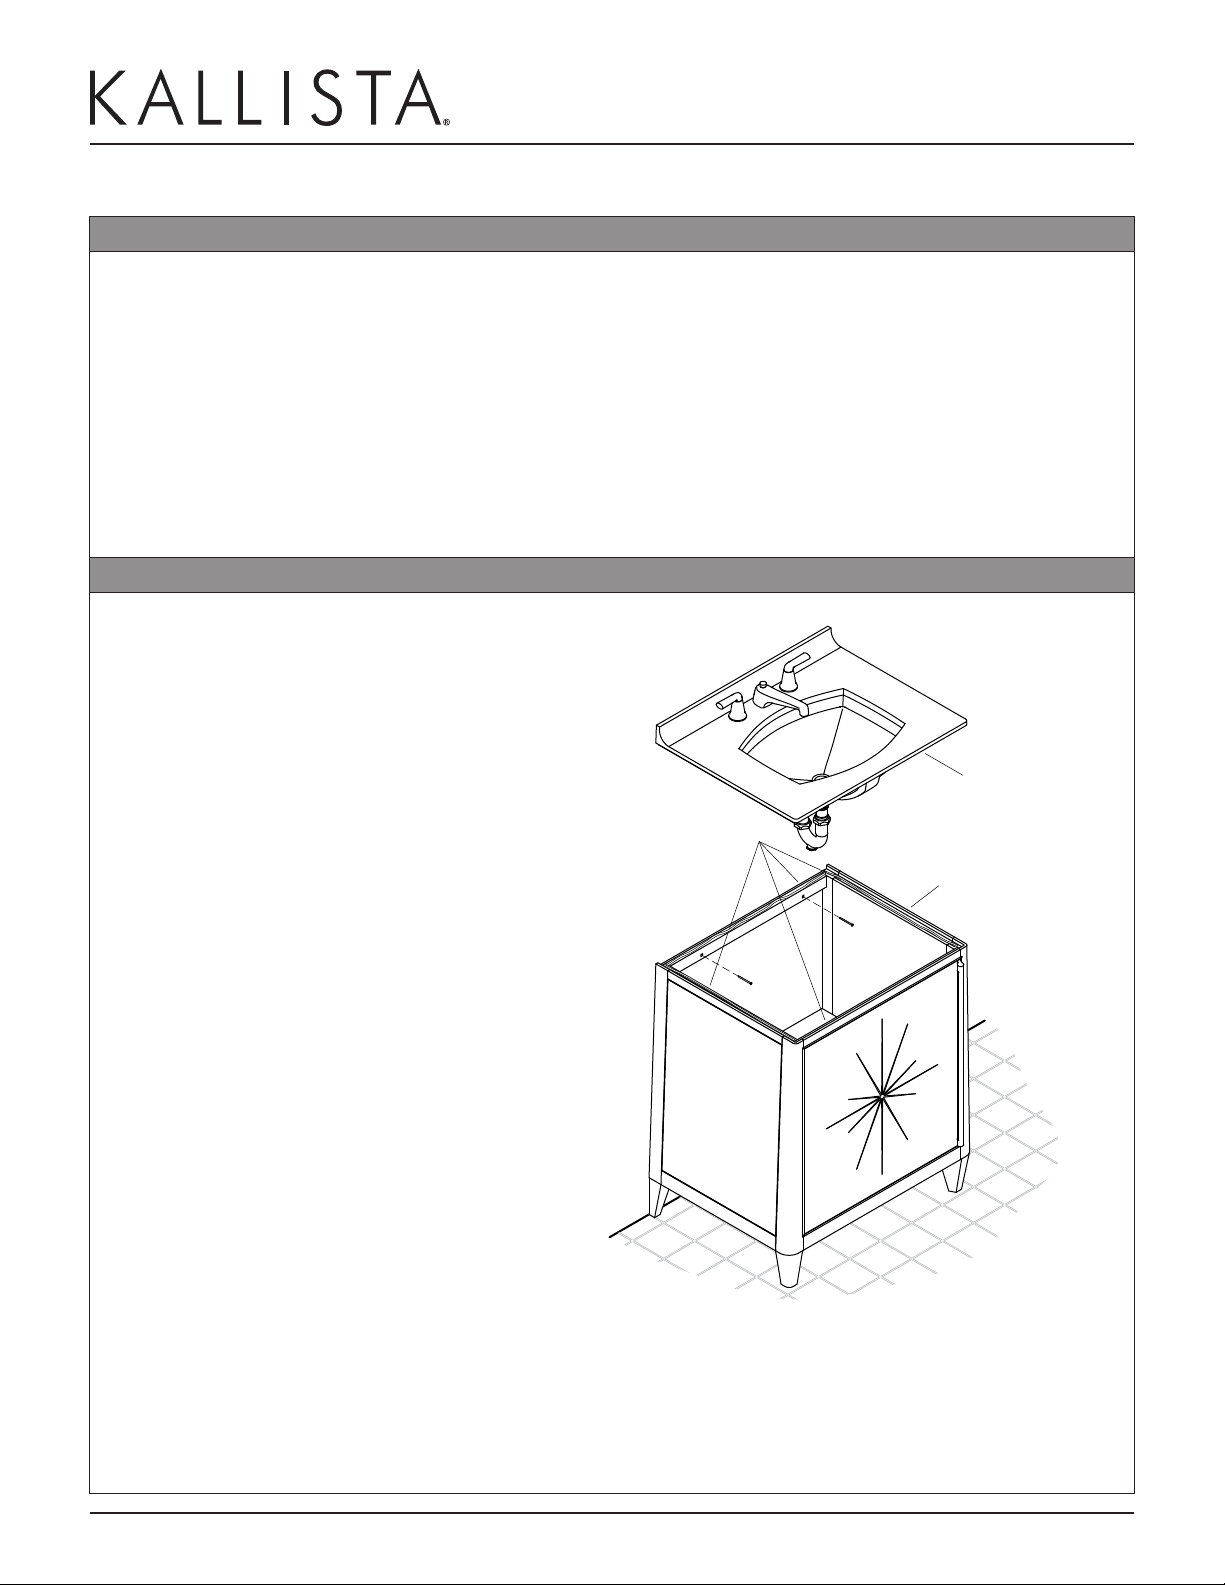
Stone Vanity Top
Wooden Vanity Cabinet
Apply clear 100% silicone
caulk or sealant.
NOTE: If using a lavatory with overow, ensure that
the lavatory is installed with the overow to the front
of the marble top and vanity.
Install the lavatory and faucet to the marble
vanity top at this time. Refer to the lavatory
manufacturer’s instructions for proper lavatory
installation. Refer to the faucet manufacturer’s
instructions for proper faucet installation.
With the help of an assistant, place the marble
vanity top on top of the wooden vanity cabinet.
Verify correct t and alignment of all components.
Adjust as necessary.
With the help of an assistant, carefully remove
the marble vanity top and set aside.
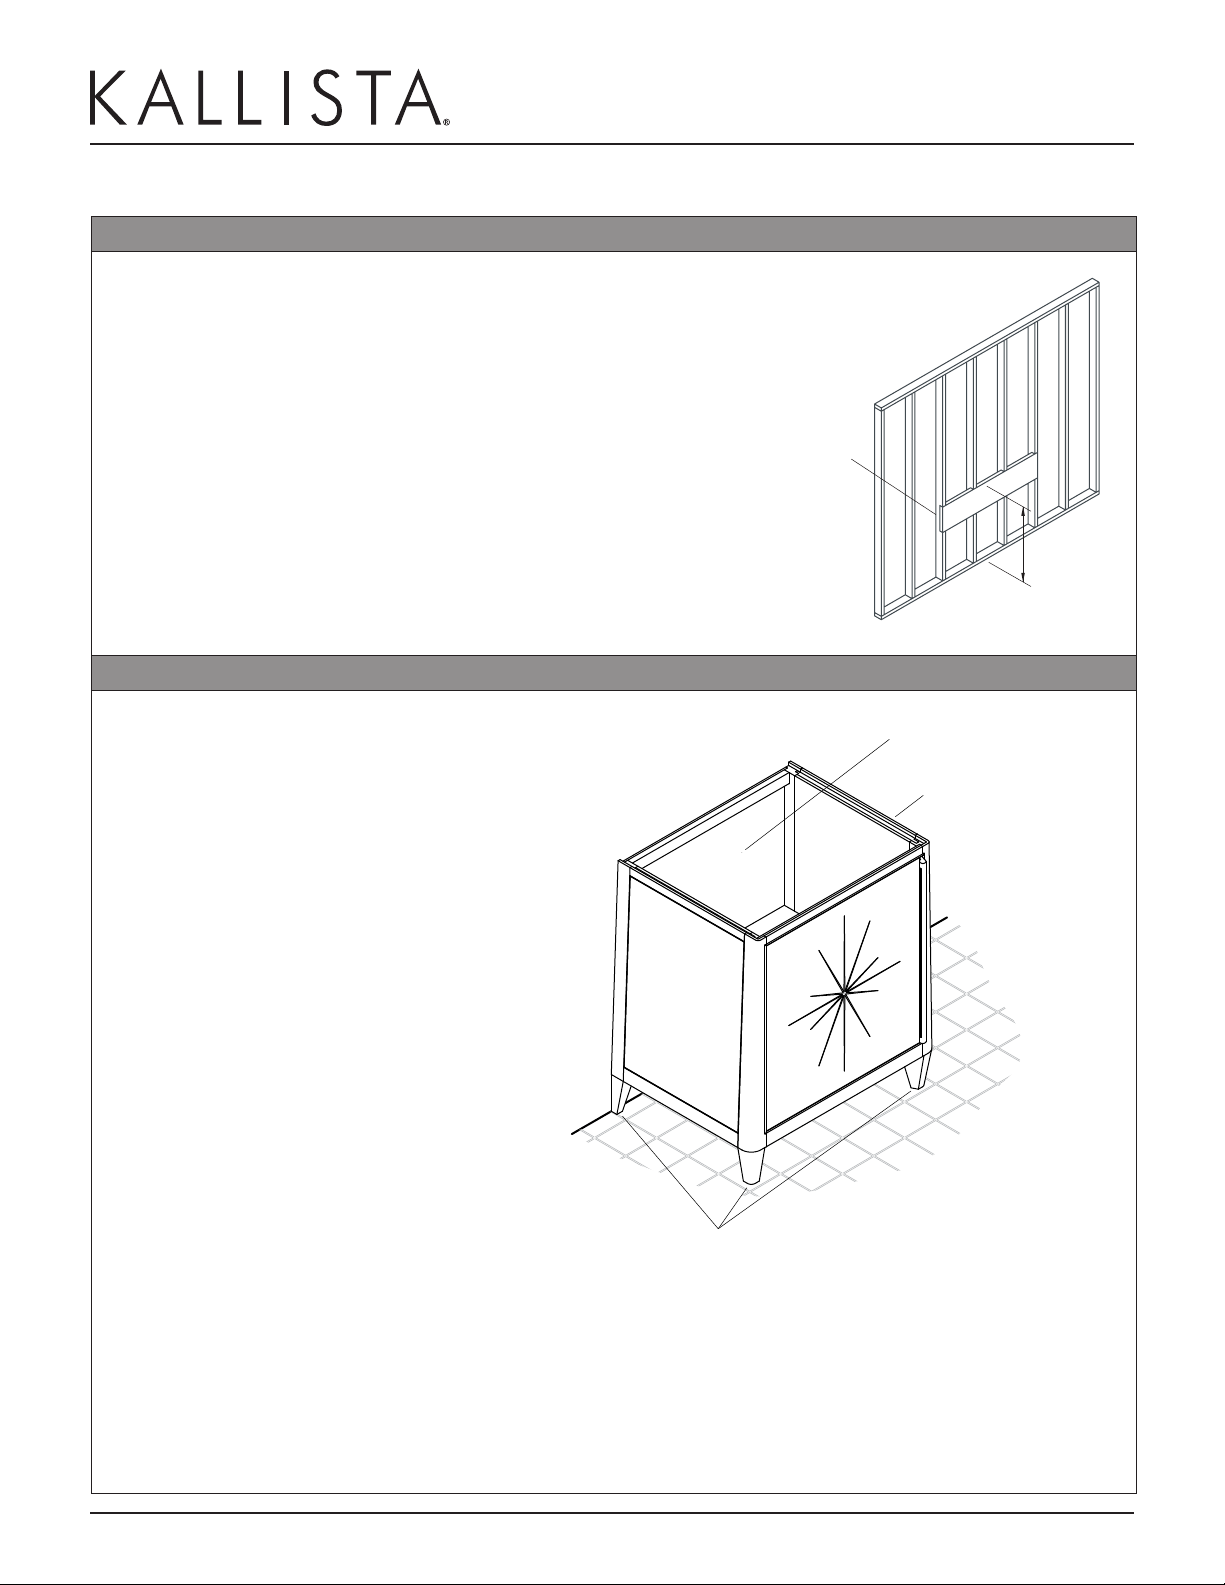
Drill two pilot holes through the mounting rail
and nished wall on each side of the wooden
vanity cabinet. Make sure the two pilot holes are
spaced a minimum of 16″ (40.6 cm) apart from
one another.
Tighten a wood screw through each of the two
drilled holes until the wooden vanity cabinet is
ush and secure against the nished wall.
Apply clear 100% silicone caulk or sealant to the
top of the wooden vanity cabinet.
With the help of an assistant, replace the marble
vanity top on top of the wooden vanity cabinet.
Verify correct t and alignment. Adjust as
necessary.

INSTALLATION INSTRUCTIONS
Wooden Vanity & Pre-Cut Marble Top
1158696_2_A
5 of 6
Questions? Problems? For additional assistance, please contact KALLISTA’s Customer
Service Department at 1-888-4KALLISTA (1-888-452-5547) or FAX 1-888-272-3094.
5. COMPLETE THE INSTALLATION
If desired, apply a bead of caulk or silicone sealant where the marble console top meets the wall.
Install the p-trap according to the manufacturer’s instructions.
Connect the water supply and check all connections for leaks. Repair as needed.
6. REMOVE/ADJUST THE DOORS AND HINGES
Side of Vanity
Top of Door Hinge Cup
Hinge Base
Slot
Bracket
Latch
Adjustments
Side Depth Height
Door
Removal:
Hold the door in place with one hand while releasing the latch from the bracket at each hinge assembly
location on the door. The door will detach from the hinges. Set the door aside.
Replacement/Reinstallation:
Line up the latch pin on the hinge cup with the groove on the hinge base, then snap into place.
Open and close the door to conrm smooth operation. Adjust the screws on the hinge assembly as needed.
Adjustment:
NOTE: Refer to the hinge assembly illustration above to select the screw that corresponds to the adjustment
needed.
Height - to move the door up or down - Turn the screw either way on the bottom and top hinge assembly
until proper adjustment is achieved.
Side - to move the door to the left or to the right - Turn the screw either way on the bottom and top
hinge assembly until proper adjustment is achieved.
Depth - to move the door in or out - Loosen the screw on the bottom and top hinge assembly, hold the
door in the desired position, then retighten the screws.

INSTALLATION INSTRUCTIONS
Wooden Vanity & Pre-Cut Marble Top
1158696_2_A
6 of 6
Questions? Problems? For additional assistance, please contact KALLISTA’s Customer
Service Department at 1-888-4KALLISTA (1-888-452-5547) or FAX 1-888-272-3094.
7. REMOVE/ADJUST THE DRAWERS
Grey Cam
Blue Cam
Release Latch
Black Cam
Blue Cam
To remove the drawer:
Slide the drawer out on the rails until fully extended.
Press both release latches as shown, then pull the drawer toward you, off the rails.
Lift the drawer out from the vanity.
To reinstall the drawer:
Fully extend the rails.
Align the holes on the rear of the drawer with the hooks on the rails and tilt into place.
Push the drawer closed and continue to push until you hear both rails “snap” into place.
Ensure the drawer is locked into place by opening the drawer and lightly lifting the front of the drawer
upward. If the drawer does not lift up, it is engaged. If the drawer lifts up, repeat the above procedure.
Slide the drawer in and out of the vanity to ensure smooth operation.
Adjustment:
Slide the drawer out on the rails until fully extended.
Turn the black cam one quarter turn counter clockwise to unlock.
For horizontal adjustment, turn the grey cam clockwise or counter clockwise as needed.
For vertical adjustment, turn the blue cam(s) clockwise or counter clockwise as needed.
Re-lock the black cam after adjustments are made.
This manual suits for next models
2
Table of contents
Other Kallista Indoor Furnishing manuals
Popular Indoor Furnishing manuals by other brands

NOA & NANI
NOA & NANI OTTO Assembly instructions

Rini
Rini Carl Series user manual

Comfort
Comfort GRANTON GO-60-582105 Operation manual

Canvas
Canvas Concordia 168-0037-6 Assembly instructions

Mocka
Mocka Sadie Bedside Table Assembly instructions

Manhattan Comfort
Manhattan Comfort BOWERY 55.12 Assembly instructions