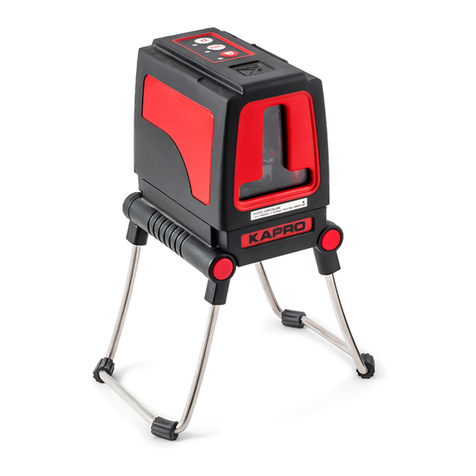
Kapro Prolaser Vector 873 User manual

Prolaser®Vector
Model No. 873
User Manual
Manual del usuario
Manuel d'utilisation
Руководство по эксплуатации
3AA
165'/50m NOT INCLUDED

2
Thank you for purchasing Kapro’s 873 Prolaser®Vector.
You now own one of the most advanced laser tools available.
This manual will show how to get the most out of your laser
tool.
APPLICATIONS
The 873 Prolaser®Vector is innovatively designed for a very
broad range of professional and DIY jobs, including:
• Aligning tiles, cabinets, borders, moldings and trims
• Door and window installation
• All types of DIY jobs, including hanging shelves, pictures
and more
NOTE
Keep this user manual for future reference.
3AA
165'/50m NOT INCLUDED
EN

3
CONTENTS
• Features 4
• Safety instructions 5-6
• Battery installation 7
• Overview 8
• Operating instructions 9-11
• Maintenance 12
• Field calibration test 13-14
• Specifications 15
• Warranty 16

4
FEATURES
• 1 Horizontal and 2 vertical lines at 90° intersections -
forward and on the ceiling
• 165’ (50m) outdoor range with detector
• “Tilt” mode for angular layout/marking
• Strong folding legs for angle mounting in manual mode
and height adjustment
• Self-leveling mechanism
• Visual and audible “out of level” warning
• 1/4" tripod thread
• Shock resistant rubber casing
• Compactsize–tsinyourtoolbox

5
SAFETY INSTRUCTIONS
WARNING
The product is a class II laser.
Laser radiation: Serious eye injury could be
caused by looking directly into the beam or by
projecting the beam into the eyes of others
• The use of protective eyewear is recommended
• Always position the laser beam so that it does not
cause anyone to directly stare into it.
• Do not operate the laser level near children or let
children operate the laser level.
• Do not look into a laser beam using magnifying optical
equipment, such as binoculars or a telescope, as this
will increase the level of eye injury.

6
• Do not remove or deface warning labels on the laser level.
• Do not take the unit apart.
• Do not drop the unit.
• Do not use solvents to clean the laser unit.
• Do not use in temperatures below 14°F or above 113°F
(-10°C to 45°C)
• Do not use in combustible environments such as in the
presenceofammableliquids,gasesordust.
• When not in use, turn off the power, remove the batteries,
engage the lock-protect mechanism and place the laser in
the carrying pouch.
• Make sure the lock-protect mechanism is engaged before
transporting the laser.

7
1. Press down on the latch and remove the battery cover.
2. Insert 3 new AA batteries of the same brand according to
the polarity diagram on the inside of the battery compartment.
3. Replace the battery cover.
BATTERY INSTALLATION

8
OVERVIEW
1. On/Off switch
2. Metal legs
3. Rubber sleeve of metal legs
4. Keypad
a. Manual Mode d. Manual Mode indicator
b. Beam Selector e. Laser beam indicator
c. Pulse Mode f. Pulse (detector) mode
5. Horizontal window
6. Vertical window-1
7. Vertical window-2
8. Battery cover
9. 1/4" tripod adapter

9
OPERATING INSTRUCTIONS
Working in Automatic mode (self-leveling):
In manual mode the 873’s self-leveling mechanism is disengaged
The laser level can project a horizontal line, 1 or 2 vertical lines or
all beams simultaneously with an intersection in front of the unit and
on the ceiling.
1.Removethelaserfromthecaseandplaceitonaat,vibration
free surface or tripod.
2.Turn ON/OFF switch to ON.
The laser level will generate the crossed horizontal and vertical
lines and the laser beam indicator will light.
3.Choose the beams you want to use by pushing the Beam Selector.
4.Before moving the laser level be sure to switch laser to the
OFF position which engages the lock protect mechanism.

10
Working in Manual mode:
In manual mode the 873’s self-leveling mechanism is disengaged
so that you can set the laser lines at any slope you require.
1.Removethelaserfromthecaseandplaceitonaat,
vibration free surface or tripod.
2. Press manual mode button. The manual mode indicator is lit
and the unit projects crossed lines without self-leveling.
3. Choose the beams you want to use by pushing the Beam
Selector.
4. Now you can tilt the laser as needed to mark the desired
slope. Use the folding legs to adjust the angle and the height.
5. To turn the laser off, press the Manual button again.
6. Before moving the laser level be sure to switch laser to the
OFF position which engages the lock protect mechanism.

11
Note:
When switching from OFF to ON in Manual the laser will return to
self-leveling mode.
Working in Pulse mode with a detector:
You can use the 873 Prolaser®Vector outdoors using the
pulse mode with a detector. This allows you to use the laser for
extendedrangesorinpoorlylightedconditions.
To activate the Pulse Mode press the P button in either Manual or
Self-Leveling mode.

12
MAINTENANCE
• Clean the aperture lens and the body of the laser level
using a clean soft cloth only. Do not use solvents.
•Ifthelaserlevelisexposedtowater,drythelaserlevel
before returning it to the carrying case.
• Change the batteries when the laser beams begin to dim.
• Remove the batteries if the laser level will be unused for a
long period of time.
• Regularly check the laser beams accuracy.

13
The laser level leaves the factory fully calibrated. Kapro
recommends that he level be check regularly and after the unit
has been dropped or mishandled.
Horizontal Calibration Test
1.Placethelaseronaat,vibrationfreesurfaceasnearas
possible to a long wall.
2. Switch the laser ON and press the Beam Selector button
until the horizontal beam is projected.
3. Make two marks on the wall at the laser line – one close
to the laser (Mark 1) and one as far away as possible (Mark 2).
4. Move the laser unit as close to the far away mark (Mark 2)
as possible, adjust the height of the beam to
Mark 2 and repeat steps 1-4.
5. Measure the difference between the laser line and Mark 1.
Thedifferenceshouldnotexceed0.2mmpermeterofthe
horizontaldistancebetweenmarks1and2.Forexample,ifthe
distanceis5mthenthedifferenceshouldnotexceed0.2mmx
5 – 1mm. If this is the case then the laser is calibrated.
FIELD CALIBRATION TEST

14
Vertical Calibration Test
1. Hang a plumb line from a high point on a wall.
2.Placethelaseronaat,vibrationfreesurfaceabout3ft(1m)
from the wall.
3. Press the Beam Selector button until the vertical beam is projected.
4. Adjust the laser so that it touches the bottom of the plumb line.
If the laser line is touching the plumb line at the top the laser is
calibrated.

15
Vertical Calibration Test
1. Hang a plumb line from a high point on a wall.
2.Placethelaseronaat,vibrationfreesurfaceabout3ft(1m)
from the wall.
3. Press the Beam Selector button until the vertical beam is projected.
4. Adjust the laser so that it touches the bottom of the plumb line.
If the laser line is touching the plumb line at the top the laser is
calibrated.
Laser beams
output pattern Horizontal, Vertical-1, Vertical-1
+Vertical-2,
Horizontal + Vertical-1, Horizontal +
Vertical-1 + Vertical-2
Laser range • Indoor - 100ft (30m)
• Outdoor with detector 165ft (50m)
Accuracy ±0.0002in/in (0.2mm/m)
Beam angle 120° ±5°
Self-leveling range ±5°
Laser line width 0.10” ±0.02” at 20’
(2mm ±0.5mm/5m)
Wavelength 635 ±5nm Laser Class II
Power supply 3 AA batteries ( not included)
Battery life 20 hours of continuous operation
Operating temp 14°F - 131°F (-10° C - 45° C)
Storage temp -4°F - 131°F (-20° C - 55° C)
Water & dust proof IP54
Dimensions 3.9”x3.2”x4.1”(10cmx8.2cmx
10.4cm)
Weight including
batteries 1.37lbs ±0.3oz (620gr±10gr)
SPECIFICATIONS

16
WARRANTY
This product is covered by a two-year limited warranty
against defects in materials and workmanship. It does no
cover products that are used improperly, altered or repaired.
In the event of a problem with the laser level you have
purchased, please return the product to the place of purchase
with the proof of purchase.
Model #873
Serial number sticker is positioned inside the battery
compartment.

17

18
Gracias por su compra del Kapro 873 Prolaser®Vector. Usted
posee ahora una de las herramientas láser más avanzadas
disponibles.Estemanuallemostrarácómosacarelmáximo
provecho de su herramienta láser.
APLICACIONES
El 873 Prolaser®Vector está diseñado de manera innovadora
para una gama muy amplia de trabajos profesionales y de
bricolaje (DIY), incluyendo:
• Alineación de azulejos, armarios, bordes, molduras y ribetes
• Instalación de puertas y ventanas
•Todo tipo de trabajos de bricolaje (DIY), incluyendo colgar
estanterías, fotos y más
NOTA
Guarde este manual en un lugar seguro
para futuras consultas.
3AA
165'/50m
SP
NO INCLUIDAS

19
CONTENIDO
• Características 20
• Instrucciones de Seguridad 21-22
• Instalación de las Baterías 23
• Visión General 24
• Instrucciones de Operación 25-27
• Mantenimiento 28
• Prueba de calibración de campo 29-30
• Especificaciones 31
• Garantía 32

20
CARACTERÍSTICAS
• 1 línea vertical y 2 horizontales a intersecciones de 90° -
hacia adelante y hacia el techo
• 165’(50m)dealcanceenexteriorcondetector
• Modo ladeado (Tilt) para diseño/marcación angular
• Patas plegables fuertes para montaje angular en modo
manual y ajuste de altura
• Mecanismo autonivelante
• Advertencia visual y sonora de “fuera de nivel”
• Rosca de trípode de 1/4"
• Carcasa de goma resistente a impactos
• Tamaño compacto – cabe en su caja de herramientas
Other manuals for Prolaser Vector 873
2
Table of contents
Languages:
Other Kapro Measuring Instrument manuals
Kapro
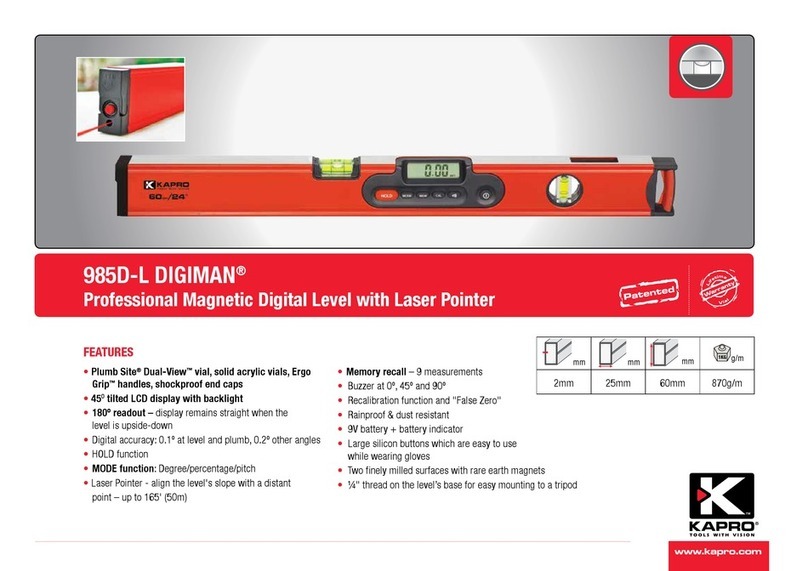
Kapro DIGIMAN 985D-L User manual

Kapro
Kapro Prolaser Plus User manual
Kapro
Kapro 895 Prolaser All-Lines User manual
Kapro
Kapro 883N User manual
Kapro
Kapro Prolaser 852 User manual
Kapro
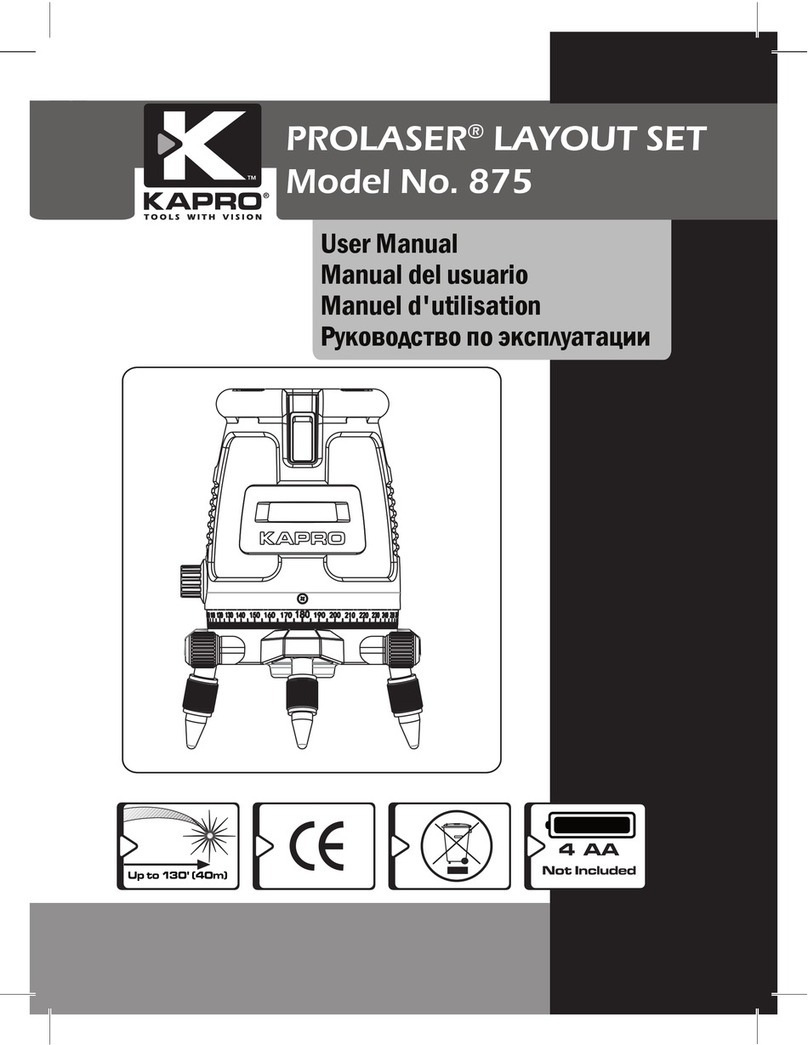
Kapro PROLASER 875 User manual

Kapro
Kapro KAPROMETER K4 370 User manual

Kapro
Kapro Prolaser 862 User manual

Kapro
Kapro Prolaser 852G User manual

Kapro
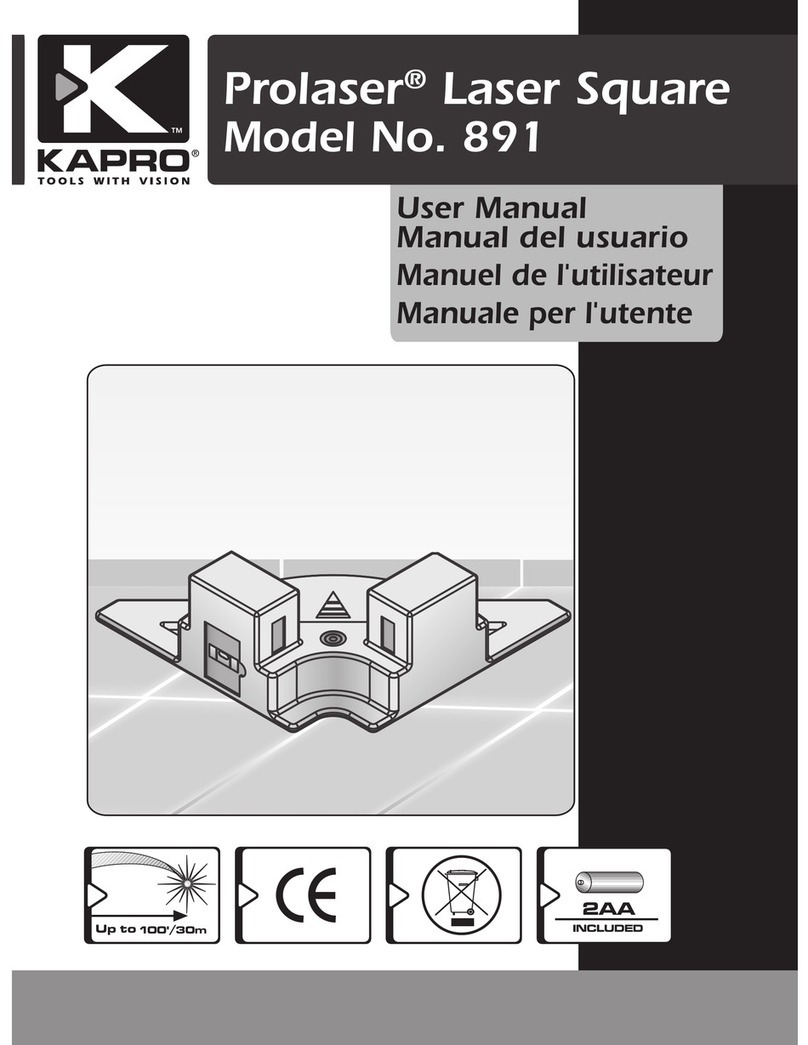
Kapro prolaser 891 User manual