KARE design Tavola Office Smart User manual

[EN] Assembly and operating instructions
[DE] Montage- und Gebrauchsanleitung
Tavola Office Smart


03
Lieber Kunde,
vielen Dank für Deinen Kauf und Dein uns entgegengebrachtes Vertrauen.
Mit Tavola Office Smart haben wir ein europäisches Qualitätsprodukt entwickelt
und hergestellt. Wir legen großen Wert auf Nachhaltigkeit und
ökologische Verträglichkeit.
Heute erhälst du Deinen Schreibtisch der nächsten Generation.
Tavola Office Smart wird Dir helfen gesünder und produktiver
am Schreibtisch zu sein.
Viel Freude mit Deinem Produkt!
Dein KARE-TEAM
Dear customer,
Thank you very much for your purchase and the trust you have placed in us.
With Tavola we have developed and manufactured a European quality product.
We attach great importance to sustainability and ecological compatibility.
Today you will receive your desk of the next generation.
Tavola will help you be healthier and more productive at your desk.
Have fun with your product!
Your KARE-Team

[EN] Parts List Pakage 1 [DE] Teileliste Paket 1
04
1x
[EN] Parts List Pakage 2 [DE] Teileliste Paket 2
[EN] 2x side parts
1x screw box
1x control box
1x power cable
1x control switch
2x table legs incl. connecting cable
2x table feet
4x crossbars
[DE] 2x Seitenteile
1x Schraubenbox
1x Kontrollbox
1x Stromkabel
1x Bedienschalter
2x Tischbeine inkl. Verbindungskabel
2x Tischfüße
4x Quertraversen

[EN] Parts List Screwbox [DE] Teileliste Schraubenbox
4x
05
10x 2x 18x 2x 2x 4x
Vor der Montage
Bitte prüfe die Vollständigkeit aller Teile. Wir empfehlen die Montage auf einen Material schonen-
den Untergrund durchzuführen. Für die Montage des Tavola-Tisches empfehlen wir einen Akku-
schrauber.
Bitte wende Dich bei Schäden oder Mängeln an Deinem Tavola-Tisch an deinen
Bitte dokumentiere Dein Anliegen mittels Bilder und/oder einer kurzen Beschrei-
bung.
Bei Fragen steht Dir unser Kundenservice zur Verfügung:
Hotline (Deutschland): +49 89 215 366 240
Hotline (international): +41 715 880 754
Mail: [email protected]
Before assembly
Please check the completeness of all parts. We recommend mounting on a material that is gentle
on the substrate. For the assembly of the Tavola table we recommend a cordless screwdriver.
In case of damage or defects to your Tavola table, please contact your Dealer
request with pictures and/or a short description.
If you have any questions, please contact our customer service:
Hotline (Germany): +49 89 215 366 240
Hotline (international): +41 715 880 754
Mail: [email protected]

1[EN] 1. Please arrange the individual components as shown. When mounting a 100cm
table top you need two of the crossbars instead of the four shown crossbars.
(See page 11)
2. Please fix the traverses to the table legs with a total of 8 screws.
Pay attention to a right-angled alignment.
[DE] 1. Ordne die einzelnen Bauteile wie abgebildet an. Bei der Montage einer 100cm
Tischplatte benötigst Du zwei der Quertraversen anstelle der abgebildeten
vier Quertraversen. (Siehe Seite 11)
2. Fixiere die Traversen mit insgesamt 8 Schrauben an den Tischbeinen.
Achte auf eine rechtwinklige Ausrichtung.
06
8x

2[EN] 1. Place the table top carefully on the surface. The sticker on it marks the side on
which the table frame is mounted.
2. Carefully lift the table frame onto the table top and center it.
[DE] 1. Lege die Tischplatte vorsichtig auf den Untergrund. Der darauf befindliche
Aufkleber marktiert die Seite, an der das Tischgestell montiert wird.
2. Hebe vorsichtig das Tischgestell auf die Tischplatte und richte es mittig aus.
07

08
3[EN] Crossbars adjustment for table top 160 cm
Use for the assembly of a table top of length 160 cm the second perforation from the
inside of the respective crossbar.
[DE] Quertraversen-Einstellung für Tischplatte 160 cm
Nutze für die Montage einer Tischplatte der Länge 160 cm die zweite Lochung von innen
der jeweiligen Quertraverse.
je 2x

09
3[EN] Crossbars adjustment for table top 140 cm
For mounting a 140 cm long table top, use the third hole from the inside of the table top.
respective crossbar.
[DE] Quertraversen-Einstellung für Tischplatte 140 cm
Nutze für die Montage einer Tischplatte der Länge 140 cm die dritte Lochung von innen der
jeweiligen Quertraverse.
je 2x

10
3[EN] Crossbars adjustment for table top 120 cm
For mounting a 120 cm long tabletop, use the fourth hole from the inside of the tabletop.
respective crossbar.
[DE] Quertraversen-Einstellung für Tischplatte 120 cm
Nutze für die Montage einer Tischplatte der Länge 120 cm die vierte Lochung von innen
der jeweiligen Quertraverse.
je 2x

3
11
[EN] Crossbars adjustment for table top 100 cm
Use only two of the four crossbars supplied for mounting a table top of length 100.
[DE] Quertraversen-Einstellung für Tischplatte 100 cm
Nutze für die Montage einer Tischplatte der Länge 100 ausschliesslich zwei der vier mitge-
lieferten Quertraversen.

[EN] Mount the table feet and screw the floor glides together.
[DE] Montiere die Tischfüße und verschraube die Bodengleiter.
12
4
4x 4x

[EN] Fasten the table frame to the table top using the screws supplied.
[DE] Befestige das Tischgestell an der Tischplatte mittels der mitgelieferten Schrauben.
5
18x
13

[DE] 1. Position the control box centrally between the two crossbars and fasten it to the
table top using the two screws supplied.
2. Position the control switch on the table top according to your wishes and fasten it
with the two screws provided.
3. Connect the two cables of the table legs, the control switch and the power cable to
the control box.
[DE] 1. Positioniere die Kontrollbox mittig zwischen die beiden Traversen und befestige
diese mit Hilfe der beiden mitgelieferten Schrauben an der Tischplatte.
2. Positioniere den Bedienschalter ganz nach Deinen Wünschen an der Tischplatte
und befestige diesen mit Hilfe der beiden mitgelieferten Schrauben.
3. Verbinde die beiden Kabel der Tischbeine, den Bedienschalter und das Stromkabel
mit der Kontrollbox. Tipp: Fädle die Kabel durch die Kabelhaken in der Quertraverse.
6
2x 2x1x
1. 2.
1x
3.
1x
14

15
[EN] Your Tavola Office Smart is now ready for use. Please refer to our Quick Start Guide
on page 17 and the official instructions for use and care on the following pages.
[DE] Dein Tavola Office Smart ist jetzt einsatzbereit. Bitte beachte bei der Inbetrieb-
nahme unsere Schnellanleistung auf Seite 20 und die offizielle Gebrauchsanleitung
und Pflegehinweise auf den nachfolgenden Seiten.

16

Instruction manual English
17
Recommendations and parameters for
Tavola:
Sound level:
< 50 dB(A)
Interval for height adjustment:
68-115 cm or 26.8-45.3 inches
Maximum load:
83 kg
Temperature interval in use:
50-104°F or 10-40°C.
Storage temperature interval:
0 to 158°F or -18 to 70°C.
Humidity:
20-90% at 104°F or 40°C
Electrical power:
100-240 V AC, 50-60 Hz, 3.2-1.5 A
Model:
F-SP-GF470
This table may only be used with the
supplied control switch or Tavola-certified
accessories.
It is the sole responsibility of anyone
installing, using, repairing or servicing this desk
to read this manual carefully.
Keep this manual close to your Tavola table.
installation instructions
- The table is assembled according to the above
assembly instructions.
- Connect the power cord to a wall outlet before
use.
NOTE! The electrical cable must be completely
movable.
- The desk is now ready for use.
- The motors stop automatically when the desk
reaches its lowest or highest position.
Using the Table
The table may only be used as a continuously
adjustable work table between sitting and stan-
ding position.
The desk is intended exclusively for use indoors
and in dry rooms (office environment, etc.). The
desk must not be overloaded - the maximum load
is 83 kg. The system can be operated continuous-
ly for a maximum of 1 minute. The motors must
stand still for approx. 9 minutes before they can
be switched on again.
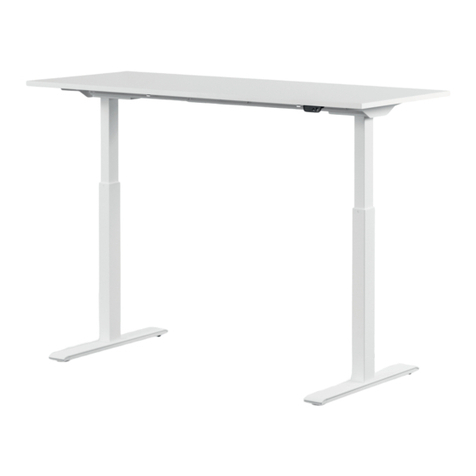
Tavola is an electromechanically height-adjustable sitting/standing table with cont-
rol switch for height adjustment up and down.
This device can be used by children aged 8 and over. Persons with limited physi-
cal, sensory or mental abilities or lack of experience and knowledge should be
supervised or instructed on the safe use of the device and should understand the
dangers involved. Children should not play with the device. Cleaning and main-
tenance of the appliance must not be carried out by children without supervision.

QUICK GUIDE
Manual reset / first start-up
Perform a reset by simultaneously holding the up and down buttons pressed
for at least 8 seconds. Press and hold the buttons as the desk slowly moves to
its lowest level. The reset is complete when the desk has stopped at the lowest
point.
Follow these instructions when adjusting the table height:
1. Ensure that there are no objects in the table height adjustment area.
2. To move the desk up or down, press up or down.
Press the Up key until the desired table height is reached.
Press the down key until the desired table height is reached.
For full stroke, release the down button at the lowest safe point and then press it again for 5 seconds.
The desk will then move to the lowest mechanical height to achieve full stroke.
Saving of preferred standing and sitting position / end positions
Press both buttons three times (with an interval of 0.5-1 second between them). Then press "up" or
"down" to adjust the position (0.5-1 second). The same applies to your second stored setting. To delete
the memory positions, perform a reset.
+ +
Memory standing
height
Memory seating
height
+
About storage position
Press for >5 seconds
18

19
Collision-detection
The system concept provides for collision-rela-
ted damage to the equipment to be avoided. If
the desk detects a sudden change in resistan-
ce, it stops in the middle of its movement and
returns approx. 50 mm. 25 mm travel can be
activated in both directions.
Standards & Certificates
The entire table has been designed to harmoni-
se with these standard requirements: EN
527-2:2016 Office furniture - Worktables - Part
2: Requirements for safety, strength and durabi-
lity, EN 1730 Furniture - Tables - Test methods
for stability, strength and durability, ANSI/BIFMA
X5.5-2014 - Desk products - Applicable para-
graphs
The colour/surface of the frame is approved
according to standards: EN
12720:2009+A1:2013 Furniture - Evaluation of
surface resistance to cold liquids, EN
15186:2012 Furniture - Evaluation of surface
resistance to scratches
The electronic components are certified accor-
ding to: RoHs, Reach, EMC directive, UL962,
CHINA RoHS
Safety regulations
When the desk is tilted up/down, maintain the
required safety clearance to avoid trapping
between the moving tabletop and objects in the
surrounding area.
When moving the desk up and down, the user
should be careful not to hurt anyone or damage
any objects. The tabletop must not knock
against a solid object if it tips over. Always
remove all office chairs before moving the desk
up/down.
The table legs must not be altered or reconst-
ructed in any way. The power cord must always
be disconnected from the wall socket during
service and repair work on the desk. Modifica-
tions to the legs are absolutely forbidden. Under
no circumstances may the desk be used as a
lifting device for persons.
Maintenance and repair instructions
- After about 1 week of use, check that the screws
are still properly tightened.
- If the desk cannot be lowered or raised, check
the connections between the control box and the
power outlet.
- If part of the electrical system is to be replaced,
first unplug the electrical cable from the socket.
Replace the electrical part and then reconnect the
electrical cable to the socket. The desk is now
ready for use.
If the desk still does not work, contact Tavola
Customer Service.
Service
Do not attempt to repair this product yourself as
opening or removing covers may expose you to
dangerous voltages or other hazards.
KARE DESIGN GmbH
Mail:
Phone:
powered by
Manufacturer: Theta Yngvi AG
Adress: Burgstr. 8, 8280 Kreuzlingen, Schweiz
The crossed-out dustbin symbol indicates that the item must
be disposed of separately from household waste. The item
should be disposed of in accordance with local regulations.
environmental regulations for waste disposal for recycling.
By separating a marked object from household waste, you
help reduce the amount of waste in incinerators or landfills
and minimise possible negative impacts on human health
and the environment. For more information, please contact
your KARE customer service representative.

Gebrauchsanleitung Deutsch
Empfehlungen und Parameter für YNGVI:
Schallpegel:
< 50 dB(A)
Intervall für die Höheneinstellung:
68–115 cm oder 26,8–45,3 Inches
Maximale Belastung:
83 kg
Temperaturintervall im Gebrauch:
50–104°F oder 10–40°C.
Temperaturintervall bei der Lagerung:
0 bis 158°F oder -18 bis 70°C
Luftfeuchtigkeit:
20–90% bei 104°F oder 40°C
Elektrische Leistung:
100-240 V AC, 50-60 Hz, 3,2-1,5 A
Modell:
F-SP-GF470
Dieser Tisch darf nur zusammen mit dem
mitgelieferten Bedienschalter oder von YNGVI
zertifizierten Zubhörprodukten verwendet
werden.
Es obliegt der alleinigen Verantwortung jeder
Person, die diesen Schreibtisch installiert,
benutzt, repariert oder wartet, diese Anleitung
sorgfältig zu lesen. Bewahren Sie diese Anlei-
tung in der Nähe Ihres Tavola-Tisches auf.
Installationsanweisungen
- Der Tisch wird gemäß vorstehender
Montageanleitungen aufgebaut.
- Schließen Sie das Stromkabel vor
Benutzung an eine Steckdose an.
HINWEIS! Das elektrische Kabel muss
vollständig beweglich sein.
- Der Schreibtisch ist nun bereit zur Verwendung.
- Die Motoren stoppen automatisch, wenn der
Schreibtisch seine niedrigste oder höchste Positi-
on erreicht.
Verwendung des Tisches
Der Tisch darf nur als stufenlos zwischen Sitz-
und Stehposition verstellbarer Arbeitstisch
verwendet werden.
Der Schreibtisch dient ausschließlich zur Verwen-
dung in Innenräumen und in trockenen Räumen
(Büroumgebung o.ä.). Der Schreibtisch darf nicht
überlastet werden - die maximale Belastbarkeit
beträgt 83 kg. Das System kann höchstens 1
Minute lang kontinuierlich betrieben werden. Die
Motoren müssen ca. 9 Minuten stillstehen, bevor
sie wieder eingeschaltet werden können.
Tavola ist ein elektromechanisch höhenverstellbarer Sitz-Steh-Tisch mit Bedien-
schalter zur Höhenverstellung nach oben und unten.
Dieses Gerät kann von Kindern ab 8 Jahren benutzt werden. Personen mit einge-
schränkten körperlichen, sensorischen oder geistigen Fähigkeiten oder mangeln-
der Erfahrung und Kenntnis sollten eine Aufsicht oder Anweisung über den siche-
ren Umgang mit dem Gerät erhalten und die damit verbundenen Gefahren begrei-
fen. Kinder sollten nicht mit dem Gerät spielen. Die Reinigung und Wartung des
Geräts dürfen von Kindern ohne Aufsicht nicht durchgeführt werden.
20
Table of contents
Other KARE design Indoor Furnishing manuals
KARE design
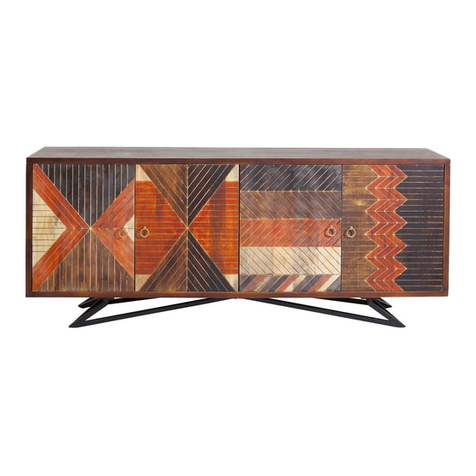
KARE design Edward 83370 User manual

KARE design
KARE design Tavola Office Planning guide

KARE design
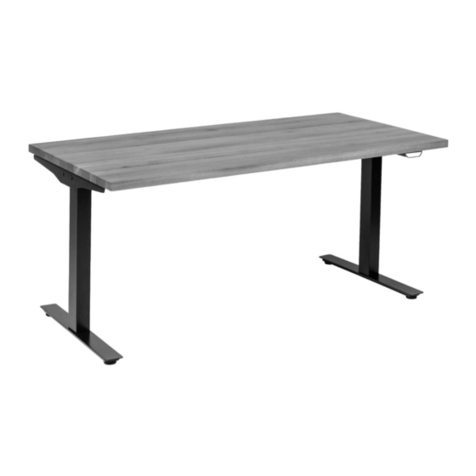
KARE design F-SP-GF470 User manual

KARE design
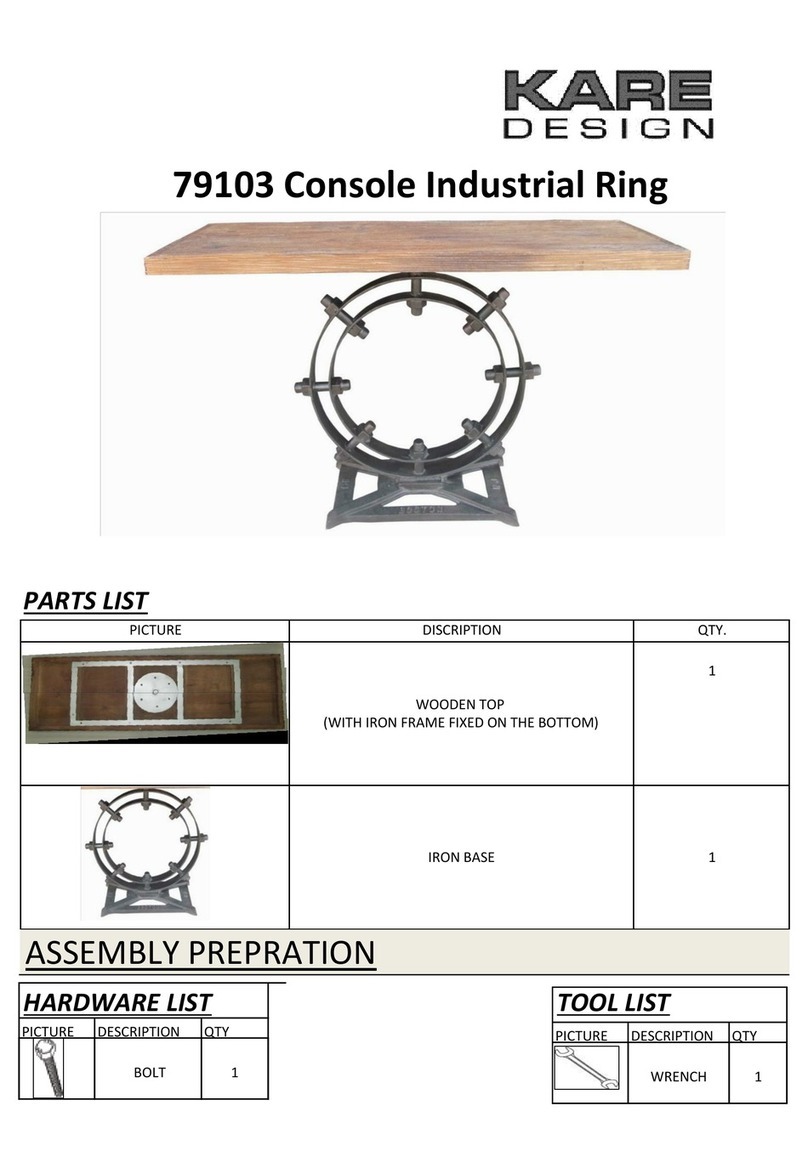
KARE design Console Industrial Ring 79103 User manual
KARE design
KARE design JUNGLE NATURE 87205 User manual
KARE design
KARE design 80880 User manual
Popular Indoor Furnishing manuals by other brands

real living
real living H22ST1122 Assembly instruction

Teknion
Teknion Leverage installation guide

Nuu Garden
Nuu Garden RS001-LS instruction manual

Ameriwood HOME
Ameriwood HOME 5955222COM Instruction booklet

Indiana Furniture
Indiana Furniture Isla Series installation instructions

Costway
Costway HV10405 Instruction booklet